WMIC Login to Remote Object Error: How to Fix it
![]() 4 min. read
4 min. read
![]() Updated on
Updated on
Share this article

Improve this guide
Read our disclosure page to find out how can you help Windows Report sustain the editorial team Read more
Key notes
- Even though the wmic functionality was removed from Windows 10, 11, and Server versions, you can still add it as an optional feature, or use it through PowerShell.
- Many users that still use wmic reported dealing with a Login to remote object error, which can be fixed if you know exactly what to do in this situation.
- This guide will help you overcome the issue and carry on with your work as if nothing happened.
We’re pretty much all familiar with Wmic, the command-line and scripting interface that simplifies the use of Windows Management Instrumentation (WMI) and systems managed through WMI.
However, remember that Microsoft manufacturers recently reported that they will no longer develop the WMIC command-line feature.
Thus, the functionality will be removed from Windows 10, Windows 11, and Windows Server builds from now on, in case you were wondering.
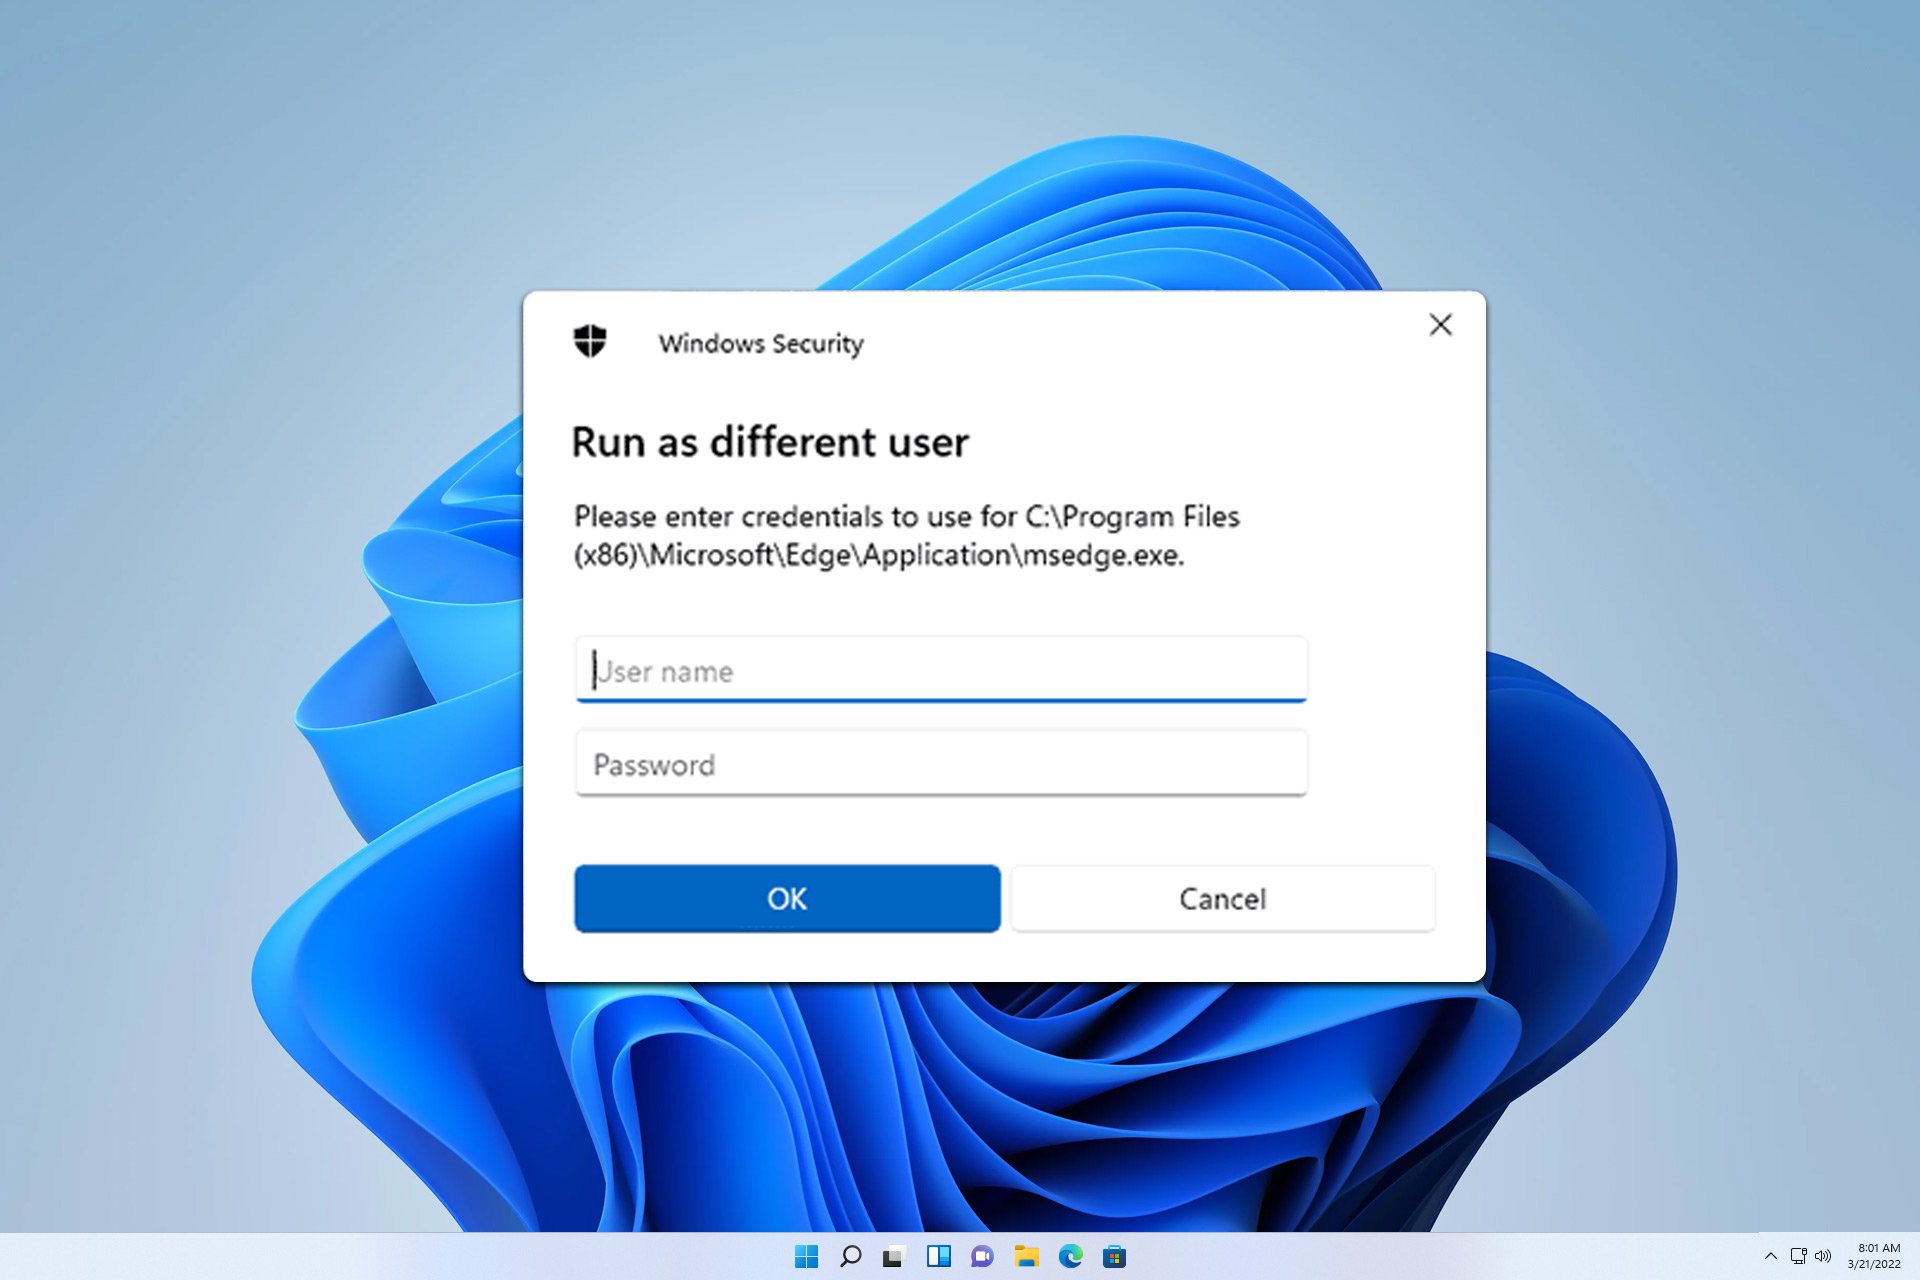
That being said, you can add the functionality back to your PC as an optional feature or access it through PowerShell.
Many users reported receiving the login to remote object error, which usually pops up when we run the WMI Configuration Wizard.
UNKNOWN – The WMI query had problems. The error text from wmic is: [wmi/wmic.c:196:main()]
ERROR: Login to remote object.
NTSTATUS: NT code 0x800706ba – NT code 0x800706ba
We are going to show you what actions to take when you are faced with this situation so that there won’t be any problems.
How can I fix wmic login to remote object error?
Before we get into how we can solve this problem, we also have to understand its roots. It is possible that the Windows Firewall is not allowing any traffic through, thus the error.
We have to, first of all, make sure that within the Windows Firewall, under Allowed Programs, WMI is actually enabled.
How can I fix the error on Windows Server 2008, 2012, and 2016?
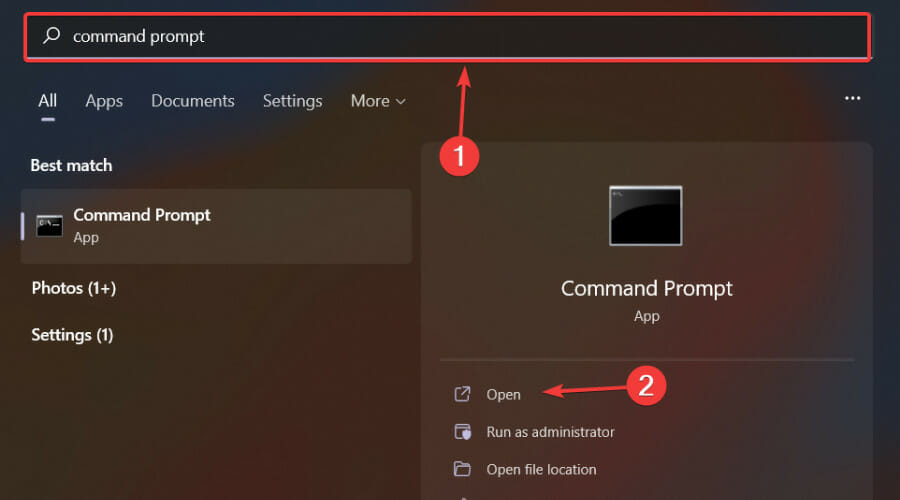
- Press the Windows key, search for Command Prompt and click on Open.

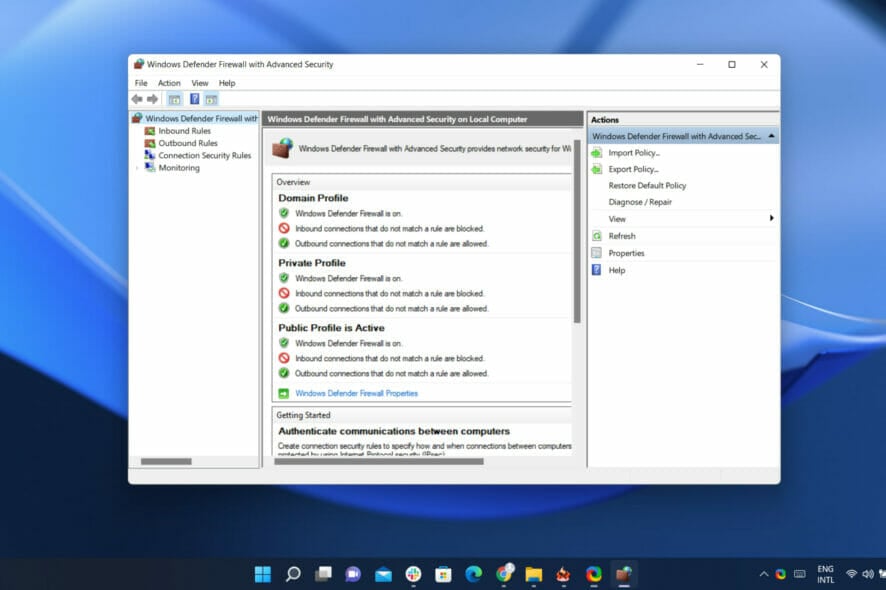
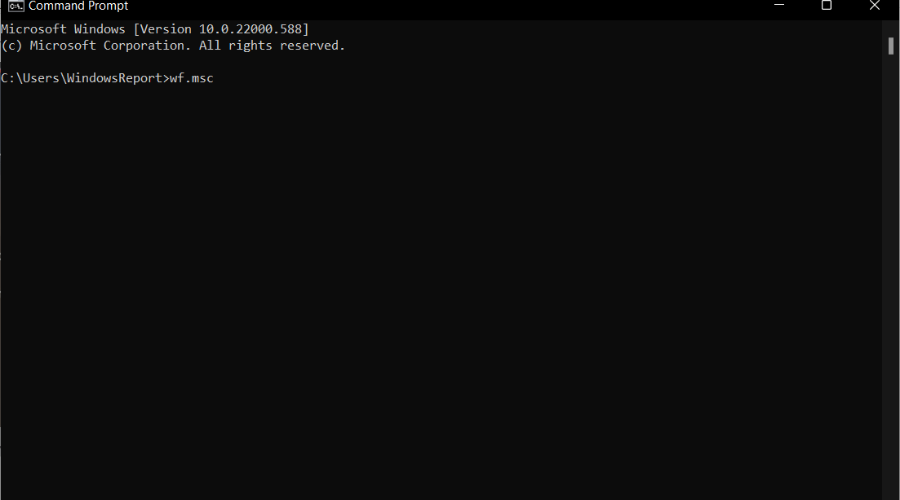
- Type wf.msc to opem Windows Firewall with Advanced Security.
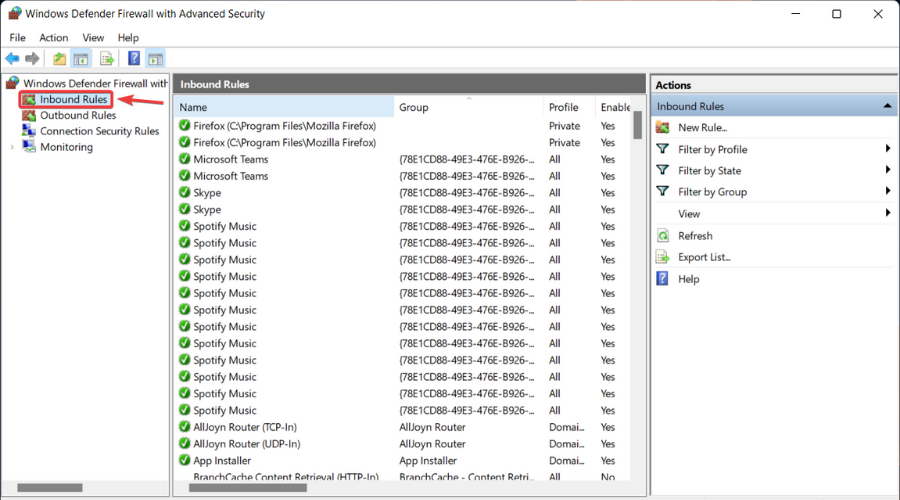
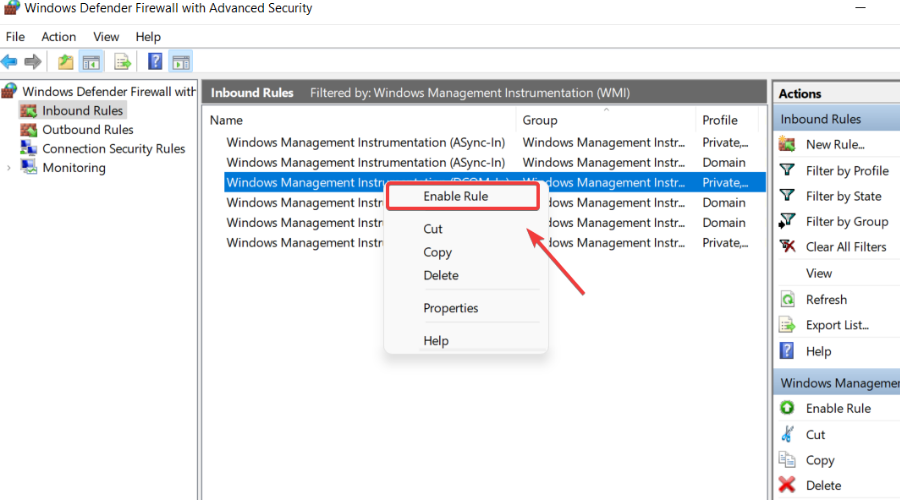
- Click on Inbound rules on the left side panel.
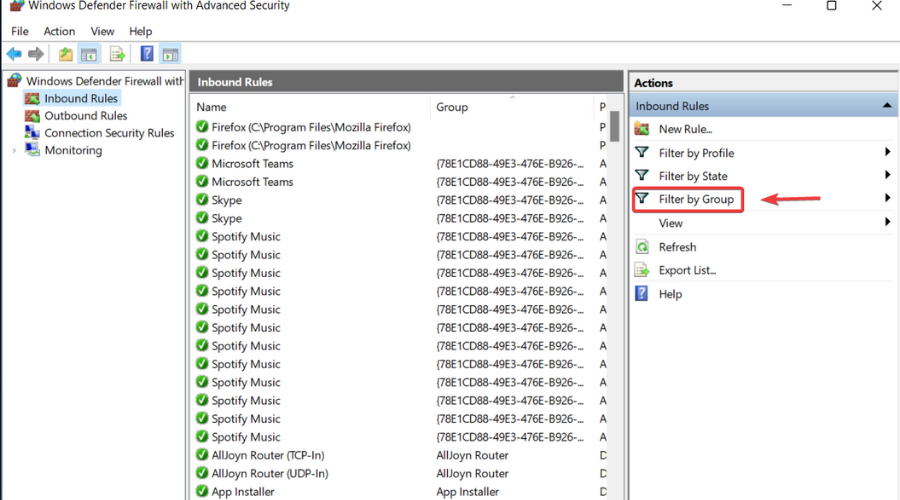
- Click on Filter by Group on the right side panel.
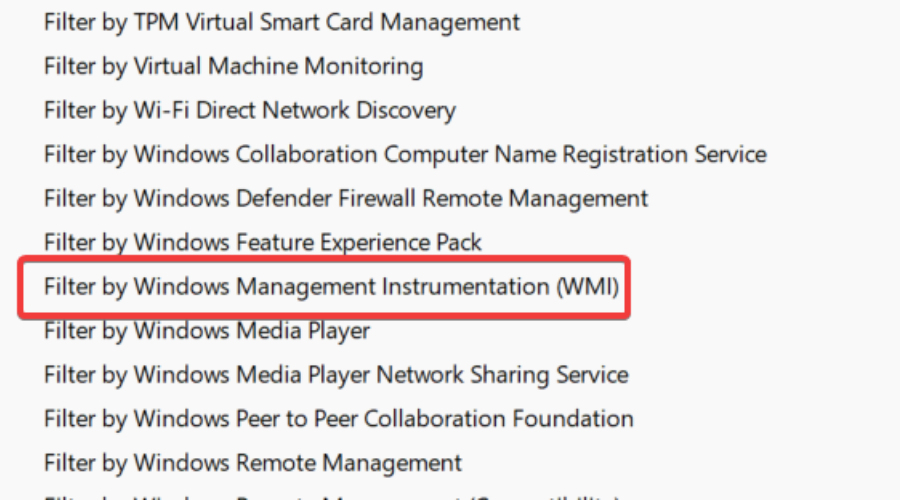
- Look for WMI and click on it.
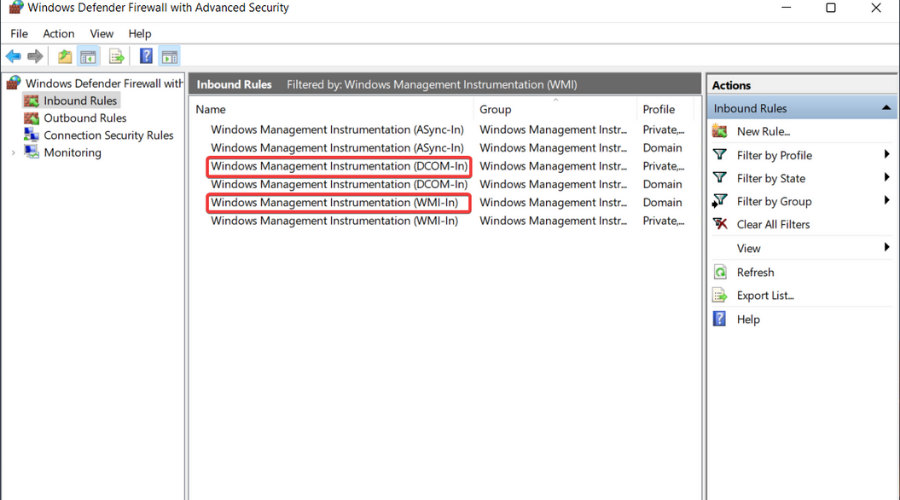
- Find DCOM-In and WMI-In rules.
- Right clicking on both of them and select Enable Rule.
However, on the off chance the WMI rule group doesn’t even exist, Microsoft suggests a method that we are about to describe for you right now.
Open a Command Prompt and enter the following command:
netsh advfirewall firewall add rule dir=in name=”DCOM” program=%systemroot
%\system32\svchost.exe service=rpcss action=allow protocol=TCP localport=135

netsh advfirewall firewall add rule dir=in name =”WMI” program=%systemroot
%\system32\svchost.exe service=winmgmt action = allow protocol=TCP localport=any

netsh advfirewall firewall add rule dir=in name =”UnsecApp” program=%systemroot
%\system32\wbem\unsecapp.exe action=allow

netsh advfirewall firewall add rule dir=out name =”WMI_OUT” program=%systemroot
%\system32\svchost.exe service=winmgmt action=allow protocol=TCP localport=any
How can I solve this problem for Windows Server 2003?
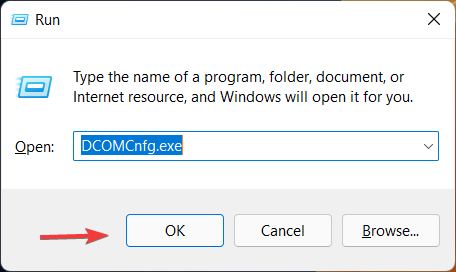
- Press the Windows key + R and type DCOMCnfg.exe, then click OK.

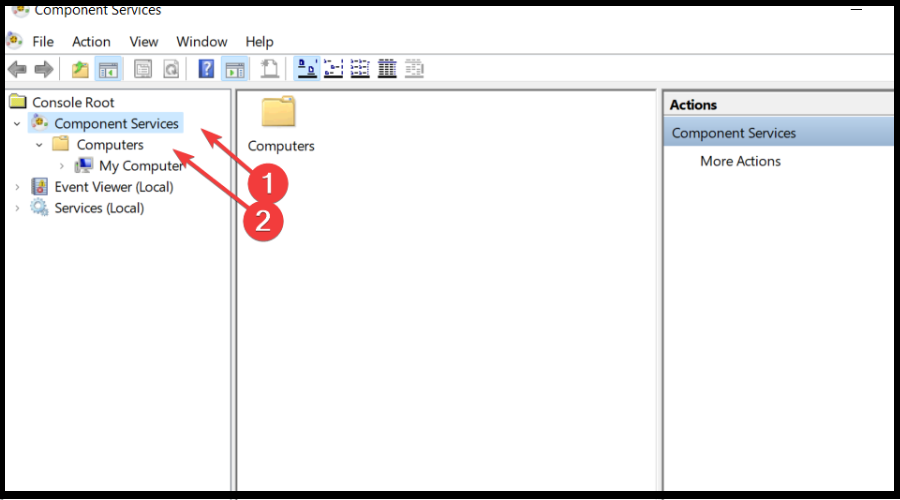
- Click to expand Component Services, then Computers.
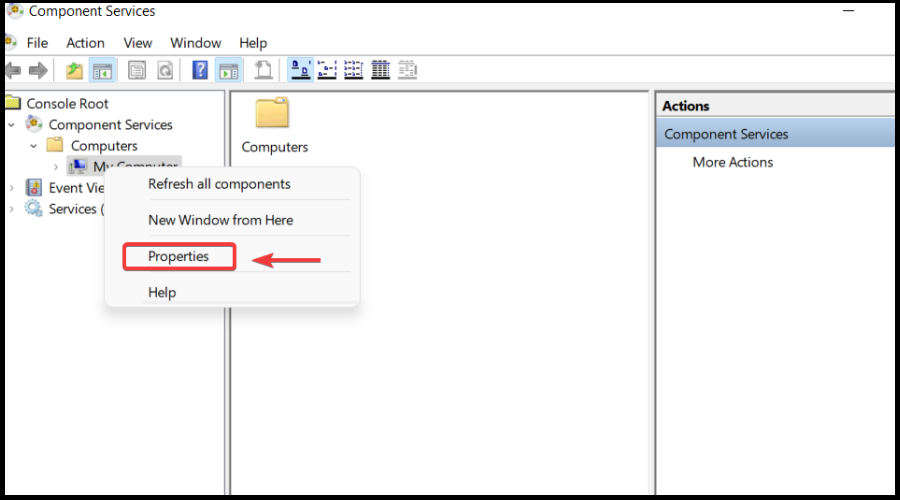
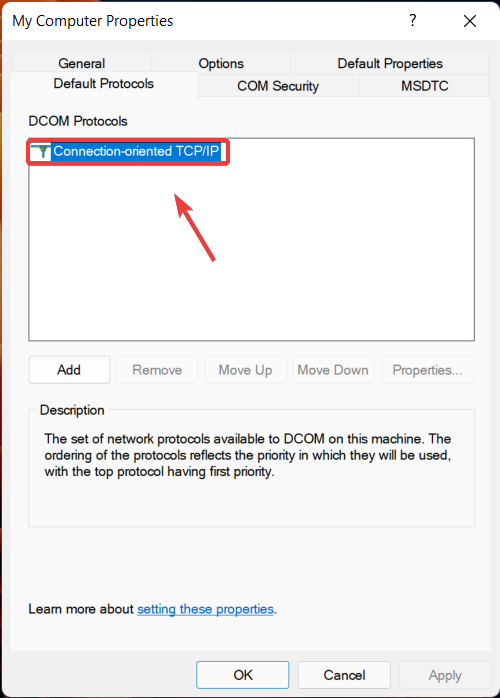
- Right-clickMy Computer and select Properties.
- In the Default Protocols tab, double click on Connection-oriented TCP/IP.

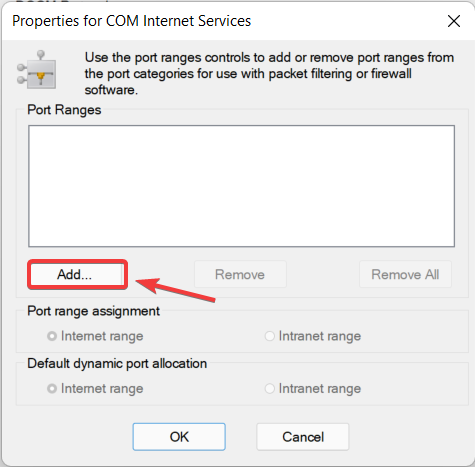
- Press the Add button.

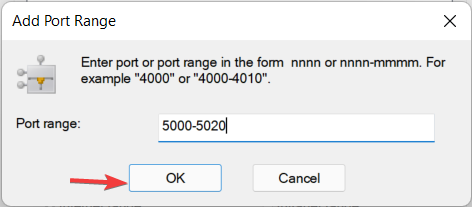
- Enter a 5000-5020 port range for COM services and press OK.

Now, please allow the port range through the Windows Firewall with the following command, which will open ports from 5000-5020 to match the COM Internet Services Range.
FOR /L %I IN (5000,1,5020) DO netsh firewall add portopening TCP %I “COM”%I
And, finally, open DCOM port 135 and type the following command into Command Prompt:
netsh firewall add portopening TCP 135 “DCOM”
That’s pretty much all you have to do in order to solve your problem. However, this isn’t the only wmic error that’s been giving users sleepless nights.
People have also been reporting wmic access denied, as well as wmic alias not found errors. We can help you with either scenario if you are in need of assistance.
Was this guide helpful to you? let us know in the comments section below.