Working from home? Check out our top tips for video conferencing in Microsoft Teams
6 min. read
Published on
Read our disclosure page to find out how can you help Windows Report sustain the editorial team. Read more

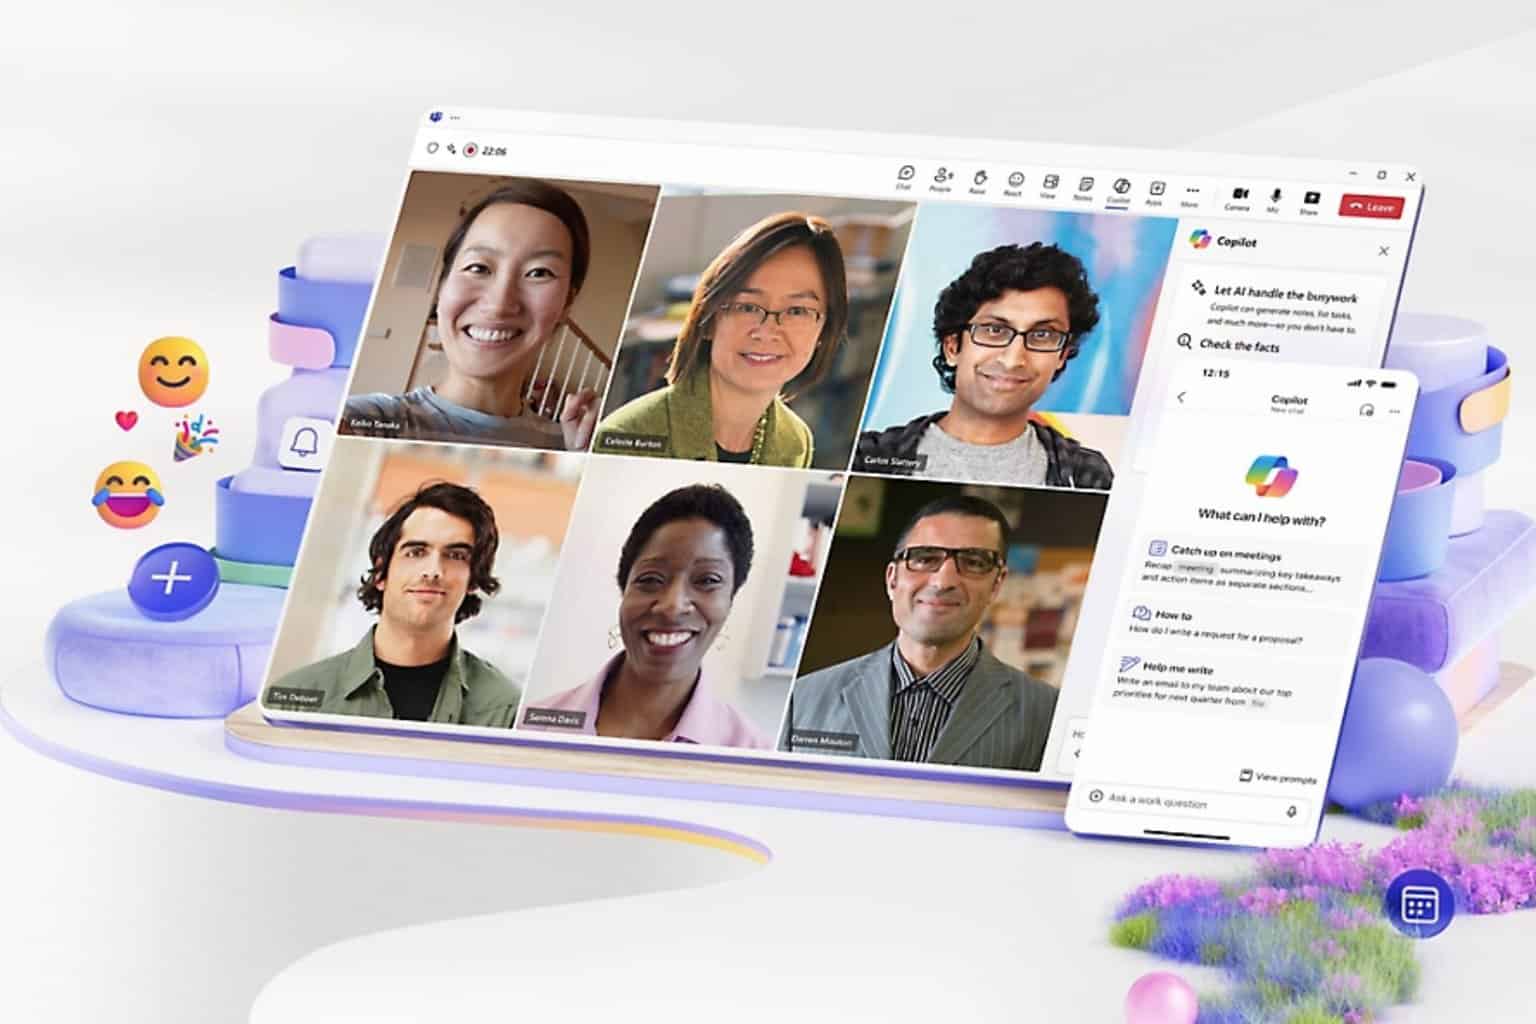
Working from home means that you might end up in a video call with your boss or coworkers in some of the most awkward places. Not everyone has a home office or knows the go-tos of how to video chat. You might be sitting in your bedroom, kitchen, hallway, or some other place which isn’t quite professional looking. Microsoft Teams, though, can help you out. There are features in Teams designed to help you enhance your video conferencing, and in this guide, we’ll give you a look at some of them.
Tip 1: Use the background blur feature in Teams
Our first tip is to use the background blur feature in Microsoft Teams. As we’ve covered before, this feature puts you in focus and conceals everything behind you. Please be aware, though, that since it is powered by AI, it only works with objects, and isn’t intended to conceal humans. Anyway, you can enable it before a call by clicking the purple slider next to the video icon. It also can be enabled during a call by hovering your mouse over the bottom middle part of your screen and clicking the “…” icon. You’ll then want to choose the blur my background option.
Tip 2: Check your audio and video outputs
When you’re working from home and you’re on a conference call, you might not want your computer to pick up background noise in your house. That often means plugging in a microphone to your laptop or desktop or using a headset. This makes sure that your voice is more clear and concise when teleconferencing.
Sometimes, though, Microsoft Teams might not properly pick up on your microphone or headset and will use your computer’s input and output by default. You’ll want to check our audio and video outputs before joining any call. You can do this by clicking the settings cog in the “Choose your audio and video settings” page that you see before you enter a meeting or call. This will show you all the detected audio devices on your PC or laptop, You can choose from all the connected speakers, microphones, and cameras. You also can make a test call to help make sure that you won’t run into any troubles during your call.
Tip 3: Know your call controls
During a call in Microsoft Teams, you’ll want to know your controls so that you can change certain settings. These are important and will be especially useful if you suddenly need to disable your video or webcam or change your audio due to something happening in the room you’re in. You can summon these controls by hovering over in the middle part of the screen. We’ll be looking at them from left to right.
First, there’s the timer, this indicates how long the call has been going on. Next to that is the option to turn your webcam on and off. You’ll then find the option to mute your microphone. That’s followed up by a button to share your screen, which we will discuss in the next section. You can then find a more options menu, where you’ll see additional device settings controls, meeting notes, or an option to enter fullscreen.
Other options here also include bringing up the keypad, and options to start recording your call in Teams. Finally, on the far right is a toggle switch for the chat, and showing the participants. This can be useful if you’re having technical issues and need to drop a message in the chat.
Tip 4: Be careful when sharing your screen
One way or another, there might come a time when you’ll need to share your screen with your coworker or boss when on a call. Of course, this isn’t something that every company will require you to do when you work from home, but you still might want to protect your privacy and hide your personal information when sharing your screen. We’ve talked about this topic before, but there are a few tips which can help.
As a recap, to share your screen, you’ll move your mouse to the bottom-middle corner of the screen and choose the chat control options. You’ll then see an icon with a square box and an arrow. Once you click it, you’ll be able to initiate a screen sharing session. For extra privacy, make sure that you choose the option to share a specific program only. This will safeguard your other programs or apps, as everything else over the program will show up as a gray box for the viewer. You also might want to be careful with sharing your audio, as you never know what can happen in the background on your PC during a call. You can change this setting by ticking the include system audio option.
Tip 5: Turn on Live Captions
Our final tip for video conferencing is to turn on Live Captions during your call. This feature might be useful for you if you’re in an environment where you have to mute your computer’s audio, or if you don’t have access to a headset for privacy during a call. Of course, we never recommend going into a call with muted audio, but it is something that some might want to do. Anyway, you can enable it by clicking the settings menu as we described in tip 3, and choosing the Turn on live captions (preview) option. Keep in mind, this isn’t fool-proof as sometimes the captions won’t be correct, but it’s still nice to have anyway if you’re the type of person that likes to read out what’s happening during an audio call.
Check out our Teams coverage for more
These are just some of our top tips for video conferencing in Microsoft Teams. We cover Microsoft Teams extensively here at OnMSFT, so feel free to check out our news hub here for more information. And, if you have any tips or tricks of your own, feel free to let us know in the comments below.


User forum
0 messages