Windows Time Service Missing: 8 Methods to Restore It
Fix time service issues by restarting it or with our other solutions
Key notes
- If the Windows Time service isn’t working, try restarting it manually to fix this issue.
- Program interferences may cause the Windows Time service to no longer function.
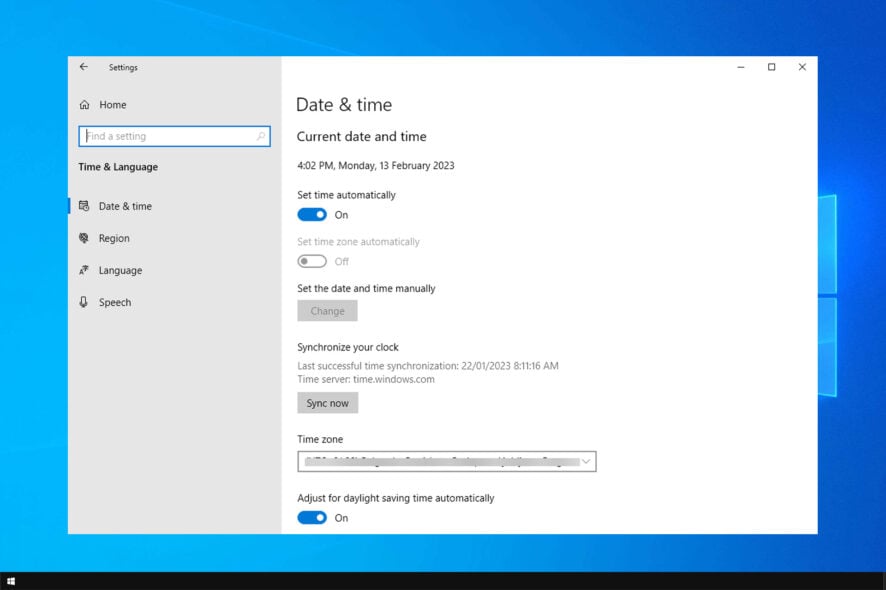
The Windows Time Service (W32Time) is a Microsoft service that synchronizes computer clock. The tool is implemented in the W32Time.dll file.
The Windows Time Service recently broke down, sending the wrong times to computers worldwide. Fortunately, Microsoft quickly fixed this problem, and your computer should now display the correct time.
Should the Windows Time Service break down again, we’ve covered you. In this article, we’ll list a series of workarounds that you can use to set the correct time on your computer.
Why is Windows Time Service missing?
- Damaged installation – Sometimes, your installation can get damaged. To fix it, you need to repair corrupted system files.
- Service settings – In case the service isn’t correctly configured, you can get this and many similar errors. Restarting it usually fixes the problem.
- Improperly configured tasks – If the tasks aren’t scheduled properly, you need to manually schedule tasks related to date and time.
- Time server issues – In some instances, there might be issues with the time server. Change the server and check if that helps.
What are other Windows Time Service issues?
Windows Time service can sometimes lead to certain issues if it’s not running properly. Speaking of this service, here are some similar issues that users reported:
- Windows 10 time service not starting, access denied, not working, not found, not showing
- There are various issues that can occur with Windows Time service on Windows 10, but you should be able to fix most of them by using one of our solutions.
- Windows Time service keeps stopping
- According to users, sometimes this service keeps stopping on your PC.
- To fix this problem, be sure to run both SFC and DISM scans and check if that solves the issue.
- Windows Time service missing, not installed
- If this service is missing or if it’s not installed, be sure to reregister the service and check if that solves the problem.
- Windows Time service not starting error 1792, 1290, 1079
- There are various errors that can prevent this service from running, and if you encounter any of these issues, be sure to try some of our solutions.
- Windows Time service could not be started
- This is another common problem with Windows Time service.
- If this issue occurs, you might have to change the Startup type of Windows Time service.
- Windows Time not syncing
- This is another common problem caused by Windows Time service.
- However, you can fix it by checking your scheduled tasks.
How do I fix the Windows Time service if it’s missing?
Before we start fixing this issue, be sure to try the following:
- Check motherboard battery – A faulty one often causes time and date issues. Consider replacement before trying other steps.
1. Perform SFC and DISM scans
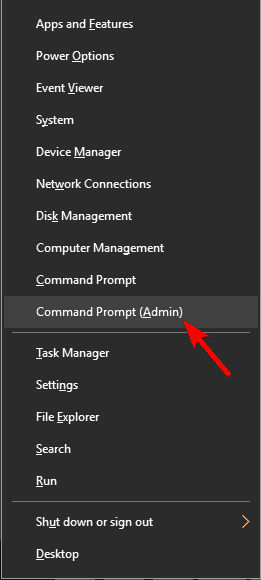
- Press Windows key + X to open Win + X menu.
- Now choose Command Prompt (Admin) or Powershell (Admin) from the menu.
- When Command Prompt opens, type the following and press Enter:
sfc /scannow
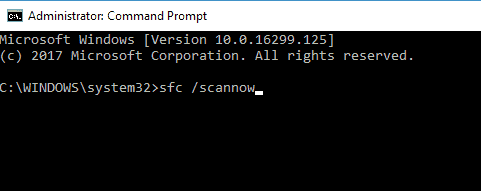
- SFC scan will now start. This scan can take up to 15 minutes, so don’t interfere with it or interrupt it.
If Windows Time service isn’t running, the problem might be your file corruption. Sometimes, your system files can get corrupted, leading to this and many other errors.
To fix the problem, you need to perform an SFC scan. Once the SFC scan is finished, check for the problem.
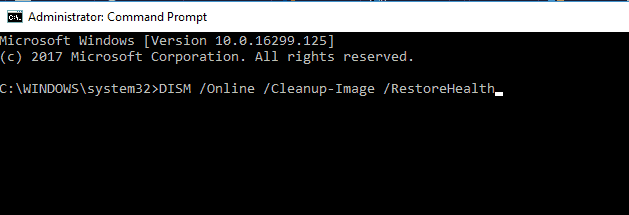
If the issue is still present, your next step would be to run a DISM scan. To do that, start Command Prompt as administrator and run the following command: DISM /Online /Cleanup-Image /RestoreHealth
Once the DISM scan is finished, check if the problem persists. If the issue is still present, repeat the SFC scan and check if that solves the issue. If this process seems too complicated or time-consuming, we recommend reliable repair software.
2. Set the Windows Time Service to automatic
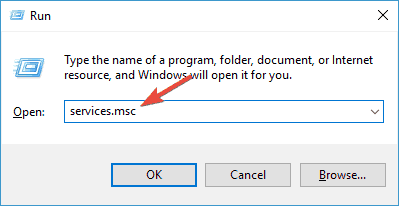
- Press Windows key + R and type services.msc. Next, press Enter.
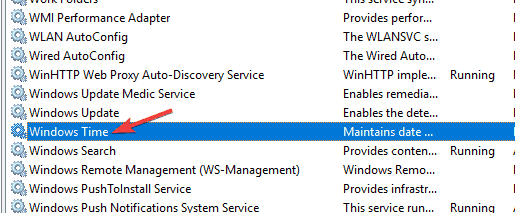
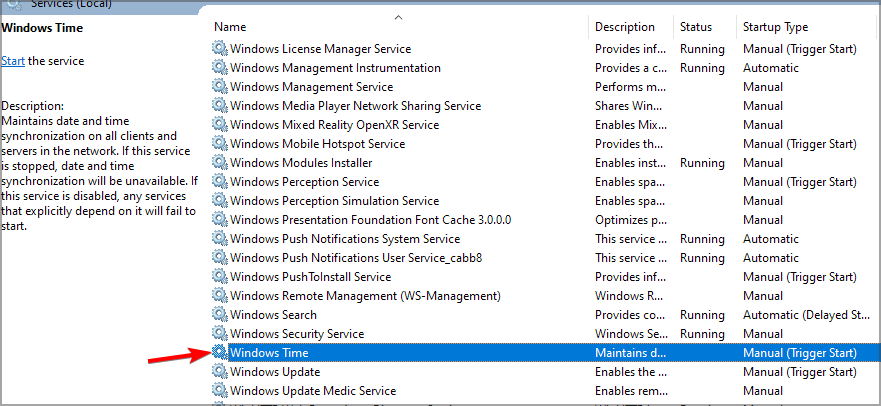
- Scroll down to Windows Time and double-click it.
- Change the Startup type to Automatic. Lastly, click on Apply and OK.
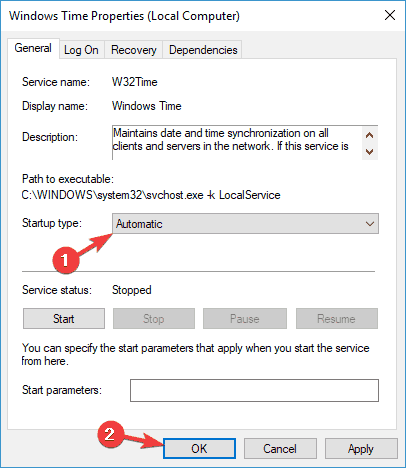
After you change the Startup type, the service should automatically start with Windows, and your problem should be resolved. If you have issues with Windows Time service, you need to ensure that the Startup type of the service is set to Automatic.
3. Make sure that the Local System account starts the Windows Time service
- Open the Services window.
- Scroll down to Windows Time and double-click it.
- Select the Log Ontab and check the Local System account. Lastly, click Apply and OK.
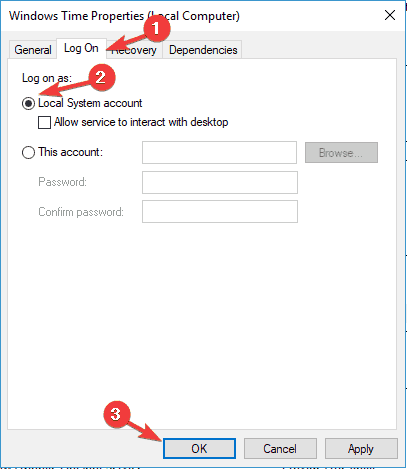
According to users, sometimes issues Windows Time service can occur if it’s not being started properly. After making these changes, the problem should be resolved completely.
4. Register the W32Time file again
- Press Windows key + X and choose PowerShell (Admin).

- Run the following commands:
net stop w32time
w32tm /unregister
w32tm /register - Close PowerShell.
Sometimes this issue can occur if there’s a problem with the W32Time service. To fix the issue, you must stop the services and unregister it.
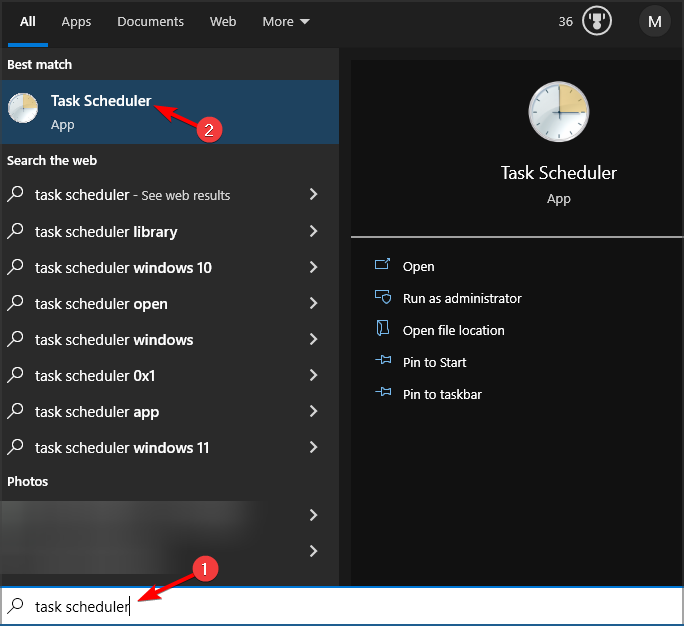
5. Check the Windows Time Service in the Task Scheduler
- Go to the Search menu, type task scheduler and select Task Scheduler.
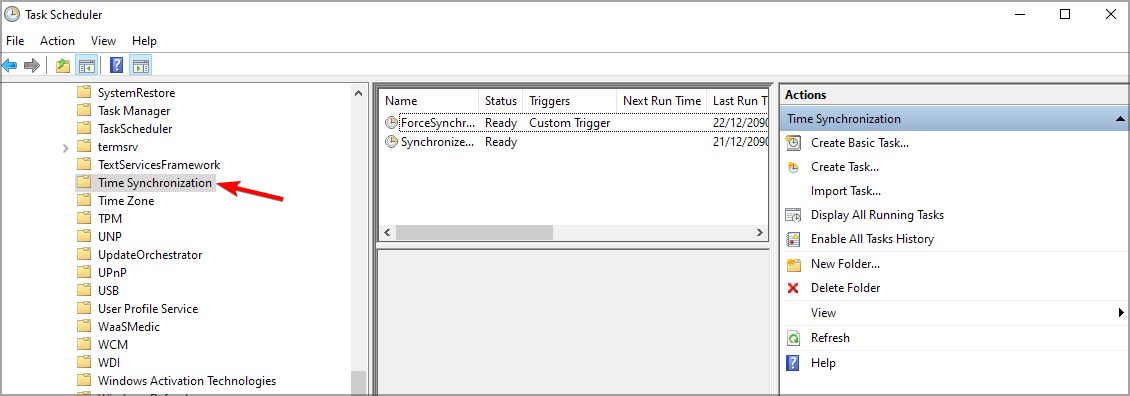
- Expand the Task Scheduler Library tree. Next, go to Microsoft and select Windows. Lastly, choose Time Synchronization.
- Left-click each task and make sure it is enabled. To enable a task, right-click it and select Enable.
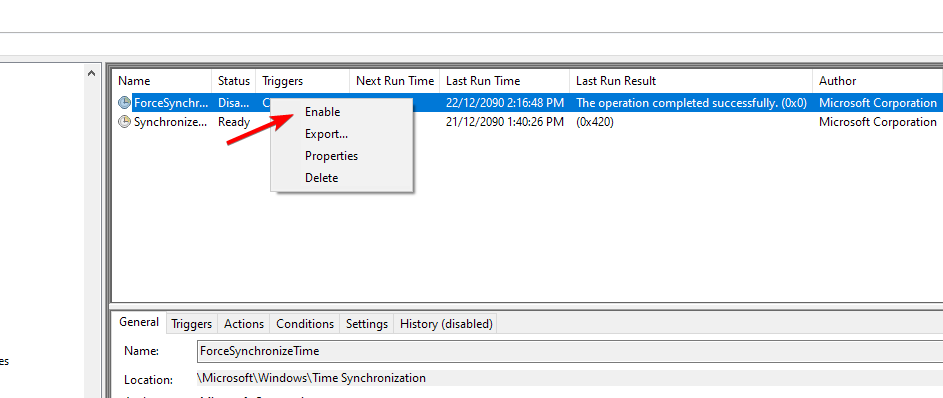
- Still in the center pane, check the settings from the Triggers tab and set the service to run automatically at startup.
For Windows Time Service to work properly, specific scheduled tasks must be running. If there’s an issue with one of these tasks, you might encounter some problems.
6. Use a different time server
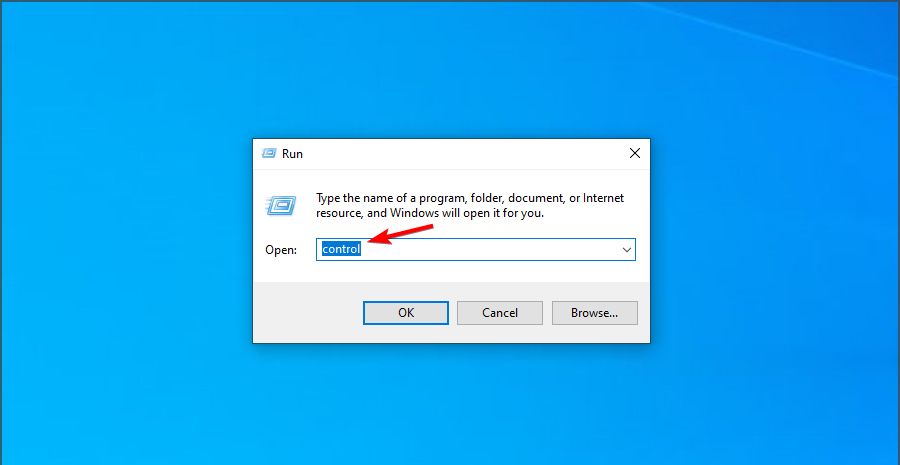
- Press Windows key + R and enter control. Click OK.
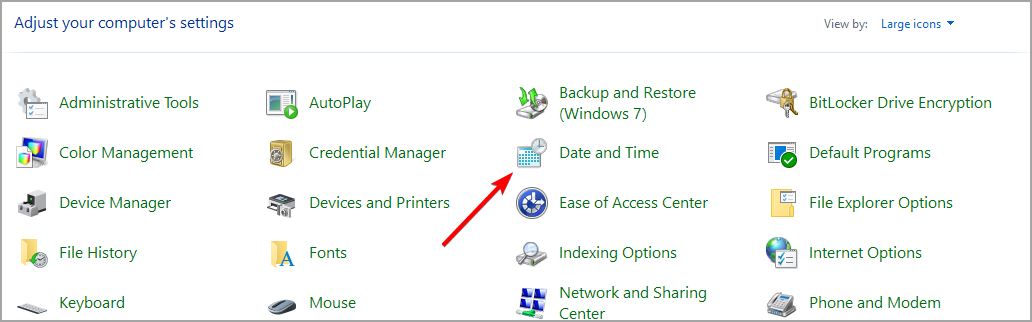
- Go to Date and Time.
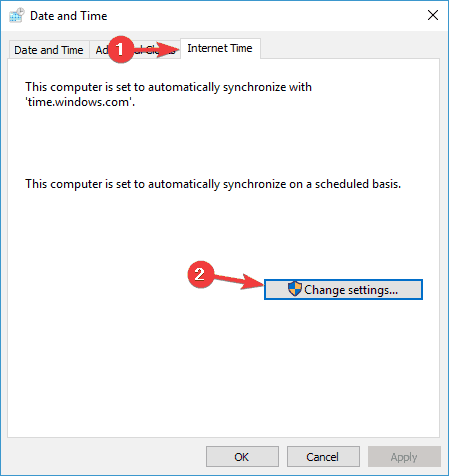
- Go to Internet Time and click the Change settings button.
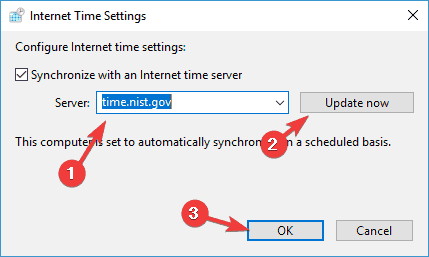
- Select time.nist.gov as the Server and click the Update now button. Also, try using pool.ntp.org as the server, some users reported that this fixed the issue.
In some cases, problems with Windows Time service can occur if there’s an issue with the time server. Check out our in-depth comparison of time.windows.com vs time.nist.gov for good measure. After changing the time server, check if the issue is still there.
You can also add more servers to the list. Here’s how to do this:
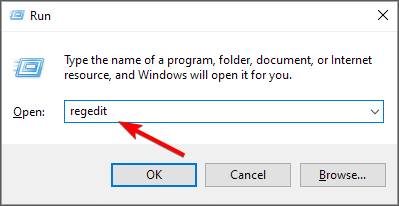
- Press Windows key + R and enter regedit. Press Enter.
- Once the Registry Editor opens, navigate to the following path:
Computer\HKEY_LOCAL_MACHINE\SOFTWARE\Microsoft\Windows\CurrentVersion\DateTime\Servers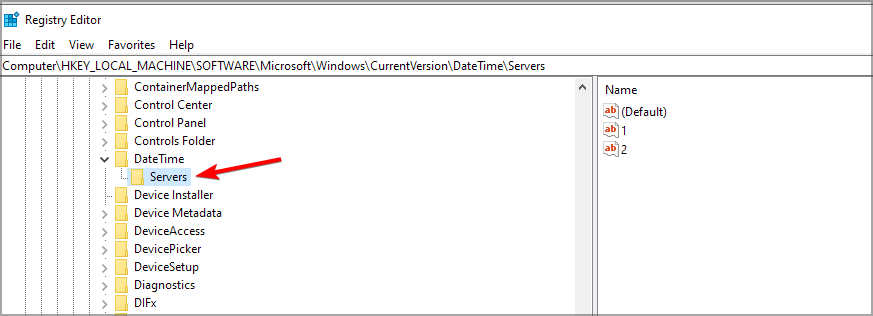
- To add a new time server, right-click the empty space and choose New and then String Value.

- Enter the appropriate number and double-click it. In the Value data field enter the server’s address.
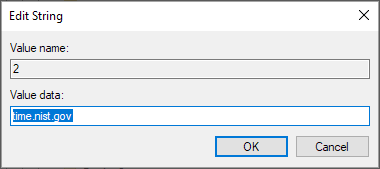
Here are some server examples:- time-a.nist.gov
- time-b.nist.gov
- 128.105.37.11
- europe.pool.ntp.org
- clock.isc.org
- north-america.pool.ntp.org
- time.windows.com
- time.nist.gov
- After you add servers to the registry, simply go to Time and Date settings and choose any of the servers that you added.
You can improve time accuracy by adjusting your NTP configuration, and you can follow this detailed guide on how to configure an NTP server in Windows to make sure your system syncs correctly.
7. Force Windows to sync the time
- Start PowerShell as adminsitartor. Use Windows key + X and select PowerShell (Admin).

- Now run the following commands:
net stop w32time
w32tm /unregister
w32tm /register
net start w32time
w32tm /resync
According to users, sometimes you might be able to solve this problem simply by forcing Windows to start the service and sync the time. After that, restart your PC and check if the problem is resolved.
8. Use the sc triggerinfo command
- Start Powershell as administrator.
- Now run the following command:
sc triggerinfo w32time start/networkon stop/networkoff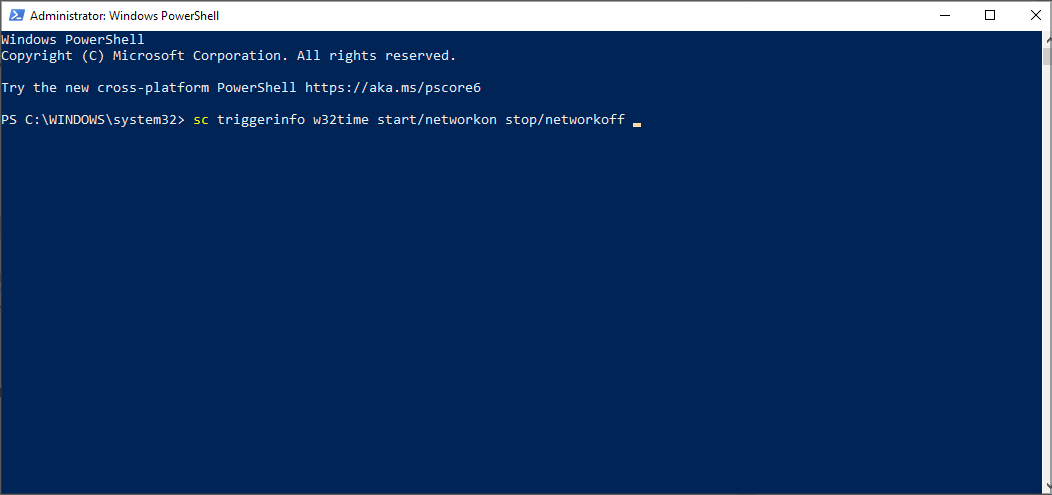
According to users, sometimes Windows Time service isn’t triggered properly, and if that’s the case, the service won’t start at all. However, you can fix the problem simply by running a single command in Command Prompt.
After executing the command, the Windows Time service should be fixed and start automatically with your PC.
There you go. We hope one of these solutions helps you synchronize your Windows 10 clock. If the problem is still there, our Windows clock is falling behind guide should be able to help.
If you’ve encountered other workarounds to fix various Windows Time Service bugs, please list the troubleshooting steps in the comment section below.
Read our disclosure page to find out how can you help Windows Report sustain the editorial team. Read more


Improve this guide


User forum
3 messages