Reset to Device \Device\Raidport0 Was Issued: How to Fix it
A quick scan to repair system files can fix this error message
![]() 5 min. read
5 min. read
![]() Updated on
Updated on
Share this article

Improve this guide
Read our disclosure page to find out how can you help Windows Report sustain the editorial team Read more
Key notes
- This error is associated with your hard drive and it’s caused by outdated drivers.
- In some instances, your power settings can cause this issue to appear.
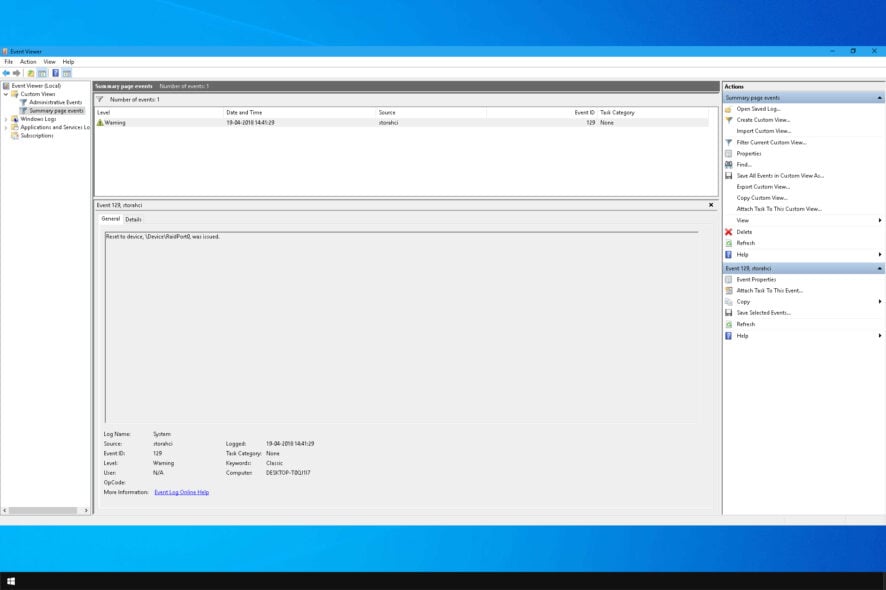
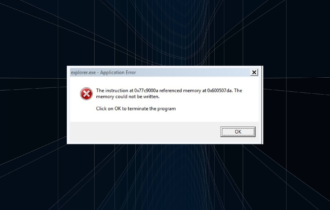
If your system freezes, you might get Reset to device, DeviceRaidPort0, was issued error in the Event Viewer.
This issue is related to SATA controllers, and to fix the freezes and other disruptions, today we’re going to show you how to fix that.
Why does Reset to device device raidport0 was issued message appear?
- Corrupted system files can sometimes lead to this error message.
- If your power settings aren’t configured properly, you might encounter this issue.
- In some rare cases, outdated drivers will cause this problem.
How can I fix Reset to device device raidport0 was issued error?
1. Run a System File Checker scan
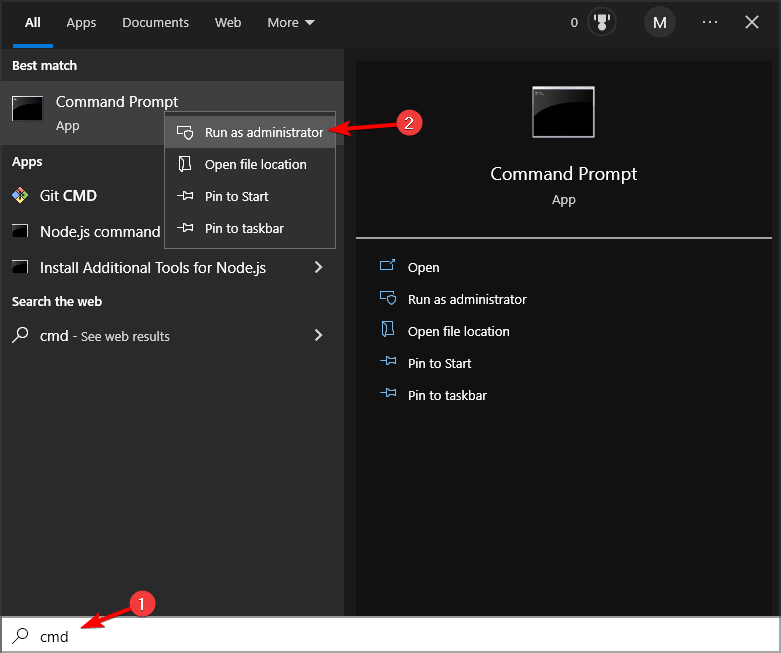
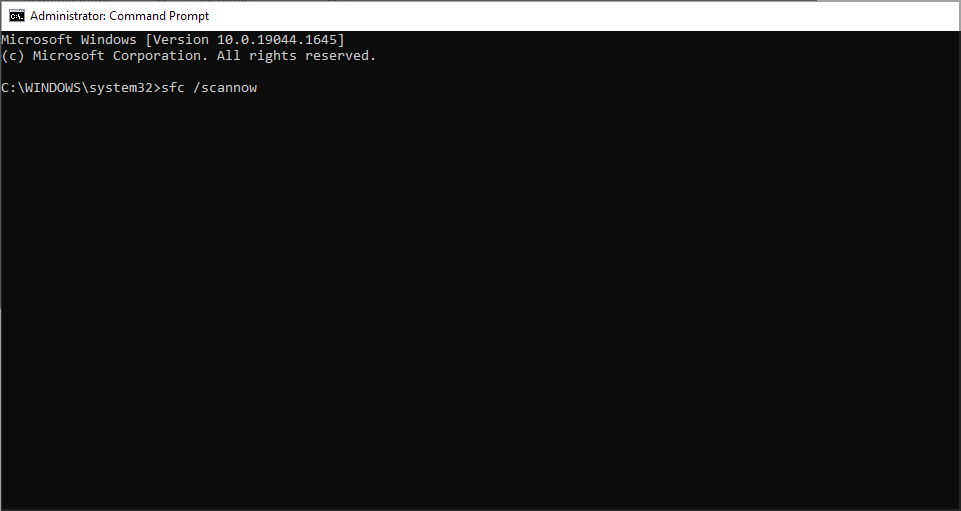
- Click the Cortana or Start menu button to open your Windows search box. Enter the keyword cmd in the search box.
- Right-click the Command Prompt and select Run as administrator.

- Enter the following command and run it:
sfc /scannow
- When the SFC scan has finished, restart Windows if it has fixed any files.
- If the SFC has no impact, run a DSIM (Deployment Image Servicing and Management) scan by entering
DISM /Online /Cleanup-Image /RestoreHealth - Then, scan with the SFC tool again.
For more information, check our guide on how to fix corrupted system files. You can also try using a good repair tool to avoid further errors.
2. Run a Check Disk scan
- Open the Command Prompt as an administrator.
- Input the following command:
chkdsk /r
- The Command Prompt will request that you schedule the volume to be checked when you restart Windows. Press the Y key to confirm.
- Restart your desktop or laptop. Check Disk will scan and repair volumes during the restart.

3. Adjust the Power settings
- Open Run by pressing its Win key + R keyboard shortcut.
- Enter regedit in Run’s text box and click OK to open the Registry Editor.
- First, you can back up the registry by clicking File > Save and selecting All. Enter a file title in the text box, and press the Save button.
- Now open
Computer\HKEY_LOCAL_MACHINE\SYSTEM
CurrentControlSet\Control\Power\PowerSettings\
012ee47-9041-4b5d-9b77-535fba8b1442b2d69d7-a2a1-449c-9680-f91c70521c60 - Right-click Attributes on the right of the window and select Modify to open the Edit DWORD window.
- Enter 2 in the Value data box, and press the OK button.

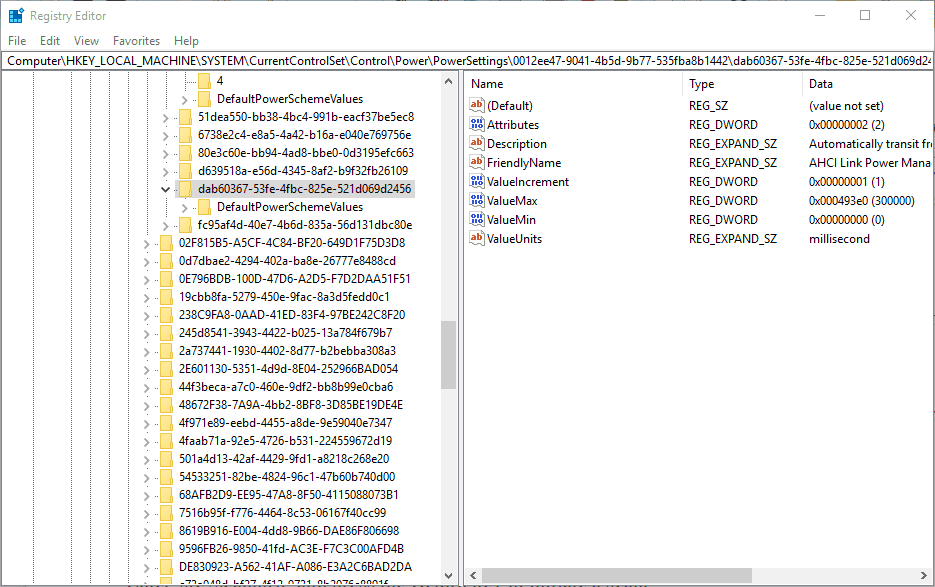
- Next, navigate to this Registry Editor location:
HKEY_LOCAL_MACHINE\SYSTEM\CurrentControlSet
\Control\Power\PowerSettings\
012ee47-9041-4b5d-9b77-535fba8b1442dab60367-53fe-4fbc-825e-521d069d2456
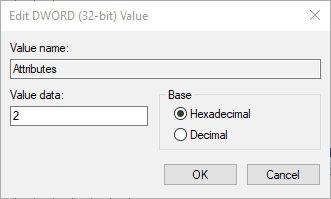
- Right-click the Attributes DWORD and select Modify from its context menu.
- Input 2 in the Edit DWORD window’s text box, and click the OK button.
- Now you can close the Registry Editor.
Now adjust the power settings by doing the following:
- Enter powercfg.cpl in Run to open the window below.

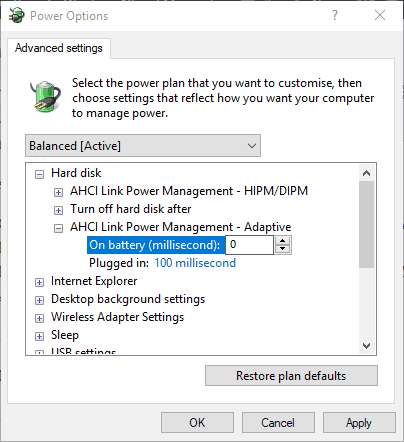
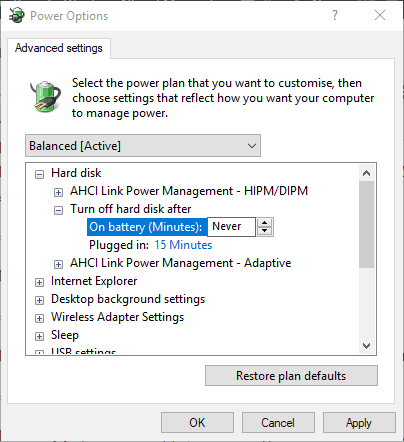
- Click Change plan settings > Change advanced power settings to open the Power Options window.
- Double-click Hard disk to expand its options.
- Double-click AHCI Link Power Management – HIPM/DIPM and switch both its On battery and Plugged in options to Active.

- Next, double-click AHCI Link Power Management – Adaptive and switch the On battery and Plugged in settings to 0.
- Double-click Turn off hard disk after and adjust it is On battery and Plugged in options to Never.
- Press Apply > OK to apply the settings and close the window.

4. Configure the power plan settings
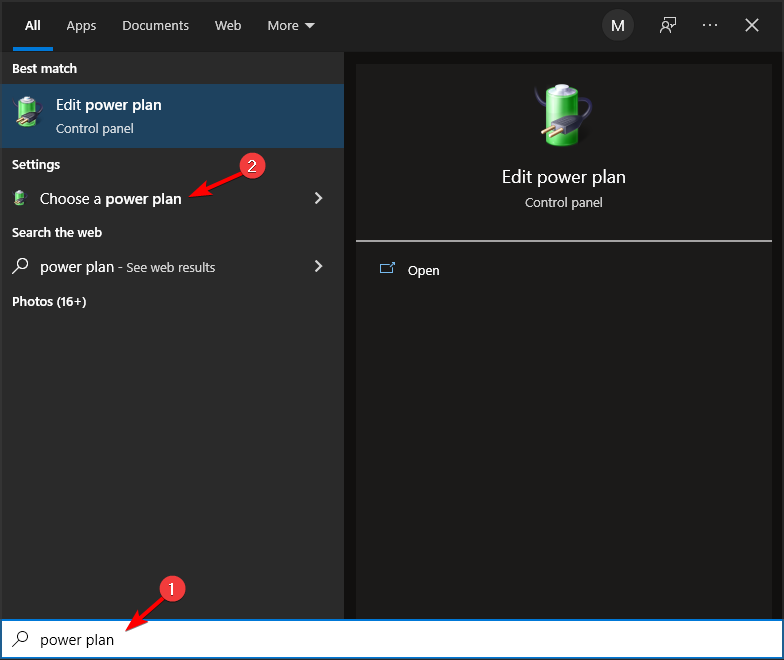
- Press the Windows key + S and type power. Select Choose a power plan.

- Select the High Performance power plan.
- Close the Power options window.
5. Update the AHCI Driver
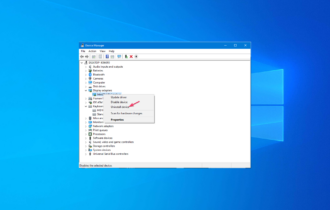
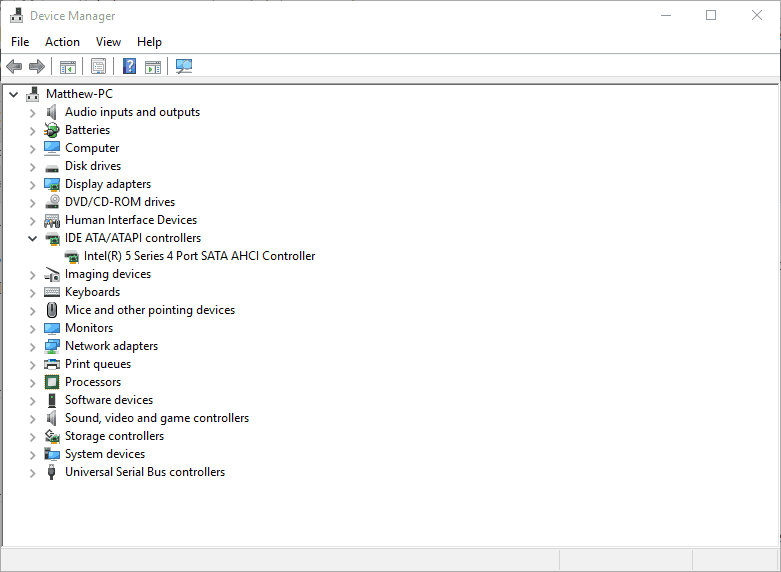
- Press the Win + X hotkey, and select Device Manager on the menu.
- Double-click IDE ATA/ATAPI controllers on the Device Manager window.

- Right-click your listed AHCI driver and select Update driver from the context menu.
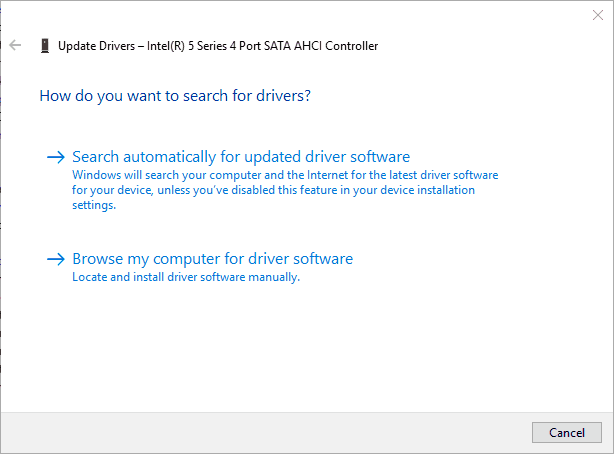
- Click the Search automatically for updated driver software option to install an updated driver.

- Alternatively, you can manually download a suitable AHCI driver from the manufacturer website. For example, this is the update Rapid Storage Technology (Intel® RST) Driver for Intel systems.
- After downloading the driver, select the Browse my computer for driver software option on the Update Drivers window directly above. Then click the Browse button to select the driver to install.
To learn more about drivers, we have a great guide on how to update outdated drivers.
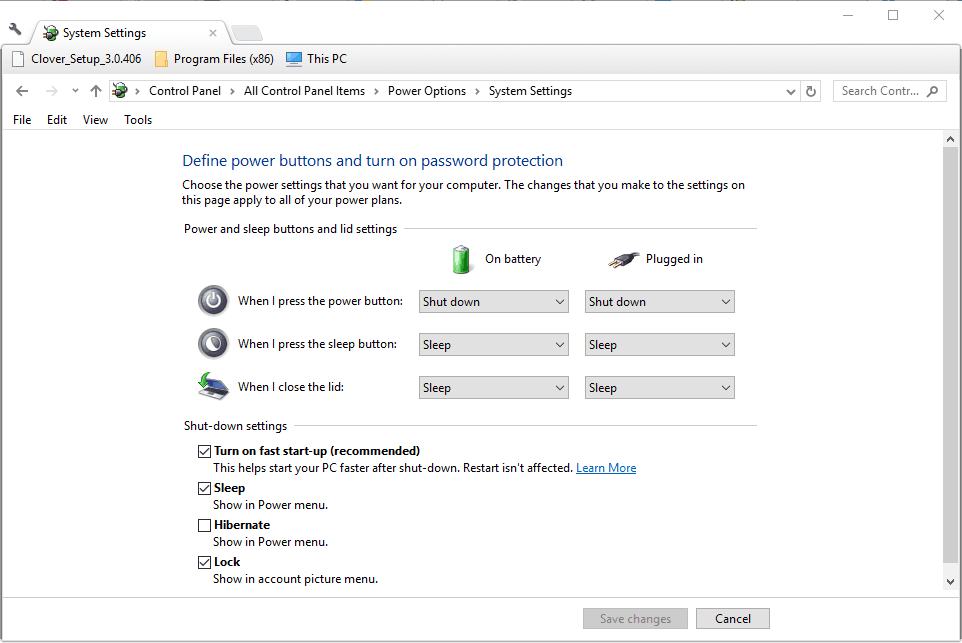
6. Turn off the Fast Startup Option in Windows 10
- Press the Win key + X hotkey and select Power Options on the menu.
- Click the Additional power setting to open the tab directly below.
- Click Choose what the power buttons do on the left of the window to open the System Settings tab below.
- Select Change settings that are currently unavailable to configure the Turn on fast start-up option.
- Deselect the Turn on fast start-up (recommended) checkbox if it’s selected.
- Press the Save Changes button at the bottom of the tab.
- Then restart the Windows OS.

Those remedies might resolve the Reset to device Raidport0 error, so Windows doesn’t freeze. You could also try changing your SATA drive port and replacing the SATA or ATA cable.
Raid errors can be serious, and many reported Rcraid.sys BSoD failure, but we tackled that issue in a different guide.
We want to hear from you. Did you use a different method to fix this problem? If so, share it with us in the comments below.