LockAppHost.exe: How to Fix its High Memory Usage
Locking and unlocking your PC is a quick way around this issue
![]() 3 min. read
3 min. read
![]() Updated on
Updated on
Share this article

Improve this guide
Read our disclosure page to find out how can you help Windows Report sustain the editorial team Read more
Key notes
- The original LockAppHost.exe is an important part of Windows, and it should cause issues normally.
- If the process is registering high memory usage, restart the LockAppHost service.
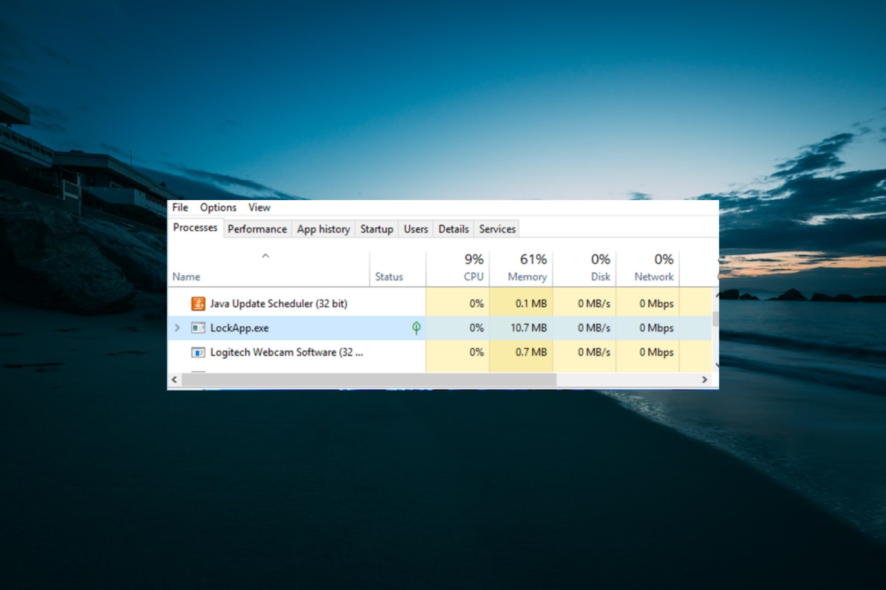
Various things could cause high memory usage, not just in Windows 10 but also in all previous versions of Windows. This time, a couple of Windows 10 users complained online about how they found out that the LockAppHost.exe process was the culprit.
So in this article, we’ll show you how to solve this issue, as we have prepared a few possible solutions for abnormal memory usage in Windows 10 caused by LockAppHost.exe.
How can I fix the LockAppHost.exe high memory usage?
Before proceeding to the sophisticated fixes in this section, try the following troubleshooting steps:
- Lock and unlock your PC
- Restart your computer
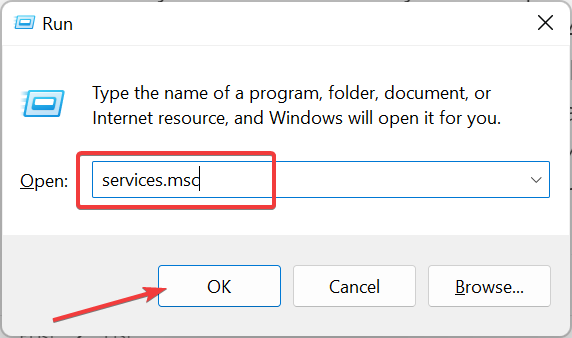
1. Restart LockAppHost service
- Press the Windows key + R, type services.msc, and click OK.

- Find the LockAppHost service, right-click on it, and select Properties.
- Click on Stop, and then click on Start again.
- Finally, restart your computer.
Simple restarting the LockAppHost.exe process could potentially solve the problem, so that’s what we’re going to try first.
If restarting the process didn’t get the job done, we have a few more old-school solutions for you.
2. Run SFC Scanner
- Press the Windows key, type cmd, and select Run as administrator under Command Prompt.
- Enter the following line and press Enter:
sfc/scannow
- Wait for the process to finish (it might take a while).
- Restart your computer, and see if the problem is resolved.

SFC Scanner is an old Windows own tool for diagnosing and solving various system-related problems. So we’ll try to use an SFC scanner to solve our problem, as well.
3. Check for viruses
Some IT experts often connect high memory usage caused by LockAppHost.exe with a virus or some kind of other malicious software.
So, it won’t hurt if you run your antivirus program and completely scan your system for any suspicious activities.
If you don’t use an antivirus program on your computer, scanning your system with Windows Defender can also get the job done.
But if you want a deep, more detailed scan, some third-party software is probably the best option.
If you still didn’t decide which antivirus program you want to use, check out the list of the best antivirus programs for Windows 10, it will certainly help you to make the right decision.
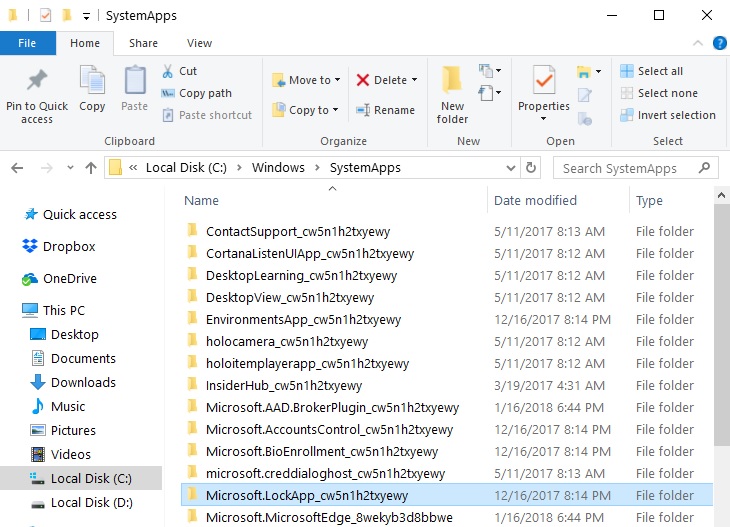
4. Disable Windows 10’s lock screen
- Launch File Explorer and navigate to go to:
C:\Windows\SystemApps\Microsoft.LockApp_cw5n1h2txyewy
- Right-click on the folder and select Rename.
- Add .bak to the end of it the folder name and hit Enter.
This solution requires a bit of patience, but some users confirmed it works, so it’s worth trying it.
By disabling Windows 10’s lock screen, you can resume your Windows session much faster and jump straight to the login screen.
Keep in mind that this solution doesn’t permanently remove the lock screen. When you reboot your PC, the lock screen will be there, but it won’t appear when you wake it up from sleep.
That’s about it, I hope at least some of these solutions helped you reduce the high memory usage on your Windows 10.
Similarly, if you want to disable the LockAppHost.exe process completely, check our detailed guide to fix it.
If you have any comments or questions, just reach for the comments below.