0xc1900101 0x30017: How to Fix This Update/Install Error
Explore the expert tested methods to fix this error
5 min. read
Updated on
Read our disclosure page to find out how can you help Windows Report sustain the editorial team Read more
Key notes
- The error could have occurred due to corrupted system files or a virus infection on your computer.
- Repairing the system files, running a disk check or disabling secure boot are some of the fixes you can try.
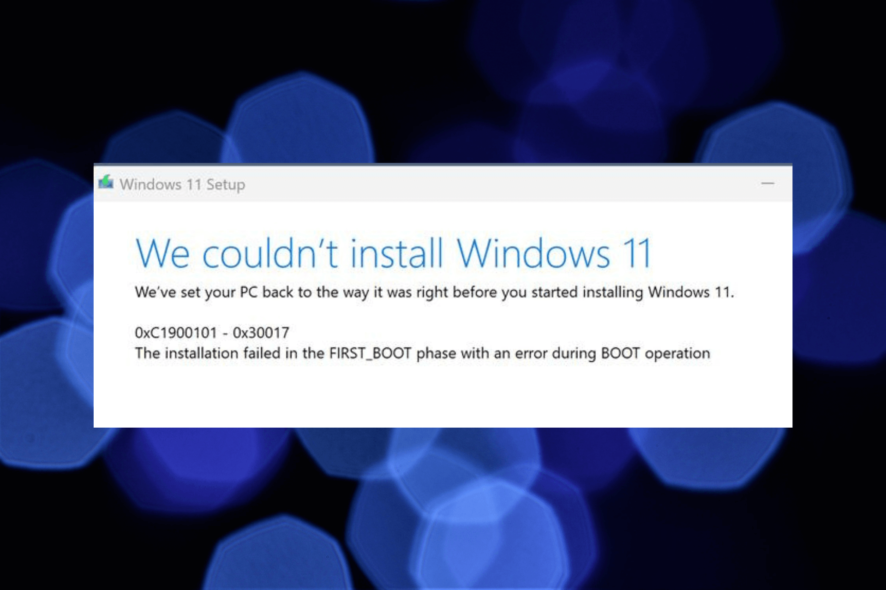
Many users have complained about facing the 0xc1900101 0x30017 error when trying to update or install the latest version of Windows on their PC. This usually happens due to insufficient disk space or malware infection.
In this guide, we will discuss some of the tested solutions to fix the error so that you can update your Windows to the latest version without any hassle.
What causes the 0xc1900101 0x30017 error on Windows 11?
This update/install error could occur due to several reasons; some of the common ones are mentioned here:
- Outdated BIOS – If the BIOS is outdated, it could affect your system functionality and cause other issues, including this error. Make sure there are no pending firmware updates to fix the issue.
- Insufficient space – It is recommended to have at least 16 GB free space to install an upgrade or Windows update on your computer. Remove junk files and unwanted apps to retrieve space.
- Antivirus interference – Windows Defender or third-party security software might be able to block the update. Disable your antivirus tool and try to install the update.
- Corrupted system files – If the update files or the system files related to the Windows update are corrupted or damaged, you might see this error message. To fix it, you need to repair these files.
- Obsolete drivers – Device drivers, if outdated or missing, could affect your system performance and cause other issues, including this one. You need to update all the device drivers to fix the issue.
Now that you know the causes let’s see how we can fix the error.
How do I fix the 0xc1900101 0x30017 error on Windows 11?
Before engaging in advanced troubleshooting steps, you should consider performing the following checks:
- Restart your computer, as sometimes some tweaks like these could fix the error.
- Remove temporary files using Disk Cleanup.
- Disconnect all the extra external peripherals.
- Make sure your BIOS is updated.
- Disable the antivirus temporarily.
If these tweaks didn’t work, let us check out the advanced fixes.
1. Run Windows update troubleshooter
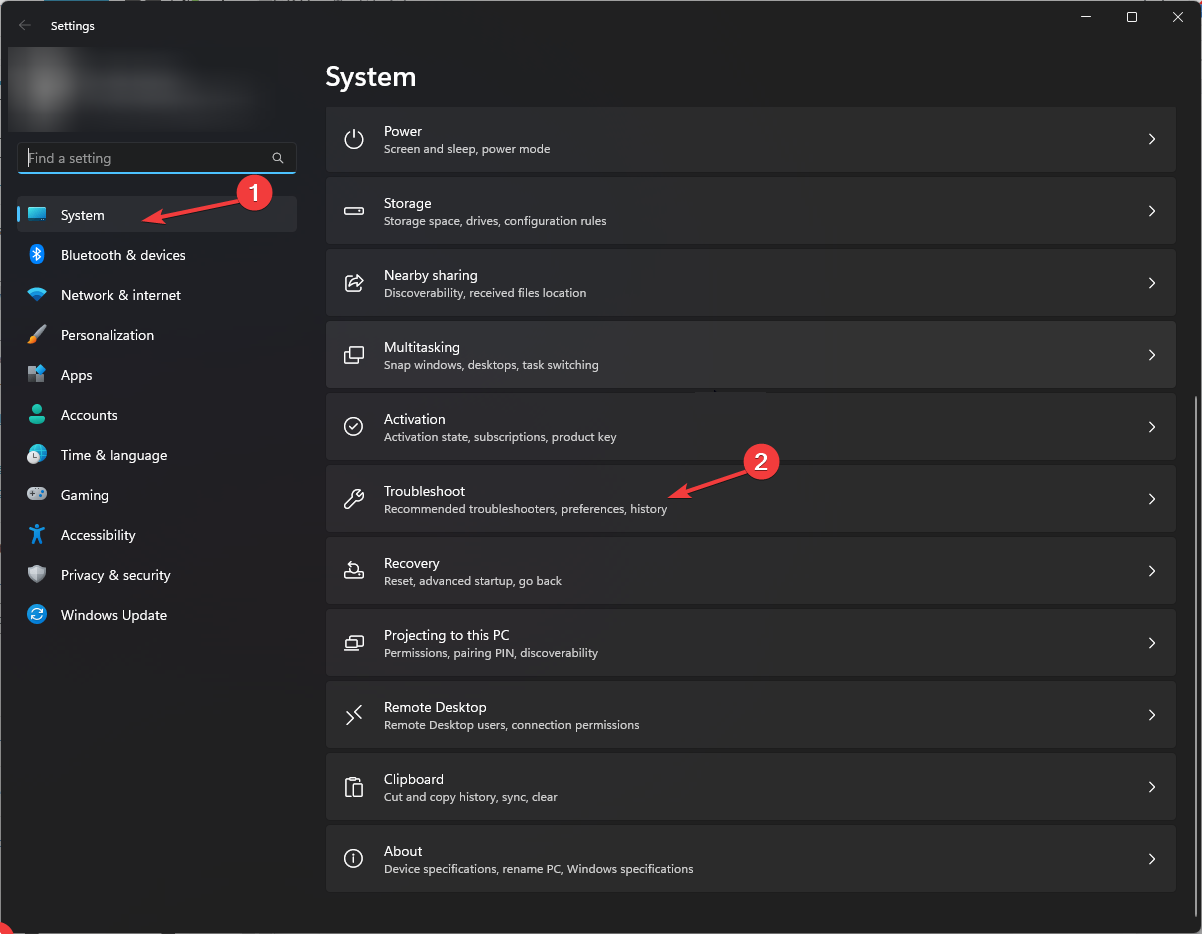
- Press Windows + I to open Settings.
- Go to System, and click Troubleshoot.
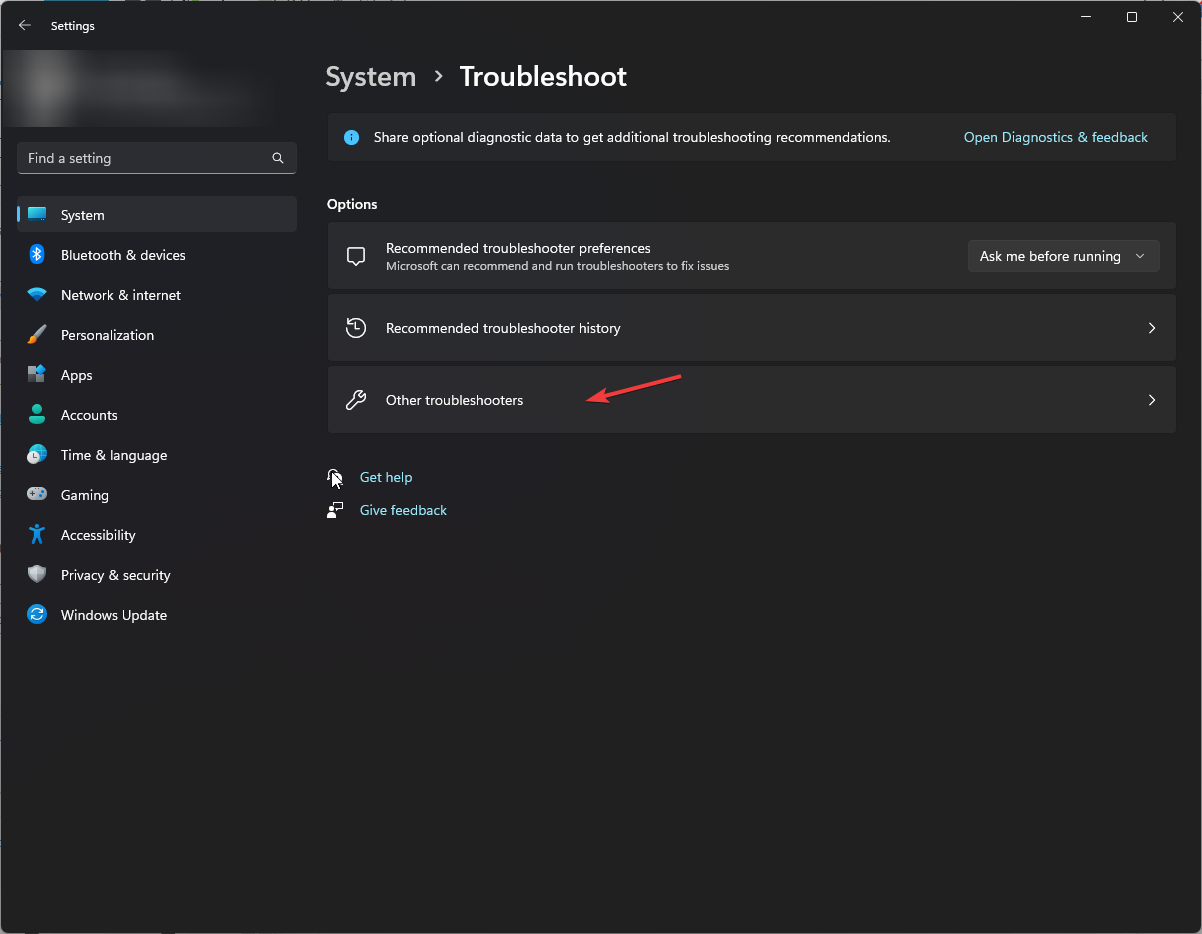
- Click Other troubleshooters.
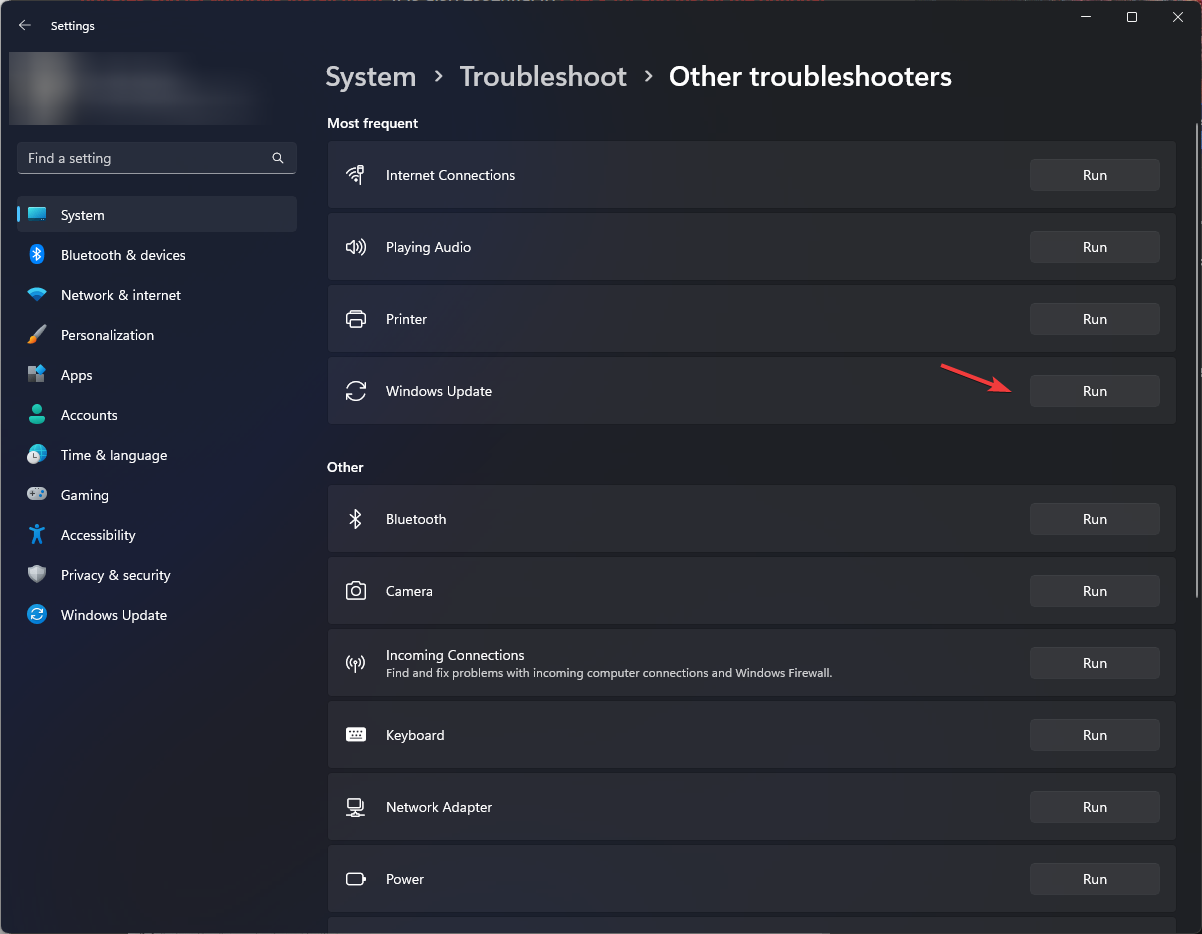
- Locate Windows Update and click Run.
- Follow the onscreen instructions to complete the process.
2. Repair the system files
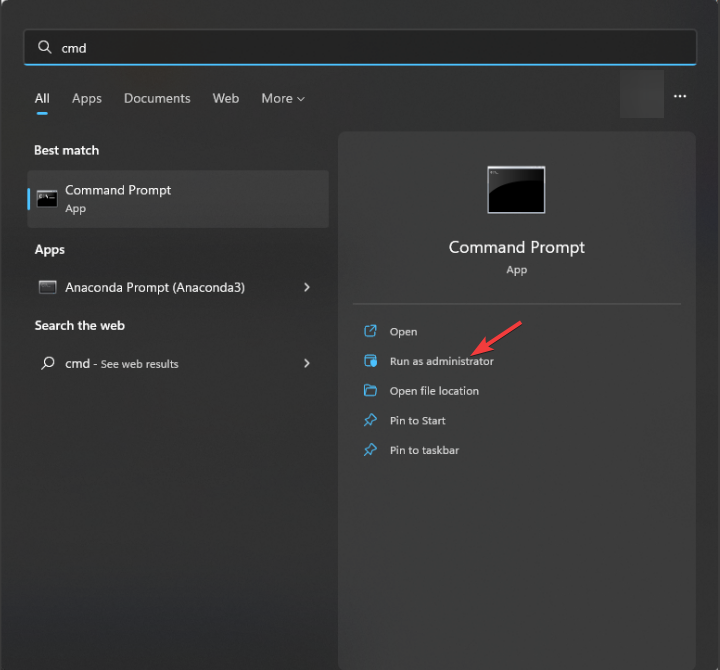
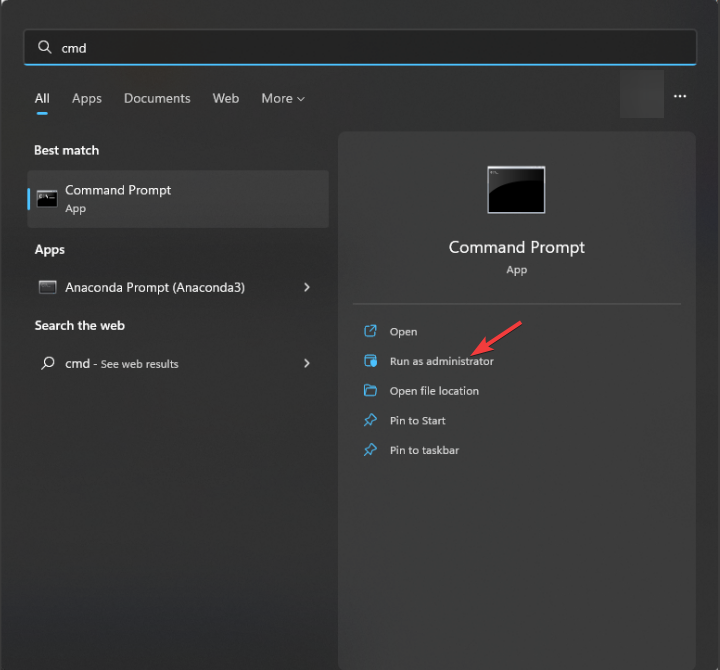
- Press the Windows key, type cmd, and click Run as administrator.
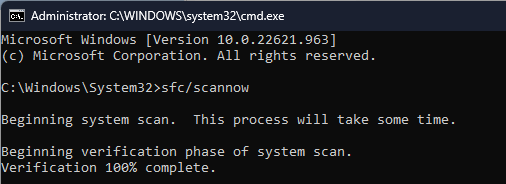
- Copy and paste the following command to repair the system files and hit Enter:
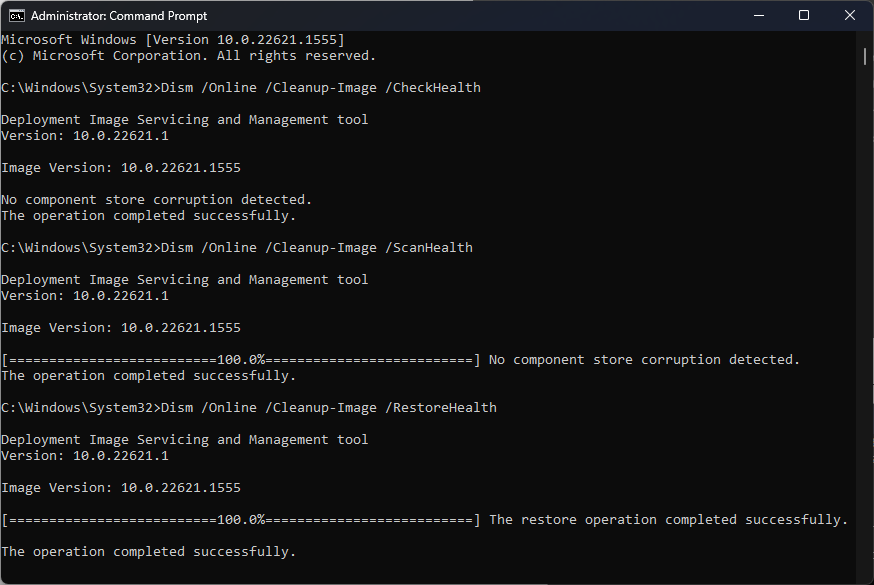
sfc/scannow - Wait until the process completes, type the following commands one by one to repair Windows OS, and press Enter after every command:
Dism /Online /Cleanup-Image /CheckHealthDism /Online /Cleanup-Image /ScanHealthDism /Online /Cleanup-Image /RestoreHealth - Restart your computer to let the changes take effect.
If you’re searching for other possibilities for repairing your system files, you can use reliable third-party software capable of detecting corrupt files and replacing them automatically with new parts.
3. Disable the Secure Boot option
- Press Windows + I to open Settings.
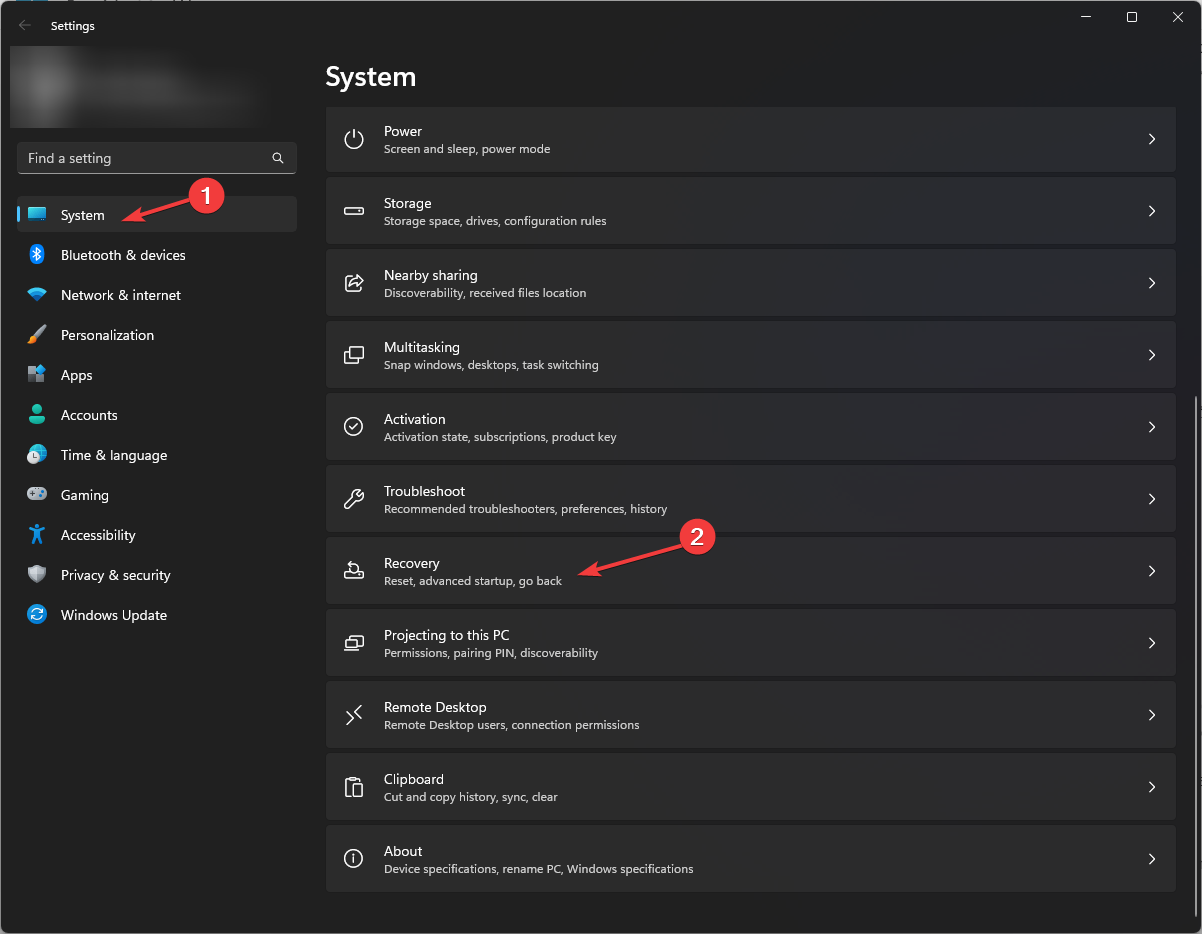
- Go to System, then click Recovery.
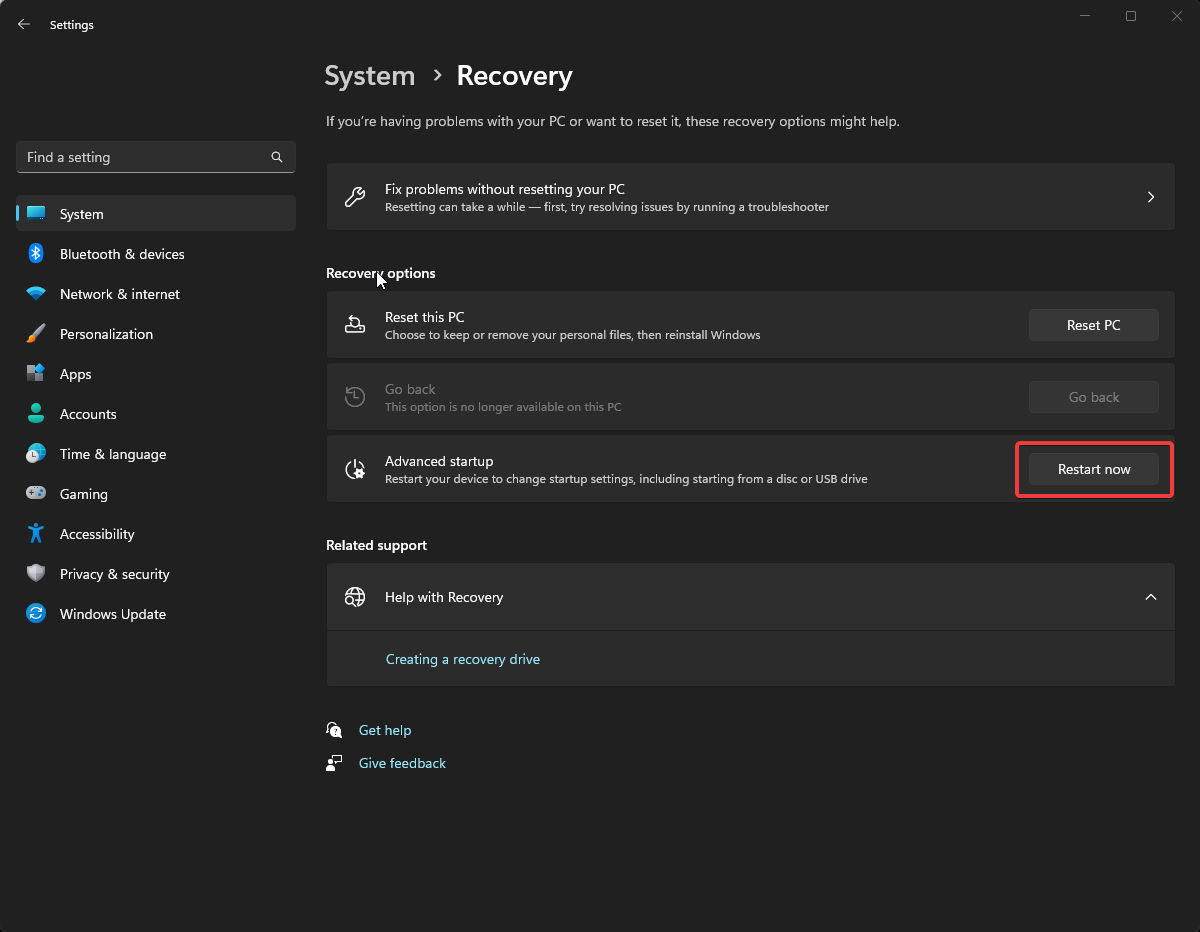
- Locate Advanced startup and click Restart now.
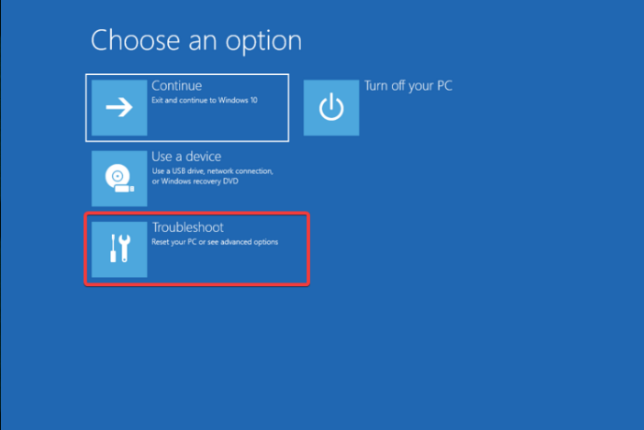
- On the Choose an option screen, click Troubleshoot.
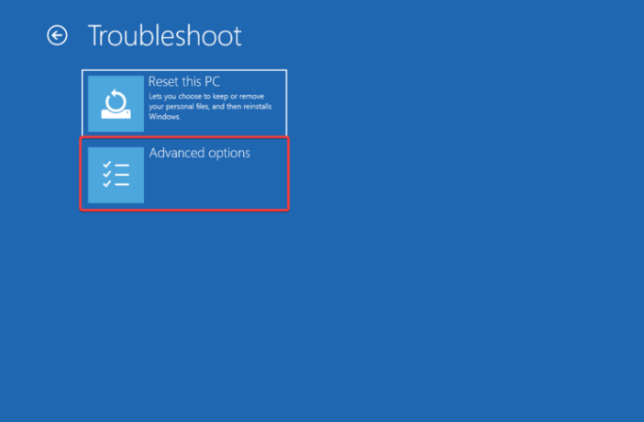
- Select Advanced options.
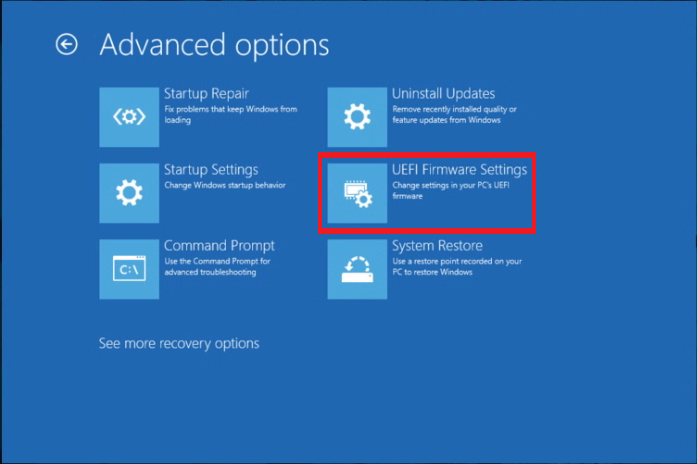
- From the Advanced options screen, select UEFI Firmware settings.
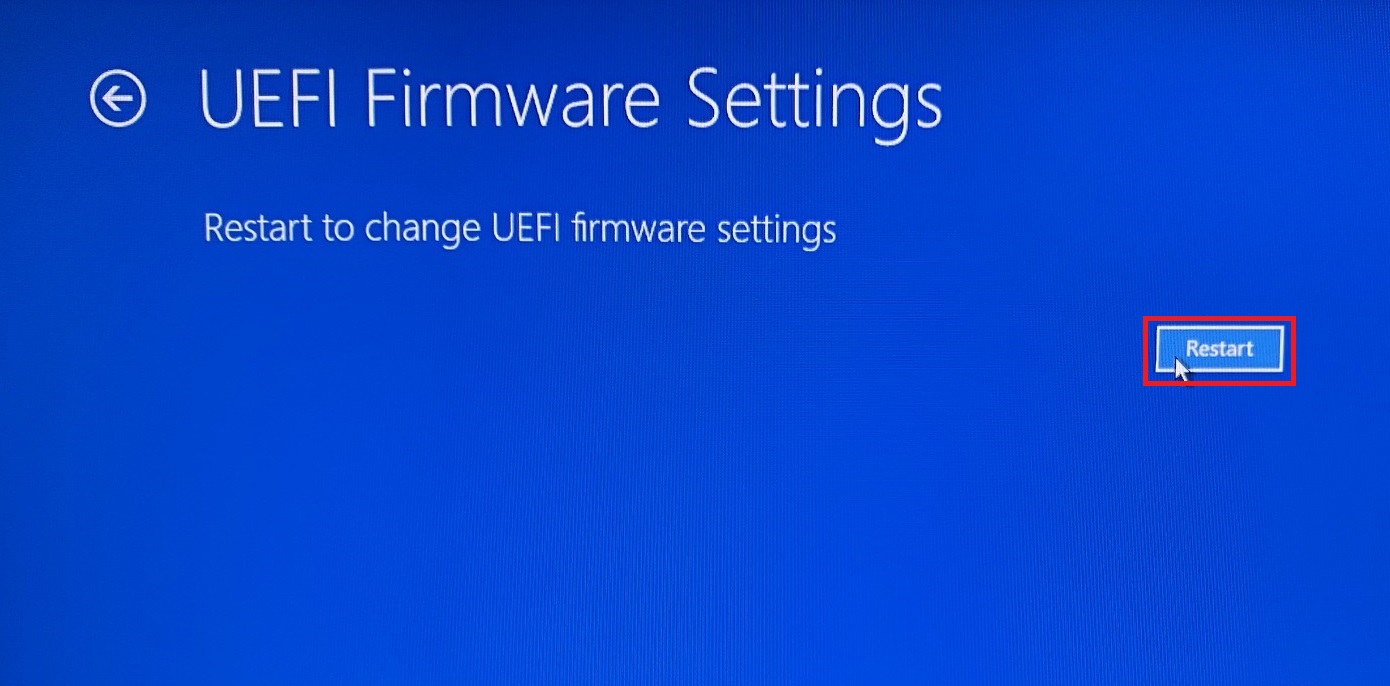
- Click Restart.
- When your computer restarts, choose an appropriate option to enter BIOS.
- In BIOS, go to Security or BOOT options, locate Secure Boot, and select Disabled.
- Click Save & Exit to confirm the changes.
4. Delete the Software distribution folder
- Press the Windows key, type cmd, and click Run as administrator.
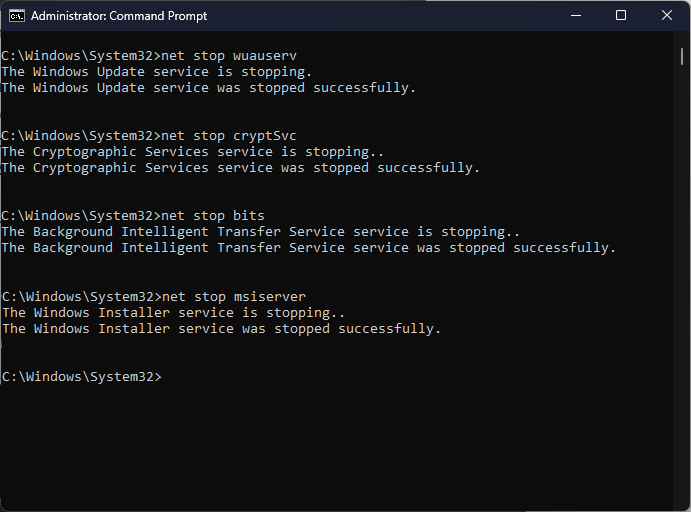
- Copy and paste the following commands one by one to stop Windows update, Cryptographic, Background Intelligent Transfer & Windows Installer services, and press Enter after every command:
net stop wuauservnet stop cryptSvcnet stop bitsnet stop msiserver - To rename the Software Distribution folder, type the following command and press Enter:
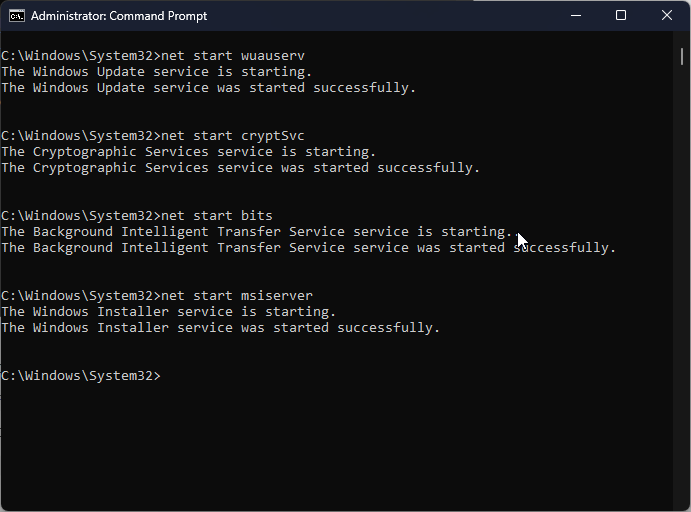
ren C:\Windows\SoftwareDistribution SoftwareDistribution.oldren C:\Windows\System32\catroot2 catroot2.old - Now to restart the services you stopped, copy and paste the following commands one by one and press Enter after every command:
net start wuauservnet start cryptSvcnet start bitsnet start msiserver - Reboot your computer.
If you are facing any Windows installation errors, we recommend you check out this guide.
5. Run a disk check
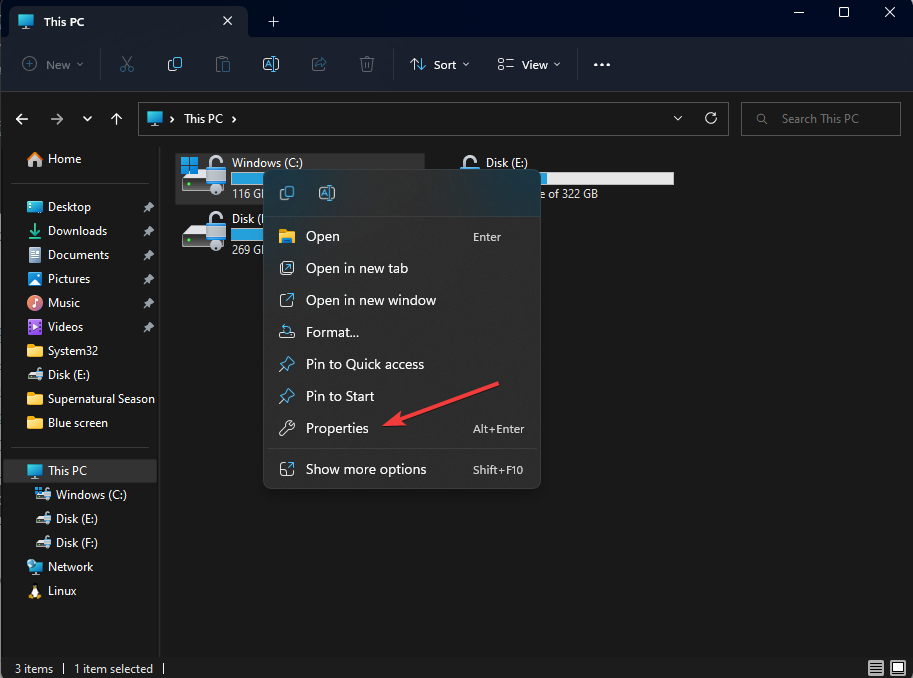
- Press Windows + E to open File Explorer.
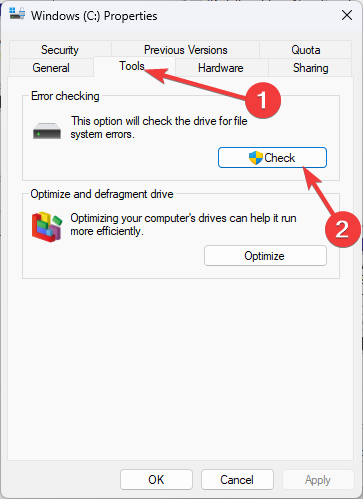
- Go to This PC, right-click C, and choose Properties.
- Switch to the Tools tab, under Error-checking, and select Check.
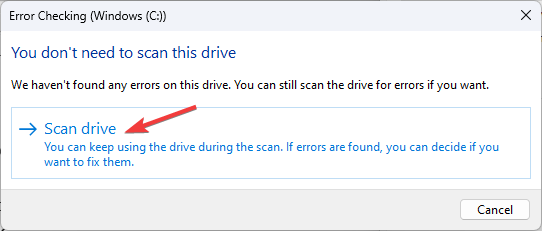
- Click Scan drive. Once the scan is finished, click Show Details.
This is how you can check for disk errors, help repair, clean up your PC, and improve its performance.
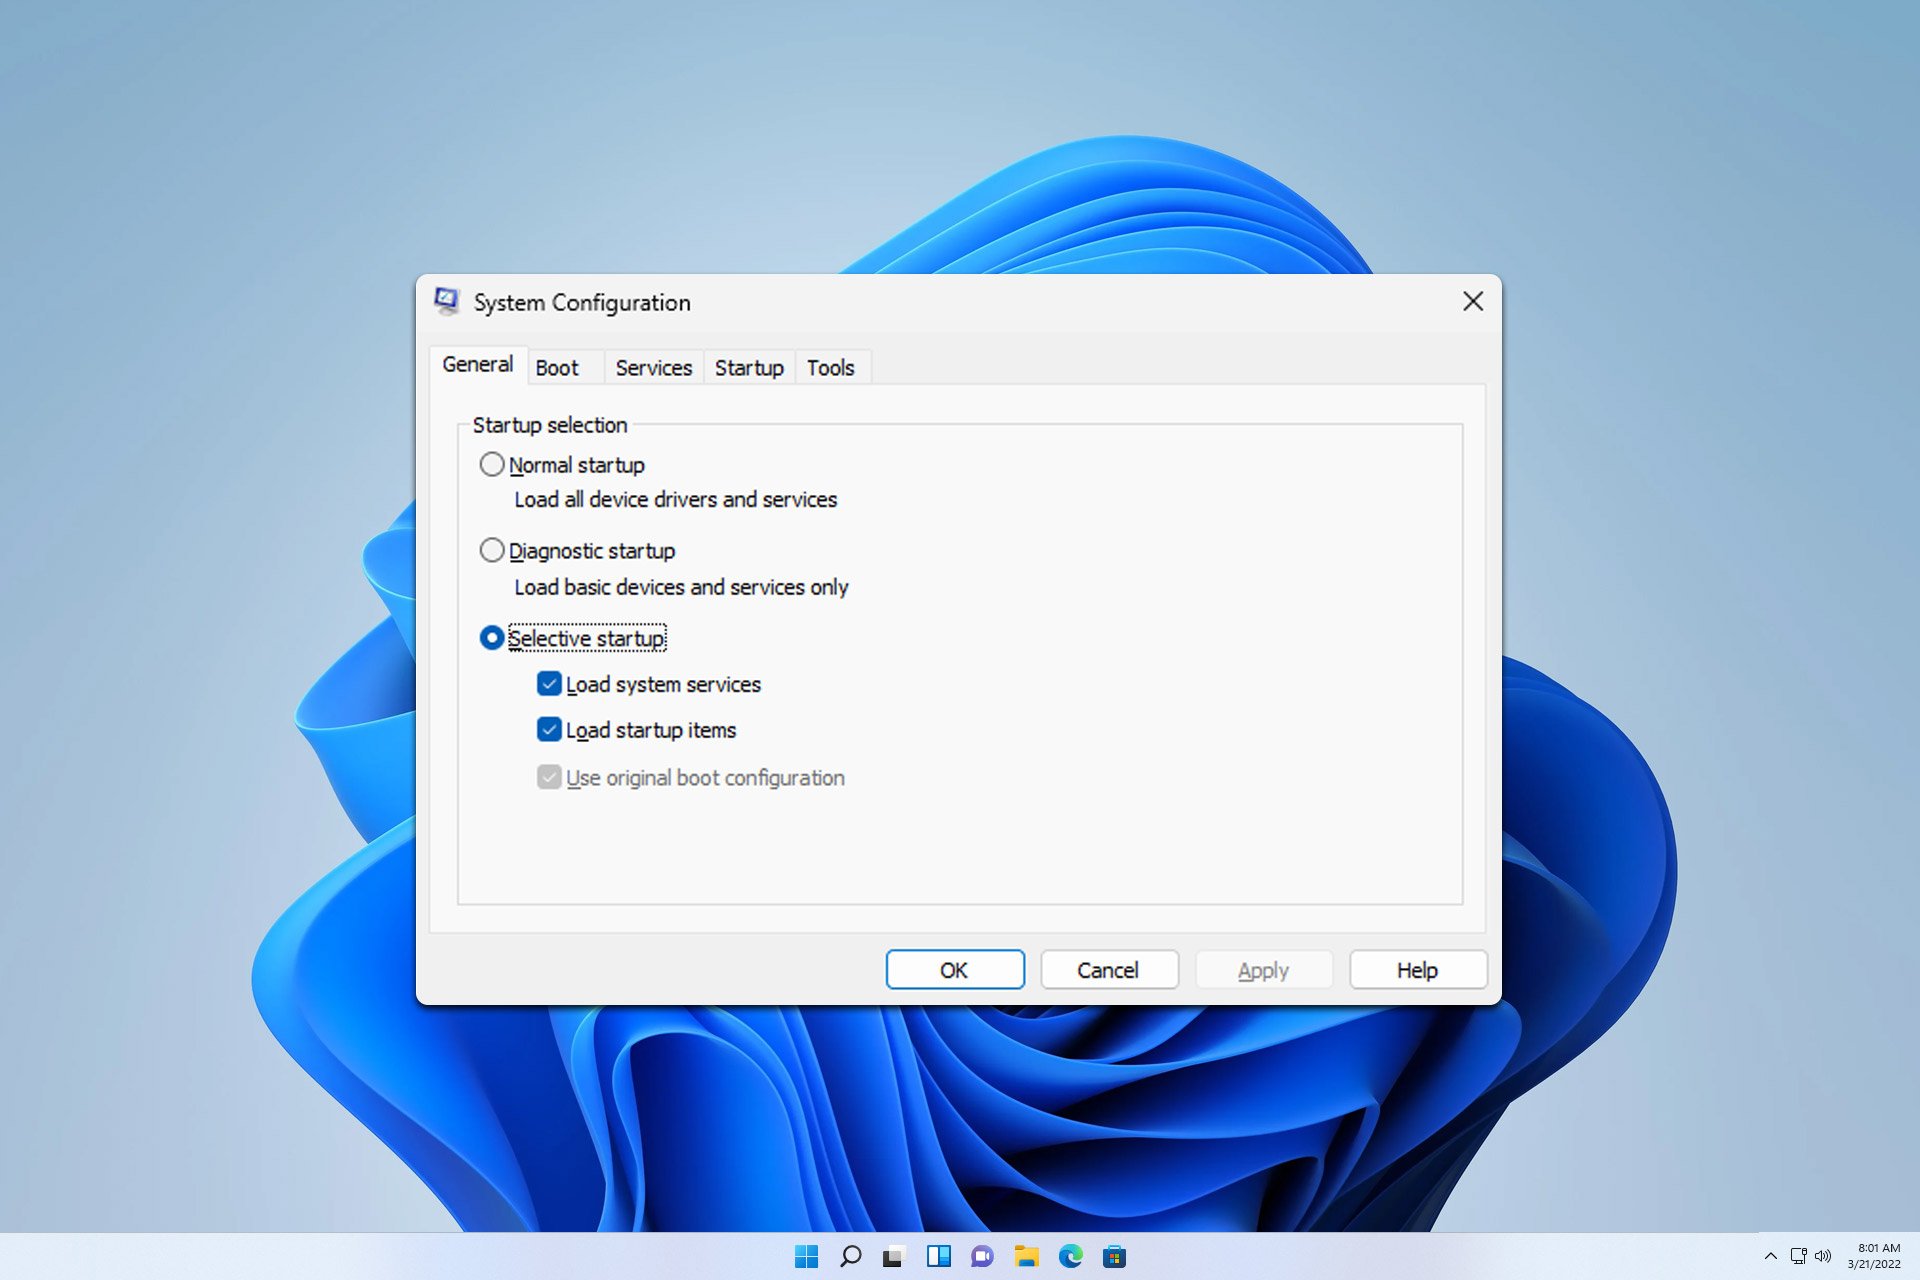
6. Restart your computer in a clean boot
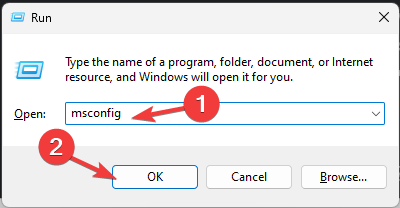
- Press Windows + R to open the Run dialog box.
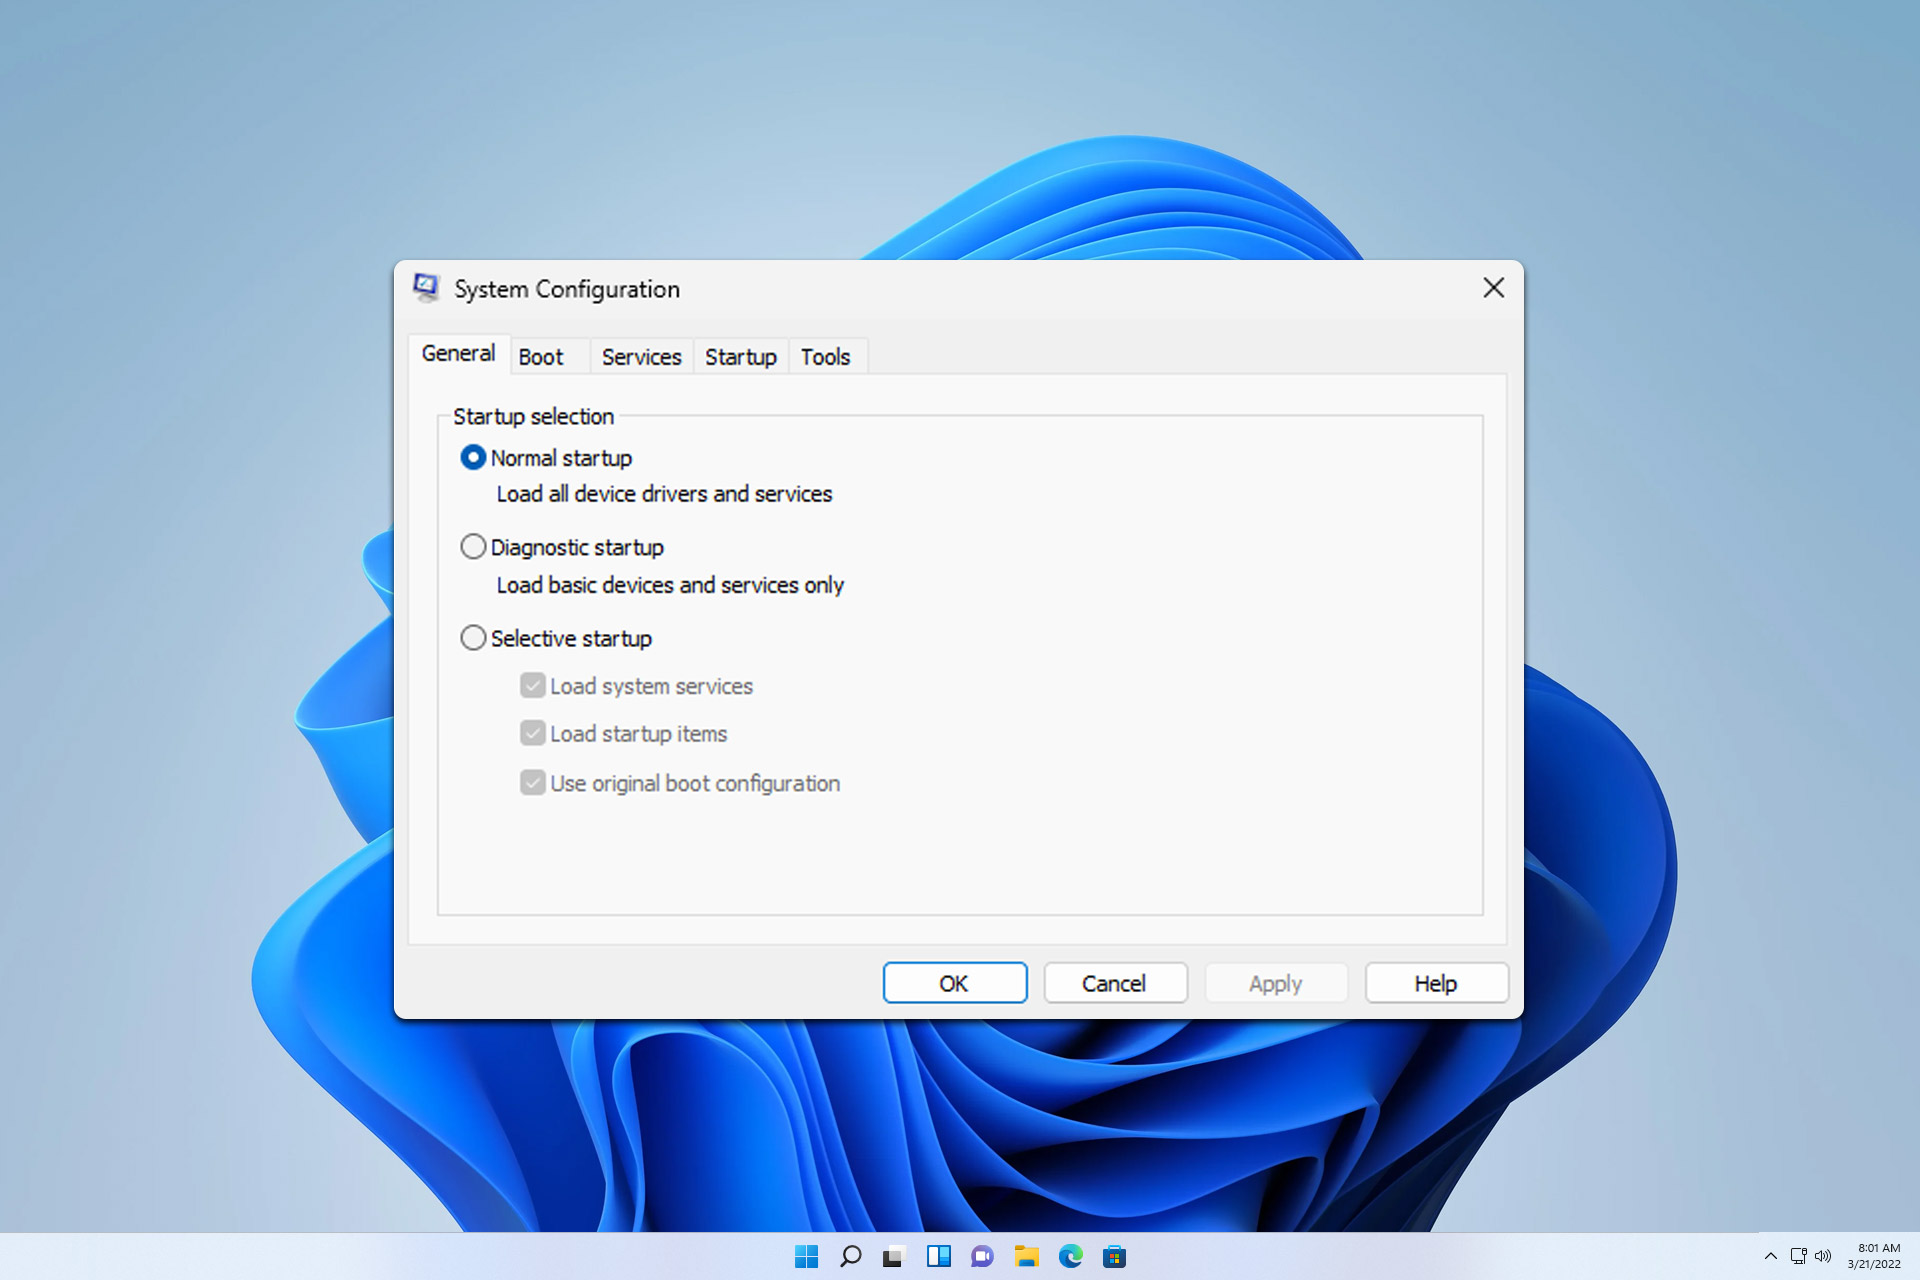
- Type msconfig and click OK to open System Configuration.
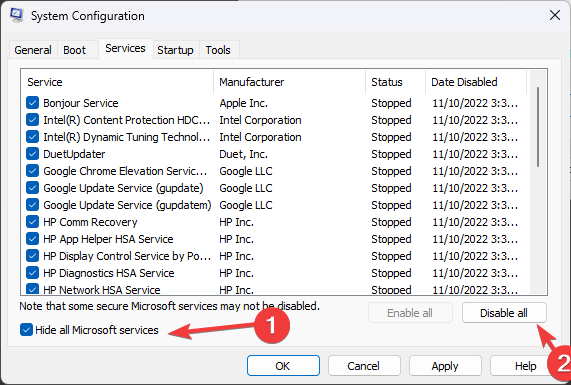
- Go to the Services tab, select Hide all Microsoft services, and click Disable all.
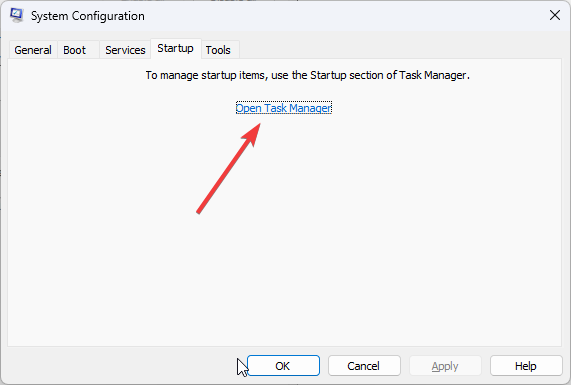
- Next, switch to the Startup tab, and click Open Task Manager.
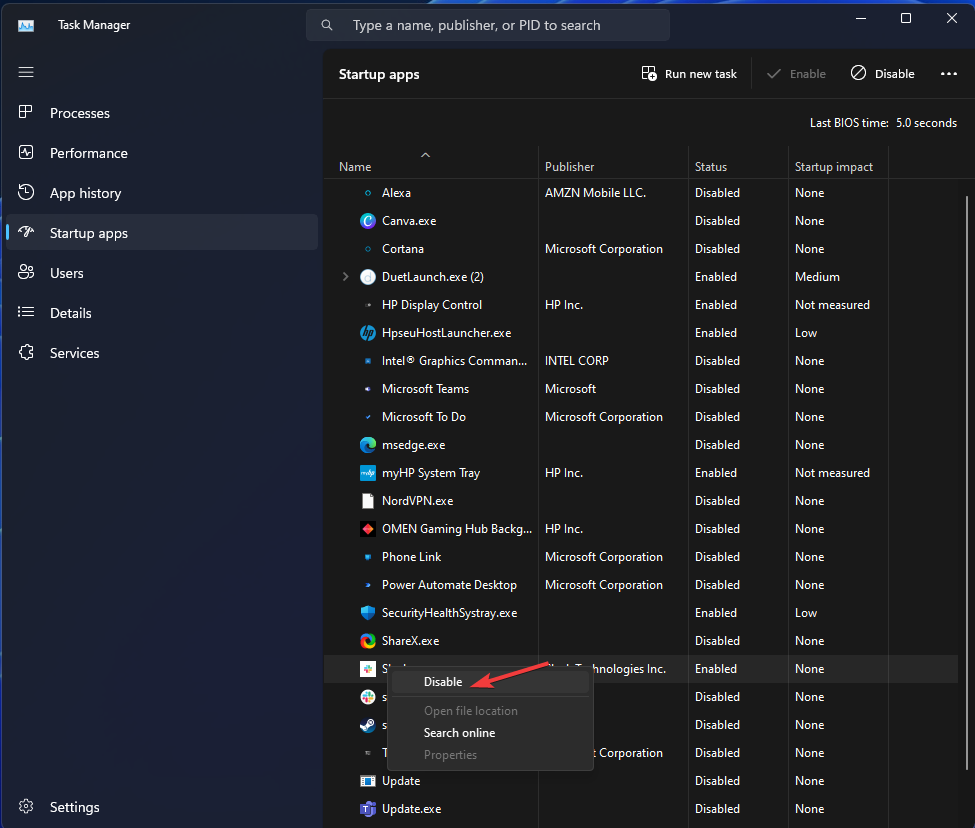
- Locate each enabled item, right-click, and select Disable. Close Task Manager.
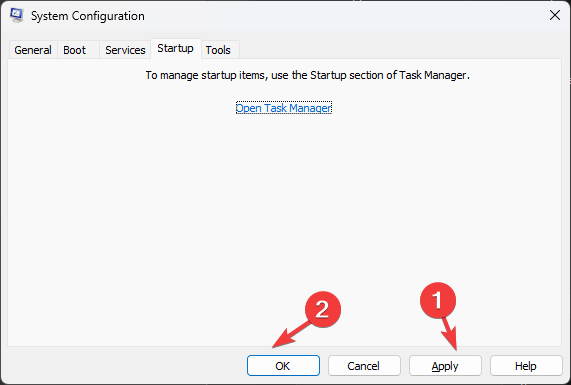
- Click Apply and then OK to confirm the changes.
- Next, click Restart.
Once your computer restarts, check if you are able to install the updates on Windows 11. If you still can’t, we recommend you perform a clean installation of Windows.
So, these are steps you can follow to fix the 0xc1900101 0x30017 installation error on Windows 11. If you have any questions or suggestions, please let us know in the comments section below.

