100% Disk Usage on Windows 11? Why & How to Fix it
Check out the expert-tested methods to resolve the issue.
Key notes
- With 100% disk usage, your computer might freeze and won’t let you perform even simple operations.
- To fix this, you must run a malware scan, disable indexing services, and delete temp files.
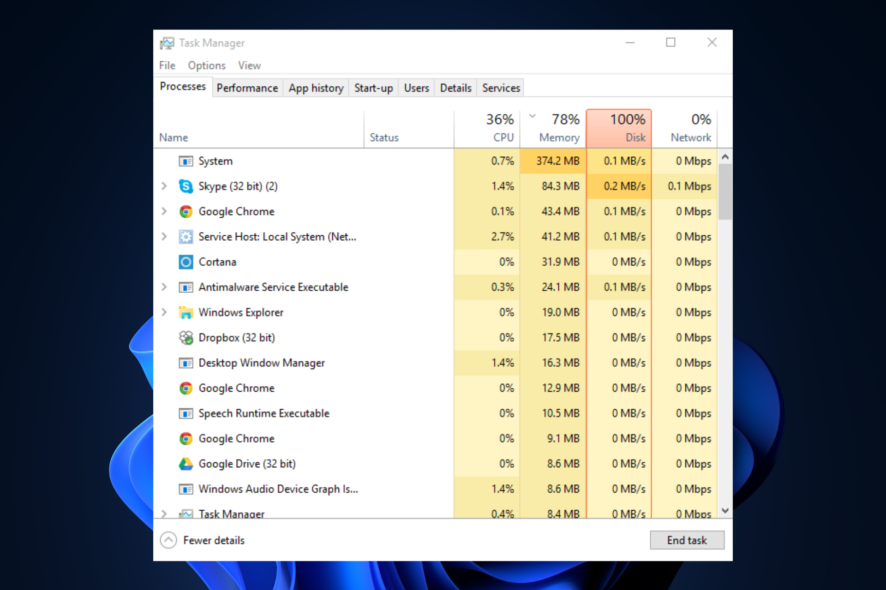
Encountering 100% disk usage on Windows 11 could result in a slow computer. In addition, some processes could take up resources, preventing the PC from functioning correctly. Many users have complained about this after upgrading to Windows 11. However, it can be fixed in no time.
Here we will discuss some troubleshooting tweaks to speed up the computer and reduce disk usage. Also, we will shed light on the reasons for its occurrence.
What causes 100% disk usage on Windows 11?
There could be several reasons for high disk usage on Windows 11; we have mentioned some of the popular ones here:
- Running many programs at once – If you have a lot of programs running simultaneously on your computer, then they could be using up your disk resources, causing the issue.
- Background programs – If you have unnecessary programs running in the background, they use up disk resources even if you are not using them actively.
- Your computer is infected – If your computer has malware or viruses, it could cause your disk usage to spike, as it may be running processes and using up resources.
- Corrupted or outdated drivers – If your computer has damaged or obsolete drivers, they could cause your computer to run slow and cause performance issues, including high disk usage.
- Insufficient disk space – If your computer doesn’t have space, then it won’t be able to perform simple functions, which may cause the issue
- Indexing or other Windows functions – If the indexing services like Windows Search are running on your computer, it might cause the issue.
How do I reduce disk usage in Windows 11?
Before engaging in advanced troubleshooting steps, you should consider performing the following checks:
- Run Disk Cleanup.
- Disable unwanted startup apps.
- Check Windows for updates.
- Disable Antivirus temporarily.
- Run an antivirus scan.
1. Disable the indexing services
- Press Windows + R to open the Run window.
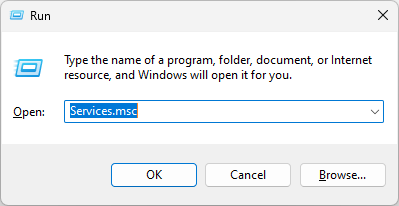
- Type services.msc and press Enter to open Services.
- On the Services window, locate and double-click SysMain.
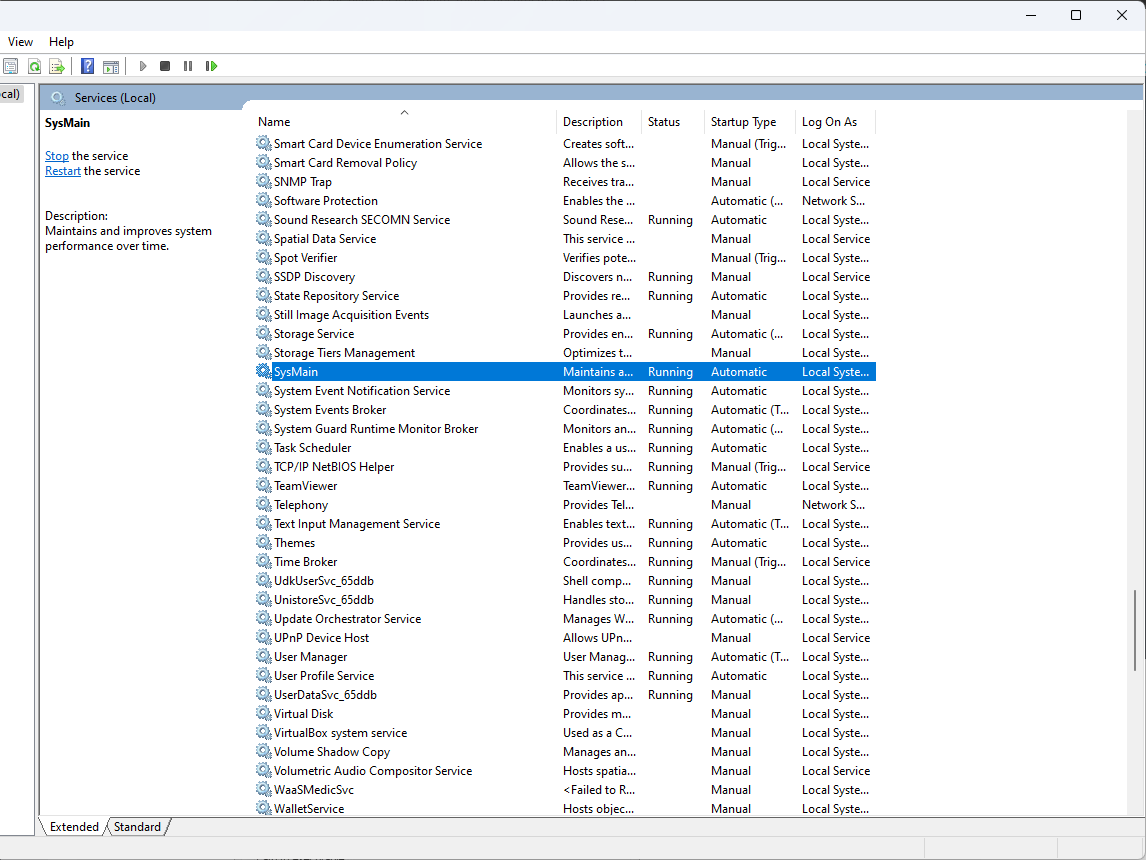
- Select the Startup type as Disabled and Services status as Stop. Click Apply and OK.

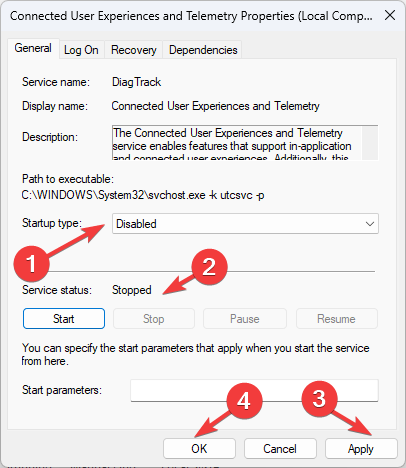
- Now locate and double-click Connected User Experiences and Telemetry.
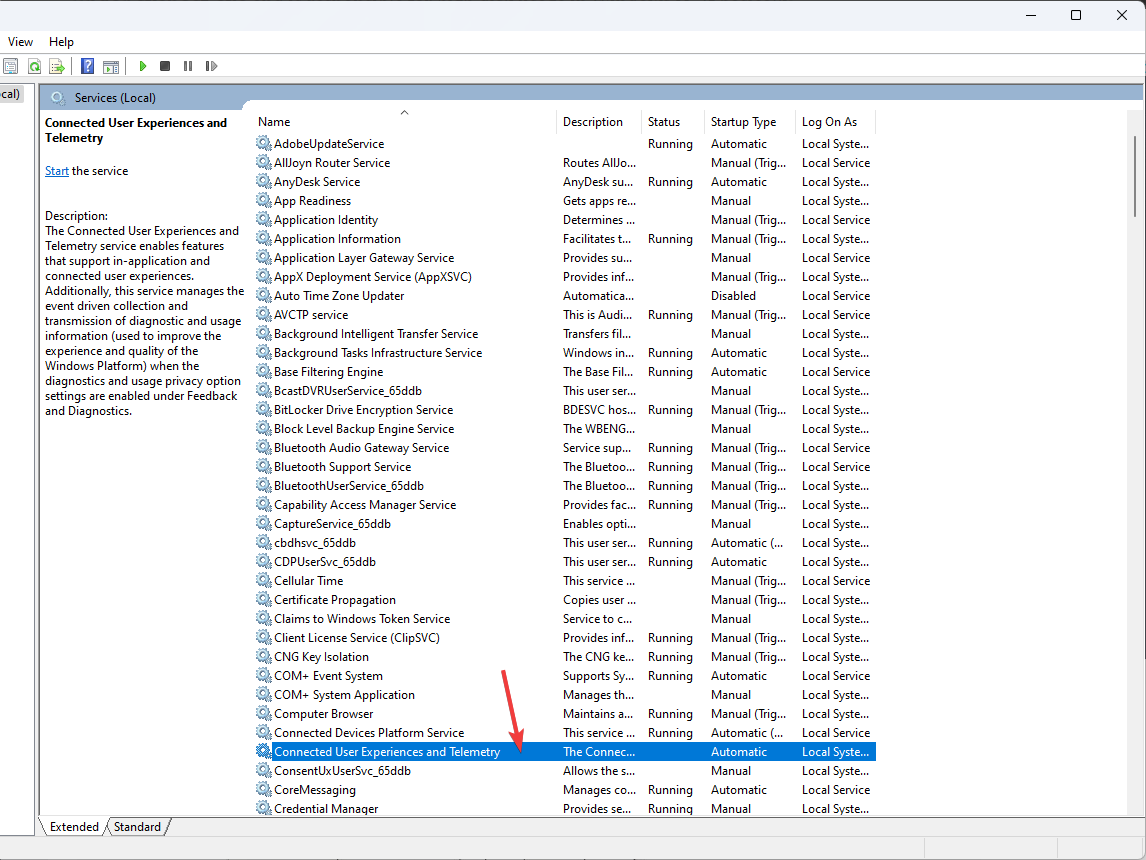
- Choose the Startup type as Disabled and click the Stop button for Services status. Click Apply and OK.
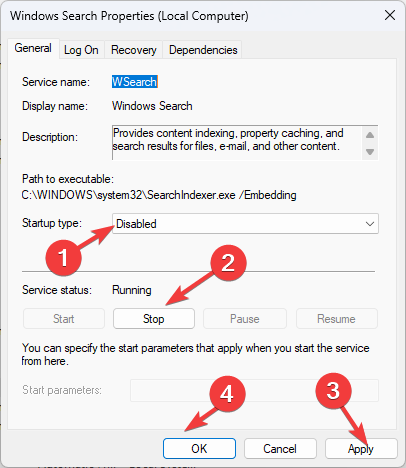
- Go to Windows Search, and double-click it.
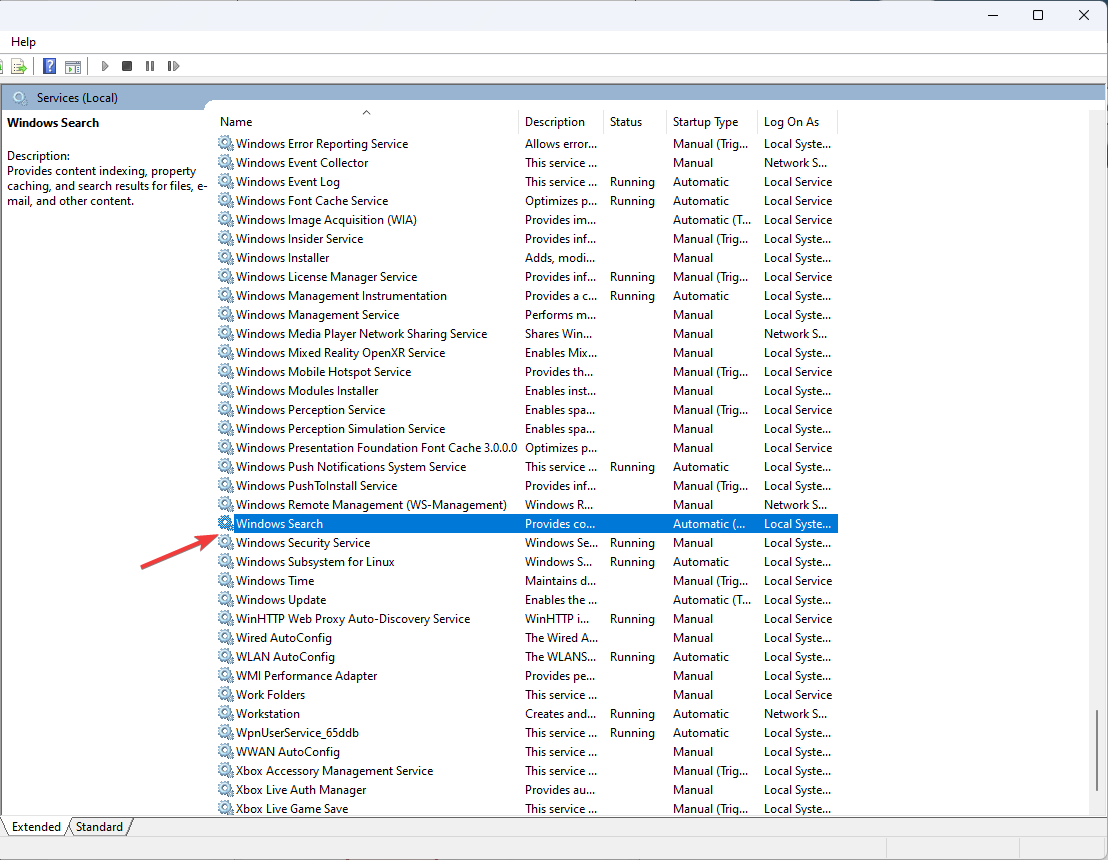
- Select Disabled next to Startup type and click the Stop button under Service status. Click Apply and OK.
In some cases, the WSAPPX process can also trigger high disk activity. Check out the full guide on WSAPPX high disk usage for additional ways to lower resource consumption and improve system performance.
2. Reset Virtual Memory
- Press Windows + R to open the Run window.
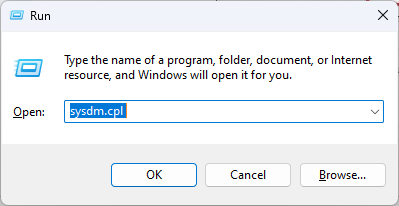
- Type sysdm.cpl and press Enter to open System Properties.
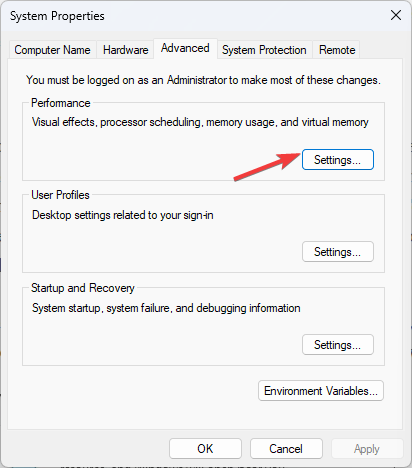
- On the System Properties window, go to the Advanced tab.
- Go to Performance and click Settings.
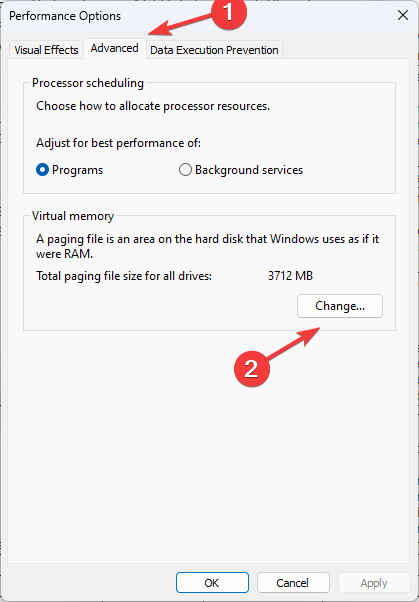
- On Performance Options, go to the Advanced tab under Virtual memory and click Change.
- Uncheck Automatically manage paging file size for all drives and select Custom size.
- From the Total paging file size for all drives, copy the Recommended size. Input it in the Initial size (MB) field, and in the Maximum size field, enter the 1.5x times your RAM size.
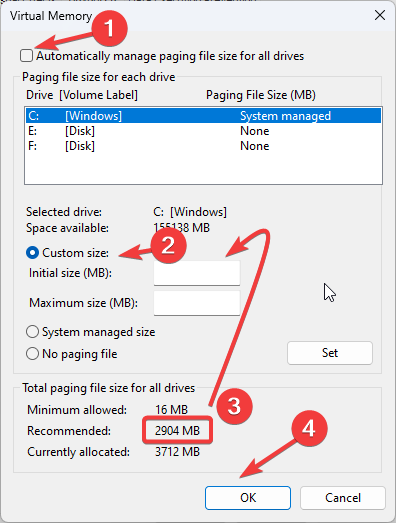
- Click Set and OK.
3. Use the Command Prompt
3.1 Perform CHKDSK
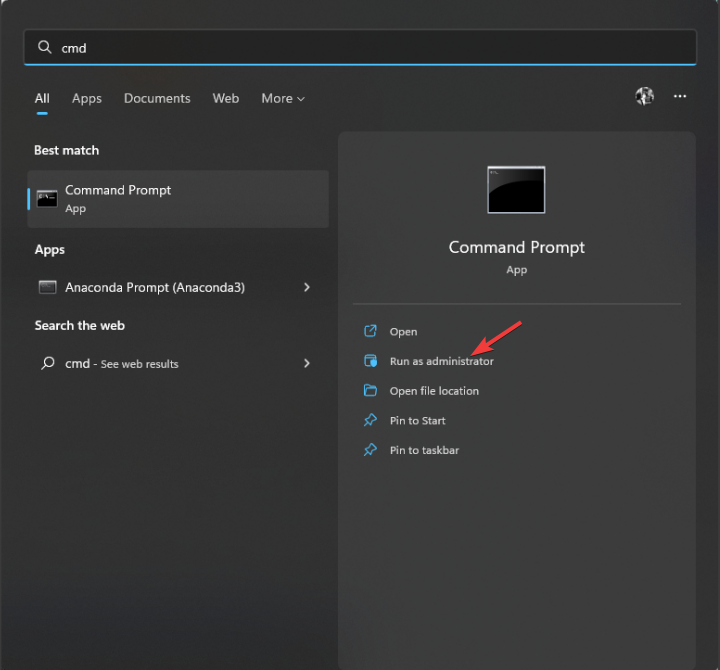
- Press the Windows key, type CMD and click Run as administrator.
- Type the following command and press Enter:
chkdsk /r C: - Wait for the process to complete, and type Y to restart your computer.
3.2 Run the SFC & DISM scan
- Open the Command Prompt with admin rights by following the step mentioned above.
- Copy and paste the following command and press Enter:
sfc/scannow
- Once it is complete, type the following command and press Enter:
Dism.exe /Online /Cleanup-Image /Restorehealth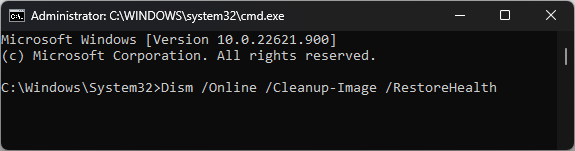
- Once the process is complete, restart your computer.
4. Fix the StorAHCI.sys driver
4.1 Check the driver
- Press Windows + R to open the Run console.
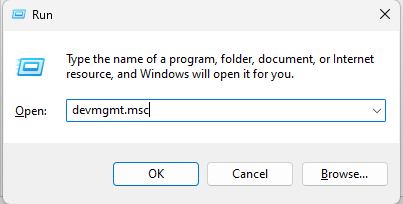
- Type devmgmt.msc and press Enter to open Device Manager.
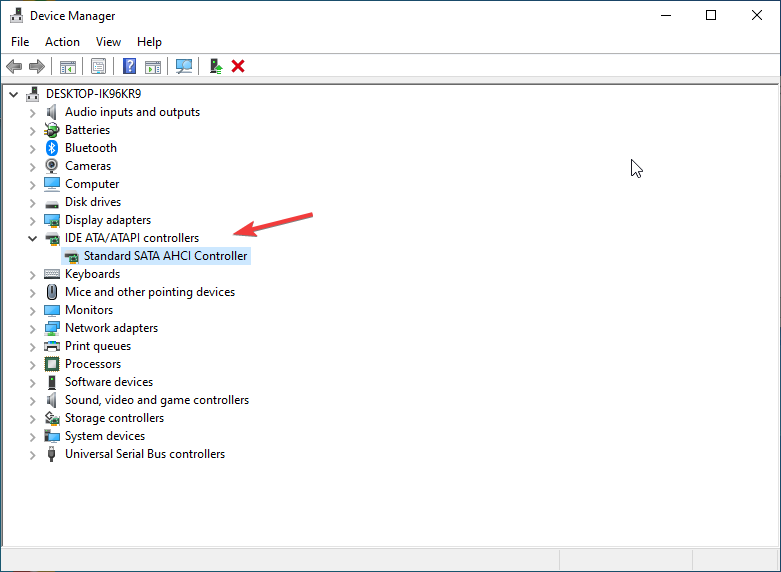
- Locate IDE ATA/ATAPI Controllers, then double-click Standard SATA AHCI Controller.
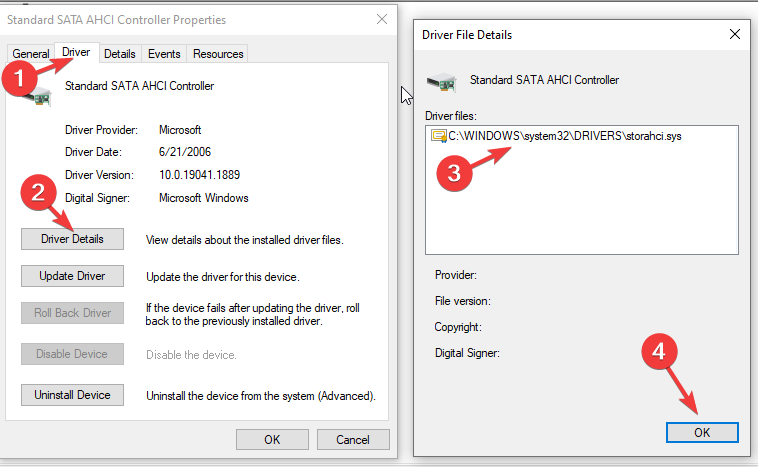
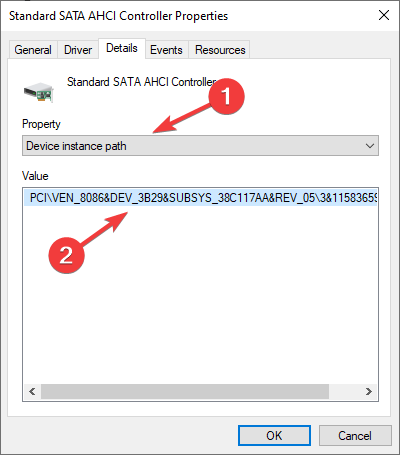
- On the Standard SATA AHCI Controller Properties window, switch to the Driver tab and click Driver Details.
- Check if there is storahci.sys file and click OK. Now the properties window, go to the Details tab.
- Choose the Device instance path from the dropdown under Property. Then, note down the name that appears under Value.
4.2 Make changes in Registry Editor
- Now fire up the Run window again, type regedit, and press Enter to open Registry Editor.
- Navigate to the path and replace the VEN_10EC&DEV_8168&SUBSYS_892C103C&REV_15\01000000684CE00000 with the value that you noted down from the Details tab:
Computer\HKEY_LOCAL_MACHINE\SYSTEM\CurrentControlSet\Enum\PCI\VEN_10EC&DEV_8168&SUBSYS_892C103C&REV_15\01000000684CE00000\Device Parameters\Interrupt Management\MessageSignaledInterruptProperties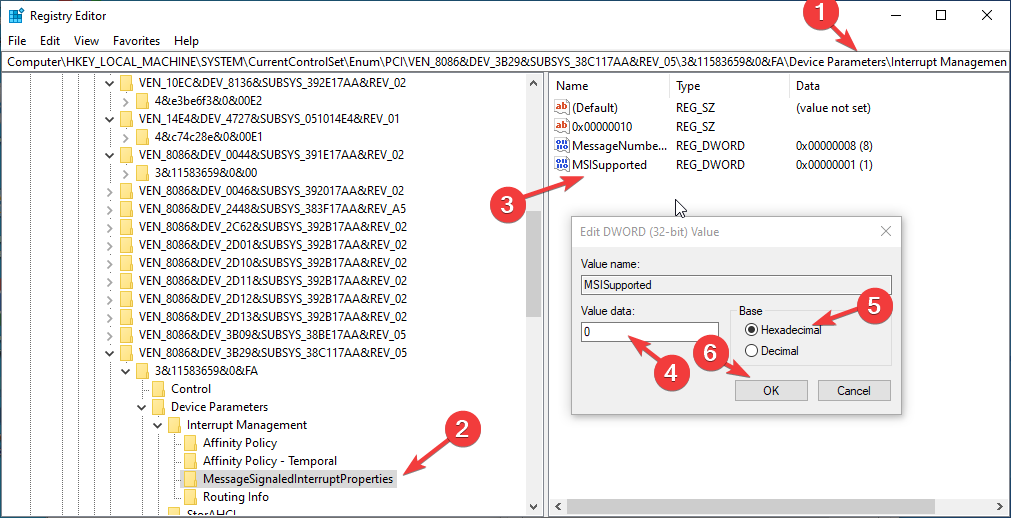
- Double-click MSISupported DWORD and change its Value data to 0. Then, for Base, choose Hexadecimal.
- Click OK and close the Registry Editor. Restart your PC.
5. Disable scheduled defragmentation
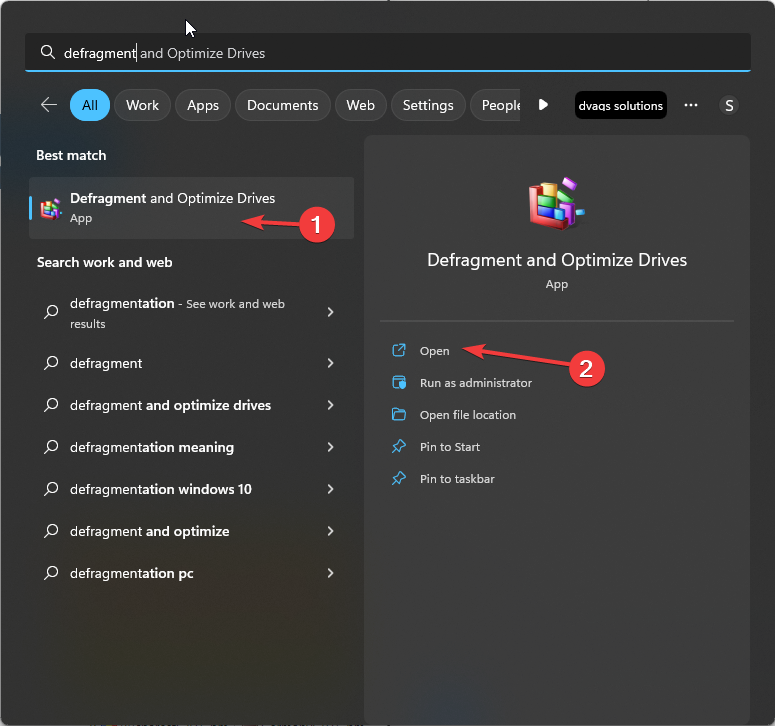
- Press the Windows key; type defragment, select Defragment and Optimize Drives. Click Open.
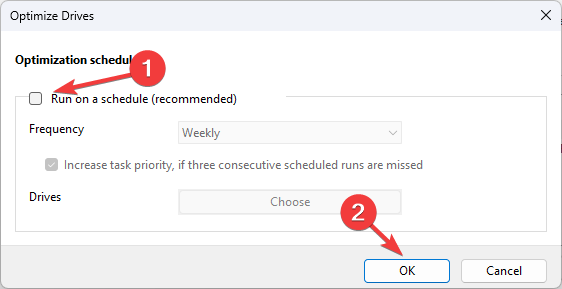
- Click Change settings.
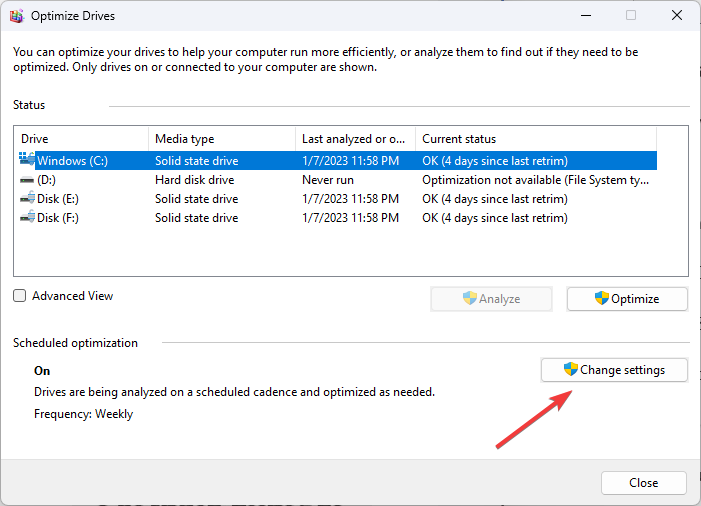
- Remove the checkmark for Run on a schedule (recommended) and click OK to disable scheduled defragmentation on your Windows computer.
6. Disable background apps
- Press Windows + I to open Settings.
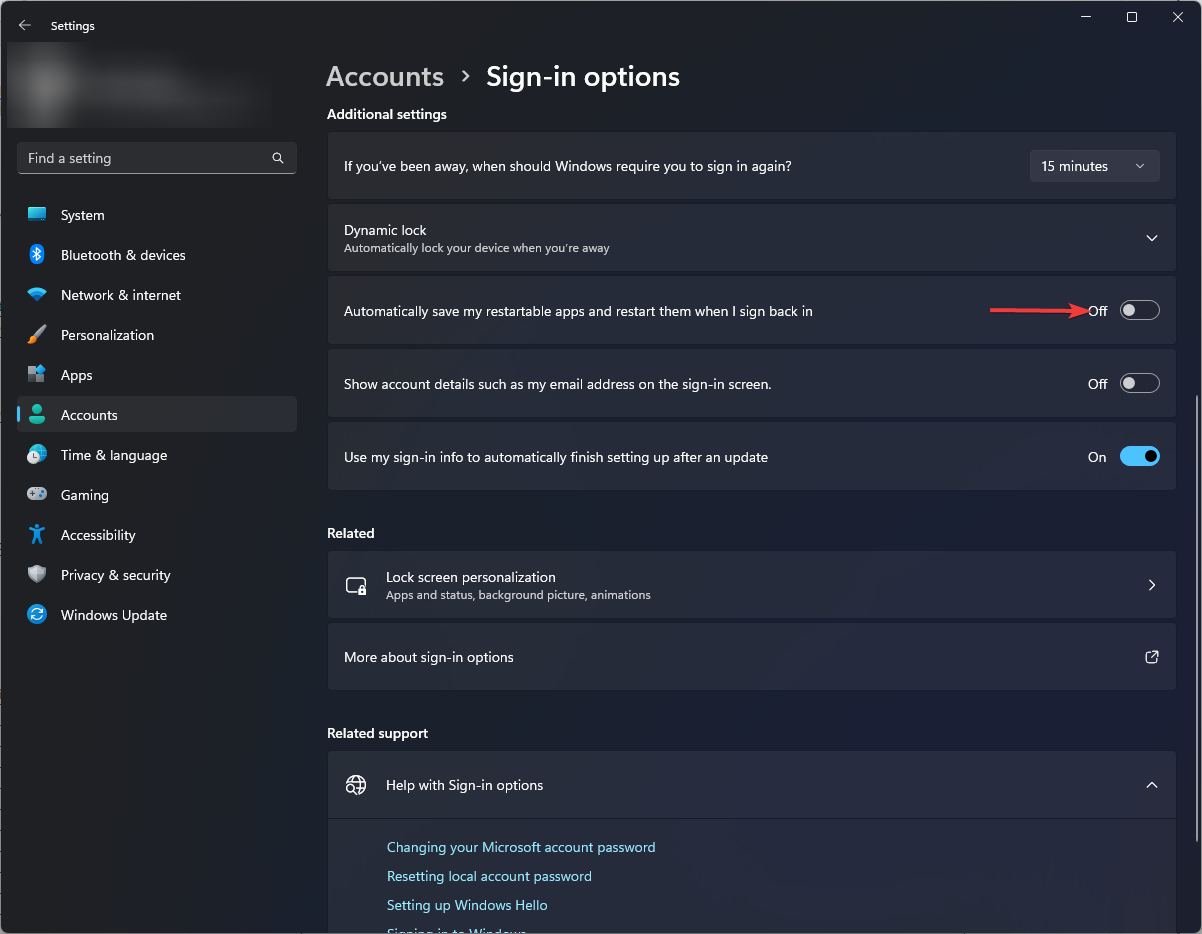
- Go to Accounts, and click Sign-in options.

- Toggle off Automatically save my restartable apps and restart them when I sign back in option.
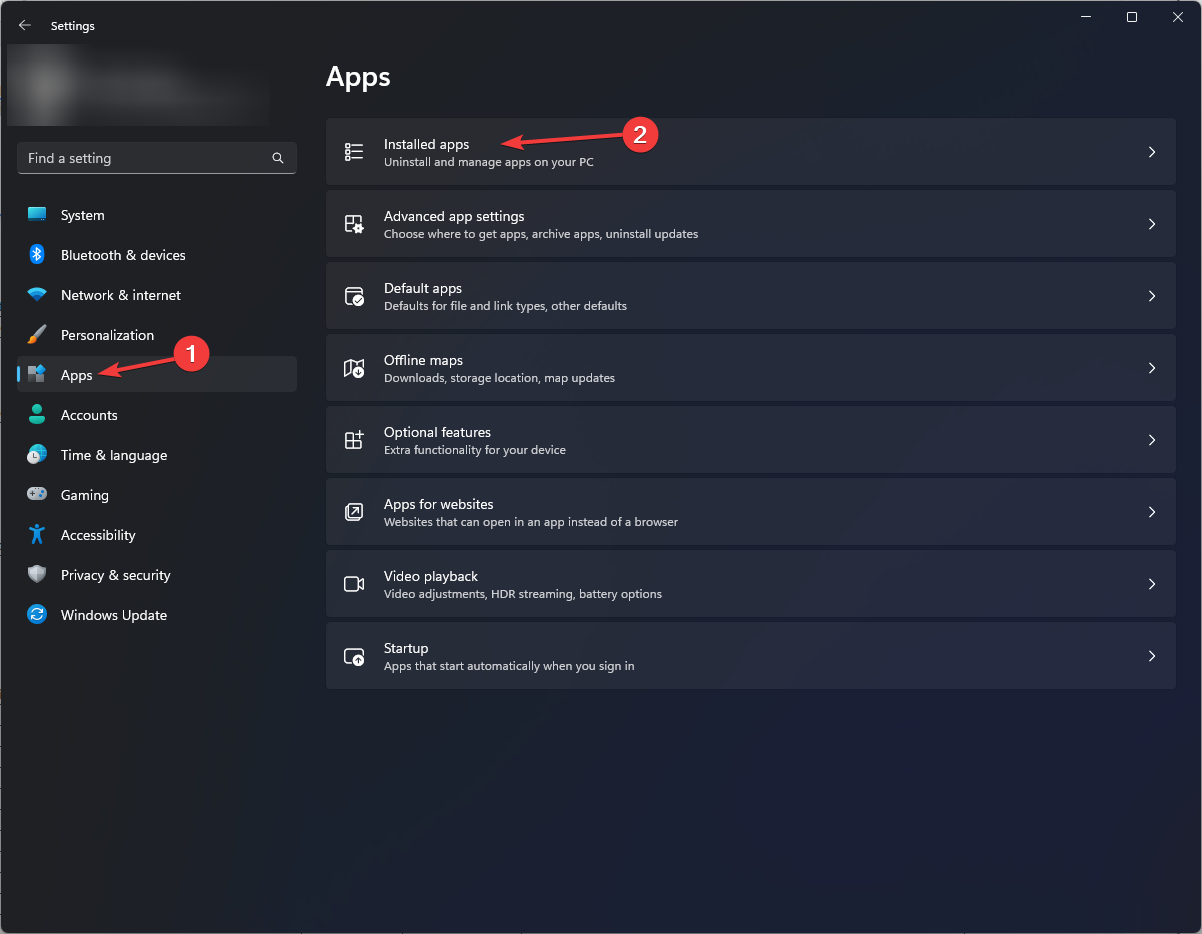
- Go to Apps, and click Installed apps.
- Click on the three dots icon next to the apps you wish to disable from running in the background.
- Click Advanced options.
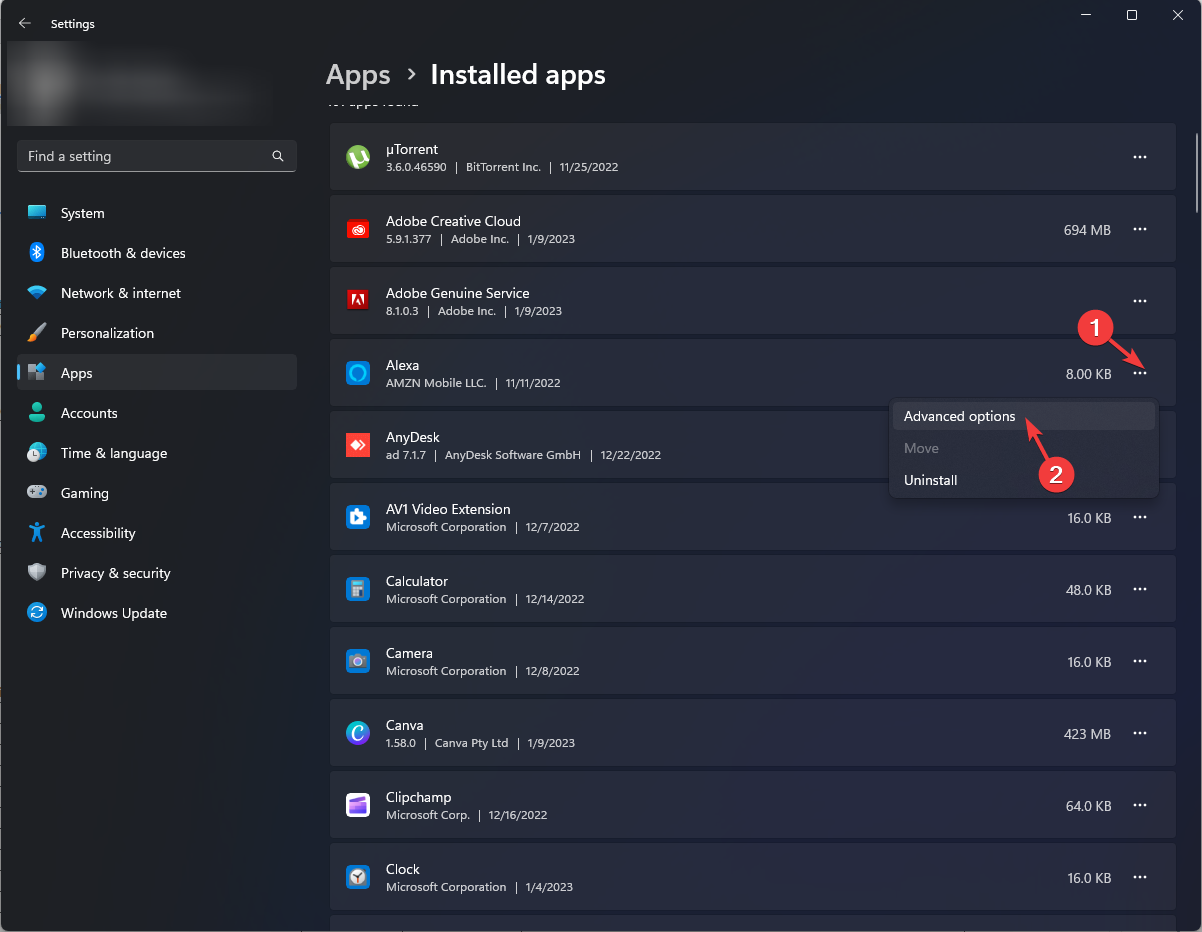
- Under Background apps permissions, select Never from the dropdown.
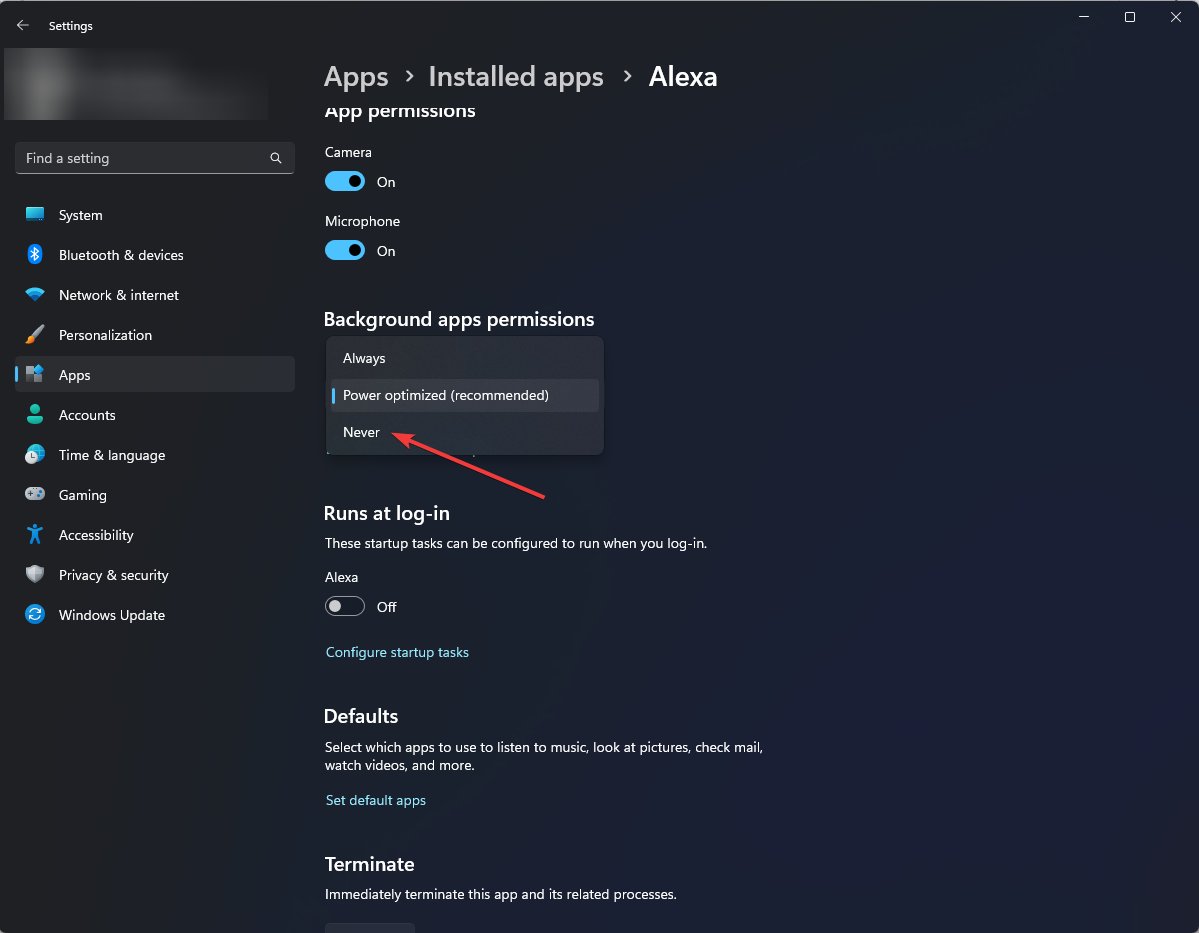
- Do this for all the apps you don’t want to run in the background.
7. Restore plan options
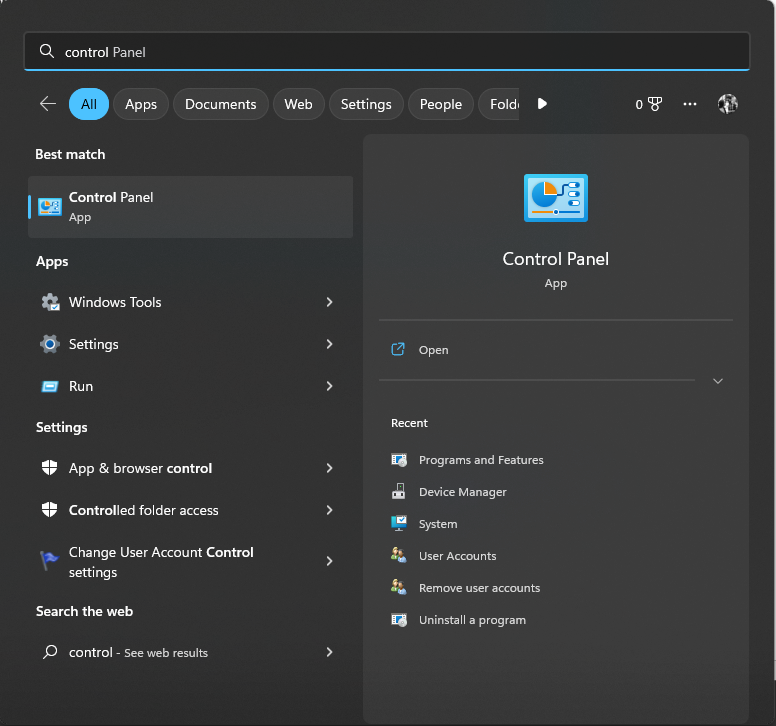
- Press the Windows key, type Control Panel and click Open.
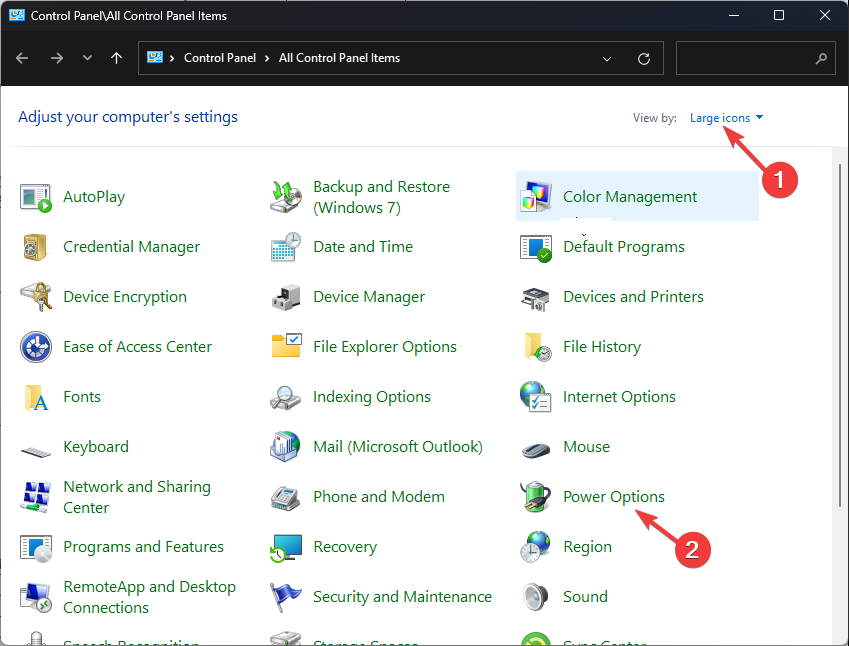
- Select View by Large icons and click Power options.
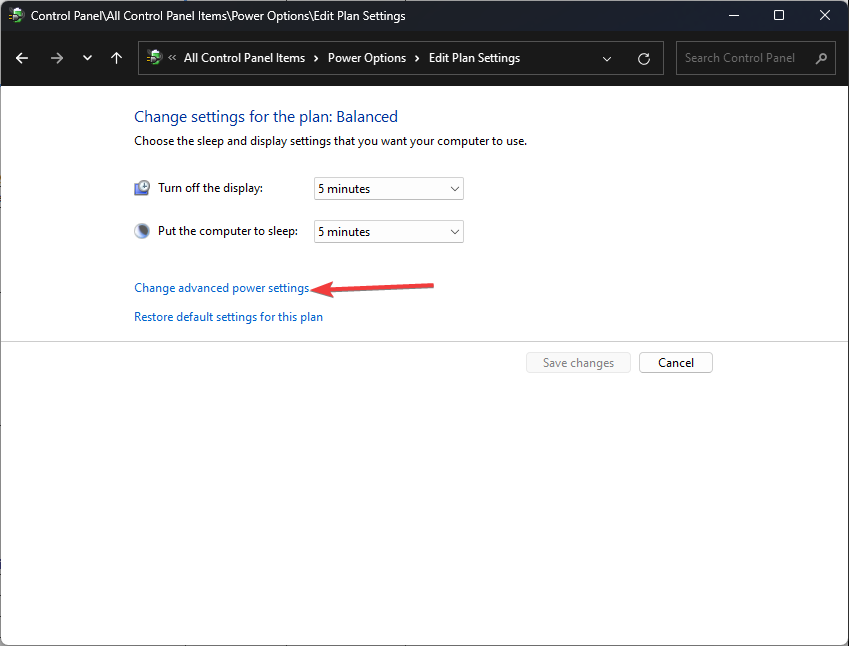
- Click Change plan settings.
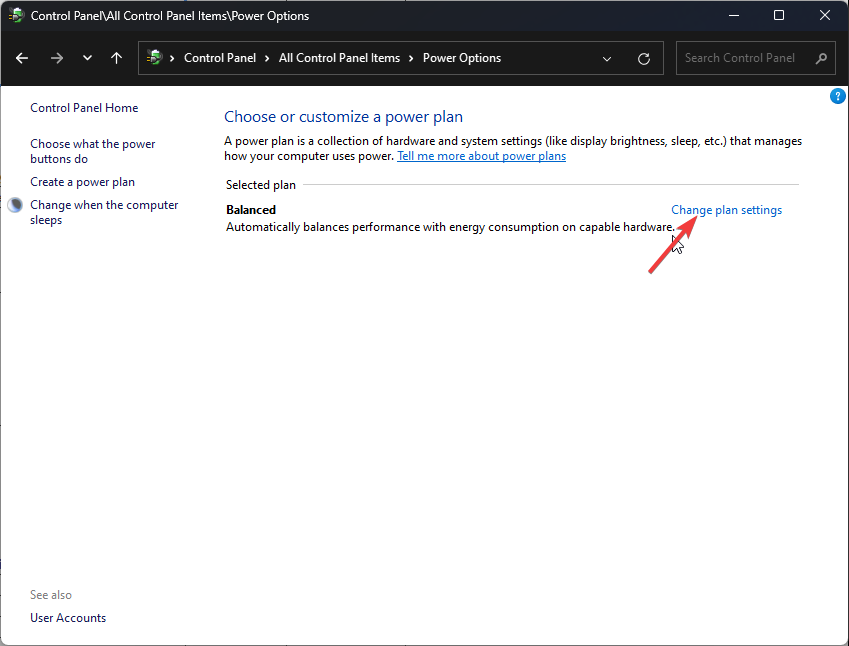
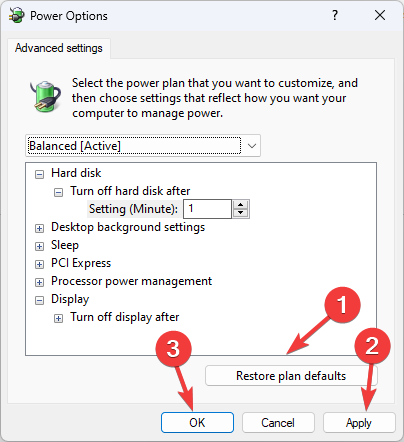
- Now click Change advanced power settings.
- Click Restore plan defaults. Click Apply and OK.
So, you need to follow these steps to fix the 100% disk usage on Windows 11. If nothing has worked for you, we advise you to perform a clean install of Windows to resolve the issue.
If you have any concerns or questions about the issue, feel free to mention that in the comments section below.
Read our disclosure page to find out how can you help Windows Report sustain the editorial team. Read more


Improve this guide


User forum
0 messages