Fix: Epson Event Manager Button Settings Are Not Available
Checking Windows Image Acquisition often does the trick
![]() 3 min. read
3 min. read
![]() Updated on
Updated on
Share this article
Improve this guide
Read our disclosure page to find out how can you help Windows Report sustain the editorial team. Read more
Key notes
- There are reports of people complaining about problems concerning Epson printers and their Event Manager button settings.
- At times, printing does not work even if the Epson app states that it is.
- This guide will show you multiple ways that you can try out to fix this printing problem.
Epson as a brand name for printers needs no introduction. It’s one of the world’s biggest manufacturers of computer printers and shows no sign of slowing down.
But like with a lot of tech out there, Epson printers are often victims of some kind of error or malfunction. Be it paper getting stuck, the ink not coming out correctly, or in the case of this guide, scanning problems.
There have been reports of the Event Manager button setting not working properly. This guide will help you troubleshoot and fix those problems.
Why can’t I get my Epson printer to scan to my computer?
Well, there is a multitude of reasons why your Epson printer won’t scan your computer. According to Epson itself, there may be a problem with one of the cables not being properly connected to either the computer or printer.

In other cases, it could be that Epson Scan isn’t selected in the scanning problem. It’s also entirely possible that the printer is in some kind of power-saving mode like Sleep or Standby. In that case, wake up the printer and restart it.
All that said, follow these instructions if you’d like to know how to fix your Epson printer not scanning.
What can I do if Epson Event Manager button settings are not available?
1. Update drivers
- The first thing you should immediately do is update your drivers.
- Open the search bar on your Windows computer and search for the Device Manager. Click the first entry you see.
- In the Device Manager, click Printers.

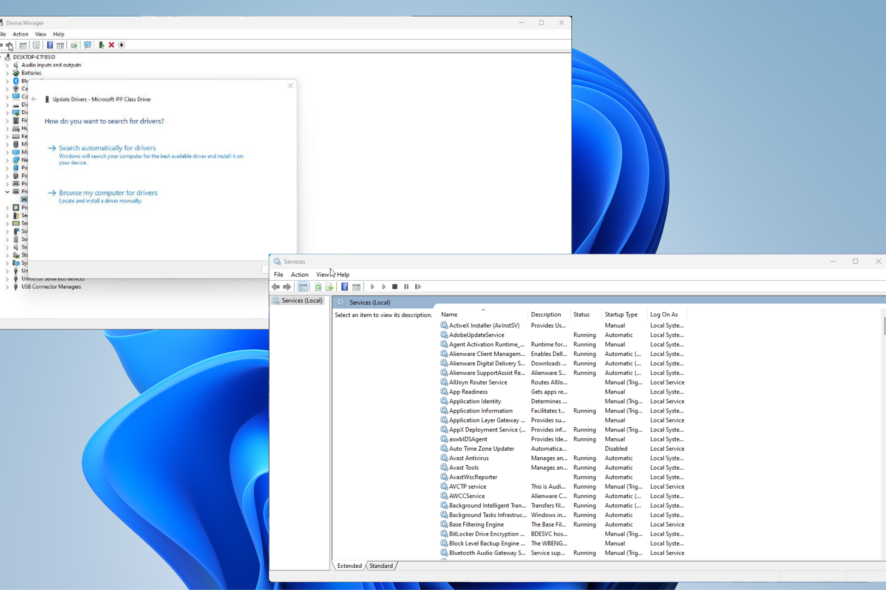
- Right-click the Epson printer that appears and selects Update drivers in the window that appears.
- In the new window, select Search automatically for drivers.
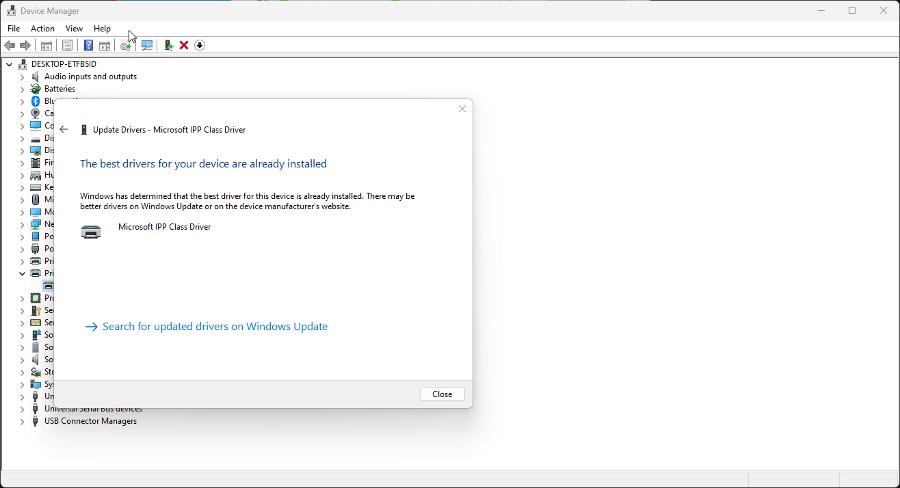
- Your computer will automatically install Epson printer drivers. If the drivers are already installed, the window will let you know.


Updating drivers manually is a good option, but sometimes, doing this by yourself can be challenging. In this case, we feel like an automatic driver monitoring tool is much easier.
- Download and install the Outbyte Driver Updater app.
- Launch the software and wait for the app to detect all incompatible drivers.
- Now, it will show you a list of all outdated drivers to select the ones to Update or Ignore.

- Click on Update & Apply Selected to download and install the latest versions.
- Restart your PC to ensure the applied changes.


Outbyte Driver Updater
Maintain your device healthy by letting OutByte Driver Updater find the latest driver options.2. Check Windows Image Acquisition
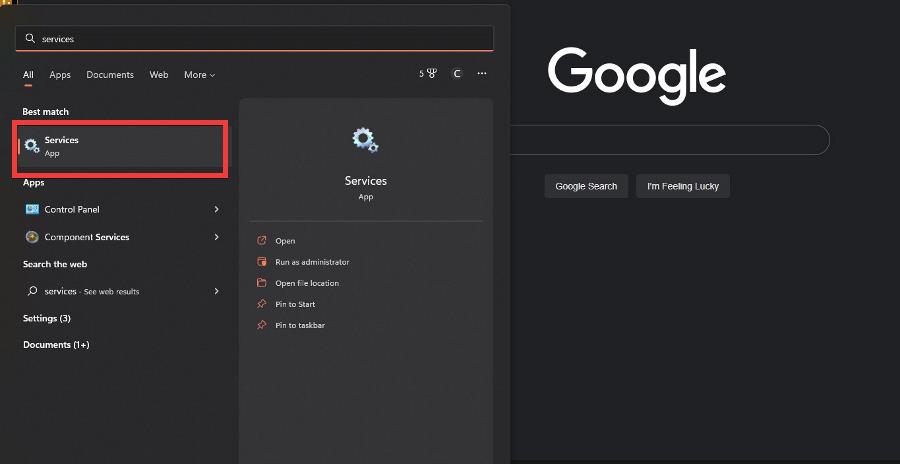
- Click on the search bar and type in Services.
- Click the Services entry that appears.

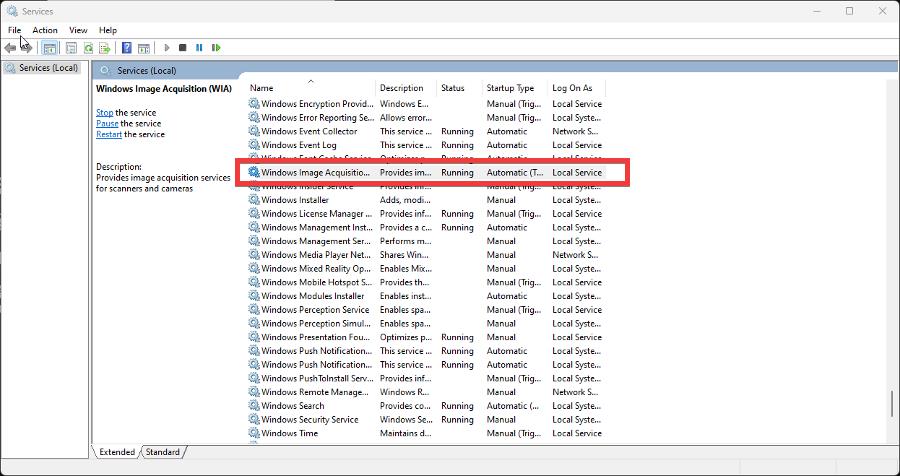
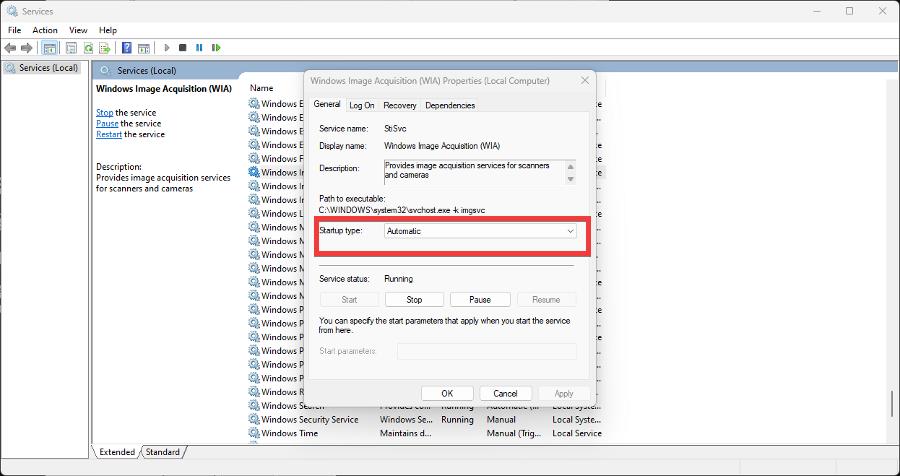
- In Services, scroll down to Windows Image Acquisition (WIA).

- Right-click it and select Properties.
- Ensure that the Startup type is set to Automatic.
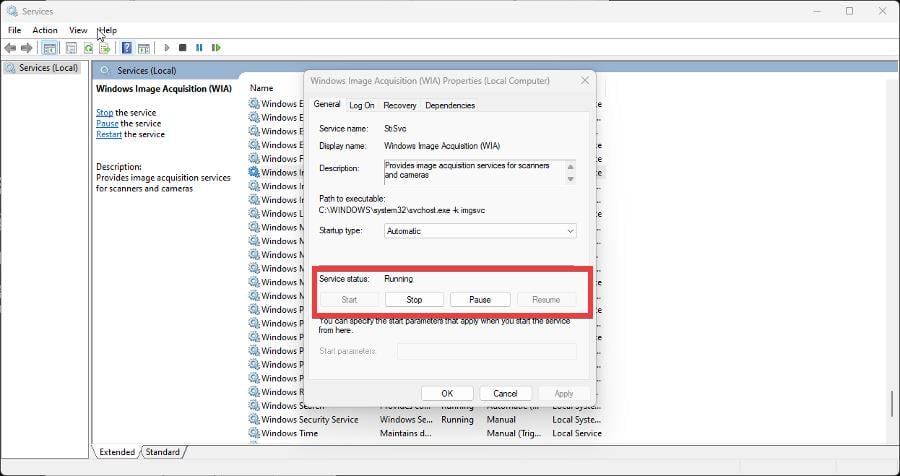
- Make sure that the Service status reads Running. You can activate it by clicking the Start button.
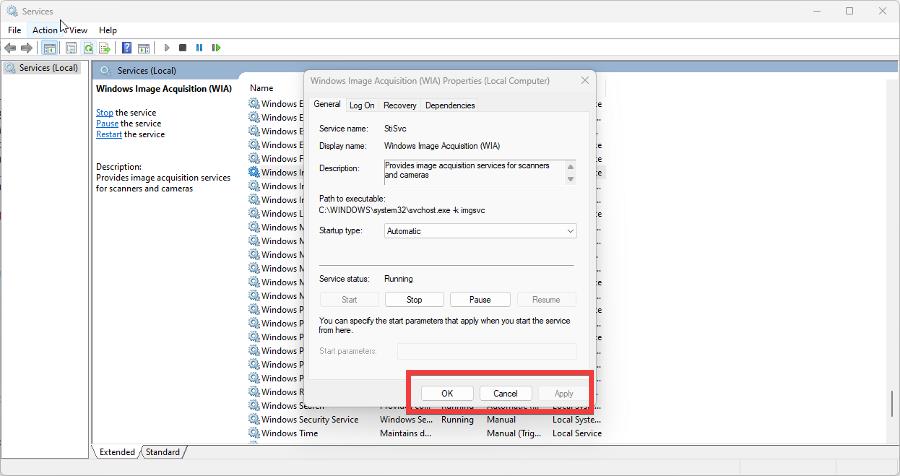
- Click Apply on the bottom, then select OK.
3. Add permissions to Windows Defender Firewall
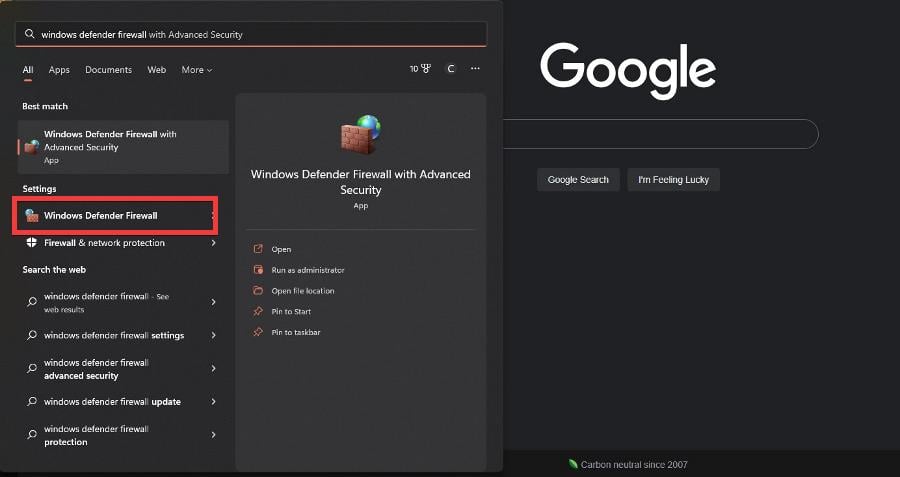
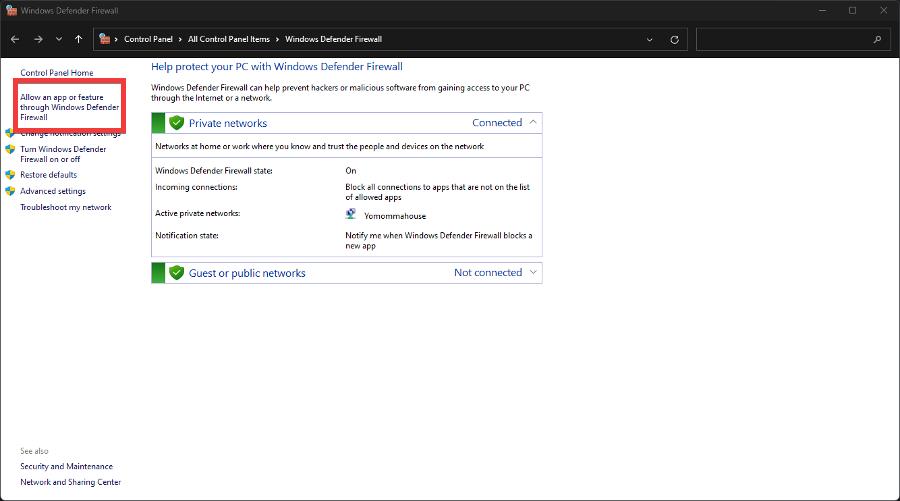
- In the Windows Search bar, bring up the Windows Defender Firewall.
- Click on the entry as shown in the image.

- Click Allow an app or feature through Windows Defender Firewall in the new window.

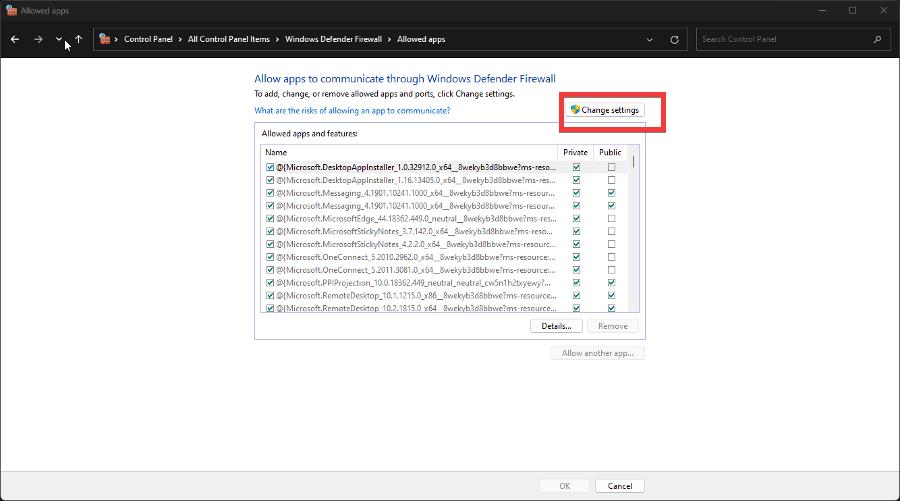
- Click Change settings in this new window.
- Click Allow another app.
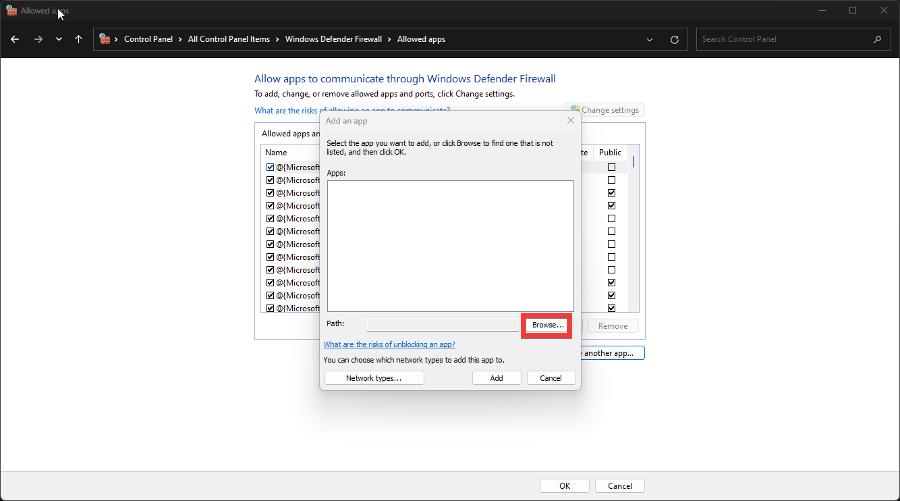
- Click Browse.
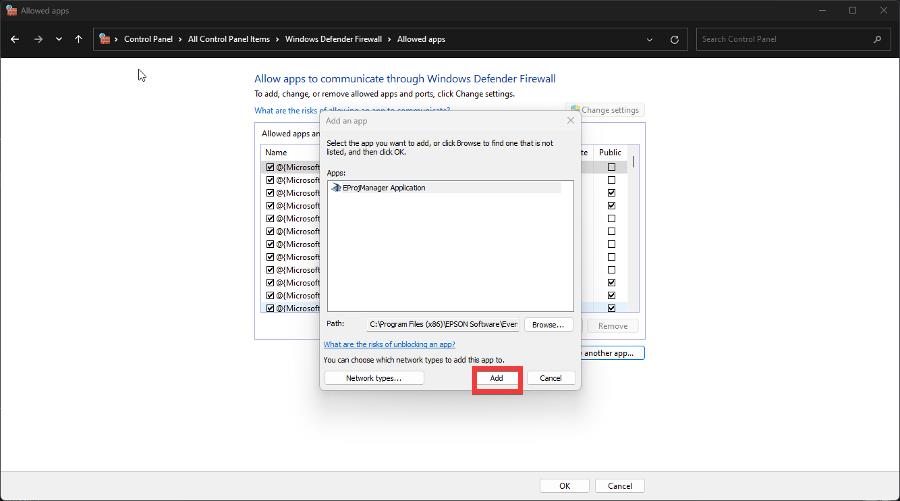
- Search for the Epson Event Manager app. Click Add.
- The Event Manager app now has Firewall permissions.

How can I configure event buttons?
Epson has a set of instructions on its Support website that we highly recommend that you check out if you’d like to learn how to configure buttons on Epson printers.
But the short end of it is that you’ll have to assign the program that you want to configure in the Epson Event Manager. You select the action that you’d want to assign to the button. Click Close and you’re done.
Feel free to leave a comment below if you have any questions. Also, leave comments about guides you’d like to see in the near future.


User forum
0 messages