Epson Scan Not Working on Windows 11: How to Fix it
Outade drivers or misconfigured settings can trigger this error
Key notes
- When Epson scan is not working on your PC, first check your drivers.
- To make sure your scanner is properly setup, download the latest drivers.
- Be sure to repair any corrupted files to get your scanning going.

If your Epson printer or scanner is not working on your Windows 11 PC and you are looking for solutions, you are in the right place.
This guide will give you multiple solutions to help you troubleshoot the Epson scan not working in Windows 11 error.
After upgrading from Windows 10 to Windows 11, several users are reporting that their Epson scanner isn’t working, and they are facing the Epson scan not working on Windows 11 PC.
If you are experiencing this issue, you may have an error message saying Problem connecting to the scanner.
There are chances that some files got corrupted, replaced, or missing when you upgraded from Windows 10 to Windows 11.
Else, the presence of a virus or malware could also be one of the reasons. If the drivers aren’t up to date, you will also face an Epson scan not working on Windows 11.
But you shouldn’t get too worried about it because, in this guide, we will share some effective solutions to help you fix the problem. Let us check them out.
Why is my scanner not working on Windows 11?
While almost all printers or scanners operate with no issues when you plug and play, if you are experiencing the Epson scan is not working on Windows 11 error, there can be multiple reasons behind this problem.
Below are some of the reasons which are most common causes of this issue:
- The Epson scanner is set to compatibility mode.
- Outdated drivers of the Epson scanner are installed.
- Essential Windows services aren’t functioning properly.
- There is a bug present that is preventing the Epson scanner from working properly.
- Required admin privileges or permissions are not granted to the Epson scanner.
- Presence of corrupt Windows 11 system files.
- The USB port is damaged.
- Due to viruses or malware.
- A third-party app is conflicting with the scanner driver.
- Registry issues
The above-listed reasons are almost all the reasons that could possibly trigger the Epson scan not working on Windows 11.
If you are having issues with a different brand of scanner, then you can check out our dedicated guide on how to troubleshoot scanner not detected in Windows 11.
The good thing is that this guide will help you tackle all the listed reasons and possibly fix the problem at hand.
What can I do if Epson scan is not working on Windows 11?
1. Restart Shell Hardware Detection service
- Press the Win + R keys to open the Run command.
- Type the below command and press Enter.
services.msc
- On the right side, locate Shell Hardware Detection.
- Right-click on it and select Properties.

- Ensure the Startup type is set to Automatic.

- Hit OK and Apply.
- Close the Window.
- Restart your PC.
The Shell Hardware Detection service is an important system service that is responsible for detecting connected hardware plugged into the system.
If there is a problem with the service, or it is not set to Automatic startup, then you may experience issues such as Epson scan not working on Windows 11.
Follow the above steps and set it to Automatic and see if this fixes the issue or not.
2. Update scanner drivers
1.Right-click on the Start menu icon and select Device Manager.

2. Go to Imaging devices section and expand it.

3. Right-click on the Epson scanner and select Update drivers.

4. Select Search automatically for updated driver software option.
6. Reboot your PC.
Drivers for your hardware are an important component as they act as the communication channel between your PC and the hardware.
So, it is essential that you keep the drivers installed on your PC, up to date, to avoid such issues. A simple solution to cure this would be to update the current scanner driver installed on your PC.
To ease the process, we advise you to use trusted third-party software. These tools are very easy to use and will help you fix multiple system-related errors on your PC.
They include all the necessary features to detect and fix system-related errors. Try it and see if it resolves the Epson scan not working on Windows 11 problem.
3. Reboot your PC

A simple restart can do wonders. Once you restart your PC, all the unnecessary files and processes are put to sleep. When the system boots up again, important system files are re-loaded from scratch.
There is a chance that some critical scanner-related files failed to load during the previous session. So, we advise you to restart your PC, try using your scanner, and check whether this fixes the issue.
4. Check the Compatibility mode
- Right-click on the Epson scan icon on your desktop.
- Select Properties.
- Head to the Compatibility mode.
- Uncheck the box next to Run this program in compatibility mode for.

- Hit the OK button.
5. Check the status of Windows Image Acquisition service
- Press the Win + R keys to open the Run command.
- Type the below command and press Enter.
services.msc - On the right side, locate the Windows Image Acquisition service.
- Right-click on it and select Properties.
- Make sure that the Startup type is set to Automatic and Service Status is set to Running.

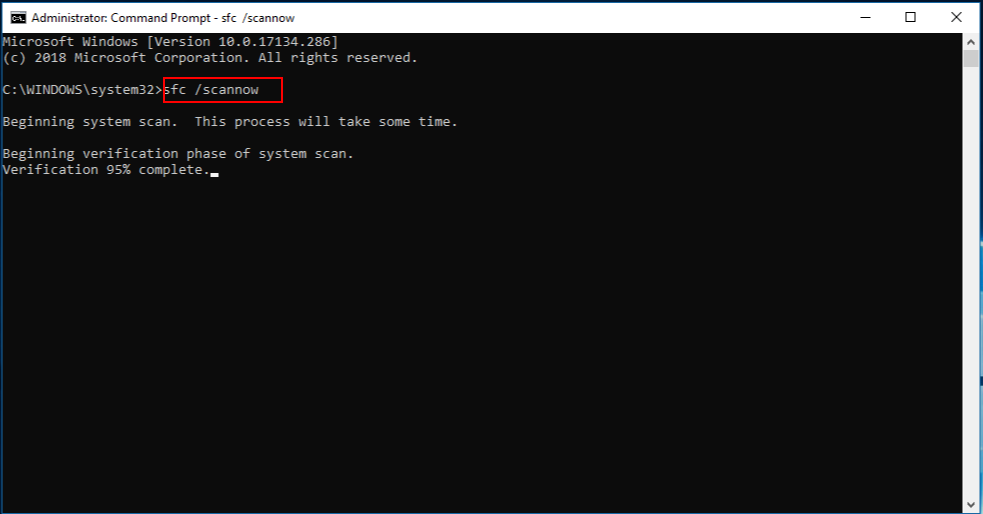
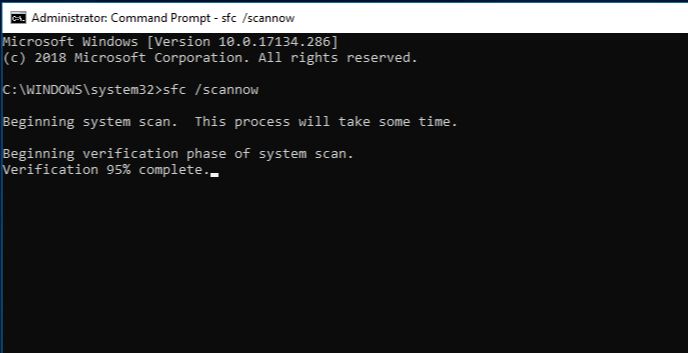
6. Repair corrupt system files
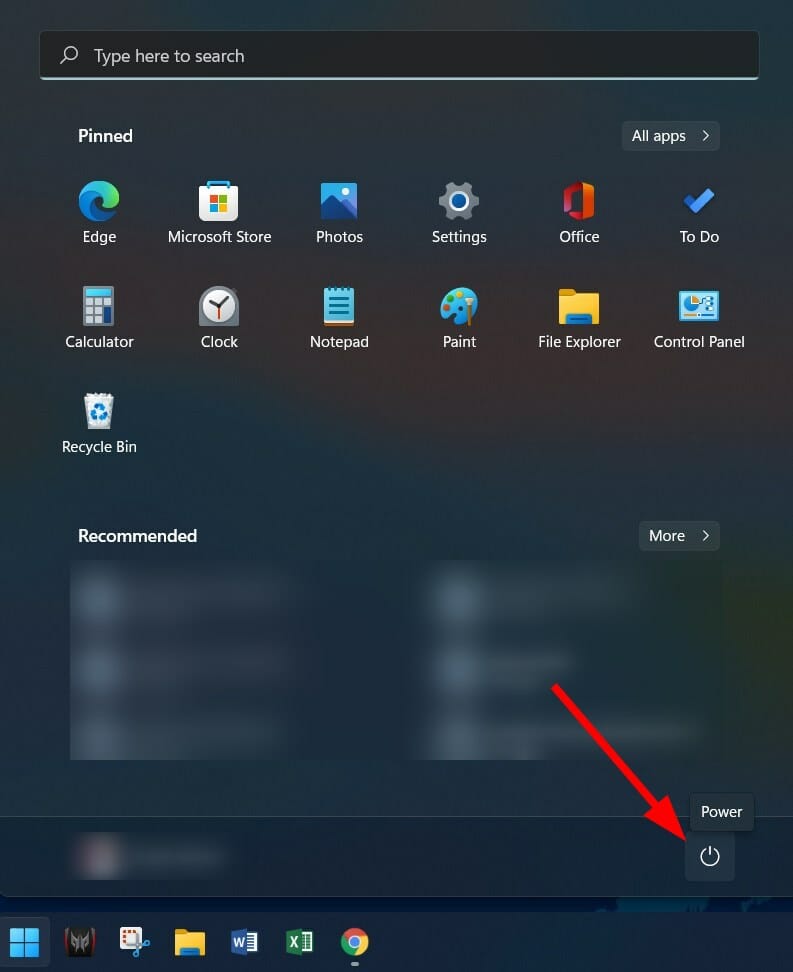
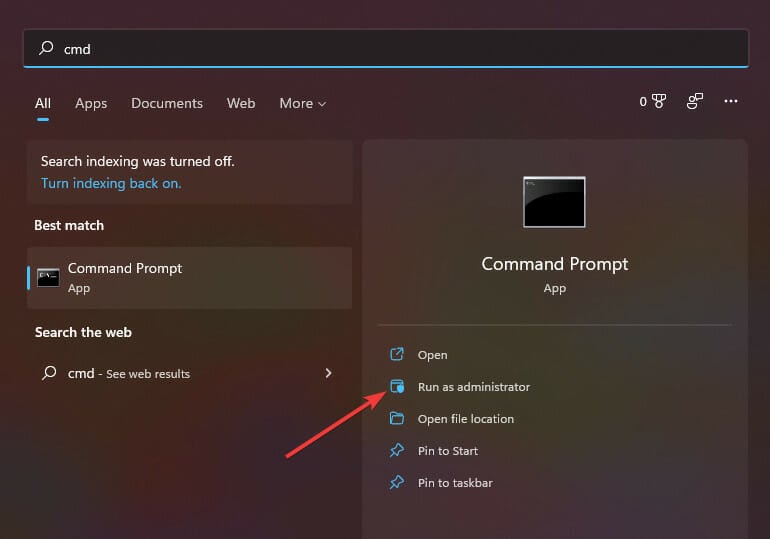
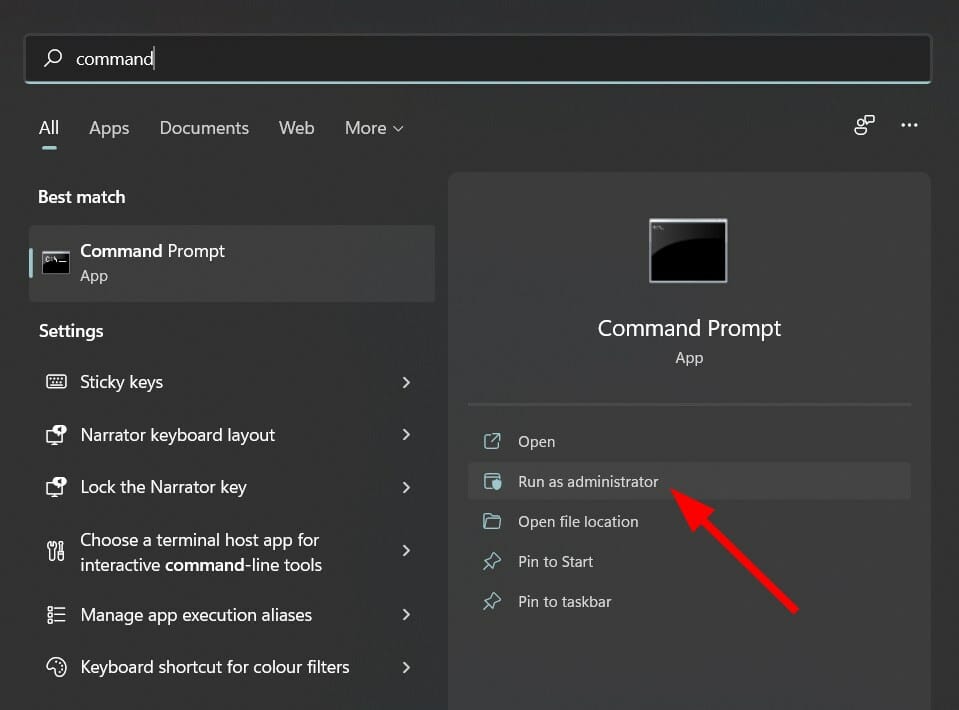
- Open the Start menu.
- Search for Command Prompt and select Run as administrator.

- Type the below command and press Enter.
sfc /scanow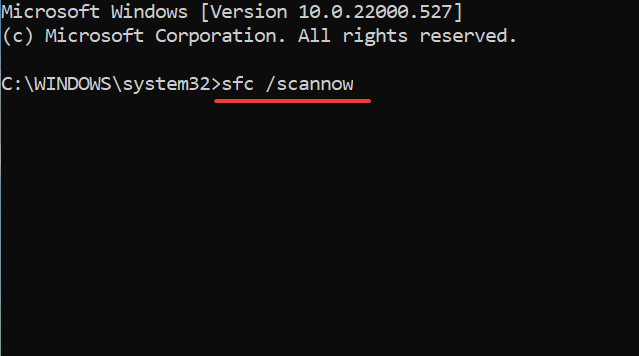
- Your PC will start scanning and possibly fix the issue as well.
- Reboot your PC.
To use the System File Checker tool, you need to execute a command in the CMD, and everything else is taken care of automatically.
To ease the process, we advise you to use trusted third-party software. These tools are very easy to use and will help you fix multiple system-related errors on your PC.
They include all the necessary features to detect and fix system-related errors. Try it and see if it resolves the Epson scan not working on Windows 11 problem.
7. Run the troubleshooter
- Press the Win + I buttons to open Settings.
- Select Troubleshoot.

- Click on Other troubleshooters.
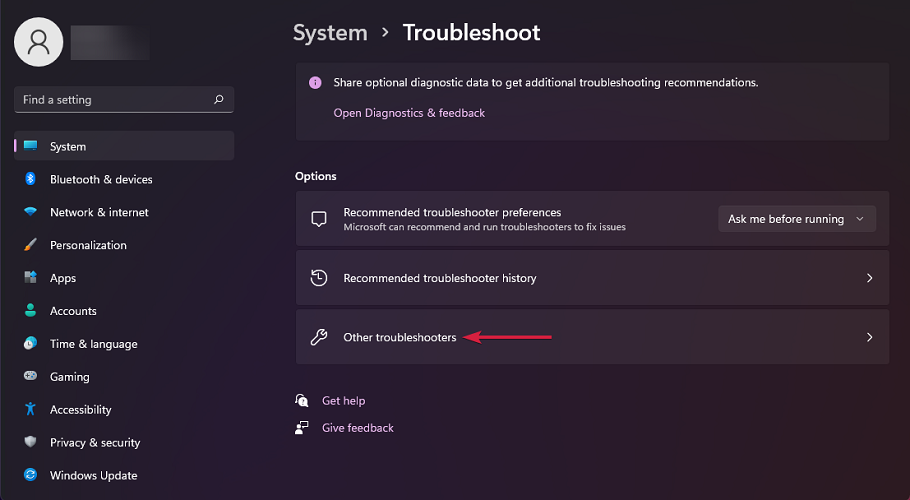
- Click on the Run button next to Printer.

The Windows Troubleshooter is a perfect tool if you are experiencing issues with the hardware on your PC.
This tool not only identifies the issues and displays them but would prompt you to perform certain actions to resolve them.
8. Scan your PC for virus
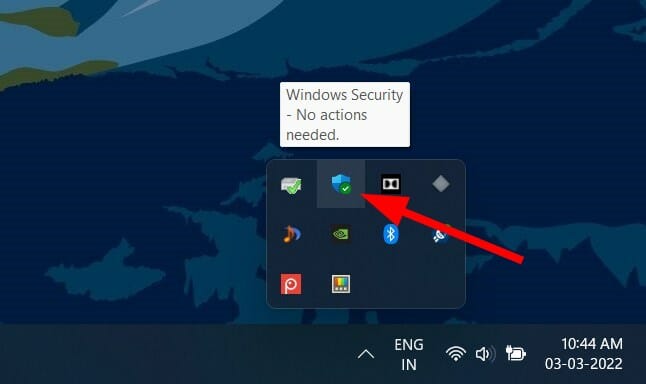
- Click on the upward arrow on the bottom right taskbar.
- Select Windows Security.

- Click on Virus & threat protection.
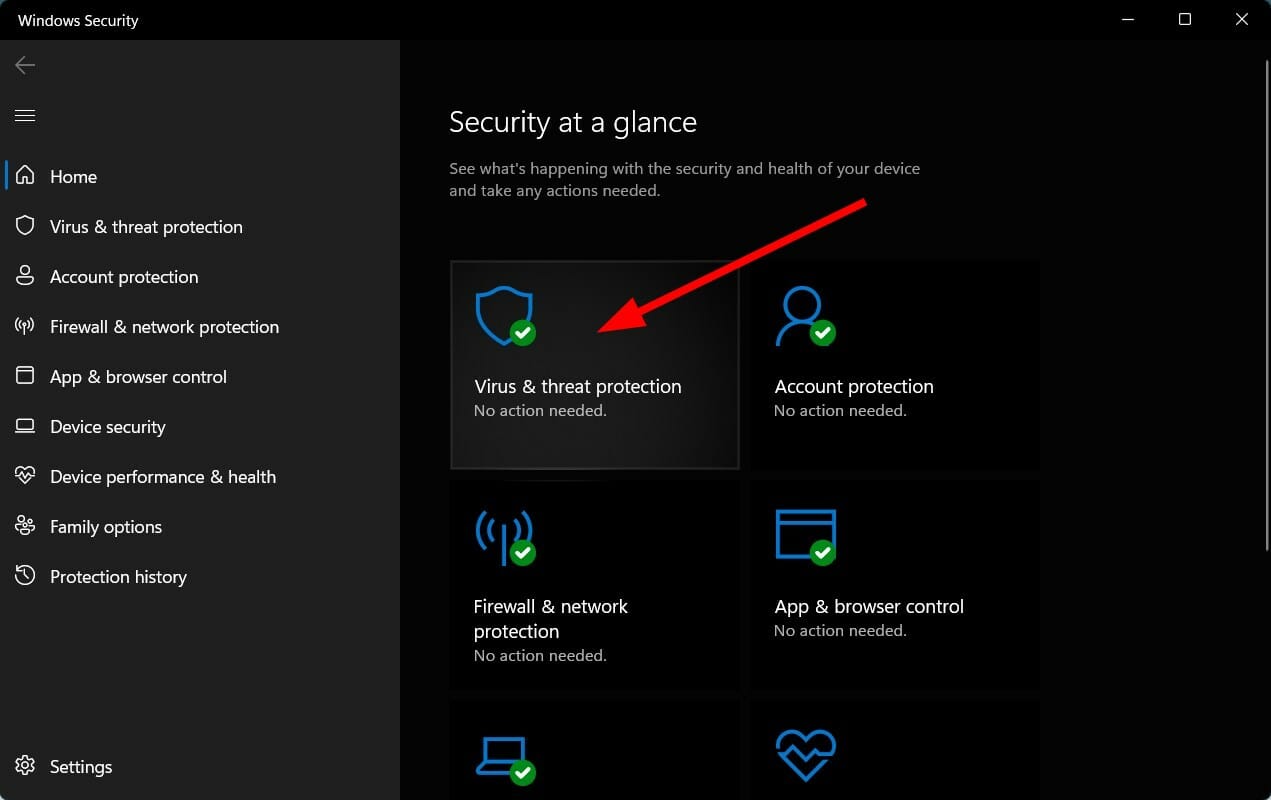
- Choose Quick Scan to allow Windows Security to scan your PC for viruses and malware.
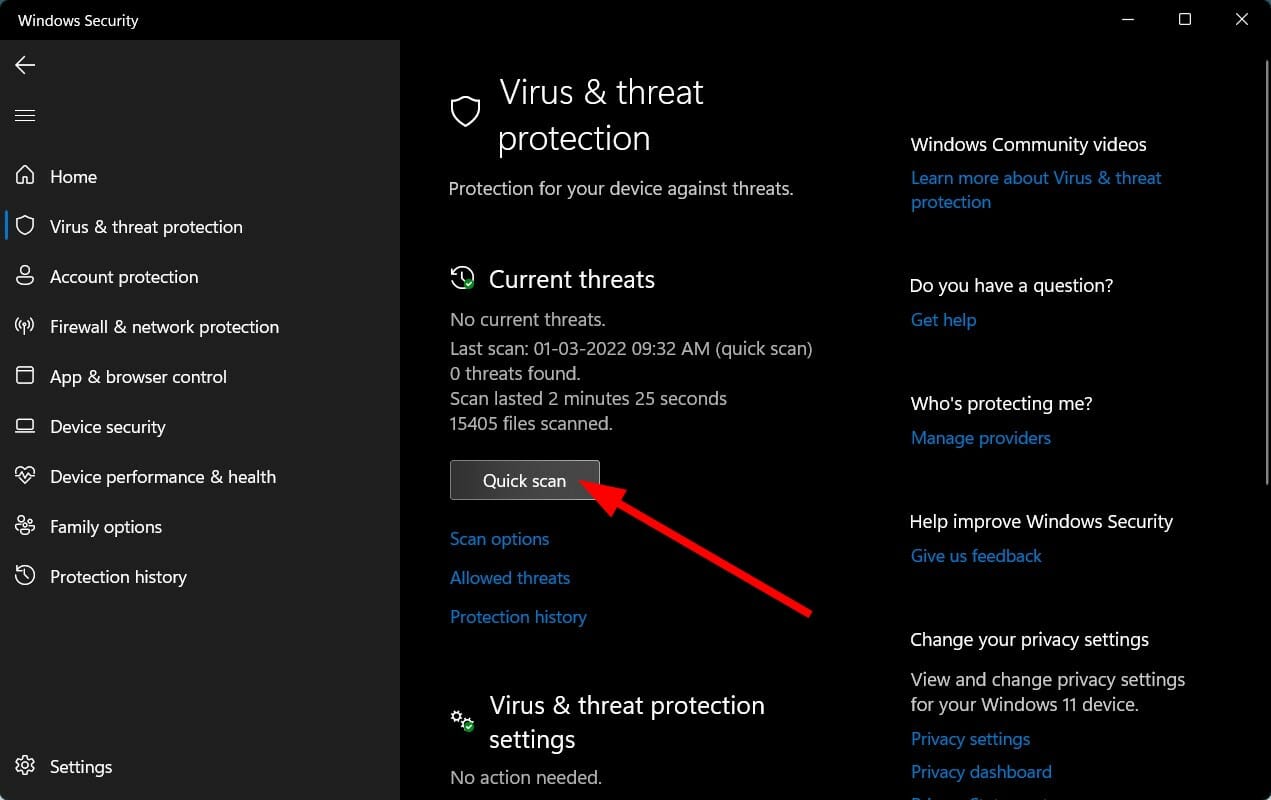
- You can also choose the Scan options button.

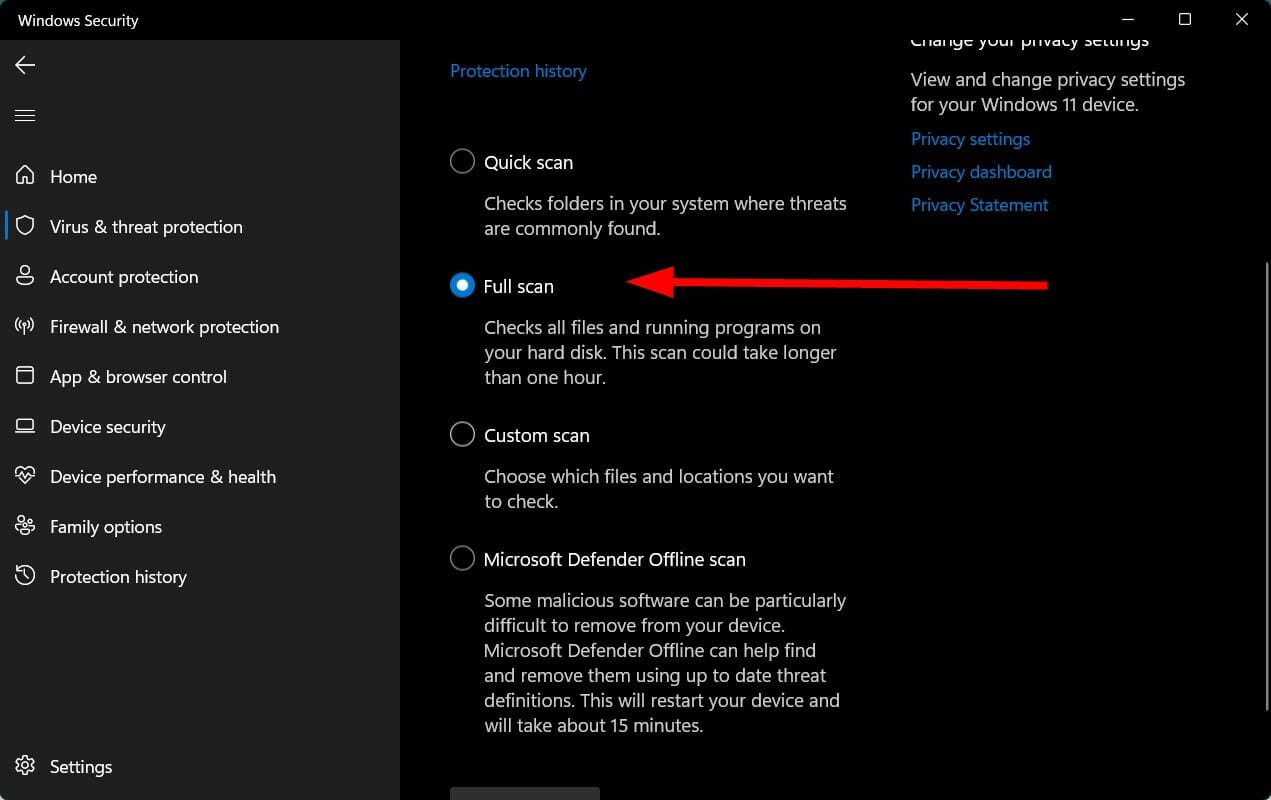
- Under Scan Options, you can opt for a Full scan to scan your PC for viruses or malware deeply.
While we used Windows Defender to scan our PC for viruses or malware, you can use any third-party antivirus software to do that.
The presence of a virus or malware causes several issues, such as the Epson scan not working on Windows 11 issue. Besides, the overall smooth functioning of your PC also gets affected.
Viruses and malware are of different types. We recommend you perform a virus or malware check to ensure your PC is well protected.
9. Check for Windows updates
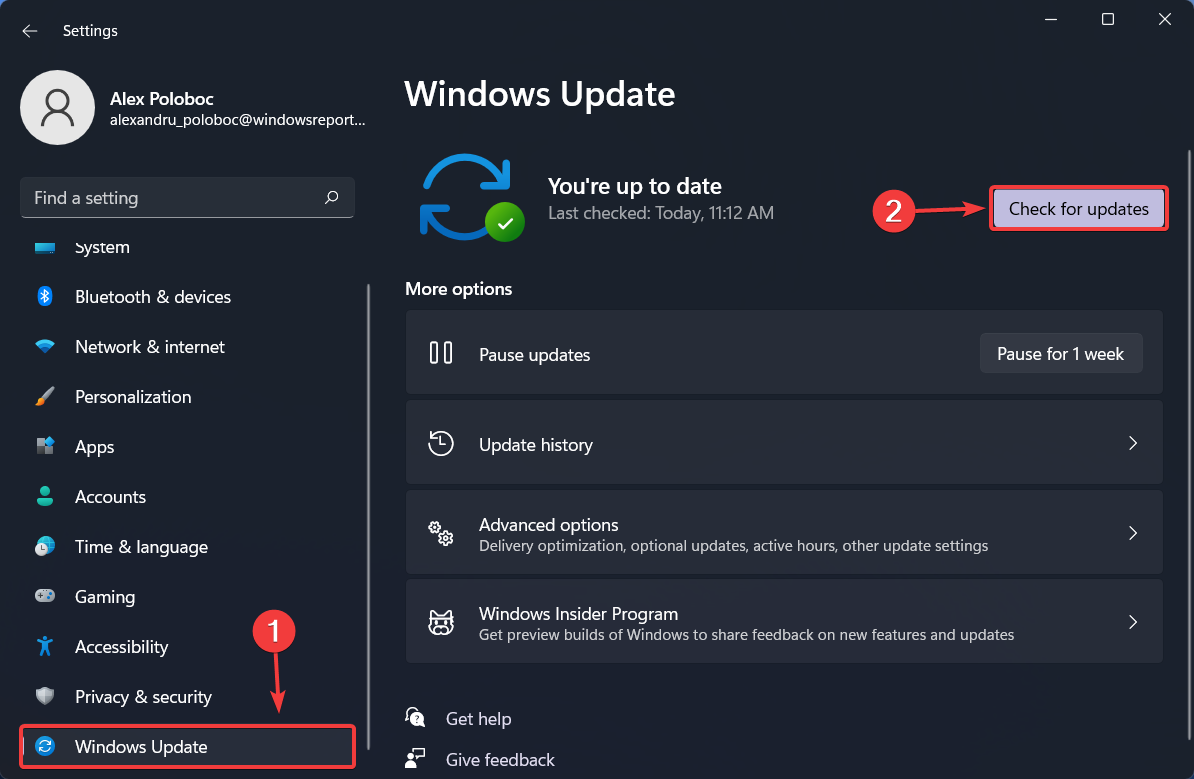
- Press the Win + I buttons to open Settings.
- Select Windows Update from the left pane.
- Click on Check for updates button.

A bug in the previous version of the Windows update can cause problems on your PC. Related features won’t work properly, and you will also experience issues such as the Epson scan not working on Windows 11 problem.
We would suggest you keep your Windows 11 PC up-to-date. Not only do the latest updates add new features, but they resolve several existing issues.
10. Check for faulty cables
You can try connecting your Epson scanner to a different PC and see if it is working properly there. If the scanner doesn’t work with the other PC, then there might a problem with the cable attached to it.
Several hardware issues don’t appear just because of faulty drivers or system files but are also caused if the wire connecting your hardware to the PC is damaged or broken.
Check if the Epson scanner cable is damage-free, and if it is damaged, then you need to buy another cable or replace it.
The above solutions are sufficient to fix the problem of the Epson scan not working on Windows 11.
However, if none of it helped you resolve the issue, then we recommend you contact customer support and take things forward from there. There are chances that the Epson scanner that you have is faulty.
Before you leave, find out what to do when Epson Easy Photo print is not working. The dedicated tool is preferred by many for the effortless experience it offers.
In the comments section below, let us know which method helped you fix the problem. If another solution did the job for you, feel free to share that with us.
Read our disclosure page to find out how can you help Windows Report sustain the editorial team. Read more


Improve this guide


User forum
5 messages