The VGA Card is Not Supported by UEFI Driver: 3 Ways to Fix
Enabling the CSM usually fixes this issue
3 min. read
Updated on
Read our disclosure page to find out how can you help Windows Report sustain the editorial team. Read more
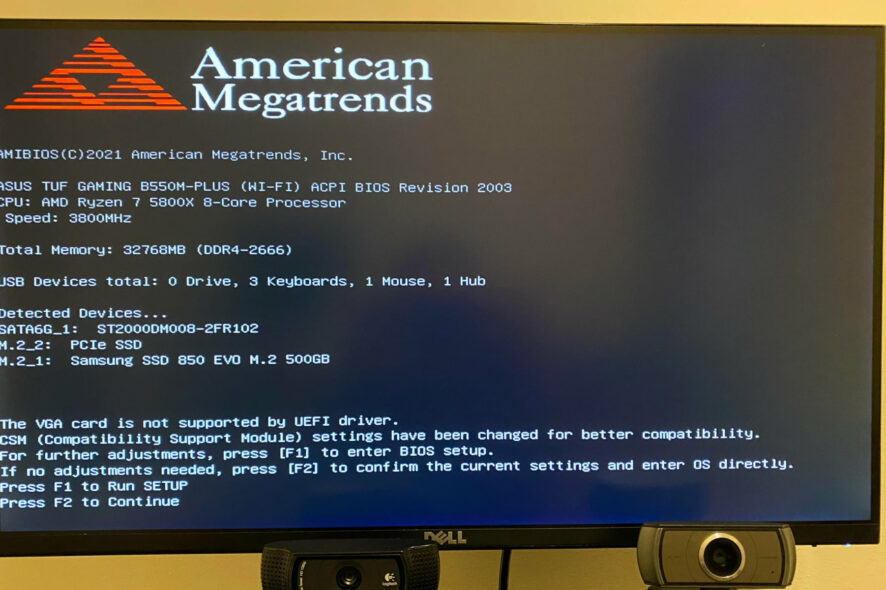
Many users encountered The VGA card is not supported by the UEFI driver and if that happens, you might encounter issues with your graphics card. Luckily, this can be fixed and this guide will show you how to do it.
Why does UEFI mode BIOS not support a VGA card?
This happens if the card is compatible with UEFI. Outdated BIOS or shader cache can also cause this problem.
What can I do if the VGA card is not supported by UEFI driver?
Before trying other solutions, disconnect Oculus Rift from your PC since sometimes it can be interpreted as the primary monitor.
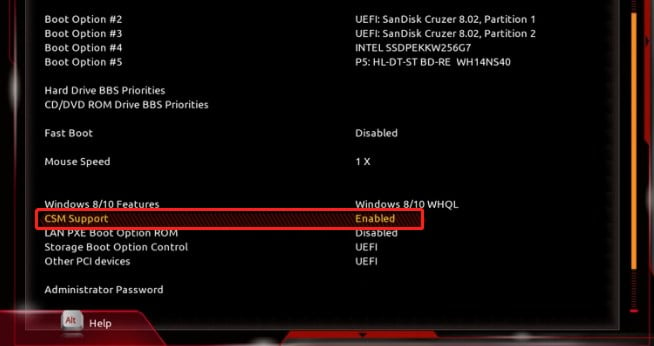
1. Enable CSM
- Enter BIOS. You can do that by restarting your PC and pressing Del or F2 during the boot.
- Navigate to Boot or Boot options.
- Look for the Compatibility Support Module or Legacy Boot and enable it.
- Save changes and restart.
Some users recommended removing the GPU, installing it again and then enabling CSM in BIOS if the VGA card does not supporting UEFI.
2. Clear the GPU cache
- Open the Nvidia Control Panel and go to Manage 3D settings.
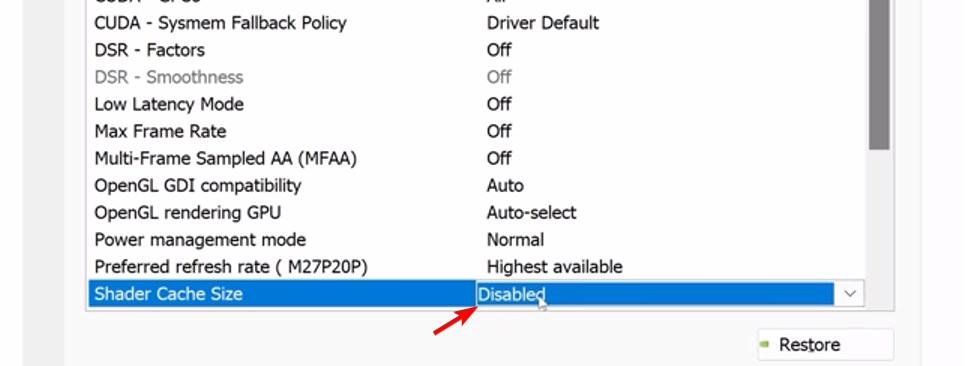
- Locate Shader Cache Size and set it to Disabled.
- Press Windows key + R and type
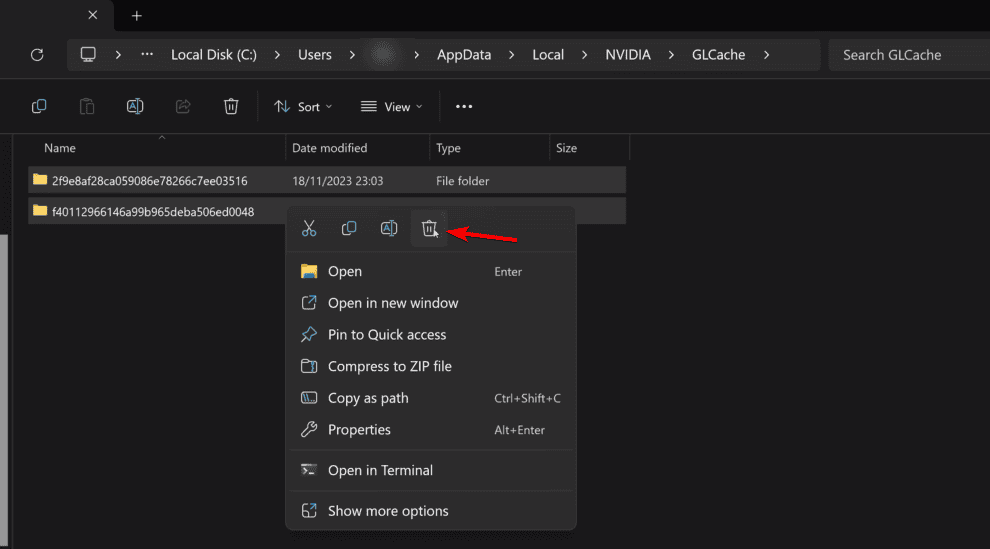
%localappdata%/Nvidia/GLCache - Delete all files from it.
- Next, press Windows key + R again and type
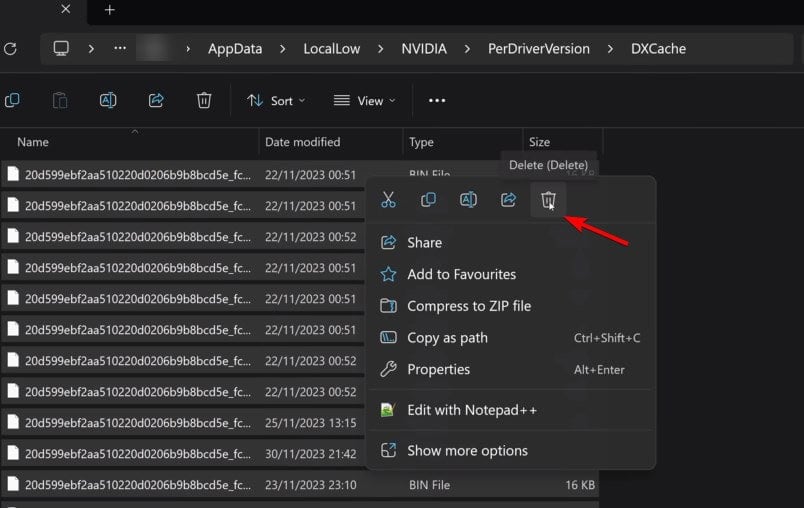
%appdata%/LocalLow/NVIDIA/PerDriverVersion/DXCache - Delete all files from this folder.
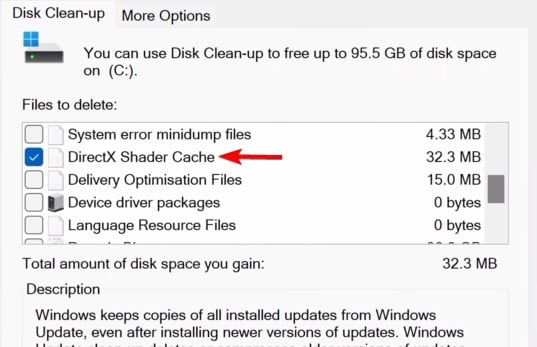
- Optional: Run Disk Cleanup, choose the option to delete system files and select DirectX Shader Cache.
- Lastly, enable Shader Cache in Nvidia Control Panel.
3. Update BIOS
- Make sure you know the exact model of your motherboard.
- Visit the motherboard manufacturer and download the latest BIOS version for that model.
- Next, follow the instructions from the website on how to install BIOS.
Keep in mind that this process can differ depending on motherboard brand and model, but if ASUS UEFI is giving you VGA not supported message, you need to update ASUS BIOS, and we have a guide to help you with that.
How do I know if my GPU supports UEFI?
You can do this by disabling CSM in BIOS and enabling Secure Boot. If the system boots, it means that te graphics card has UEFI support.
So, if your VGA card is not supported by UEFI on Windows 10, or Windows 11, now you know exactly what to do in order to fix the problem.
This isn’t the only error and many encountered VGA only mode is not enabled, but we covered that one in a separate guide.
Has this guide been helpful to you? Be sure to let us know in the dedicated comments section below.


User forum
0 messages