How to Enable Minidumps on Windows & Where to Find Them
Use the Windows Debug Tool to analyze BSOD dump files
4 min. read
Updated on
Read our disclosure page to find out how can you help Windows Report sustain the editorial team. Read more
Key notes
- The crash dump file can diagnose and troubleshoot BSOD errors on your Windows PC.
- As soon as your system crashes, a minidump file is created containing the information about your PC's memory before the error.
- This guide will help enable the minidump file and view it using a dedicated tool.
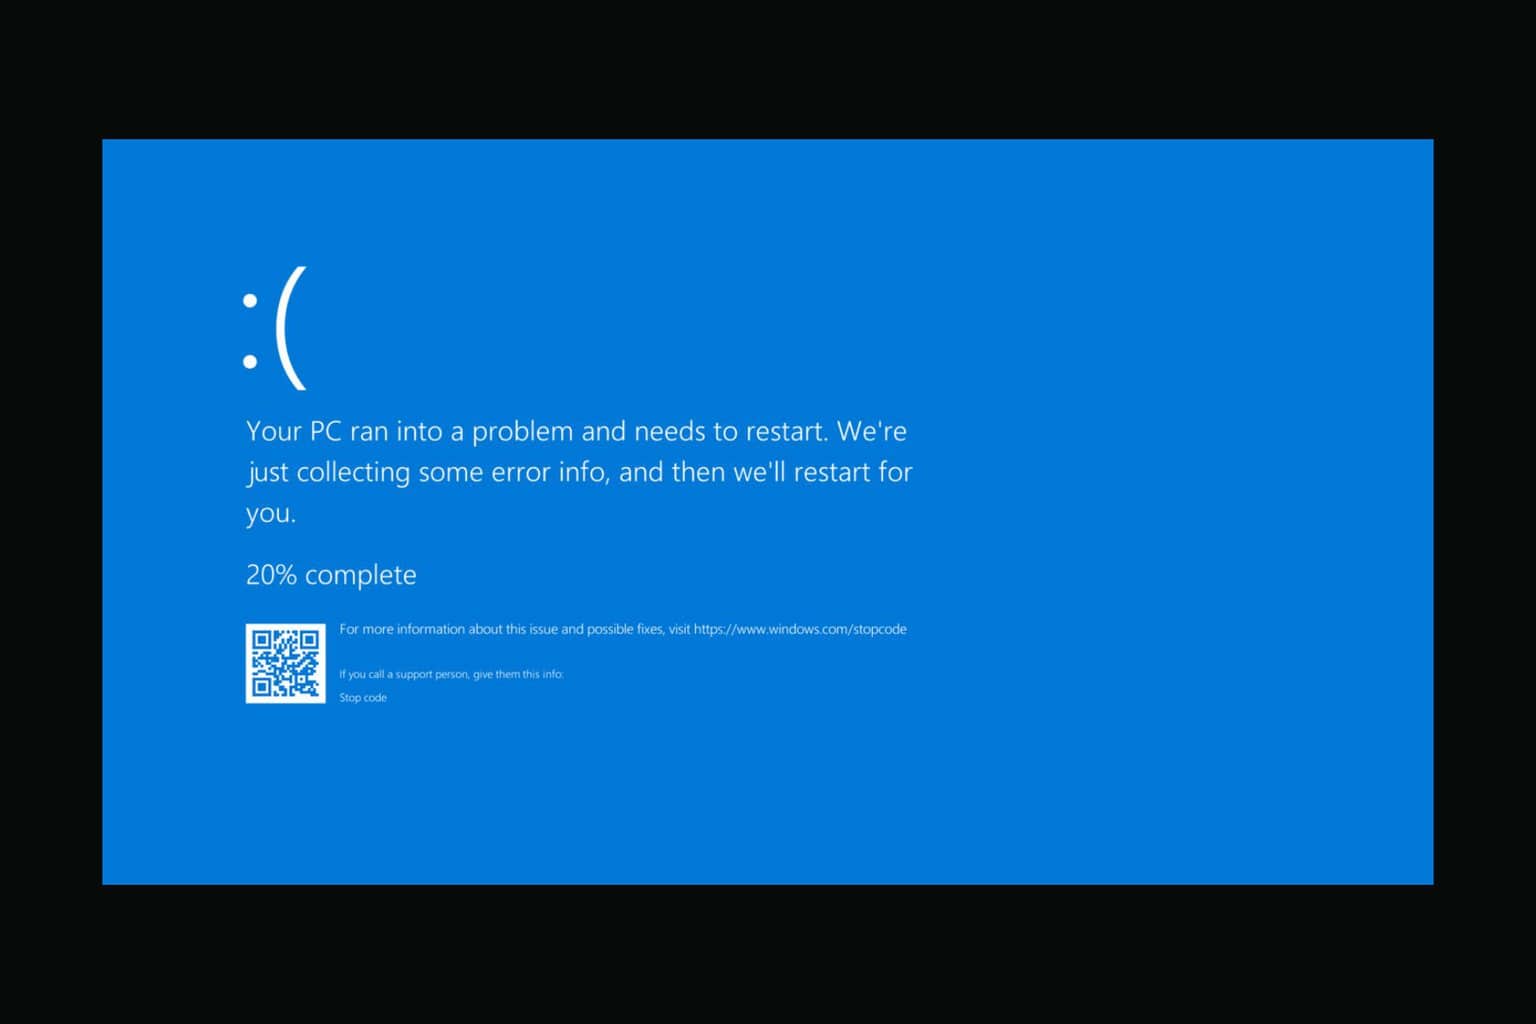
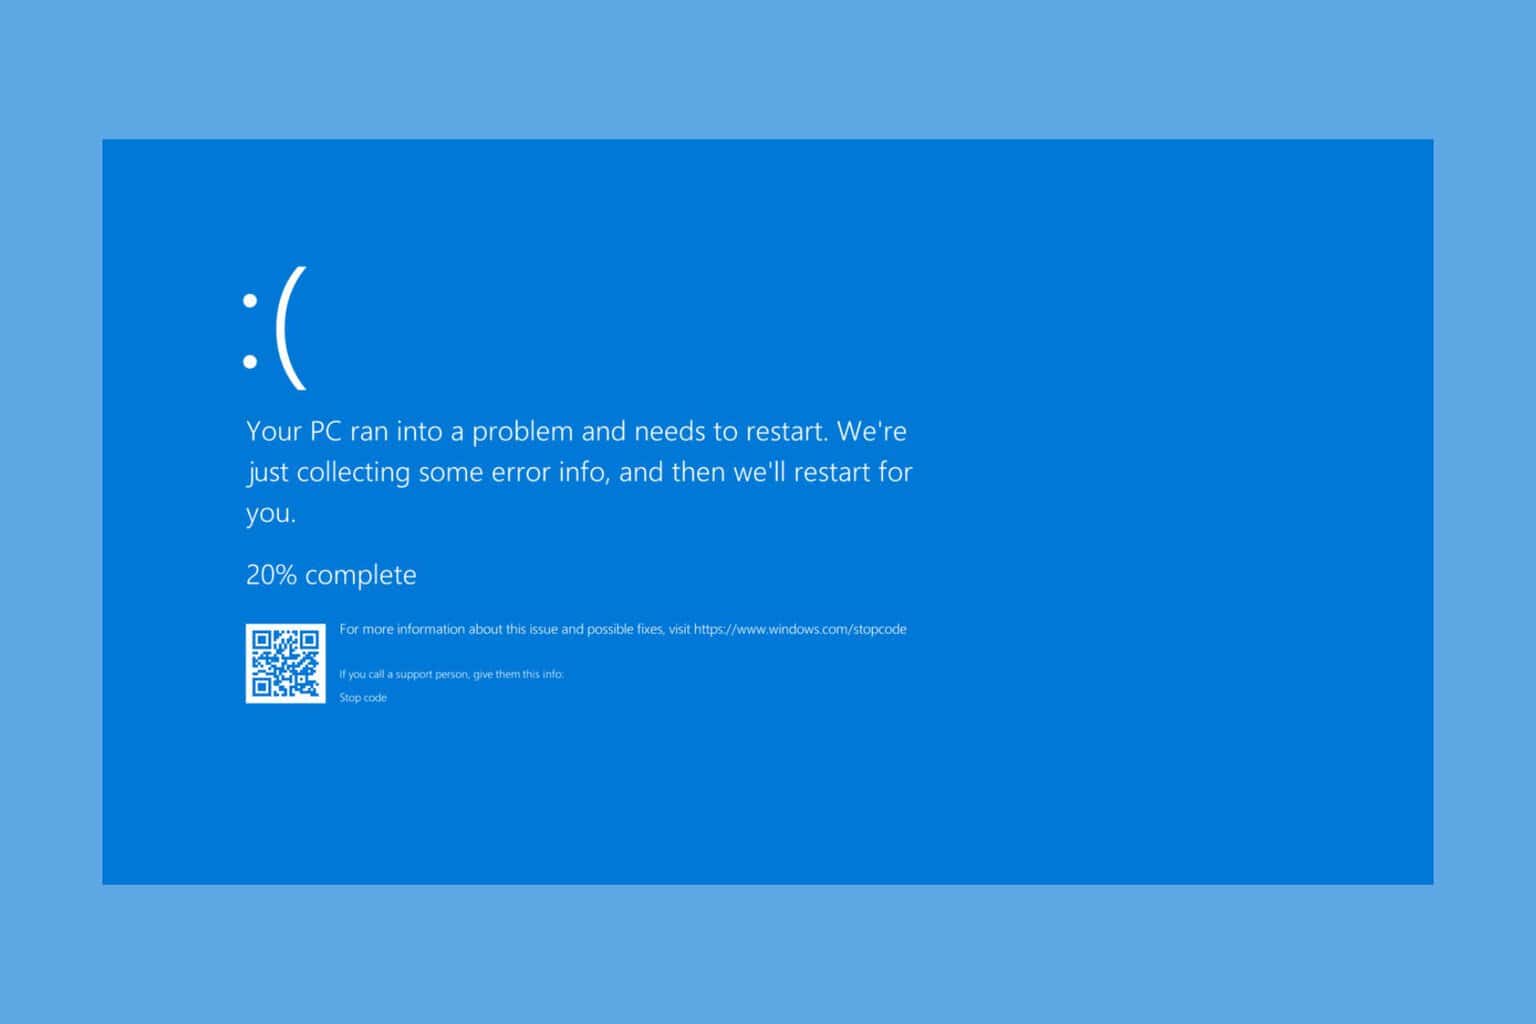
Blue Screen of Death or BSOD errors are some of the most frustrating errors to come across on a Windows PC as they prevent you from your PC normally.
While there are multiple BSOD fixing software that can help you fix the error, knowing what is causing the issue could help you troubleshoot it the next time something happens.
You can fix the BSOD error by using the crash dump file or minidump files. We have a similar guide that gives you information regarding the BSOD dump file location in Windows 7. In this guide, we will give you details on how to enable minidumps on Windows. Let us get right into it.
What could trigger BSOD errors?
Here are some of the most common causes that could trigger the BSOD or Blue Screen of Death error on your Windows PC:
- Outdated operating system: Whenever there is a new update available, you need to install it right away as it brings fixes for several underlying issues. If your OS isn’t up to date, you will face multiple issues.
- Hardware malfunction: You need to make sure that when you install a new RAM or a new SSD into your PC, there isn’t any loose connection. Because of this, there could be a loss of power, and it can malfunction. Hardware, when pushed beyond its capabilities, can also cause a BSOD error.
- Corrupt system files: Because of corrupt system files can also trigger BSOD errors. It can happen if a third-party program has tweaked system settings or replaced the DLL files.
- Virus attacks: The presence of viruses or malware can give rise to multiple issues, among which is the BSOD error. You can check out some of the best antivirus tools for Windows 11.
- Outdated device drivers: Outdated drivers on your PC can create a hurdle for your hardware to communicate with your PC, ultimately causing the BSOD error. Here are the different ways to update drivers on your Windows PC.
- Power issues: PCs, when connected to a power source with a fluctuating voltage, can also cause certain hardware to misbehave, leading to BSOD errors.
How can I enable the minidump file in Windows?
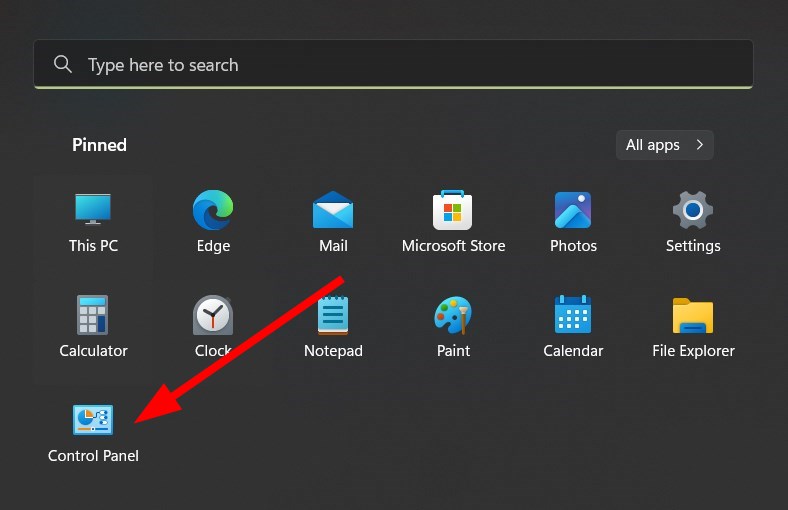
- Press the Win key to open the Start menu.
- Open Control Panel.
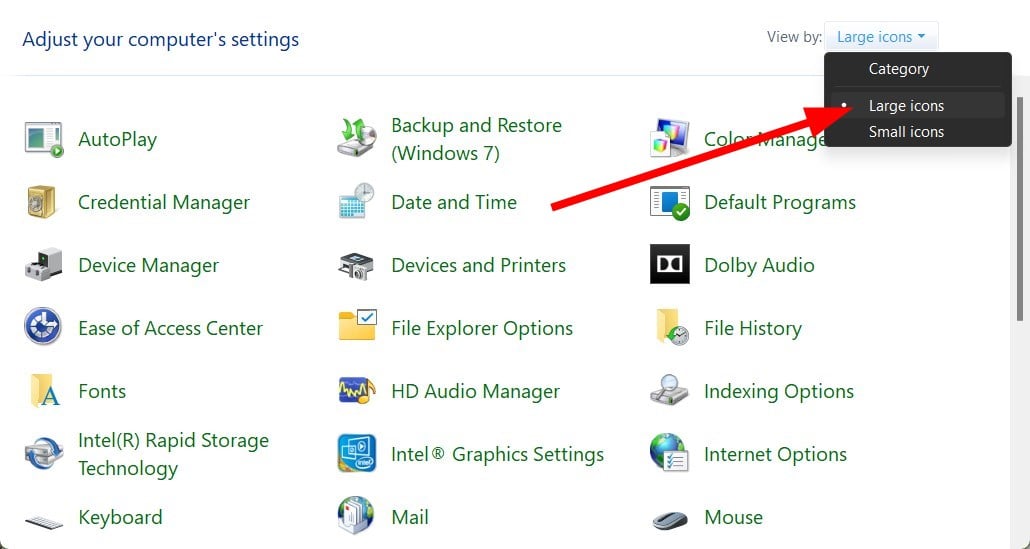
- Click on View by and select Large icons.
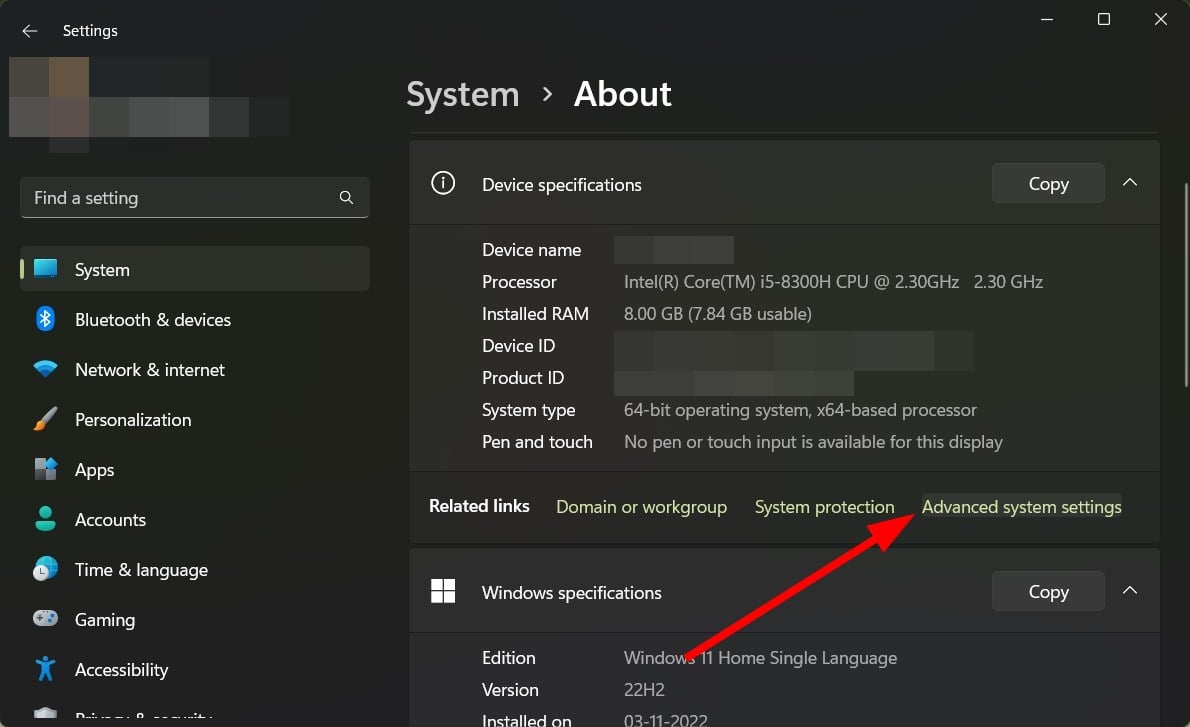
- Open System.
- Click on Advanced system settings.
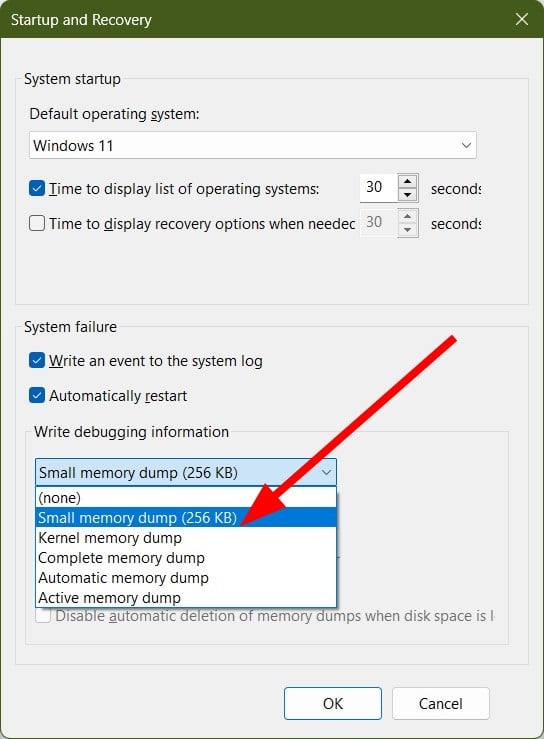
- Hit the Settings button for Startup and Recovery.
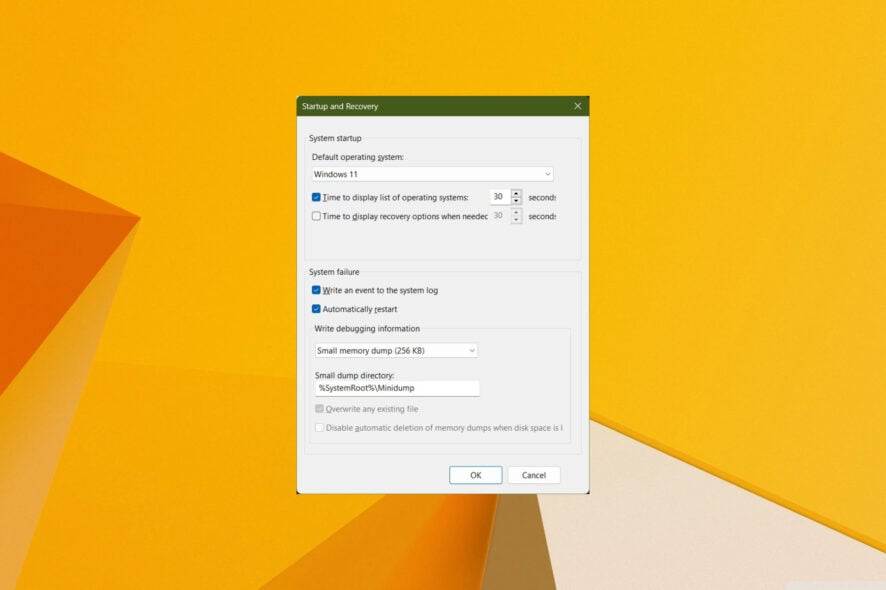
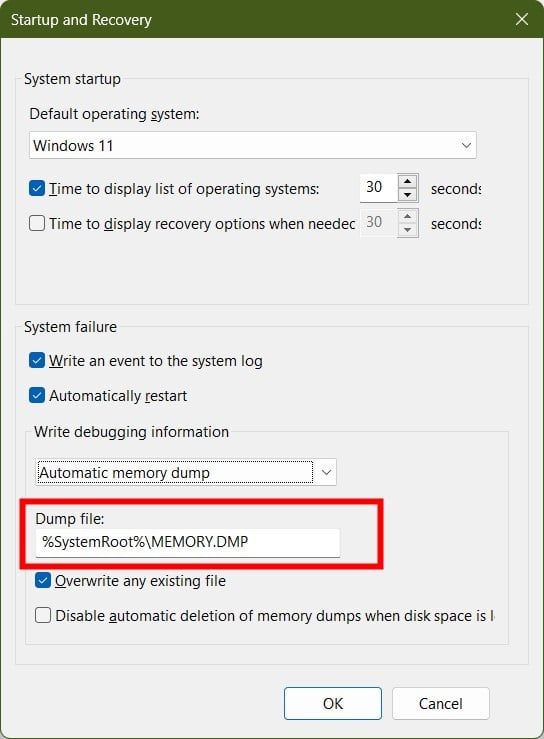
- Under the System Failure section Small memory dump.
- The highlighted box below shows you the location of the dumpfile.
Where can I view the minidump file in Windows?
- Open File Explorer.
- Navigate to the below path and press Enter:
C:\Windows\Minidump - If your system has created a minidump file in case you have encountered the BSOD error, then you will see the dump file available there.
How can I view the minidump file in Windows?
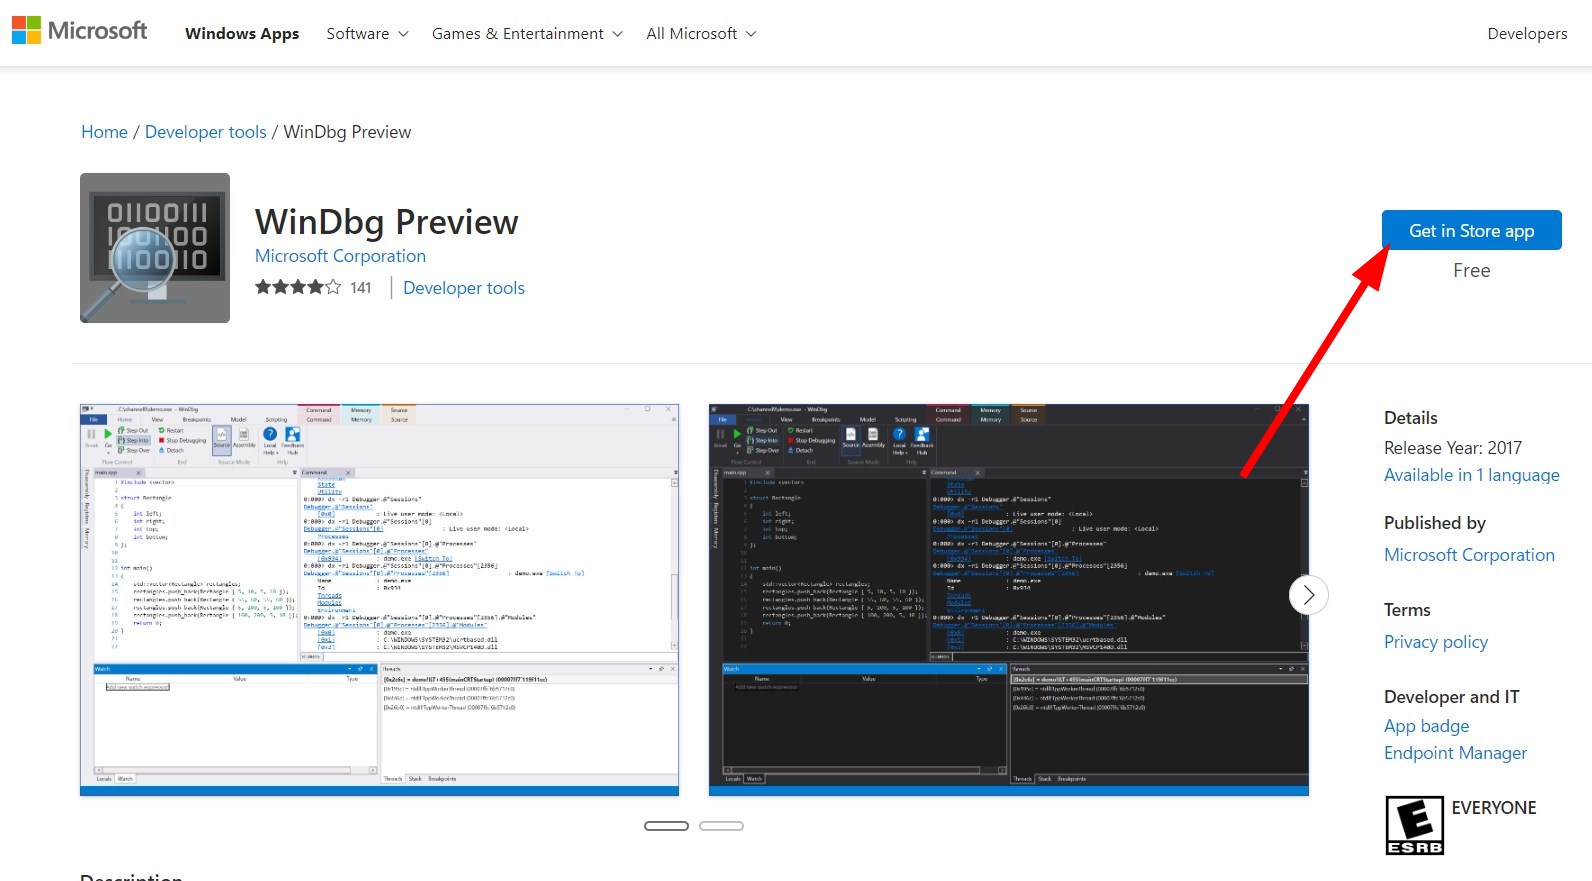
- Download the WinDbg Preview app.
- Launch the tool.
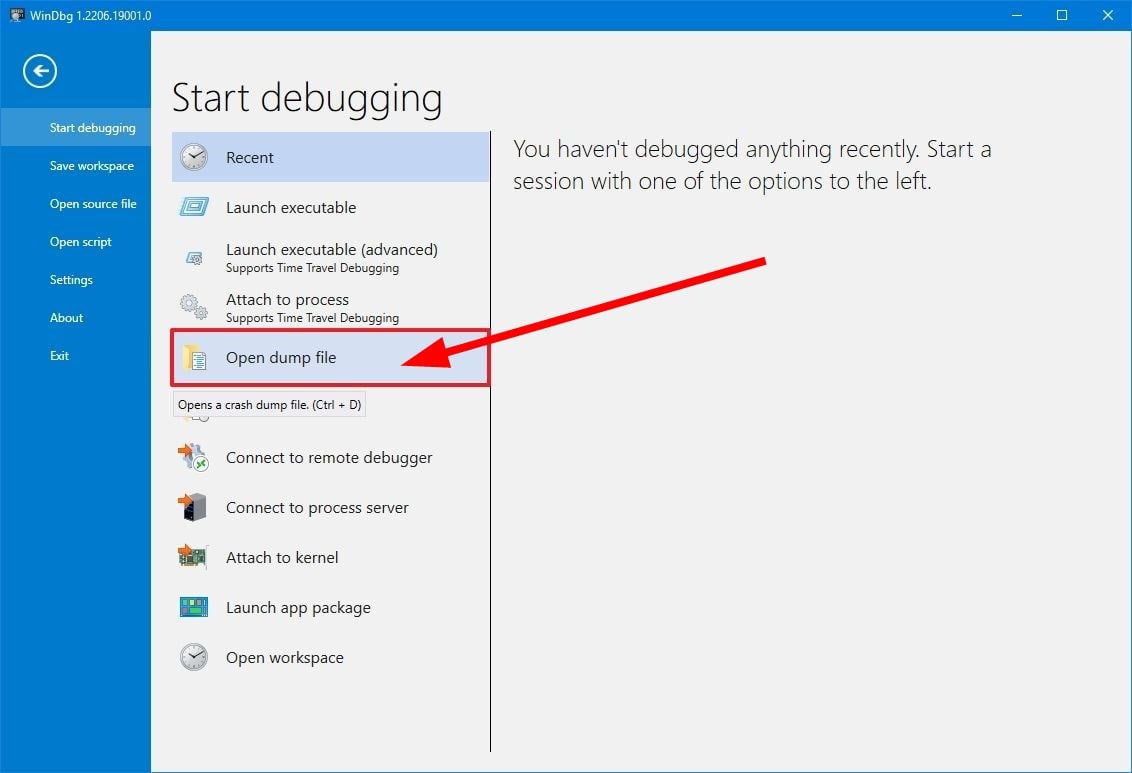
- Click on the File button.
- Select the Start debugging option.
- Click on the Open dump file option.
- Select the dump file:
%SystemRoot%\Minidump - Click the Open button.
- Let the program load the dump file.
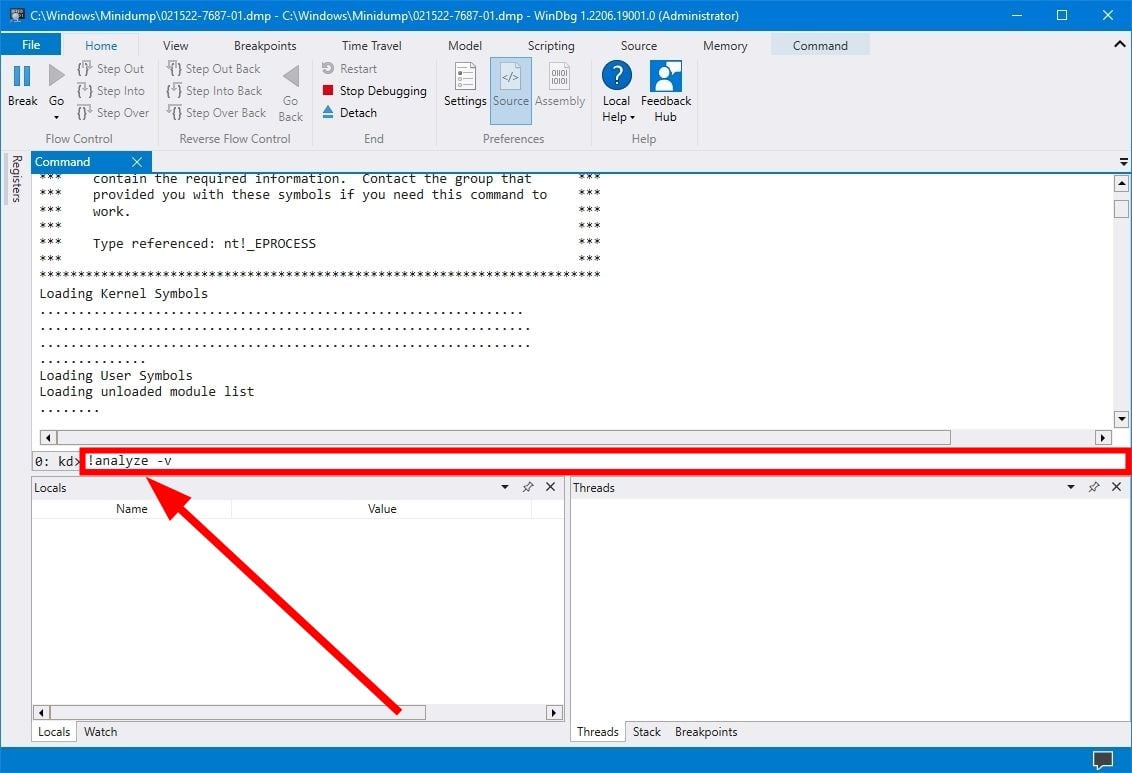
- Type the below command and press Enter:
!analyze -v
Once the analysis is complete, you can view the information regarding the dump file analysis. The WinDbg is a brilliant tool that explains the analysis in a language anyone can understand.
You can check the FAILURE_BUCKET_ID and MODULE_NAME lines to know more about the dump file that you are reviewing.
We have a guide that explains some quick fixes for Windows 11 users to resolve the BSOD errors. Also, for fixing the critical process died BSOD error in Windows 11, you can refer to our guide.
If Chrome is causing the BSOD error, then you can check out our guide to resolve the BSOD error in Windows 11. Also, we have a guide that will help you fix the BSOD error 0x00000109.




User forum
0 messages