How to Reinstall the Snipping Tool on Windows 11: 3 Easy Ways
You may easily reinstall the Snipping Tool with PowerShell commands
3 min. read
Updated on
Read our disclosure page to find out how can you help Windows Report sustain the editorial team. Read more
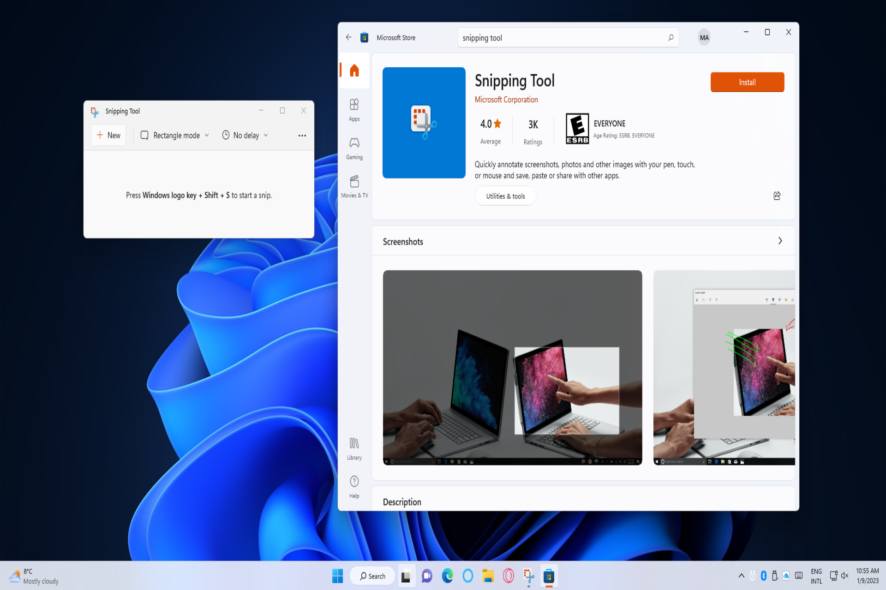
The Snipping Tool is a screen-capturing utility with which many users take screenshots. If you ever encounter issues with the Snipping Tool, reinstalling that app may be the best way to fix it. You can reinstall the Snipping Tool with the three alternative methods below.
How do I reinstall Snipping Tool in Windows 11?
1. Use Settings
- Press Start to access the Windows 11 app menu.
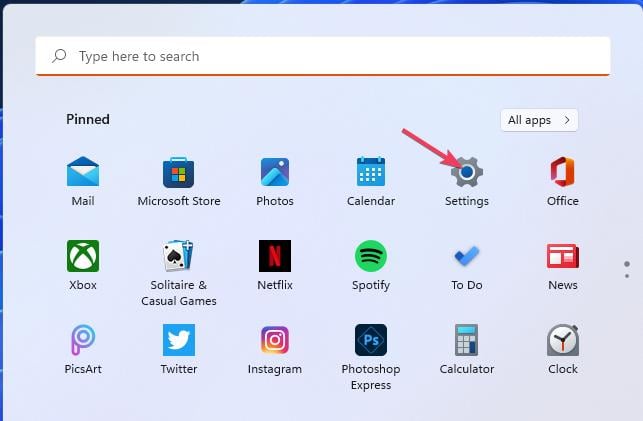
- Click the pinned Settings app shortcut you’ll see at the front of the Start menu.
- Select Apps to view that tab’s navigation options.
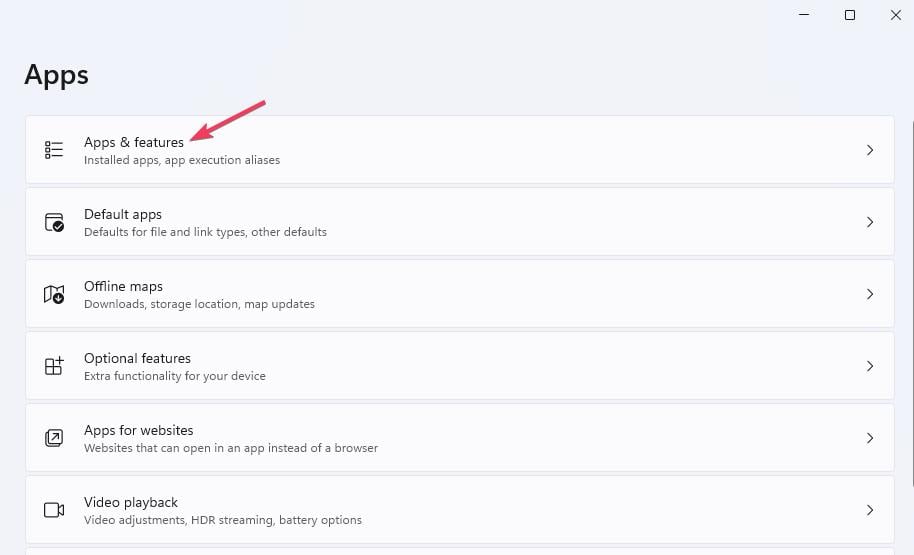
- Click Apps & features to access options for uninstalling apps.
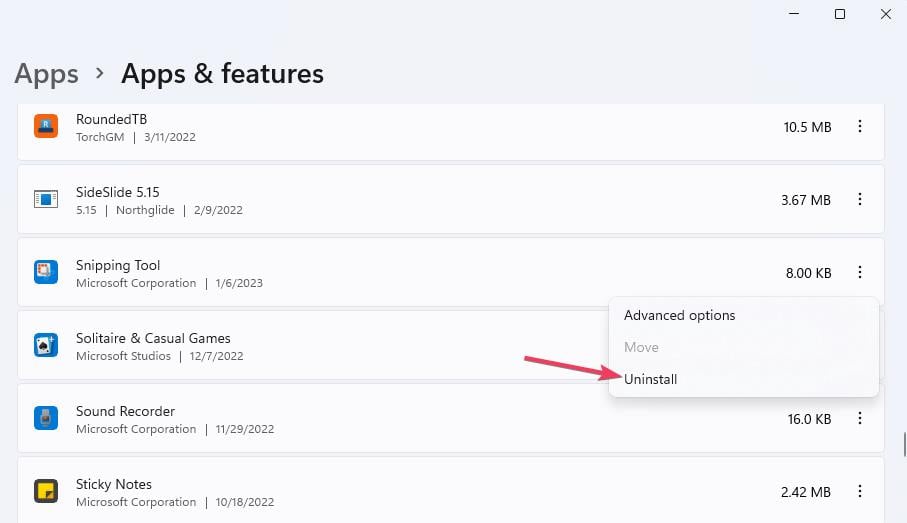
- Scroll down to the Snipping Tool, and click the three-dot button for that app.
- Select Uninstall twice to remove the Snipping Tool.
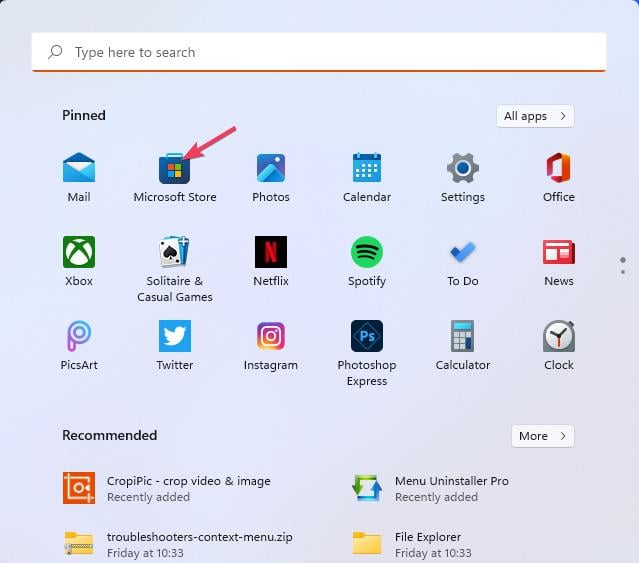
- Click Microsoft Store on the Start menu to access that app.
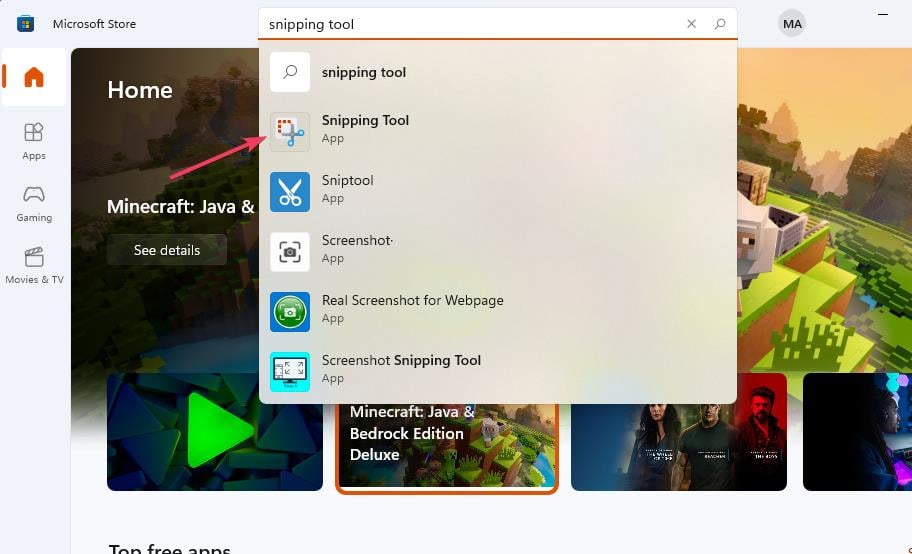
- Type Snipping Tool inside MS Store’s search box.
- Next, click Snipping Tool in the search results.
- Select the Install (or Get) option for the Snipping Tool.
2. Use Winget
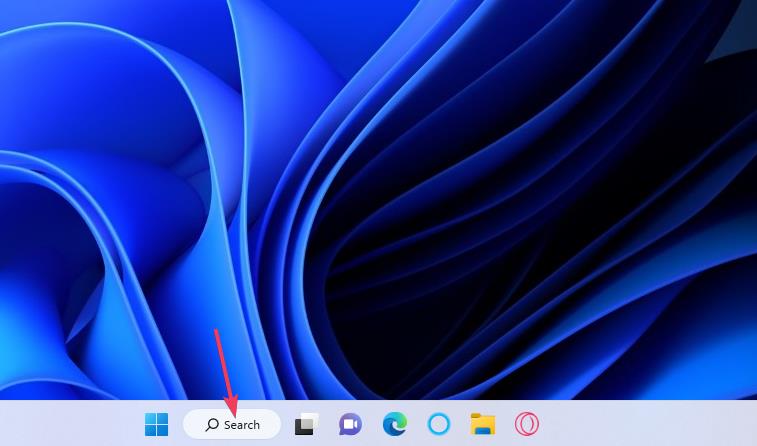
- Click Search (or a magnifying glass icon) on your Windows 11 taskbar.
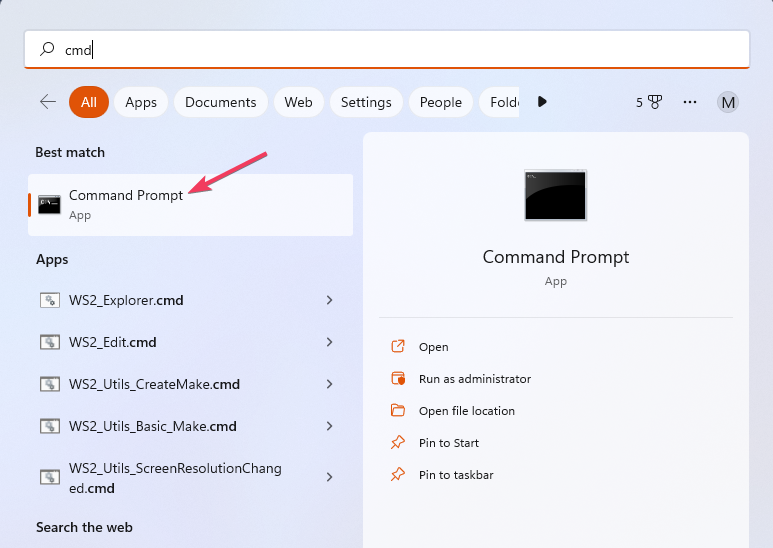
- Input the search phrase cmd inside the text box.
- Select the Command Prompt result inside the search tool to access that app.
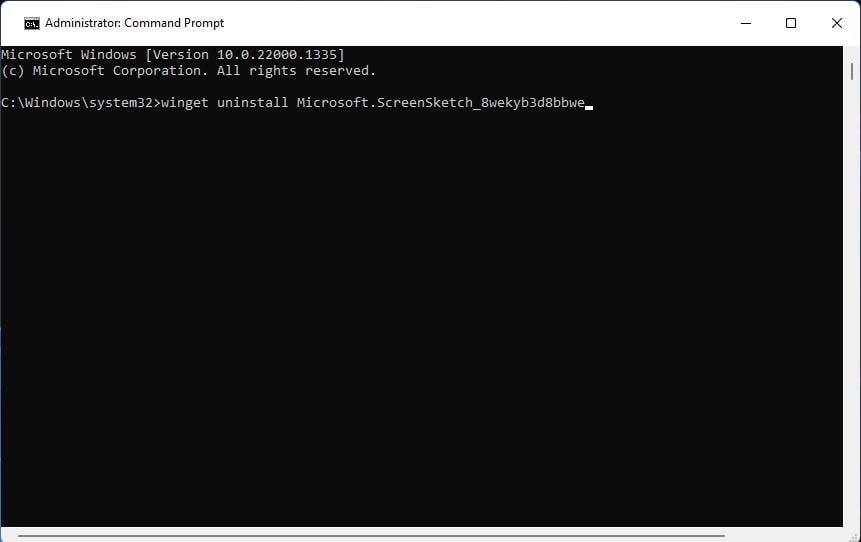
- Uninstall Snipping Tool by inputting the following Winget command and pressing Return:
winget uninstall Microsoft.ScreenSketch_8wekyb3d8bbwe - Then open Microsoft Store and install Snipping Tool from there as outlined in steps seven to 10 of the first method.
3. Use PowerShell
- First, open up the Windows 11 file and app search tool.
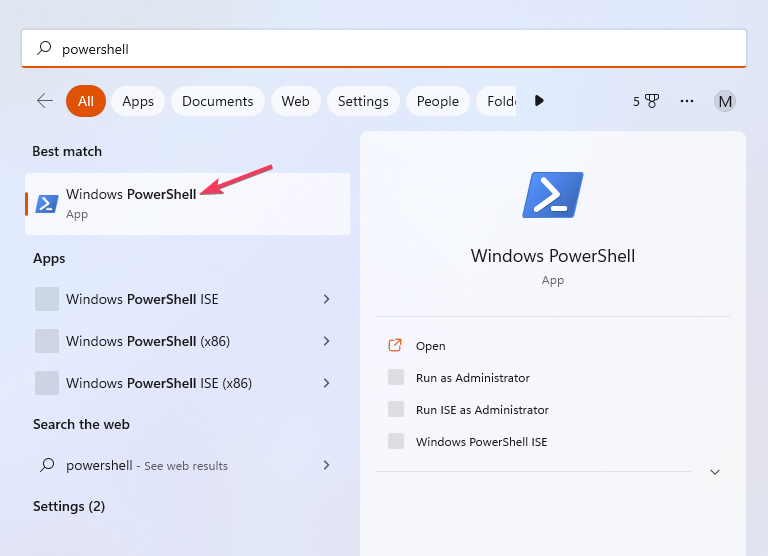
- Enter a PowerShell keyword inside the Type here to search text box.
- Click Run as administrator to open the PowerShell app found by the search tool.
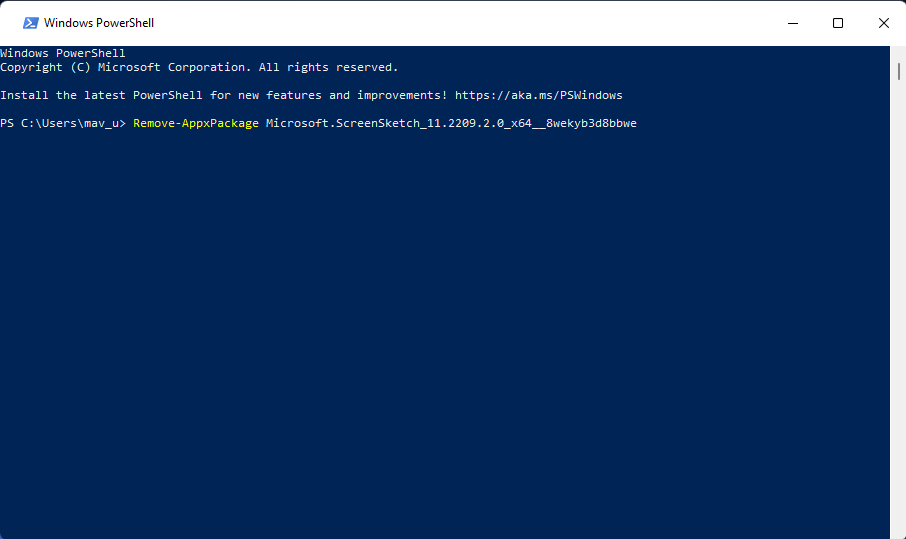
- To uninstall the Snipping Tool, execute this command:
Remove-AppxPackage Microsoft.ScreenSketch_11.2209.2.0_x64__8wekyb3d8bbwe - You can reinstall Snipping Tool by entering the following command text and pressing Enter:
Add-AppxPackage -register "C:\Program Files\WindowsApps\Microsoft.ScreenSketch_11.2209.2.0_x64__8wekyb3d8bbwe\appxmanifest.xml" -DisableDevelopmentMode
Or you can reinstall the Snipping Tool and all other default Windows 11 apps that come with the platform with a different command. However, that command will take longer to finish. To reinstall Snipping Tool in that way, execute this PowerShell command:
Get-AppxPackage -allusers | foreach {Add-AppxPackage -register “$($_.InstallLocation)\appxmanifest.xml” -DisableDevelopmentMode}
If the above command for reinstalling Snipping Tool doesn’t work, check the Snipping Tool’s ID. Make sure your command includes the full and exact Snipping Tool ID specified in the app list. You can view that list by executing this command: Get-Appxpackage –Allusers
Reinstalling Snipping Tool using PowerShell will likely resolve many issues, such as the screen record video feature not working, and ensure you’re utilizing the most up-to-date version. So, that’s one of the best ways to troubleshoot the Snipping Tool.
However, there are also alternative troubleshooting options for resetting and repairing Snipping Tool you can try before reinstalling. Check out our guide about how to reset an app for further details.


User forum
0 messages