Wcl.dll Was Not Found: 5 Ways to Fix It
Performing a system restore should fix this
4 min. read
Updated on
Read our disclosure page to find out how can you help Windows Report sustain the editorial team. Read more
Key notes
- If you are dealing with the Wcl.dll not found issue, it might be because of an outdated operating system.
- A quick solution to this issue is to use a dedicated DLL fixer.
- You can also solve the problem by uninstalling and reinstalling the faulty app.
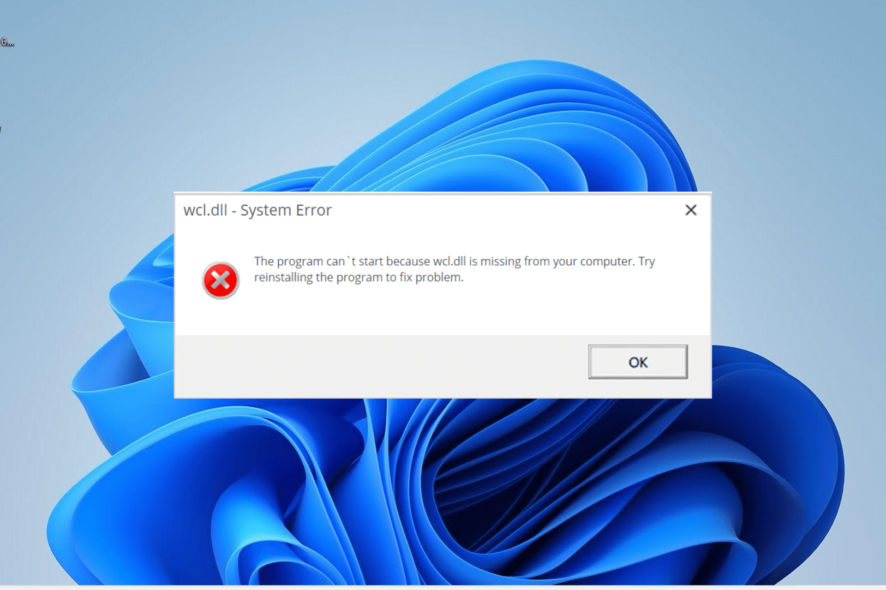
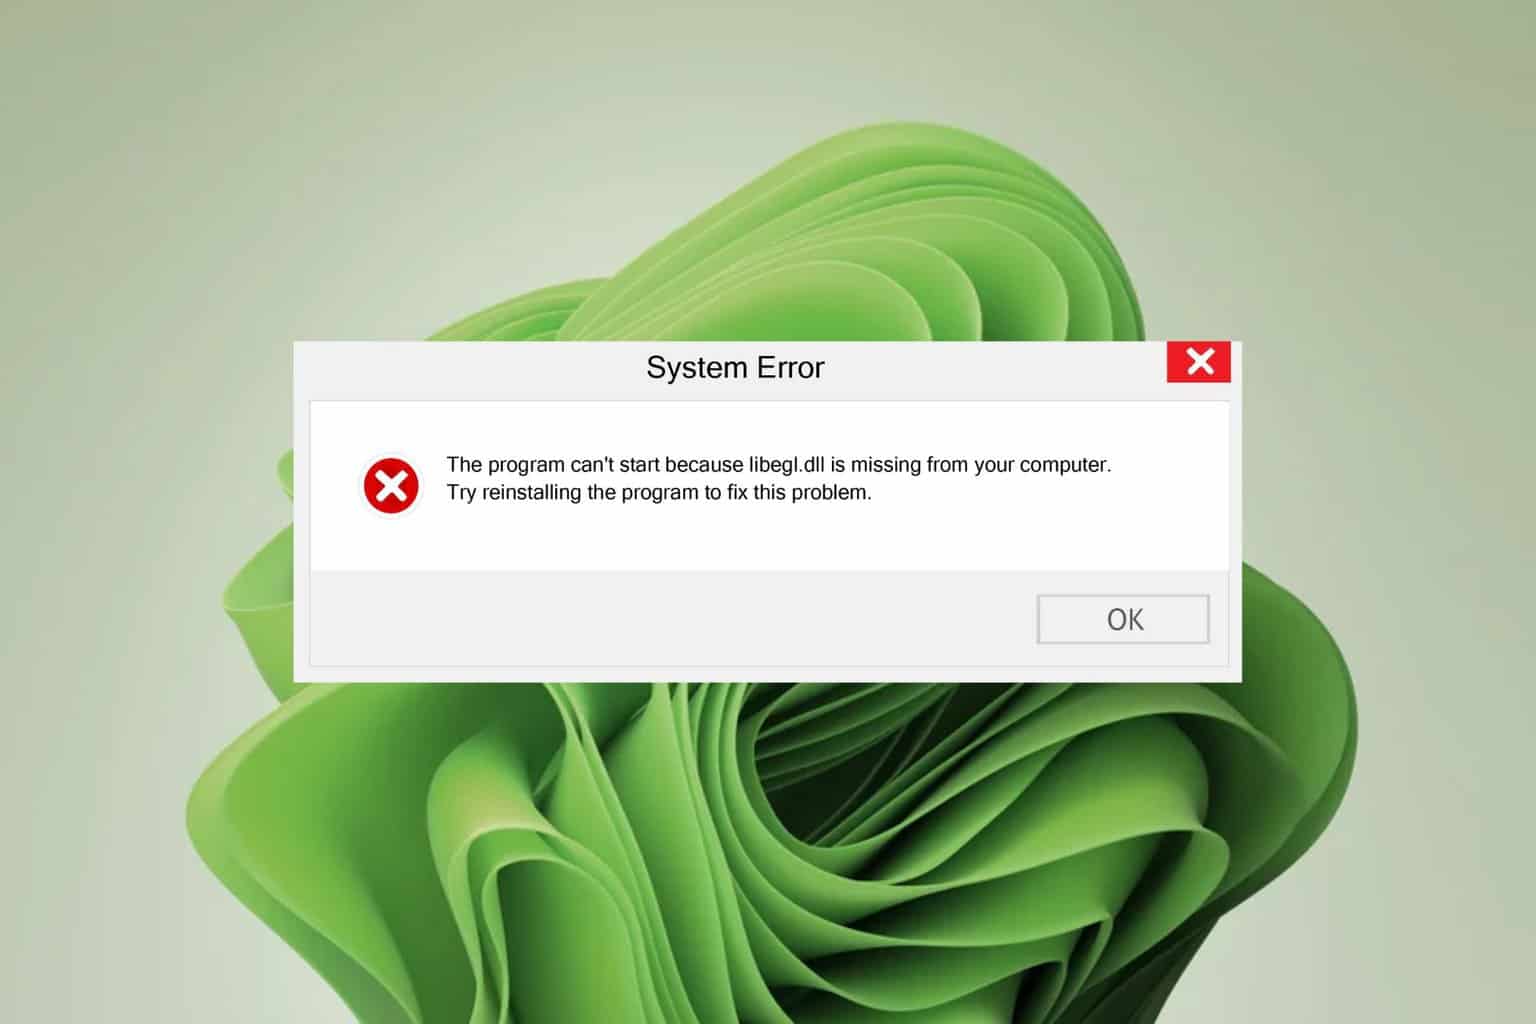
Wcl.dll, otherwise known as Windows Class Library, is one of the crucial system files on your PC. It houses some procedures and functions that are important to the operation of your system.
Unfortunately, some users can’t seem to fix the Wcl.dll on their PC. While there are several potential causes for this, the DLL file can be easily restored, as we will show in this guide.
Why is Wcl.dll not found?
Below are some of the reasons you are getting the Wcl.dll was not found error on your PC:
- Outdated PC: One of the major causes of this issue is an outdated operating system. So, you need to update your PC to solve the problem.
- Faulty system files: Sometimes, the Wcl.dll DLL file might be missing on your Windows 11 PC because of faulty system files. The solution is to repair these files using a top-notch DLL fixer.
- Faulty app: Another potential cause of this problem is incomplete or corrupt installation. Uninstalling the app and reinstalling it from official sources should do the trick.
How can I fix Wcl.dll if it is not found?
1. Use a dedicated DLL fixer
If Wcl.dll is not found on your PC, it is likely due to DLL file corruption. Instead of manually downloading and installing the file, we recommend using a DLL fixer tool.
These tools automatically detect and replace any missing DLL files with a few mouse clicks.
2. Update your PC
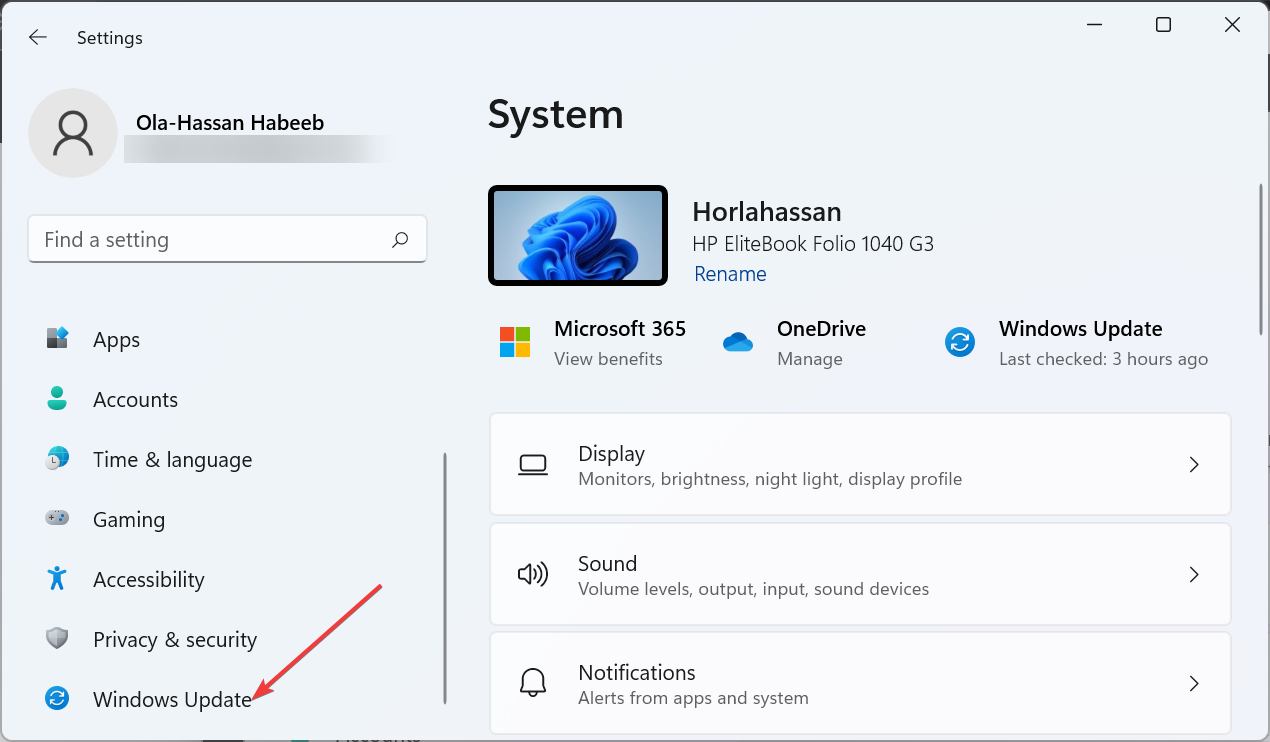
- Press the Windows key + I and select Windows Update in the left pane.
- Click the Check for updates button.
- Finally, download and install all available updates.
Sometimes, the Wcl.dll not found issue can be due to an outdated OS. You can fix this quickly by installing the latest patches on your PC.
3. Reinstall the faulty program
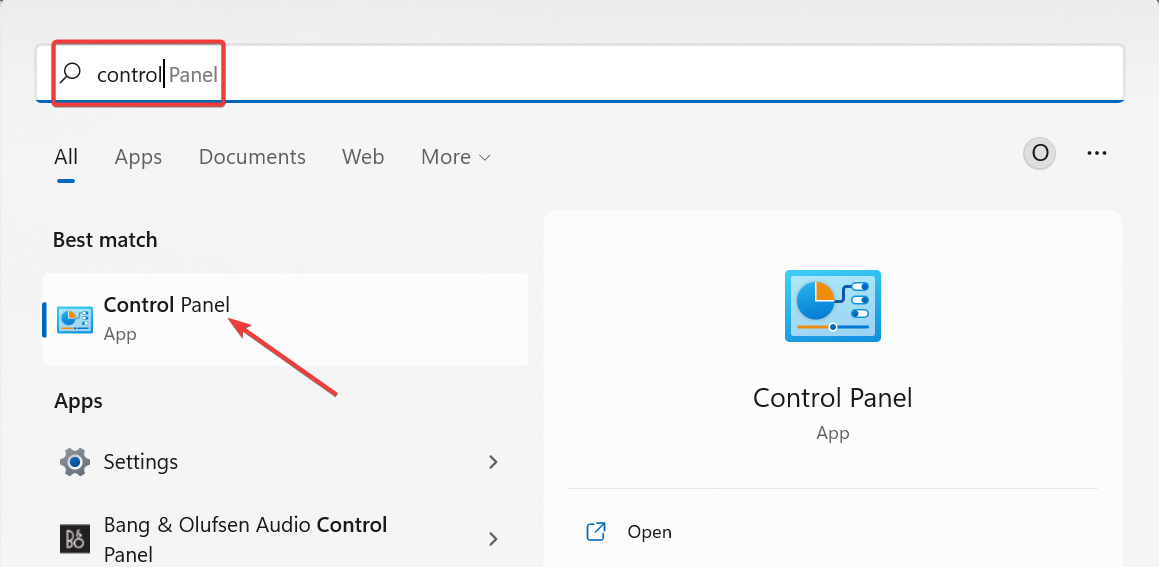
- Press the Windows key + S, type control, and select Control Panel.
- Click Uninstall a program under the Programs option.
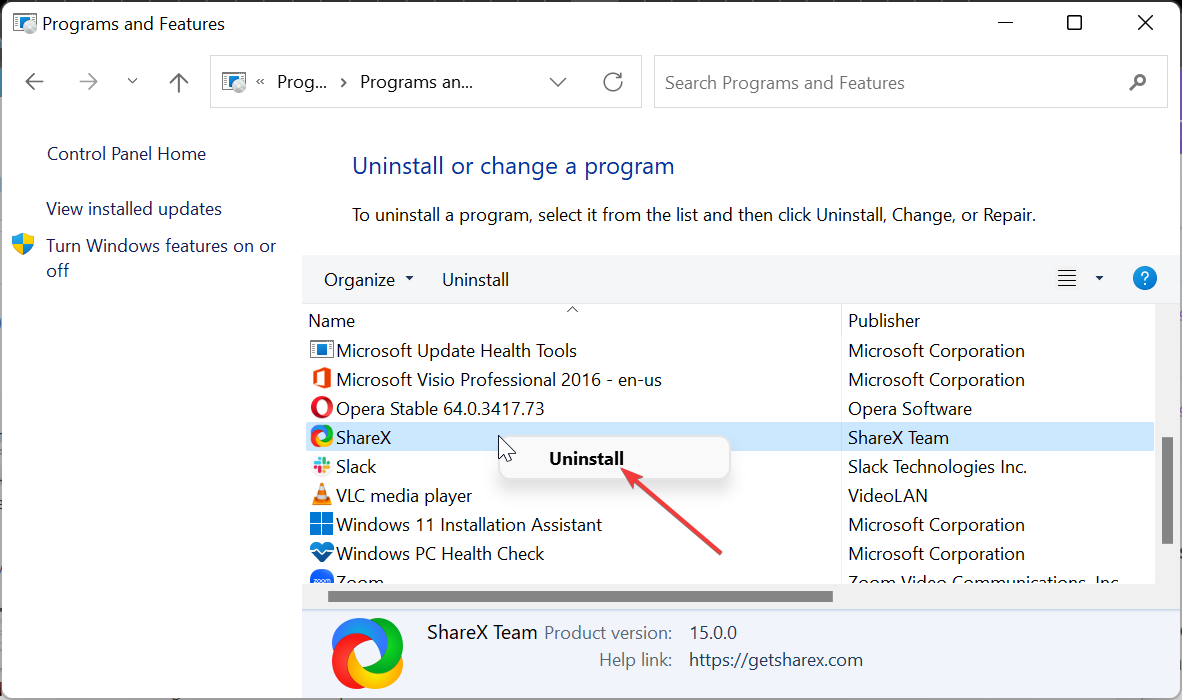
- Now, right-click the faulty app and select Uninstall.
- Finally, go to the official website to reinstall the program or use the original installation disk.
Sometimes, problems with the app giving the Wcl.dll not found error might be the cause of the issue. The solution to this is to uninstall the app and reinstall it from official sources.
4. Run an SFC scan
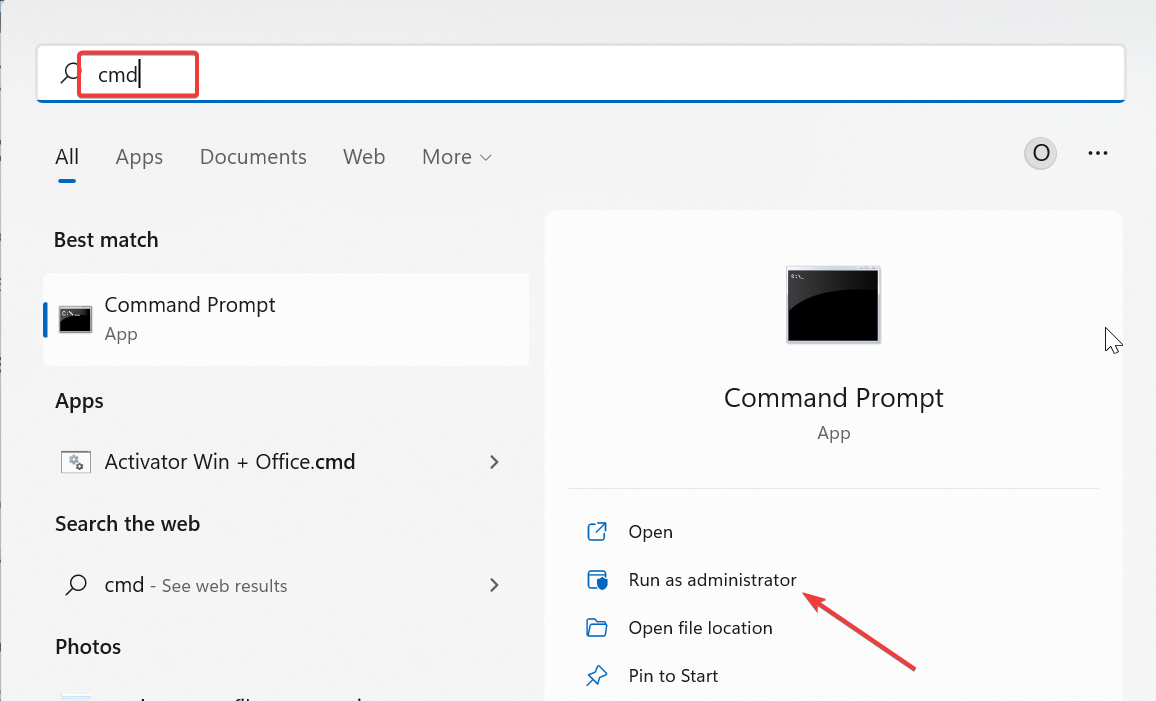
- Press the Windows key, type cmd, and select Run as administrator under Command Prompt.
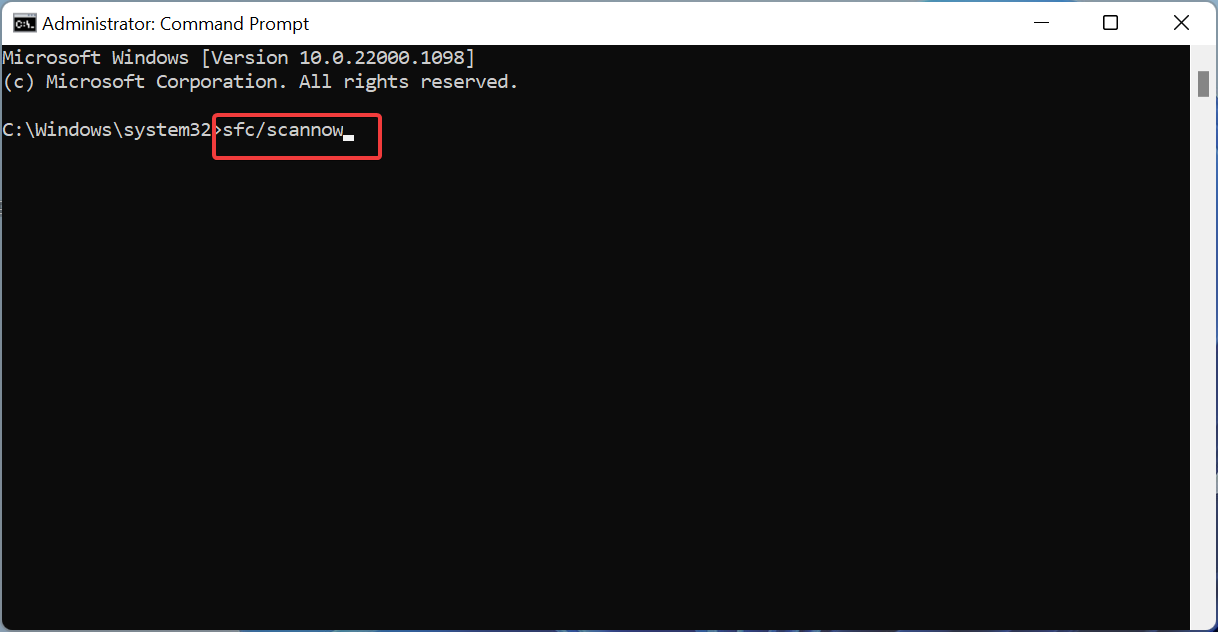
- Type the command below and hit Enter:
sfc /scannow - Finally, wait for the command to finish running and restart your PC.
Some users have found this issue to be due to corrupt, broken, or missing system files. You need to repair and restore these files to get past the error message.
5. Perform a system restore
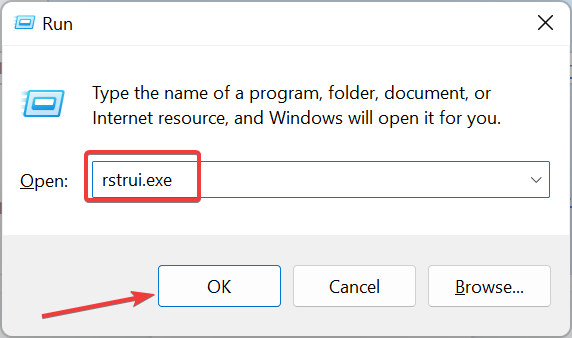
- Press the Windows key + R, type rstrui.exe, and click OK.
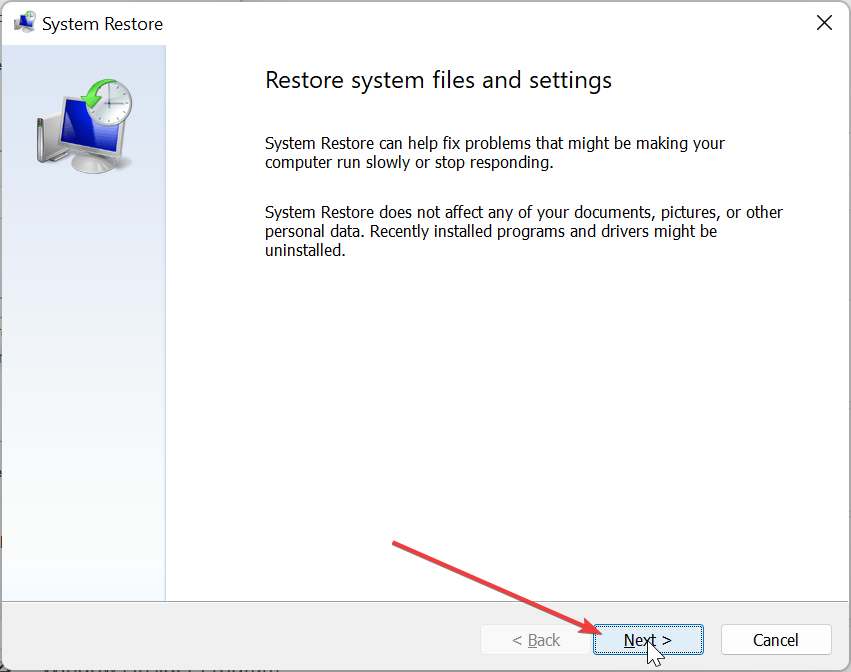
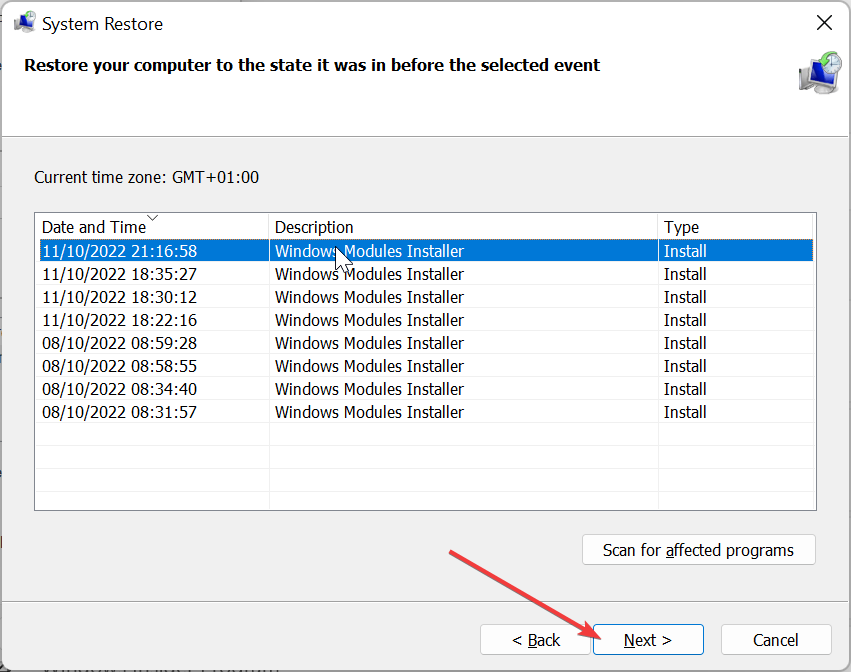
- Click the Next button.
- Now, choose your preferred restore point and click Next.
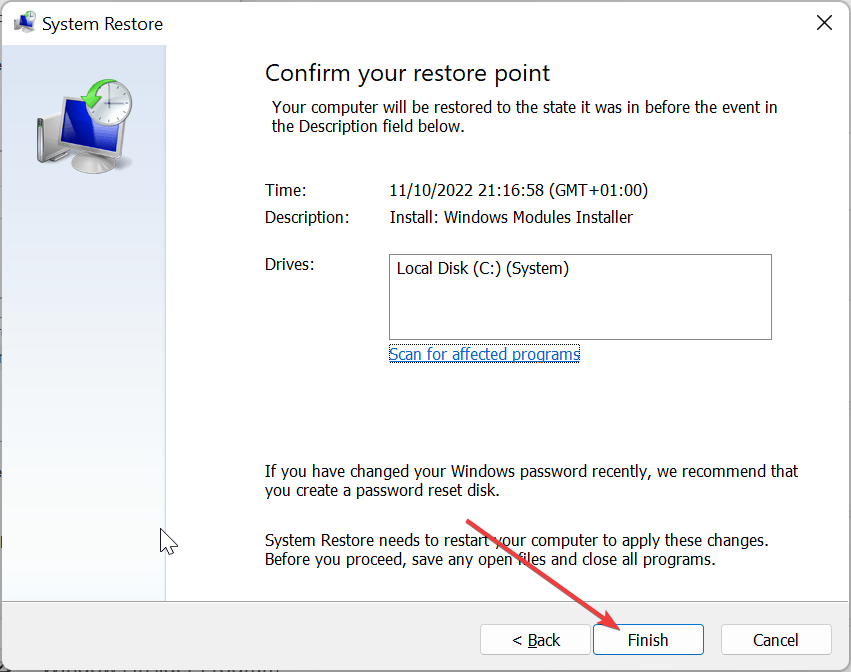
- Finally, click Finish.
In some cases, you might be facing this Wcl.dll issue because of some changes you made to your PC. The solution is to restore your PC to a point when everything is working perfectly.
We have reached the end of this guide on the Wcl.dll not found issue. Hopefully, you are able to solve the issue before exhausting the solutions on our list.
If you are still dealing with the issue, you might have to download the file from a trusted site like DLL file.com. Alternatively, you can copy it from another PC.
Similarly, if some DLL files are missing on your Windows 10 PC, check our detailed guide to restore them.
Feel free to let us know the solution that helped you solve the problem in the comments below.



User forum
0 messages