Cannot Load Library DevIl.dll: 5 Ways to Fix it
Make sure the Linker settings are correct
3 min. read
Updated on
Read our disclosure page to find out how can you help Windows Report sustain the editorial team. Read more
Key notes
- To fix the Cannot load library DevIl.dll error, make sure both the DLL and Visual Studio are either 32-bit or 64-bit, or install the previous DLL version.
- Keep reading to find out how Windows Report experts fixed the error!
Often, while using the DevIl image library and Microsoft Visual Studio, you may get the Unable to load DLL ‘DevIL.dll’: The specified module could not be found. (Exception from HRESULT: 0x8007007E) or a similar error.
The problem arises when there’s a mismatch between the versions (x32 and x64) of the DLLs and Visual Studio or if the linker settings are configured incorrectly.
How do I fix the Cannot load library DevIl.dll error?
Before we start with the slightly complex solutions, try these quick ones:
- Make sure the DLL file or library (lib) is placed in the same folder as the project (.exe file).
- Roll back to the previous version of DevIL, if possible.
- If you have another PC running the same OS architecture, get the DevIl.dll file from it.
1. Use a DLL repair tool
Your primary approach when faced with the Cannot load library Devil.dll error should be to use an effective DLL repair tool.
A reliable tool has an extensive library of DLLs. It will scan all available DLL files on the PC and replace the missing or corrupt ones with a fresh copy.
2. Get the correct DLL version
As per our experts, using the 64-bit version of the DevIL DLL on a 64-bit Windows PC, but with a 32-bit version of Visual Studio will likely throw errors. So, if you have the 32-bit Visual Studio, get the 32-bit DevIl.dll file, irrespective of the OS architecture.
Remember, since DevIl.dll is a program or project-specific DLL, it won’t be stored in the System32 folder or any of the other Windows folders. Also, after you manually download the DLL, move it to the project-specific folder.
3. Change the Linker settings
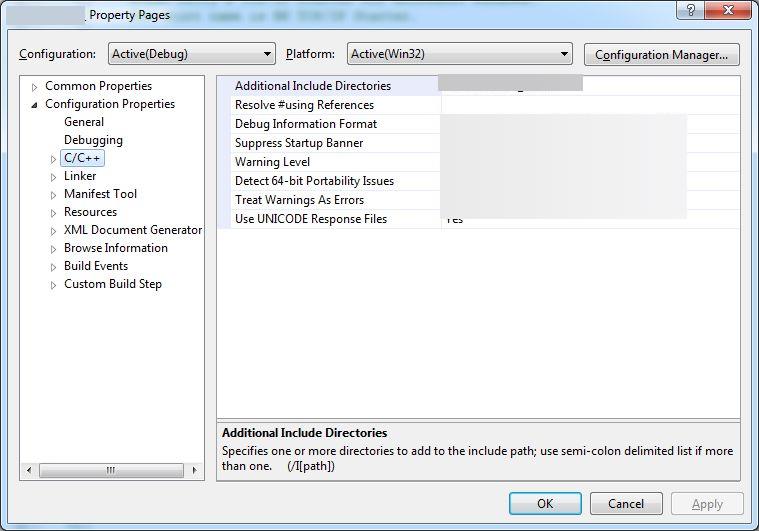
- Right-click on your project and select Properties.
- Go to C/C++ from the navigation pane, and click on Additional Include Directories.
- Now, locate the include folder within the DevIl’s directory, and click Open.
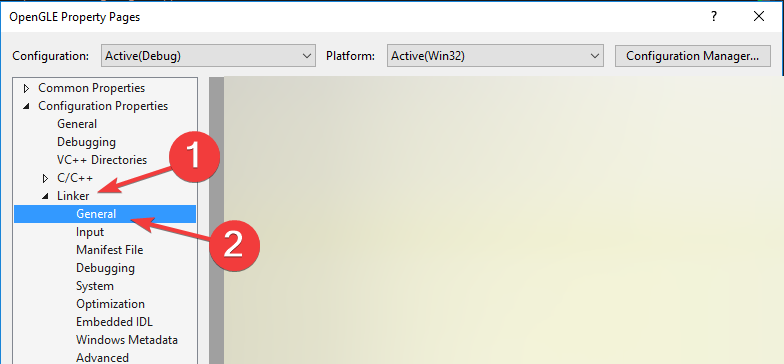
- Once done, expand Linker from the left, and go to General.
- Now, add the DevIl’s lib folder (containing DevIL.lib, ILU.lib and ILUT.lib) to the Additional Library Directories option.
4. Download Microsoft Visual C++ Redistributables
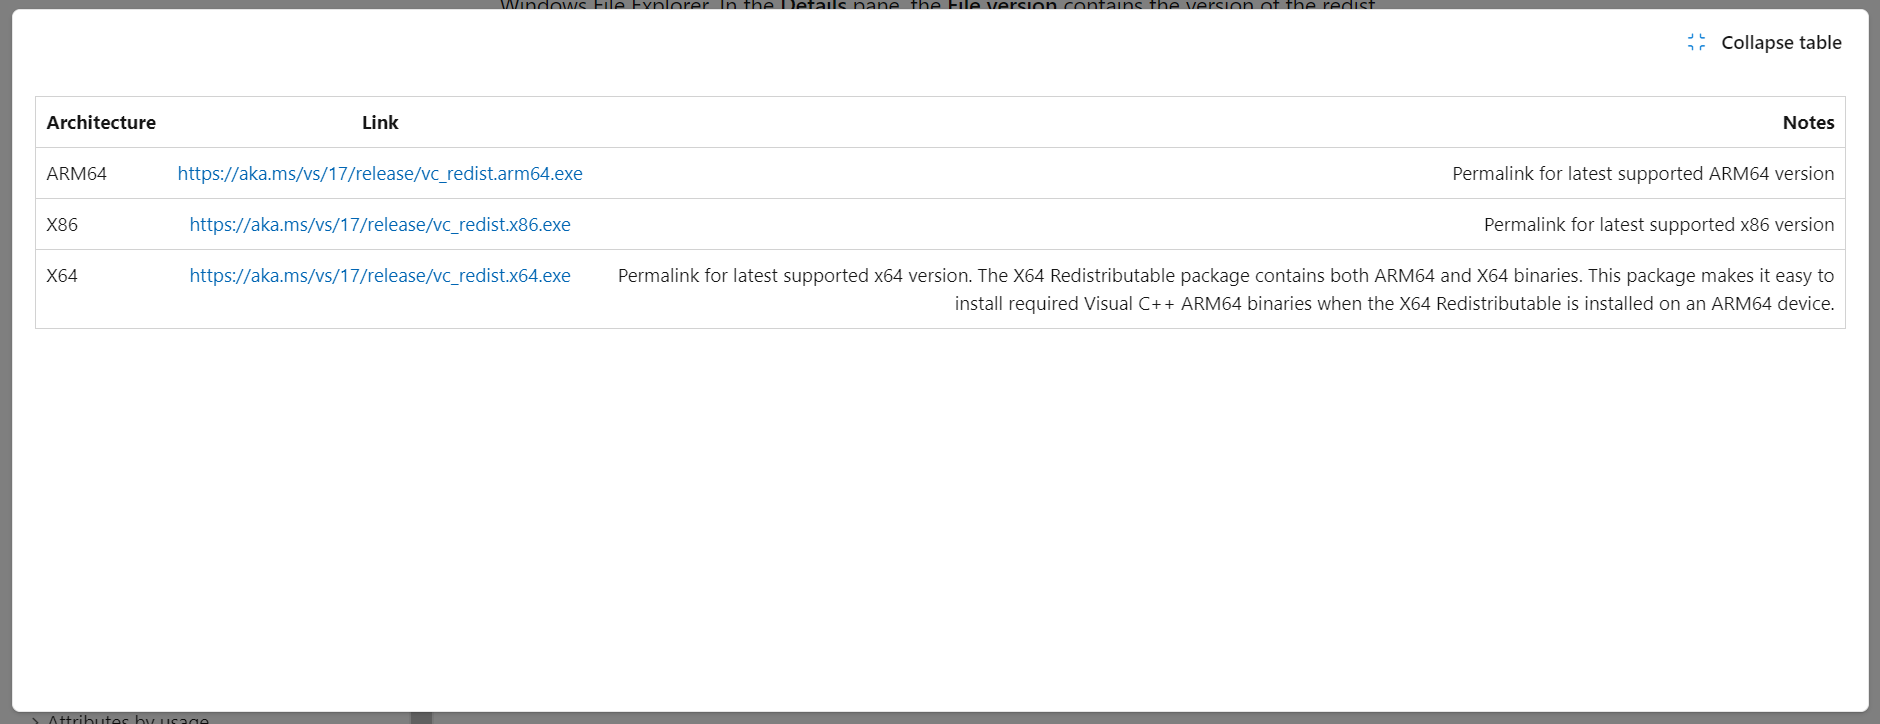
- Go to Microsoft’s official website, and download the latest compatible version of Microsoft Visual C++ Redistributables, corresponding to the system architecture.
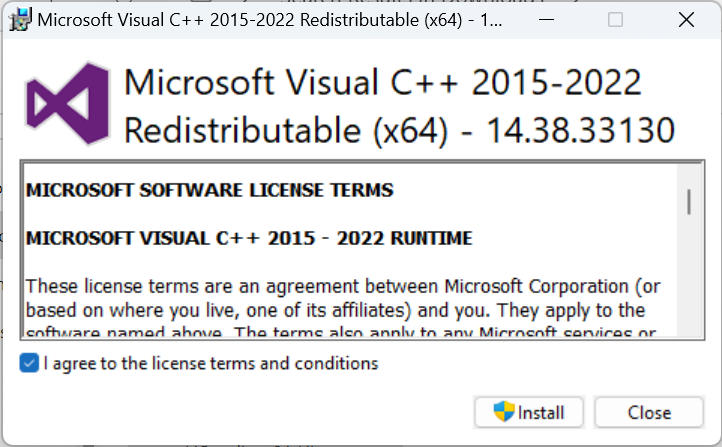
- Run the setup and follow the on-screen instructions to complete the installation.
- Once done, reboot the computer, and verify whether the Cannot load library DevIl.dll error is fixed.
5. Reinstall the program
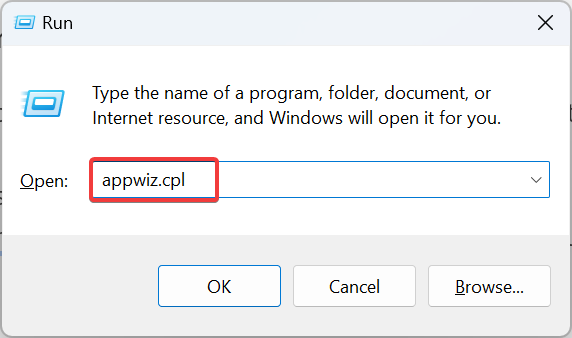
- Press Windows + R to open Run, type appwiz.cpl in the text field, and hit Enter.
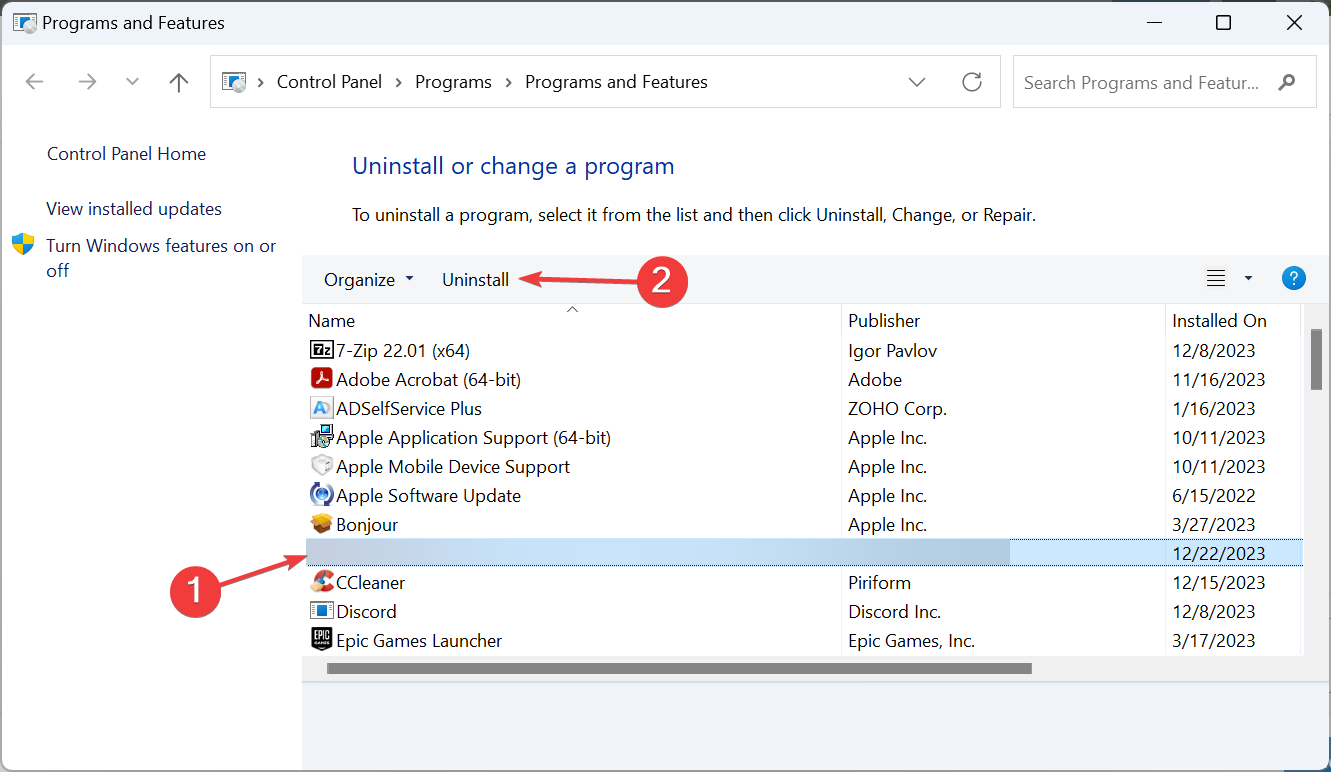
- Select the program that requires the DevIl.dll file, and click Uninstall.
- Follow the on-screen instructions to complete the process.
- Restart the computer, and then reinstall the program from an official source, i.e., the website or Microsoft Store.
Most programs that require DevIl.dll usually come bundled with it, and if you get the Cannot load library error, the file was not downloaded due to an installation issue. In this case, reinstalling the program will do the trick!
A similar approach helps when you come across a missing opencl.dll error.
For any queries or to share what worked for you, drop a comment below.
User forum
0 messages