Office Deployment Tool: How to Download, Install and Configure
This will cover all information necessary to use Office Deployment Tool
![]() 4 min. read
4 min. read
![]() Published on
Published on
Share this article
Improve this guide
Read our disclosure page to find out how can you help Windows Report sustain the editorial team. Read more
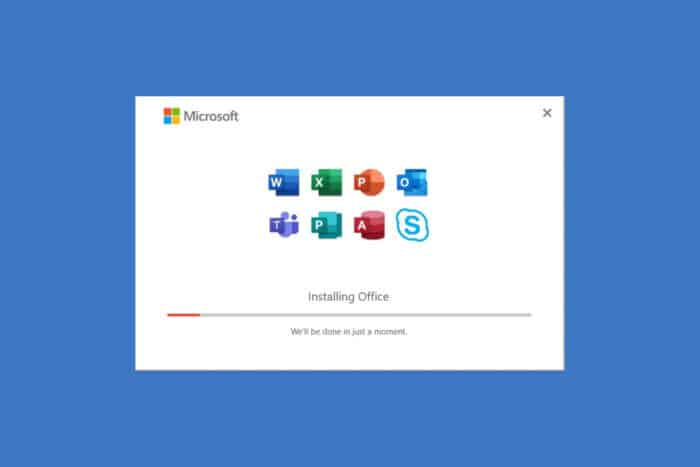
Deploying Microsoft Office can sometimes feel like navigating a maze, but with the Office Deployment Tool (ODT), the process becomes much more manageable. Here’s a comprehensive guide to help you master the Office Deployment Tool and streamline your Office setup.
How can I download and use Office Deployment Tool?
1. Download the Office Deployment Tool
- Visit the Microsoft Download Center and click the Download button.
- Run the downloaded file, officedeploymenttool.exe.
- Read and accept the License Terms, then choose a location to extract the files.
- Create and name the folder where you want to store the extracted files (e.g., ODT on your desktop).
- Click OK to extract the files.
By following these steps, you will successfully download and extract the necessary files for the Office Deployment Tool.
2. Create and save your configuration file
- Open the Office Customization Tool in your browser.
- Complete all required fields based on your deployment needs.
- For Office 365 ProPlus, select Office 365 ProPlus under Office Suites.
- For Remote Desktop installations, select Shared Computer as the activation option.
- Export the configuration file by clicking the Export button.
- Save the exported file to the folder where you extracted the Office Deployment Tool files.
This configuration file will contain all the necessary settings for deploying Office 365 based on your choices, ensuring a smooth installation process. We also have a complete guide on how to use the Office Customization Tool.
3. Run the Office Deployment Tool in Download Mode
- Open Command Prompt as an Administrator.
- Navigate to the ODT folder using the cd command:
cd C:\Users\YourUserName\Desktop\ODT - Run the tool in download mode:
setup.exe /download ODTConfig.xml- setup.exe is the name of the executable file.
- /download is the mode you are running the tool in.
- ODTConfig.xml is the configuration file you created.
This will download the Office installation files specified in your configuration file. The process may take some time depending on your internet speed.
4. Run the Office Deployment Tool in Configure Mode
- Ensure you are still in the ODT directory in Command Prompt:
cd C:\Users\YourUserName\Desktop\ODT - Run the tool in configure mode:
setup.exe /configure ODTConfig.xml - The installation window for Office will open and begin the installation process.
This command will use the configuration file to install Office based on the specified settings.
5. Apply new application preferences
- Create a new configuration file with the desired application preferences.
- Save the file to the ODT folder.
- In Command Prompt, run the tool in customize mode:
setup.exe /customize preferencesconfig.xml
This will apply the new application preferences to Microsoft 365 Apps without changing other deployment settings.
6. Create an app-v package
- Create a configuration file for the App-V package.
- Save this file to the ODT folder.
- In Command Prompt, run the tool in packager mode:
setup.exe /packager packageconfig.xml \\path\to\save\appv
This will create an App-V package for Microsoft 365 Apps in the specified directory.
7. Troubleshoot extraction issues
- Run regsvr32 /i shell32.dll in Command Prompt.
- Reboot your system.
If the Office Deployment Tool fails to extract files, this command can often resolve underlying issues with system file registrations.
8. Add publisher after initial installation
- Edit your existing configuration file to remove the line <ExcludeApp ID=”Publisher” />.
- Run the following commands in sequence from the Command Prompt in the ODT directory:
setup.exe /download CustomOffice365-x64.xml setup.exe /configure CustomOffice365-x64.xml
This will download and add Publisher to your existing installation.
By following these steps, you can effectively use the Office Deployment Tool to download, install, and configure Microsoft 365 Apps, handle updates, exclude specific applications, and troubleshoot issues.
Remember to keep your configuration files updated and regularly check for any new updates or changes in the Office Deployment Tool to ensure smooth and efficient deployments in the future.
You might also be interested in how to get the Office Click to run installer. We hope that our guide cleared all the useful information about Office Deployment Tool and how to use it.
If you have any questions or suggestion, feel free to use the comments below.


User forum
0 messages