Azure Virtual Desktop Download and Set Up Guide
Azure Virtual Desktop is the ultimate virtual work and collaboration platform
![]() 4 min. read
4 min. read
![]() Published on
Published on
Share this article
Improve this guide
Read our disclosure page to find out how can you help Windows Report sustain the editorial team. Read more

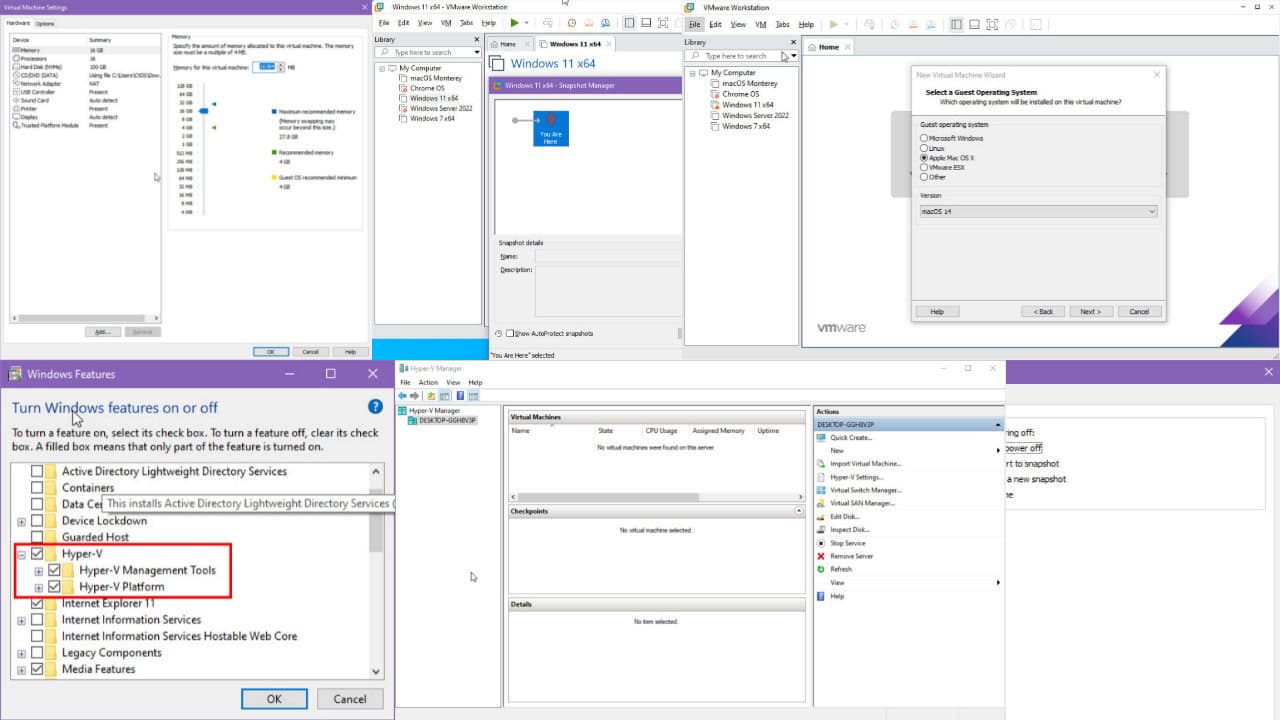
Setting up Azure Virtual Desktop can seem daunting, but with the right steps, it’s a breeze. Getting the Azure Virtual Desktop to run smoothly requires several distinct steps, but we outlined them all below for your convenience.
How do I download and install Azure Virtual Desktop?
1. Download and Install the Remote Desktop Client (MSI)
- Choose the correct version for your device: Windows 64-bit (most common), Windows 32-bit, or Windows ARM64
- Double-click the file you downloaded to start the installation.
- On the welcome screen, select Next.
- Accept the end-user license agreement by checking the box for I accept the terms in the License Agreement, then click Next.
- Now, select one of the following options:
- Install just for you: This installs the Remote Desktop Client in a per-user folder, available only for your user account. No Administrator privileges are required.
- Install for all users of this machine: This installs the Remote Desktop Client in a per-machine folder, available for all users. Administrator privileges are required.
- Click Install and once the installation is completed, click Finish.
- If you left the box checked for Launch Remote Desktop when setup exits, the Remote Desktop Client will automatically open. Alternatively, use the Start menu to search for and select Remote Desktop.
Completing this step will ensure that the Remote Desktop Client is ready to use, giving you access to connect to Azure Virtual Desktop.
2. Download and install the Azure Virtual Desktop App from Microsoft Store
- Go to the Azure Virtual Desktop Store app in the Microsoft Store. Accessing the Microsoft Store ensures you download the official, secure version of the Azure Virtual Desktop app.
- Click Install to start downloading the app and installing it. Once the app has finished downloading and installing, select Open.
- The first time the app runs, it will install the Azure Virtual Desktop (HostApp) dependency automatically. Initial setup takes care of any additional components needed, making sure your app works smoothly.
3. Subscribe to a Workspace
- Launch Azure Virtual Desktop App.
- From the Let’s get started screen, select Subscribe or Subscribe with URL.
- If you selected Subscribe, sign in with your user account when prompted. After a few seconds, your workspaces should show the desktops and applications available to you.
- If you see the message No workspace is associated with this email address, try Subscribe with URL:
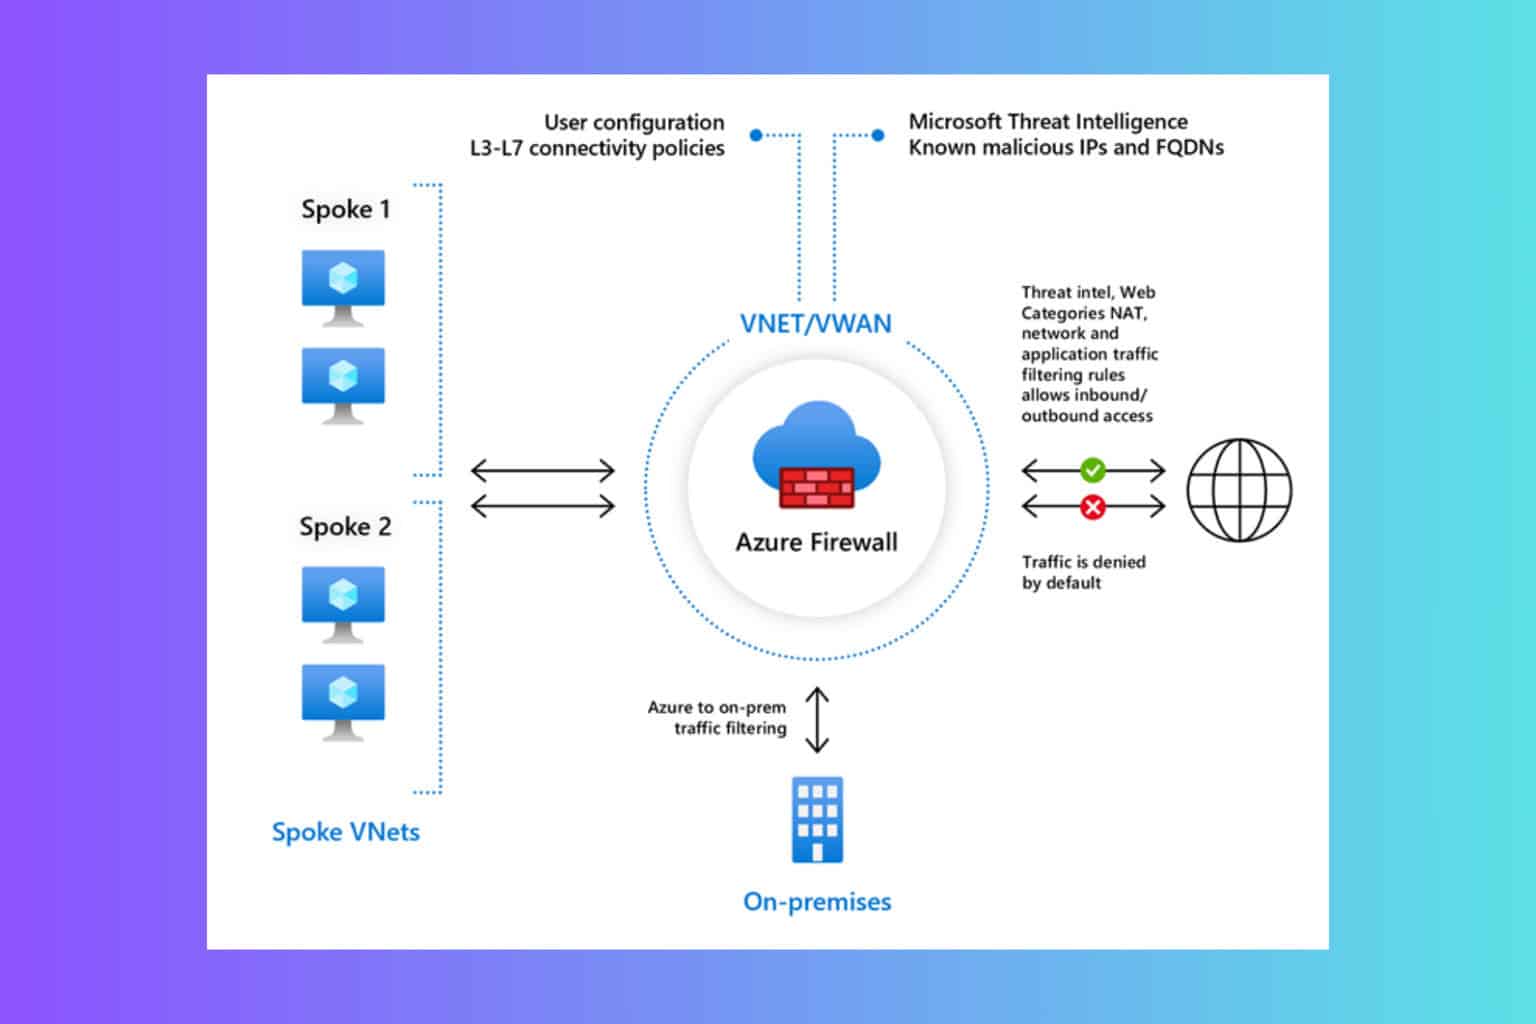
- Enter the relevant URL from the following:
- Azure cloud (most common): https://rdweb.wvd.microsoft.com
- Azure for US Government: https://rdweb.wvd.azure.us/api/arm/feeddiscovery
- Azure operated by 21Vianet: https://rdweb.wvd.azure.cn/api/arm/feeddiscovery
- Click Next and sign in with your user account when prompted. Your workspaces will appear, showing the available desktops and applications.
- Subscribing to a workspace is essential to access the resources allocated to you, enabling your remote work or learning.
4. Connect to your desktops and applications
- Launch a Session:
- Open the Azure Virtual Desktop app on your device.
- Double-click one of the icons to launch a session to Azure Virtual Desktop.
- You may be prompted to enter the password for your user account again, depending on how your admin has configured Azure Virtual Desktop.
- Optional: Pin desktops and applications to the Start menu:
- Right-click one of the icons and select “Pin to Start Menu”, then confirm the prompt.
By following these steps, you’ll have Azure Virtual Desktop up and running in no time. To avoid future issues, always keep your software updated and regularly check for new features or security patches.
We also have a guide on how to connect to the Azure Virtual Desktop that may offer more information.
If you have any other questions, leave a note in the comments below.

User forum
0 messages