How to Remove Watermark From PPT: 4 Simple Methods
The Slide Master feature in Powerpoint can be very efficient

Dealing with watermarks in your PowerPoint presentations can be a real hassle, especially when you’re trying to make your slides look professional. Fortunately, there are several straightforward methods to remove these unwanted marks.
How do I remove watermark from PowerPoint?
1. Use Slide Master in PowerPoint
- Start by opening your PowerPoint file where you want to remove the watermark.
- Click on the View tab at the top of the PowerPoint window and select Slide Master. This will display the master slides and layouts on the left side.
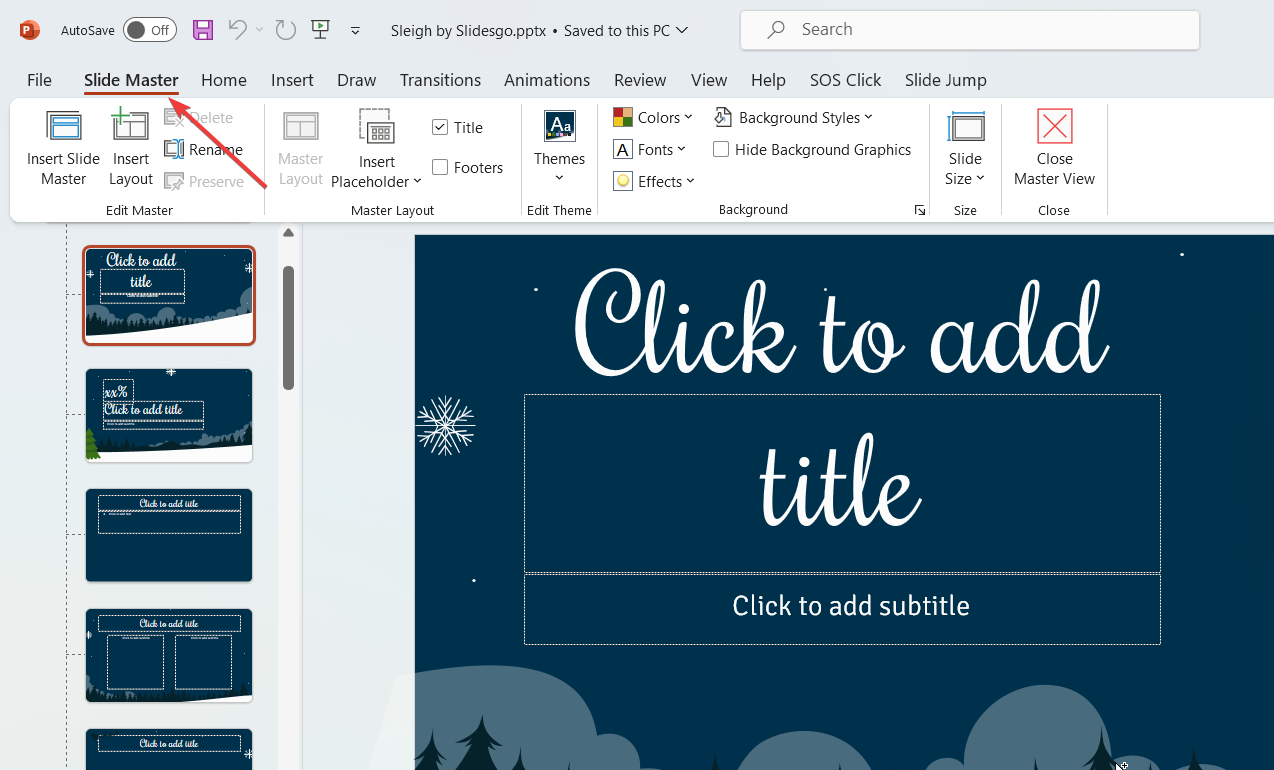
- In the thumbnail pane on the left, click on the topmost slide.
- Click on the watermark text or image you want to remove. This might be a text box or an image.
- Press the Delete key on your keyboard to remove the watermark.
- Click on Close Master View in the toolbar. This will return you to the normal slide view and the watermark should be removed from all slides.
Using Slide Master will help you remove watermarks that are applied to the entire presentation efficiently by editing a single slide layout.
2. Removing watermark from a Picture in PowerPoint
- Save the watermarked image from the PPT document to your computer. Right-click on the image and select Save as Picture.
- Go to a site like Aiseesoft Free Watermark Remover Online.
- Click on the Upload Photo button and select the saved image file from your computer.
- Use the selection tools like the brush or lasso tool to highlight the watermark on the image.
- Click the Remove button to process the image and remove the watermark.
- Click the Save button to download the edited image without the watermark.
- Go back to your PowerPoint document, delete the original watermarked image, and insert the new image without the watermark.
This method is helpful when the watermark is embedded into an image and cannot be removed directly within PowerPoint.
3. Using an online tool
- Go to the DocHub site, click on Create free account, and sign up using your email or a Google account.
- From your dashboard, click Import a document and select the PowerPoint file with the watermark.

- Click on the uploaded file to open it in editing mode.
- Use the toolbar to select the watermark text or image, and then delete it using the tools provided.
- Save the edited file in your documents, download it, or share it directly from DocHub.
DocHub provides an easy-to-use interface for modifying documents without switching between multiple programs.
4. Use a photo editor
AI photo editors often provide more advanced features for removing watermarks and other unwanted elements from images.
Luckily, we have a great selection of the best AI photo editing tools and many of them have a one-click watermark removal feature you can use.
We do need to remind you that third-parties use watermarks to protect their context against editing and you should respect their intellectual property. Only remove watermarks on owned media or with the consent of their owner.
By following these steps, you can ensure your PowerPoint presentations are free from distracting watermarks. To prevent future issues, always save a copy of your original files and consider using watermark-free templates.
We also have full guides on how to remove watermark in Windows 10, and how to add watermark in Word if you need additional information.
In the same respect, you may address any question or suggestion in the comments below.
Read our disclosure page to find out how can you help Windows Report sustain the editorial team. Read more


Improve this guide


User forum
0 messages