How to Export Microsoft Planner to PDF: 5 Easy Methods
Exporting your plans to PDF is a two step process
4 min. read
Updated on
Read our disclosure page to find out how can you help Windows Report sustain the editorial team. Read more
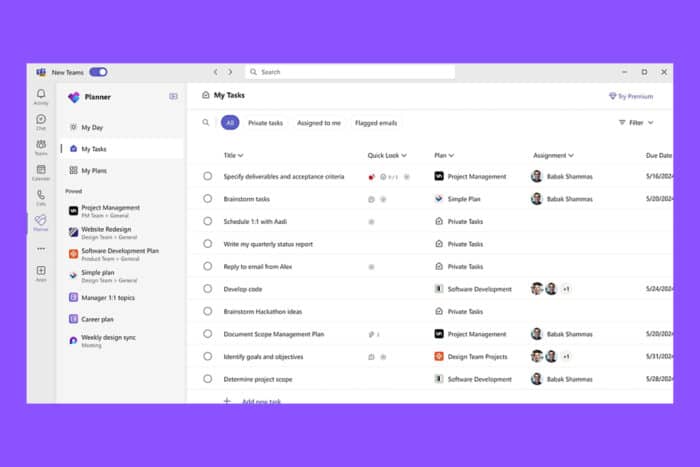
Exporting your Microsoft Planner data to a PDF can be a bit tricky, but it’s definitely doable with the right steps. Whether you prefer using Excel, a PDF printer, PowerShell, third-party tools, or even a manual method, there’s a solution that fits your needs.
How do I export Microsoft Planner projects to PDF?
1. Export Microsoft Planner to Excel and convert to PDF
- Go to the Microsoft Planner page and log in with your Microsoft account.
- Choose the plan you want to export from the left-hand side panel.
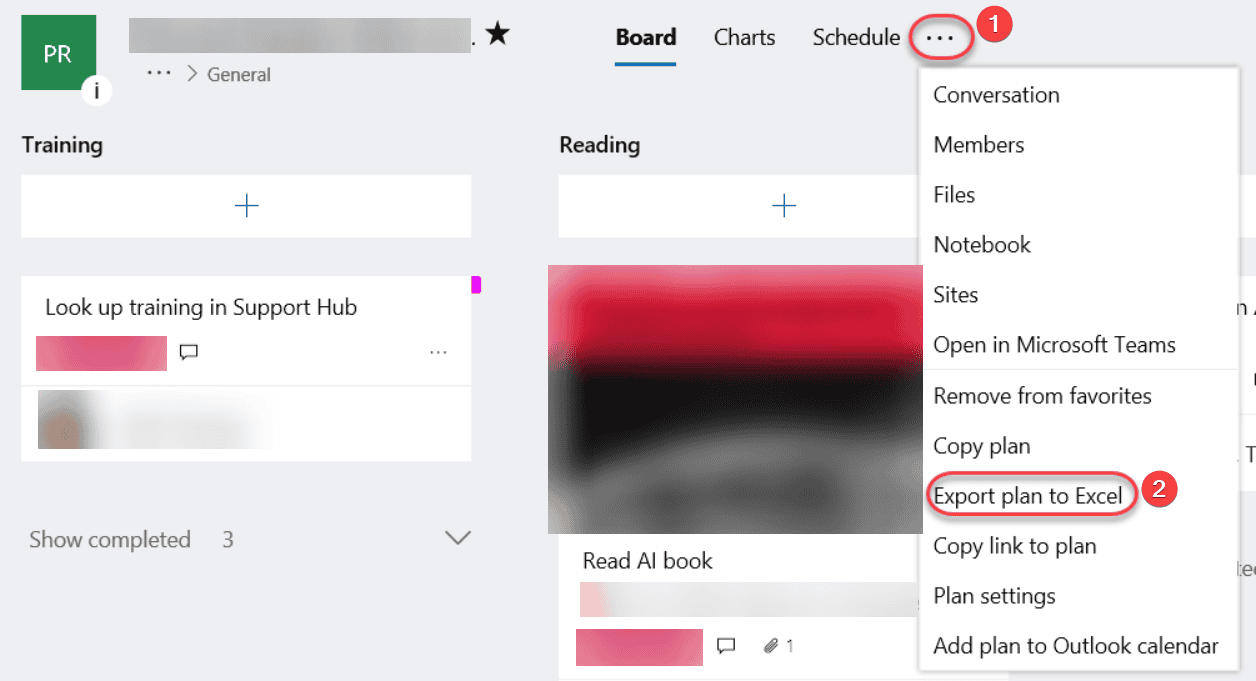
- Click on the ellipsis (…) at the top of the plan window.
- Select Export plan to Excel.
- The Excel file will be downloaded to your computer.
- Navigate to your downloads folder and open the newly downloaded Excel file.
- If needed, format the Excel data to make it look better when converted to PDF.
- Click on File in Excel and choose Save As.
- In the Save as dropdown, select PDF.
- Click Save.
This solution lets you use Excel’s extensive data handling to customize your Planner data before converting it to PDF.
2. Use a PDF printer
- Go to the Microsoft Planner page and log in with your Microsoft account.
- Choose the desired plan from the left-hand side panel.
- Press Ctrl + P to open the print dialog box.
- Select Save as PDF as your printer.
- Adjust the settings as needed to include all necessary information.
- Click Save and choose the location to store your PDF file.
This method provides a straightforward way to save your Planner data directly as a PDF from the web app.
3. Using PowerShell to export data and convert to PDF
- Type PowerShell in the Windows Search bar, right-click on Windows PowerShell and select Run as administrator.
- Use the following command and replace the user ID with the actual one:
Export-PlannerUserContent -UserAadIdOrPrincipalName <user's AADId or UPN> -ExportDirectory <output location> - Example:
Export-PlannerUserContent -UserAadIdOrPrincipalName [email protected] -ExportDirectory C:\PlannerExport - Open the exported JSON files in a text editor or another software that supports JSON.
- Copy the content into a Word document (or convert directly if using a tool).
- Save the document as a PDF.
This solution provides a method to export detailed Planner data and convert it to PDF without using Excel.
4. Using third-party tools
- Select a tool that supports exporting Planner data to PDF. Some popular tools include:
- Power Automate (formerly Flow)
- Integrations with Microsoft Flow and Power BI
- Specialized task management tools with export functions
- PDF readers and editors that can be integrated with Microsoft Planner
- Configure the export method:
- Follow the tool’s instructions to connect to your Microsoft Planner.
- Set up an export process to generate a PDF document.
- Execute the export process and download the PDF file.
Using third-party tools, such as Soda PDF, can provide more advanced options and automation capabilities for exporting Planner data to PDF.
5. Explore the Planner data as images
- Open Microsoft Planner and navigate to the relevant plan.
- Use the Snipping Tool or Snip & Sketch on Windows to take screenshots of the plan content.
- Open a Microsoft Word document.
- Paste the screenshots into the Word document.
- Click File, select Save As and choose PDF as the file type and save.
This method is useful for creating a visual representation of your Planner plan in a PDF format.
Each solution offers a unique approach to exporting Microsoft Planner data to PDF, catering to different levels of technical proficiency and specific needs.
If you want to know about the latest Microsoft Planner Copilot, hit the highlighted link for more information. You might also be interested in our guide on how to create custom fields in Microsoft Planner. You can learn how to create a Gantt chart as well.
For any questions you might have, go below this post to find the comments section.



User forum
0 messages