4 Easy Ways to Fix the MF.DLL Not Found Error
Run an SFC scan to repair the corrupted system files
![]() 3 min. read
3 min. read
![]() Published on
Published on
Share this article
Improve this guide
Read our disclosure page to find out how can you help Windows Report sustain the editorial team Read more
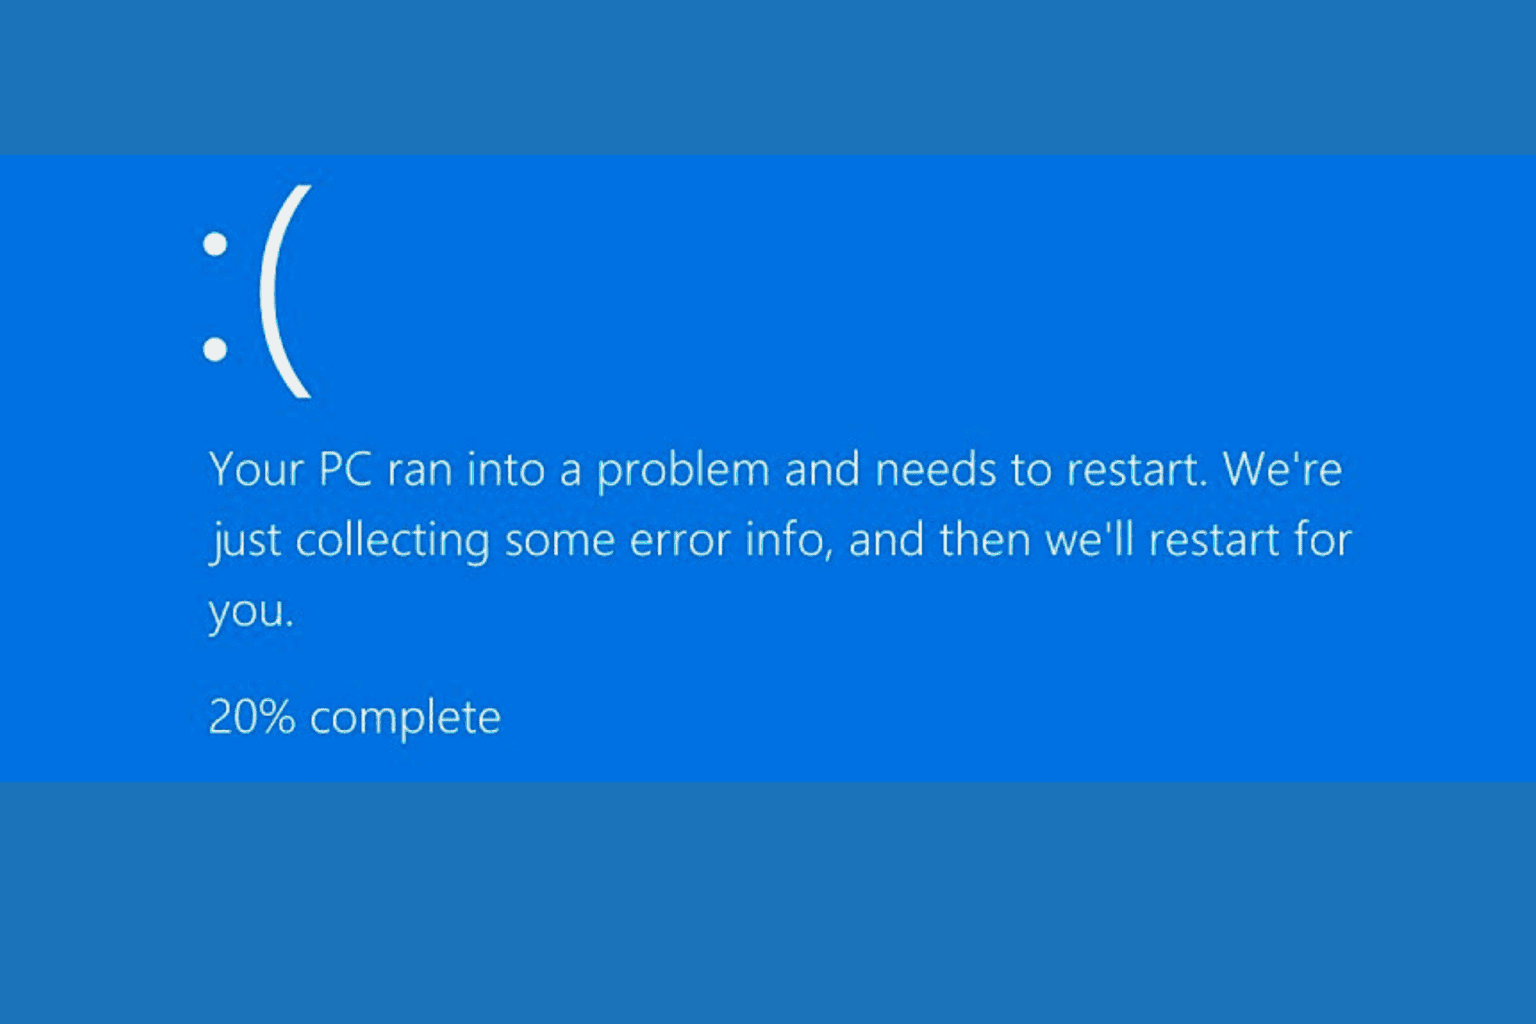
Many of our readers have complained about encountering the MF.DLL not found issue while launching some of the system apps. The error usually appears when the mf.dll file is either missing or corrupted. You can also see this DLL missing error when there is third-party software interference.
How can I fix the MF.DLL not found error?
1. Use a third-party DLL fixer
MF.DLL is an essential system file for Windows, and if you need to restore it, you need to be very careful while doing so. You can manually copy and paste the file from another computer, but this method can be risky and cause further issues if not done correctly. Therefore, the safer option is to use a third-party DLL fixer tool.
These software are designed to automatically detect and resolve DLL issues, thereby minimizing the risks and ensuring your system’s stability.
2. Run SFC & DISM scans
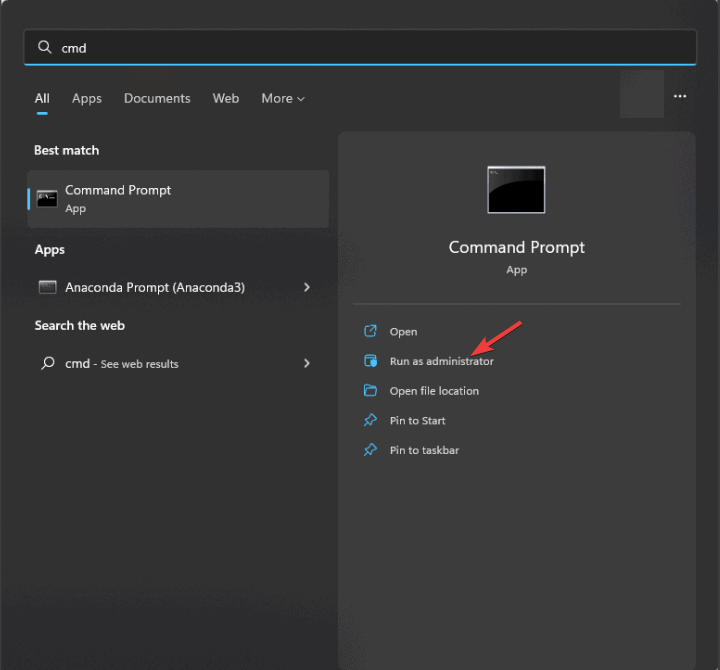
- Press the Windows key, type cmd in the search box, and click Run as administrator.

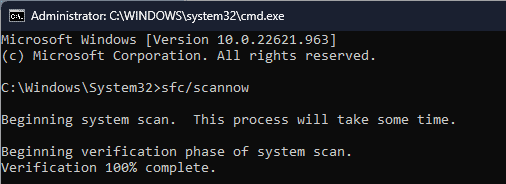
- To replace or restore incorrect, corrupted, or damaged versions of system files, type the following command and hit Enter:
sfc /scannow
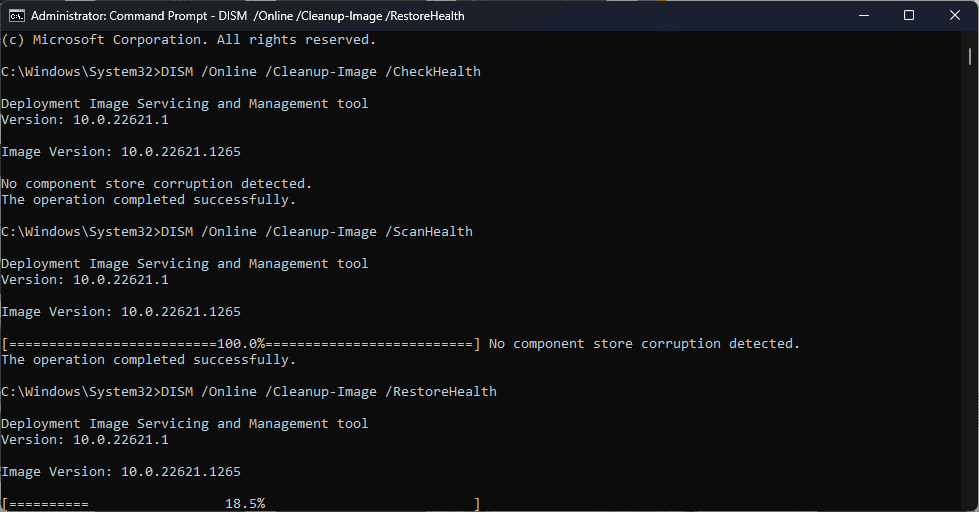
- Next, copy & paste the following commands one by one and press Enter after every command:
DISM/Online /Cleanup-Image /CheckHealth
DISM/Online /Cleanup-Image /ScanHealth
DISM/Online /Cleanup-Image /RestoreHealth
- This scan can take about 20 minutes, sometimes more, so don’t close the Command Prompt window.
- Once done, close the Command Prompt and restart your PC to let the changes take effect.
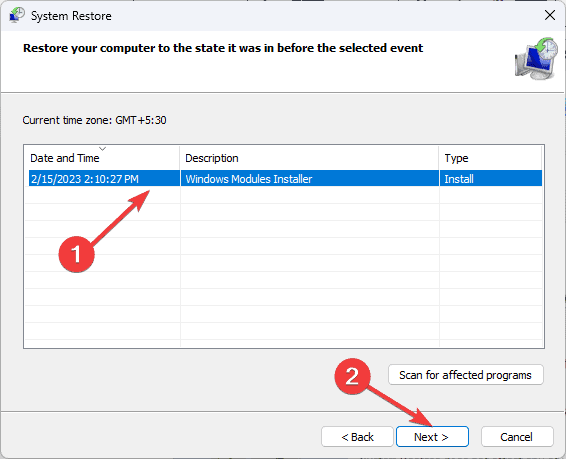
3. Perform a System Restore
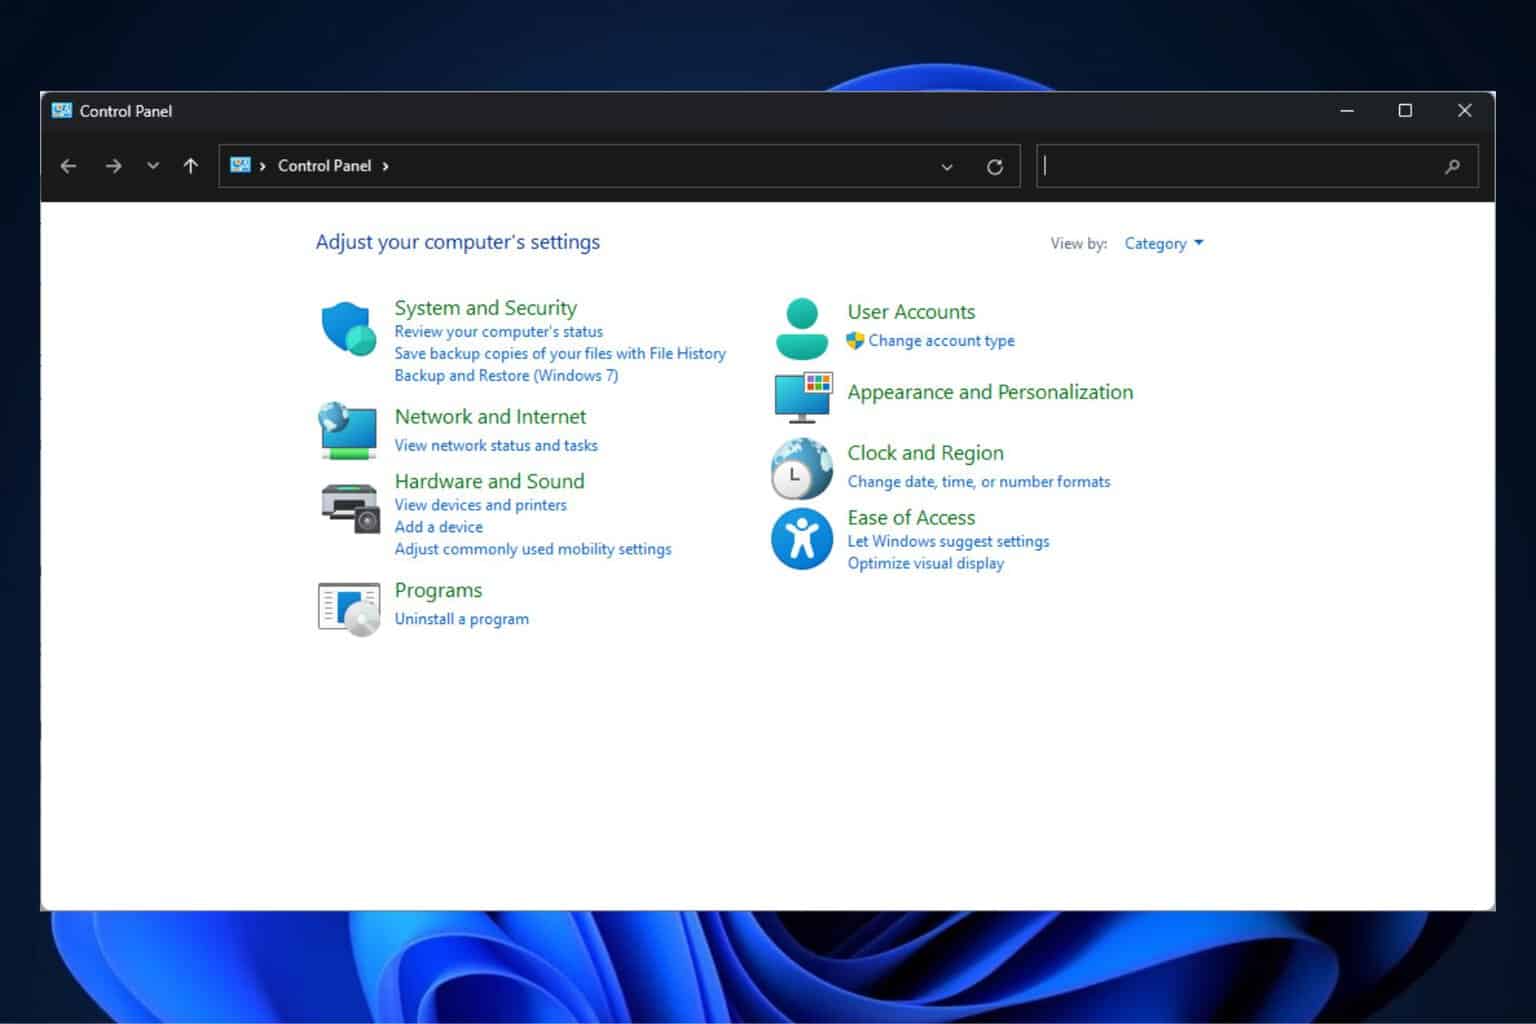
- Press the Windows key, type control panel in the search box, and click Open.

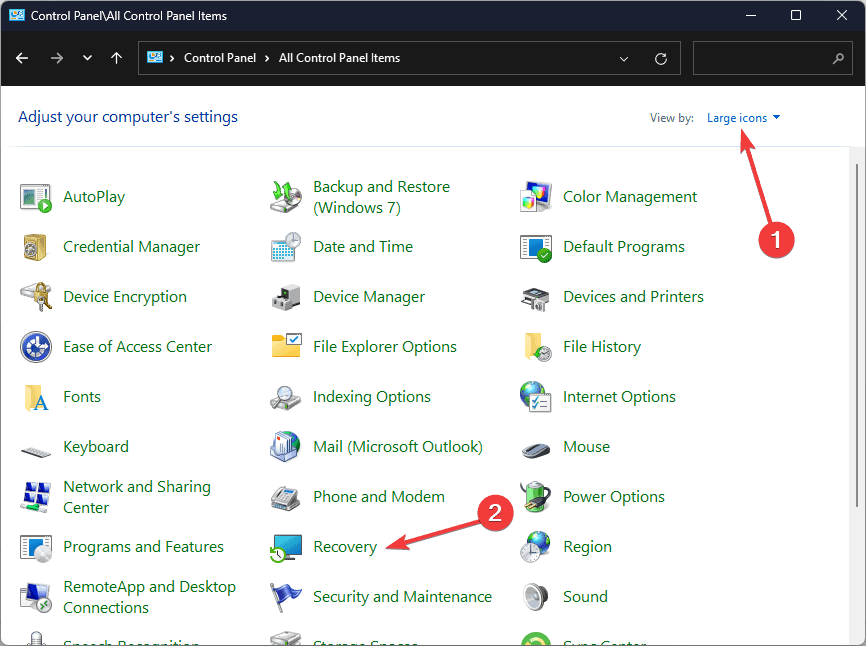
- Select Large icons as View by, then click Recovery.

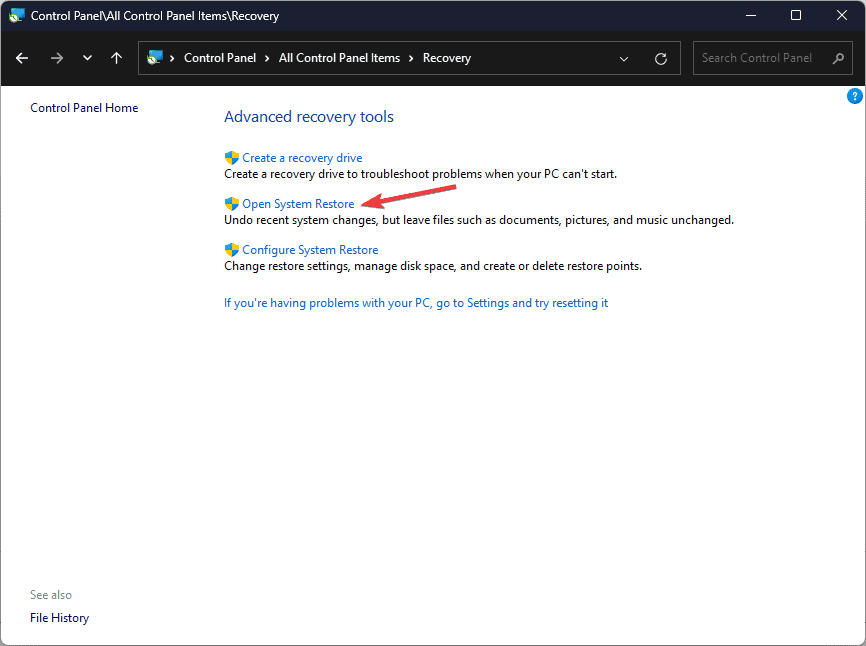
- Click Open System Restore.
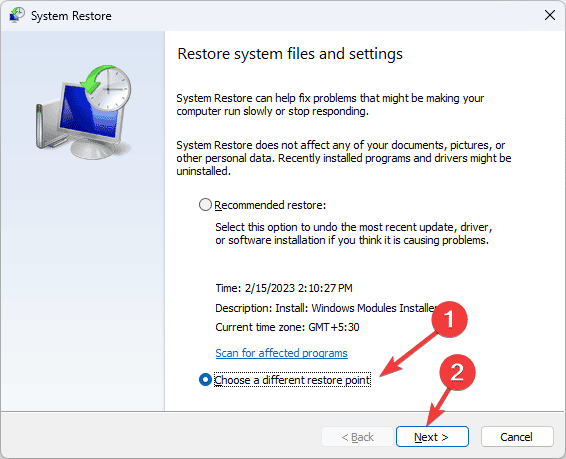
- Select Choose a different restore point in the System Restore window and click Next.

- You will then see a list of available restore points. Choose the oldest one or the most recent restore point from when your computer was functioning correctly and click Next.
- Click Finish to initiate the process.
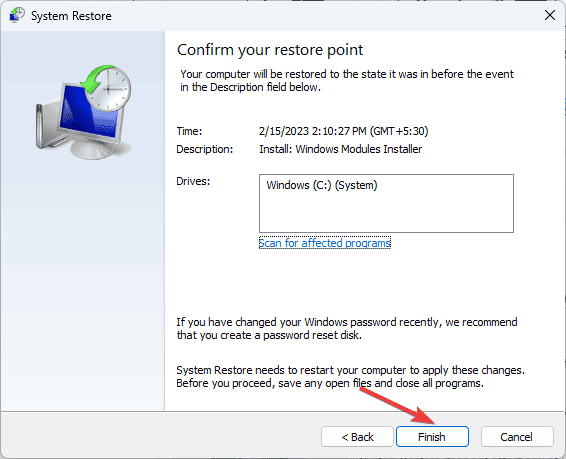
Windows will restart and restore to the version you selected. This process may take some time, don’t turn off your computer in between. If you see the System Restore wasn’t completed successfully message after the restart, we suggest you check out this informative guide for solutions.
4. Download the DLL file manually
 NOTE
NOTE
- Visit the DLL-Files website, search MF.DLL, choose an appropriate option, and click Download.
- Double-click the downloaded folder to open, locate, and copy the .dll file.
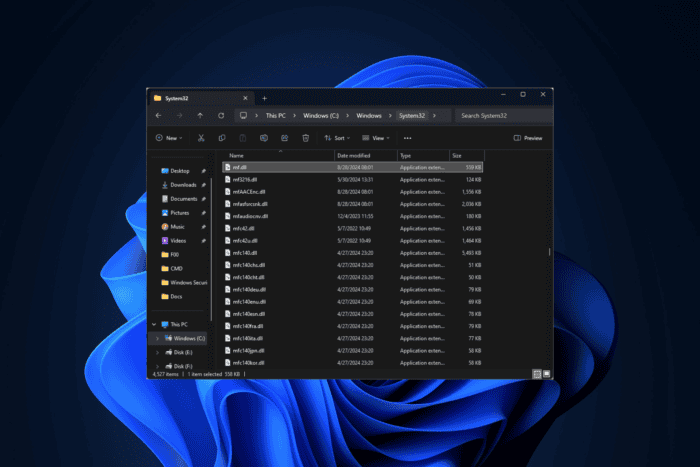
- Go to this path and paste the DLL file. Don’t forget to replace C with your system drive letter if it is not C for you:
C:\Windows\System32 - Reboot your computer to save the changes.
In conclusion, to fix any issues related to MF.DLL, you should run SFC & DISM scans, perform a system restore, or use a third-party DLL fixer to restore the missing DLL file.
If you often encounter missing DLL issues on your Windows 10 computer, we have a guide to help you understand the causes and the usual fixes.
If you have any suggestions or questions about the MF.DLL not found, feel free to mention them in the comments section below. We’re happy to help!


User forum
0 messages