4 Easy Ways to Add a Signature in Microsoft Word
Make your mark—digitally!
![]() 4 min. read
4 min. read
![]() Updated on
Updated on
Share this article
Improve this guide
Read our disclosure page to find out how can you help Windows Report sustain the editorial team. Read more
Adding a signature on your Microsoft Word document before sending it to the concerned party is a huge convenience and takes away all the manual printing and scanning work.
Depending on your preferred signature choice, you can easily add a signature on Word using various methods. Each can be used in different professional settings and all have their pros and cons.
How do I add a signature in Microsoft Word?
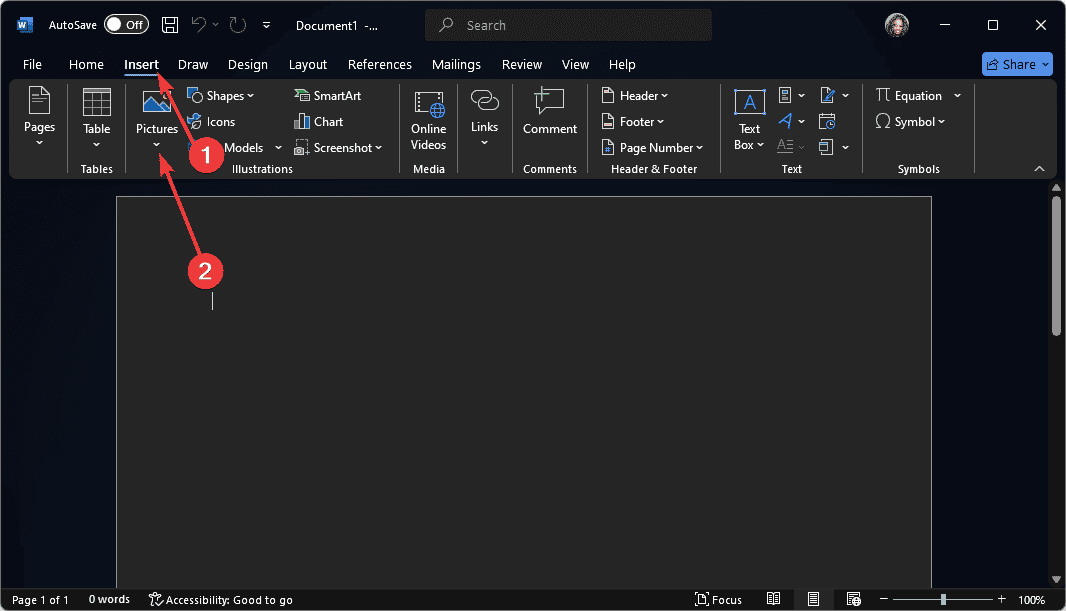
1. By adding a signature manually
- On a blank paper, create your signature in a bold pen.
- Scan the document, save it in picture format (JPG or PNG) and transfer it to your PC.
- Open a blank word document or the document you wish to append your signature.
- Navigate to the top menu and select Insert > Pictures.

- Select your scanned signature and hit Enter.
- Resize the picture to your desired size then drag it to your preferred position.
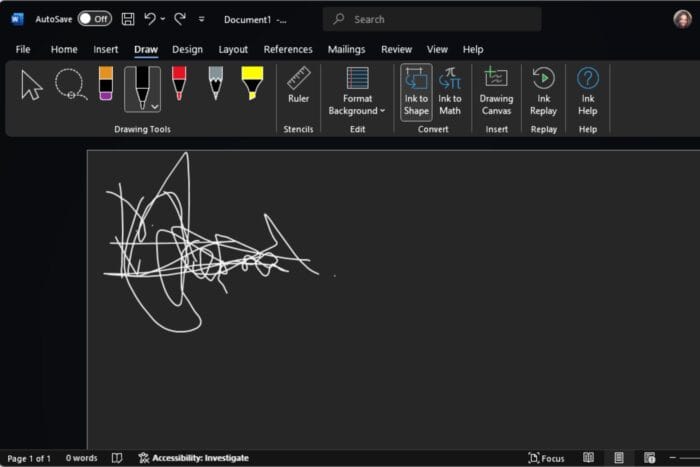
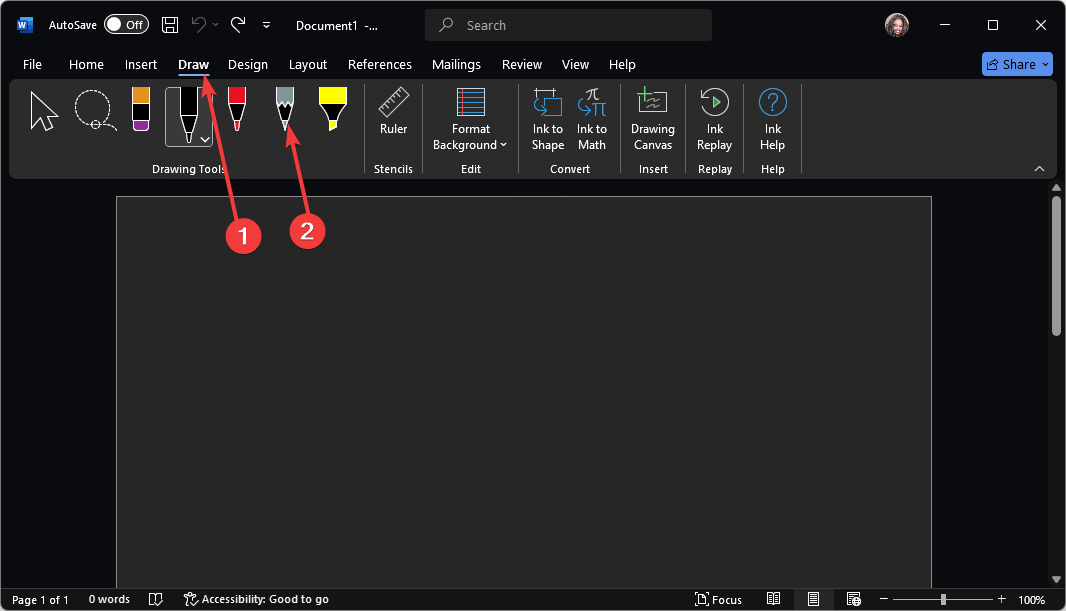
2. By using the draw feature
- Open a blank word document or the document you wish to append your signature.
- Navigate to the top menu and select Draw.
- Select your preferred pen size and click on it.
- Place the cursor where you want to append your signature and draw out your signature. Your mouse may bot bring out the best and precise stroke so you can use your tablet as a drawing pad for your PC especially if it has a stylus. Once done, you can resize it to fit your document.
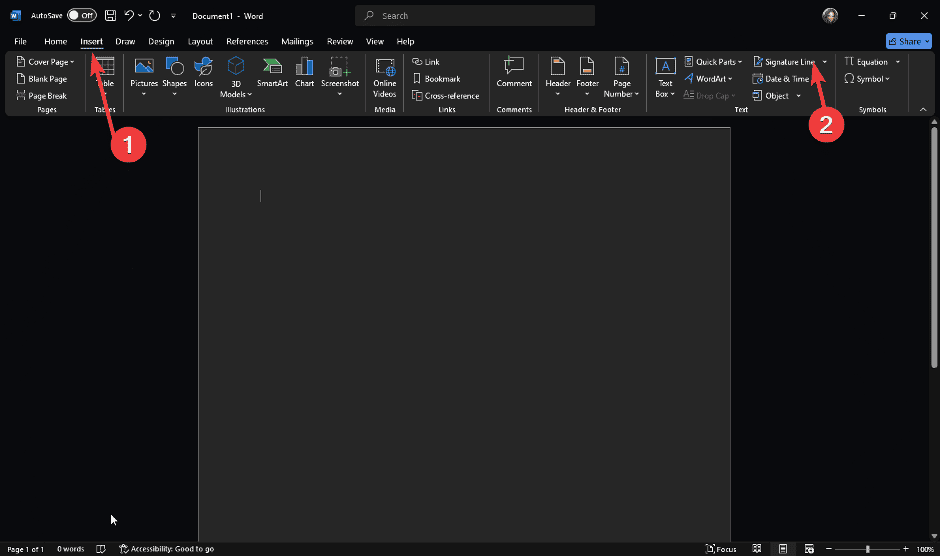
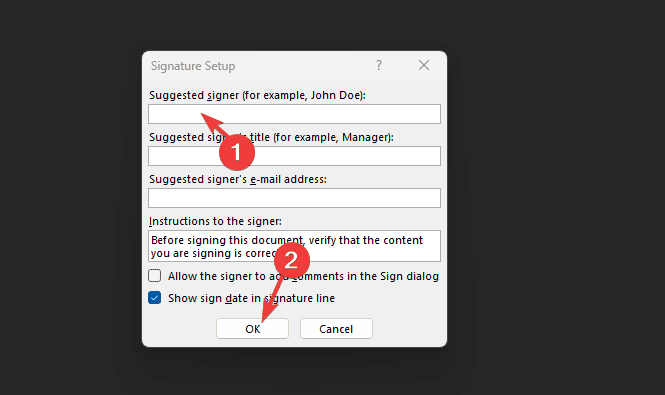
3. By adding a digital signature
- Open a blank word document or the document you wish to append your signature.
- Navigate to the top menu and select Insert.
- On the far end to the right, click on Signature Line.

- Enter your details as needed then hit Enter.

- Your signature will now appear in your document at the bottom.
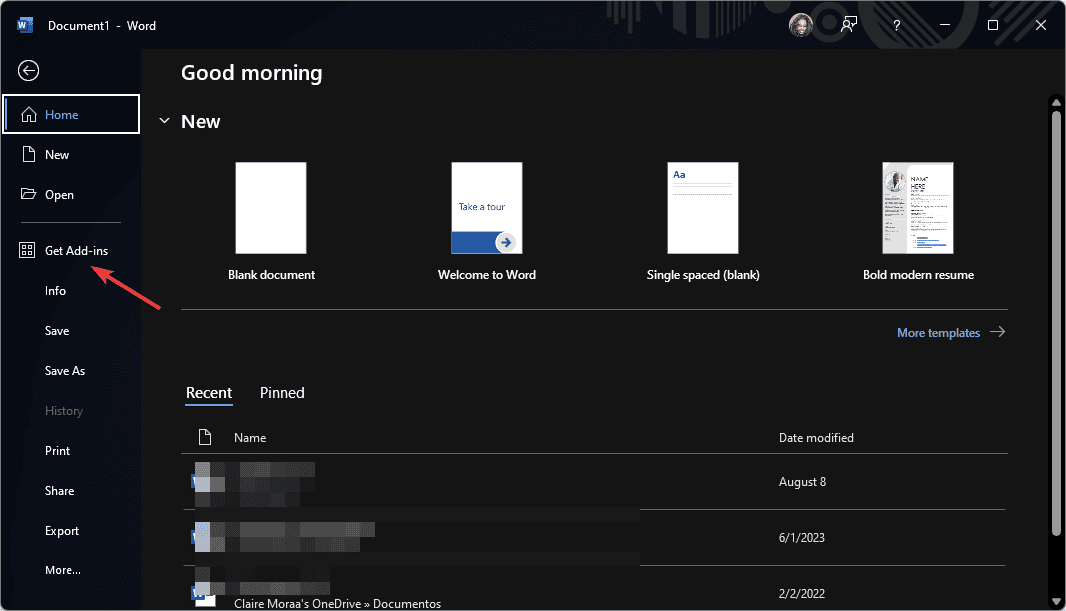
4. By using a Word extension
- Open Microsoft Word on your PC.
- Next, click on File and select Get Add-ins.
- Go to the Add-ins store and search for a signature plugin then hit Add.

- Click Continue.
- Most come with a free trial so test them out before you decide which one to purchase.

Additional tips for the best signature
- Use a clear background – For handwritten signatures, ensure you are signing on a clear background preferably white to match with most documents.
- Save your signature – Store your signature in Microsoft Word for future use. This will ensure consistency throughout your documents that may require your signature.
- Preview your document – Before sharing your signed Word document, preview it and ensure the signature is correctly placed. Sometimes, your Word signature is not showing on the other end. If possible, convert it to PDF format to prevent further editing.
Apart from adding your signature on Microsoft Word, you can also use DocuSign which also comes with offline signing. And if you’d like to make the signing process, you can use the Microsoft 365 app on your mobile to sign PDFs.
Before you go, did you know that you can add a signature line without X in Microsoft Word? That’s right, and we have a guide that shows you how to do that. We also have a new article on how to insert multiple signature lines in Microsoft Word, so don’t hesitate to check it out.
When working with signatures, you might encounter a Recoverable signature message in Microsoft Word, and we have a guide that explains how to deal with it. Our latest guide covers what to do if the signature line is greyed out in Microsoft Word, so be sure to check it out.
That’s all we had for adding signatures on Word. Have you tried any of the above methods? Which one do you prefer and why? Let us know in the comment section below.


User forum
0 messages