CPU-Z is Not Showing Ram: 7 Ways to Fix it
Running CPU-Z as an administrator is the quickest fix
![]() 5 min. read
5 min. read
![]() Published on
Published on
Share this article
Improve this guide
Read our disclosure page to find out how can you help Windows Report sustain the editorial team. Read more
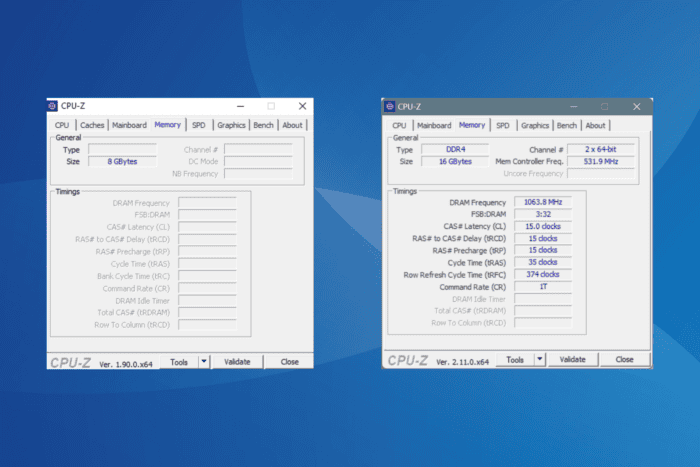
CPU-Z, although an extremely useful tool, often runs into issues. One of the common problems is CPU-Z not showing RAM or displaying a limited number of slots. Also, there are times when CPU-Z detects RAM, but BIOS and Windows don’t!
The Memory tab in CPU-Z is greyed out usually due to missing permissions, misconfigured BIOS settings, a bug in the installed version of the tool, or incompatible or damaged memory modules.
Before you move to the solutions, reboot the PC, install all pending Windows updates, or if the problem started recently, uninstall the Windows update downloaded around the same time!
What can I do if CPU-Z is not showing RAM or SPD?
1. Run CPU-Z as an administrator
- Right-click on CPU-Z’s launcher (.exe file), and select Properties.
- Go to the Compatibility tab, and tick the checkbox for Run this program as an administrator.

- Click on Apply and OK to save the changes.
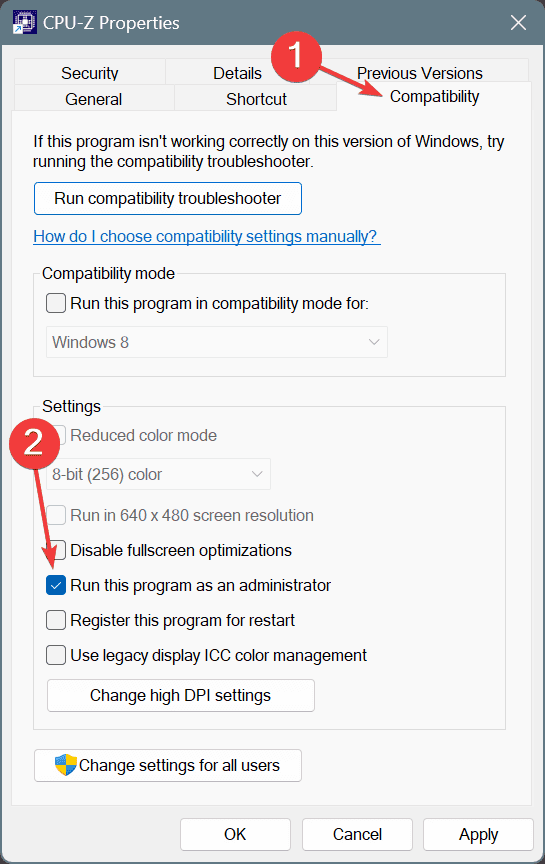
In 3 out of 5 cases when CPU-Z is not showing RAM or the Memory tab is blank, it’s the missing permissions to blame. And running the tool with administrative privileges fixes things in no time!
2. Check the SPD tab
Sometimes, the Memory tab in CPU-Z is greyed out, but the SPD tab lists the information. So, if you just want a brief overview of the connected RAM modules, simply go to the SPD tab, navigate through the different slots, and gather all the information you need.
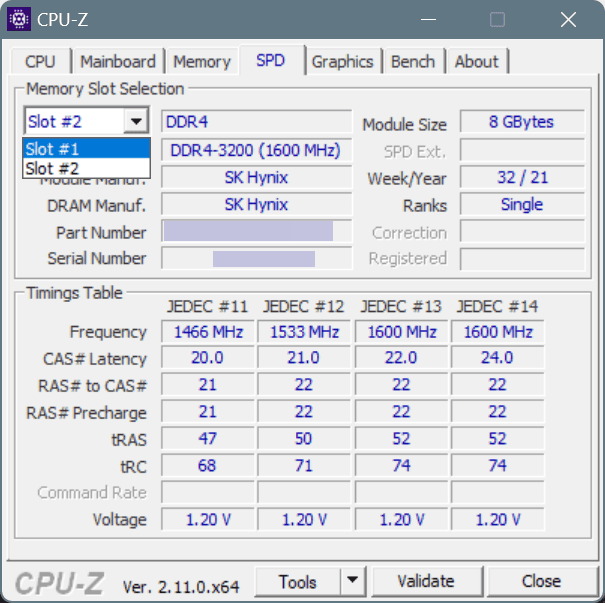
Remember, this is not a solution but a workaround that allows you to access the RAM-related information quickly without worrying about fixing CPU-Z.
3. Enable XMP in BIOS
- Turn off the PC, then power it on, and as soon as the display brights up, repeatedly press the F1, F2, F10, F12, Esc, or Del key to access the BIOS, depending on the system manufacturer.
- Now, you will find an XMP or XMP Profile option either on the home screen or in the Advanced tab. Under this option, select Enabled.

- Save the changes, exit the BIOS, and check for improvements.
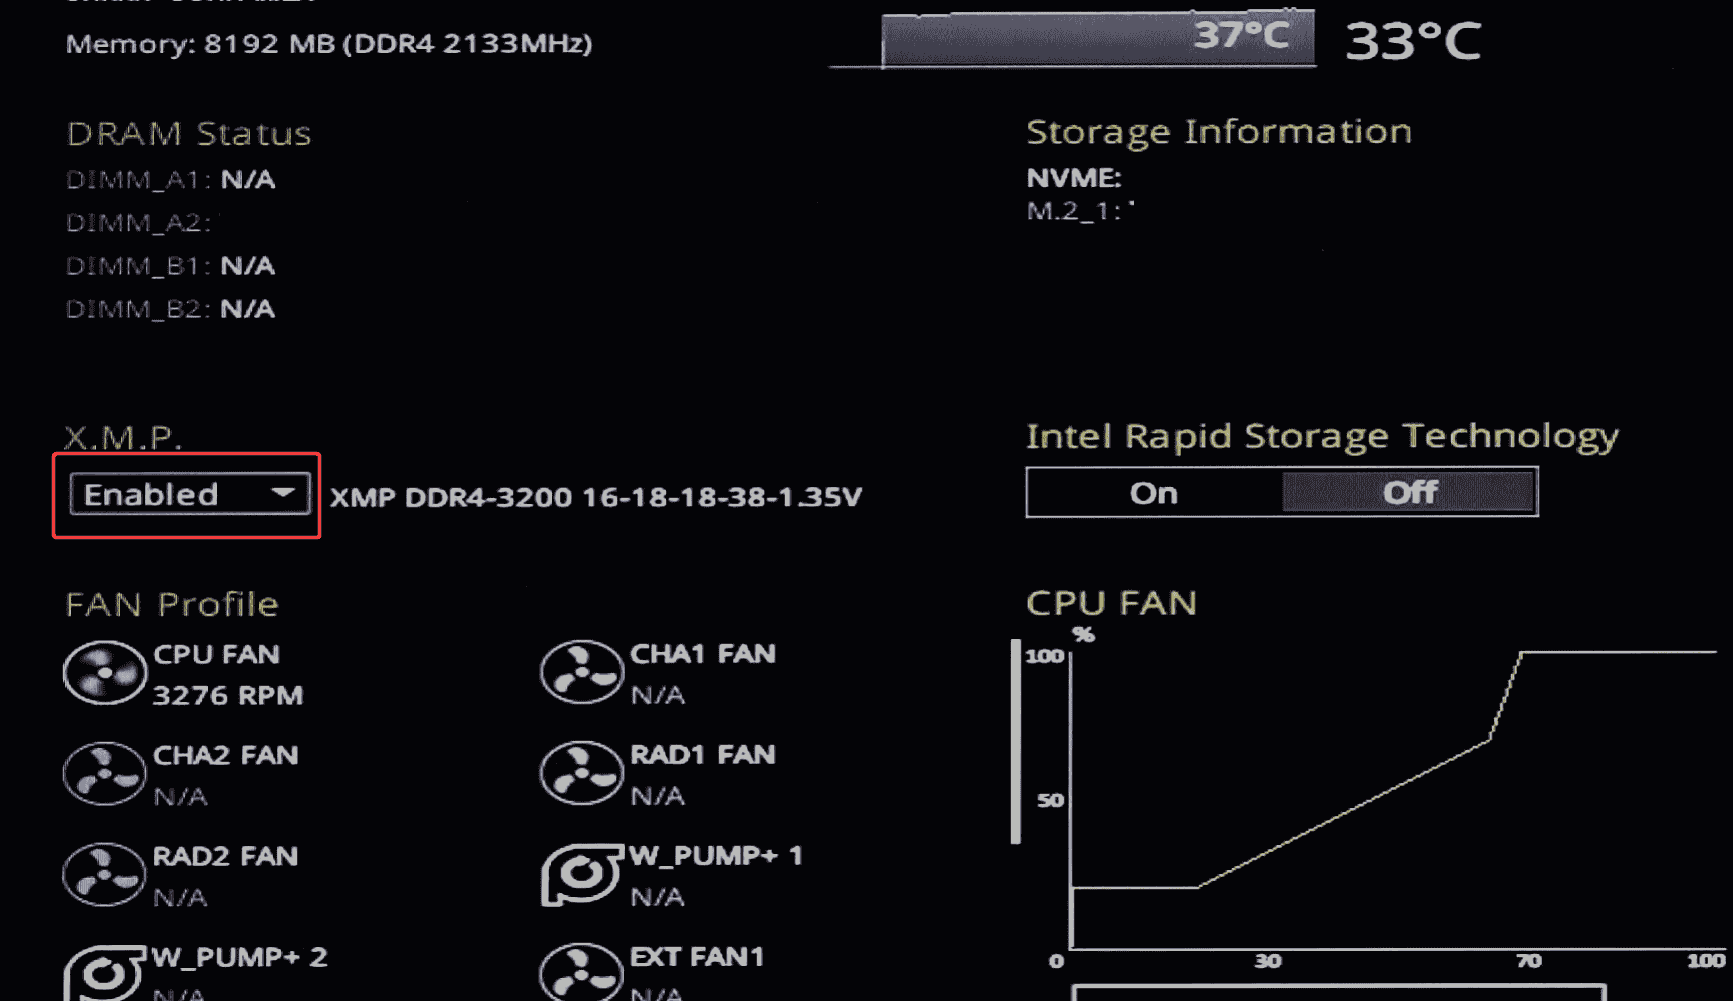
If CPU-Z is not showing correct RAM speed or the one it displays is lower than what was advertised for the memory module, you must enable XMP (Extreme Memory Profile) in BIOS. Switching to XMP also fixes things when RAM is not running at full speed.
4. Reinstall another version of CPU-Z
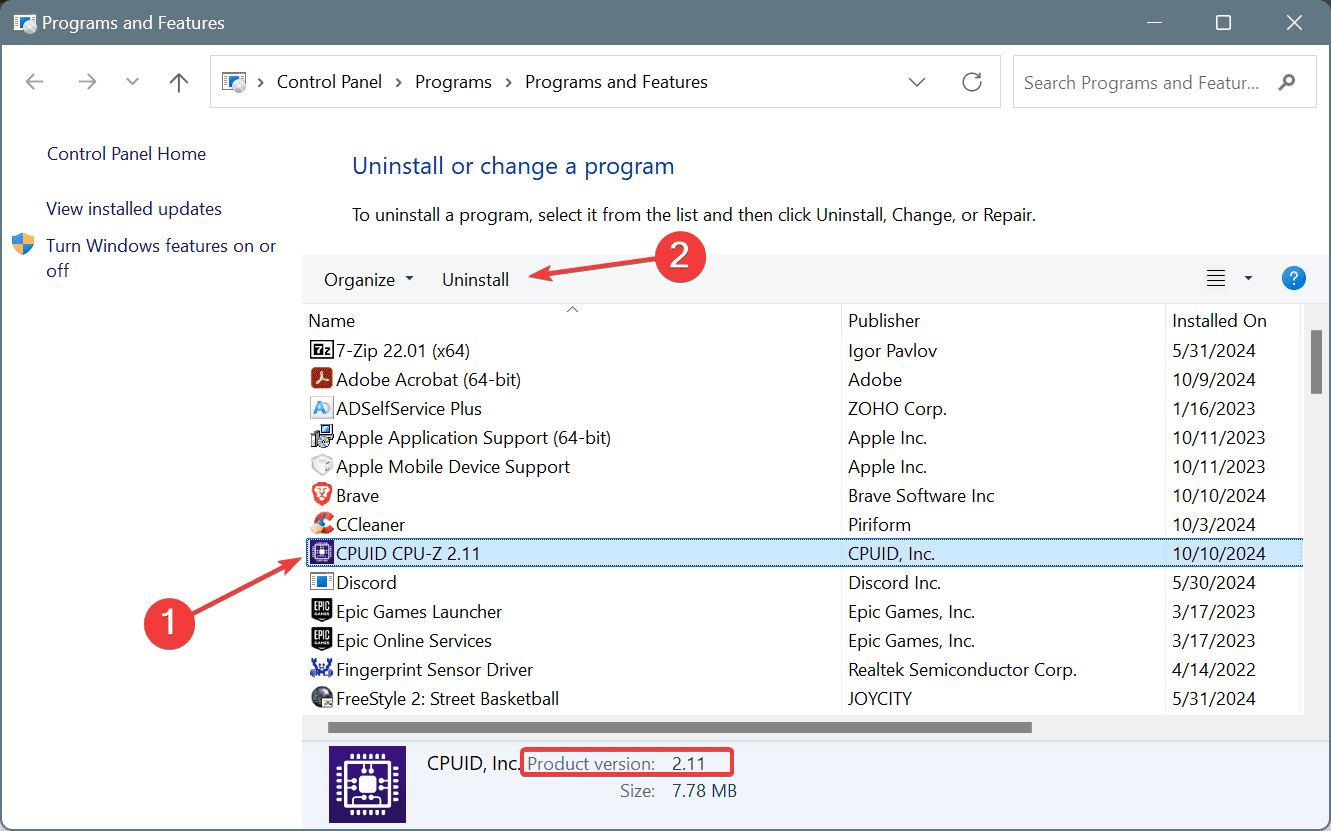
- Press Windows + R to open Run, type appwiz.cpl in the text field, and hit Enter.
- Select CPU-Z from the list of applications, and click on Uninstall.

- Follow the on-screen instructions to complete the process.
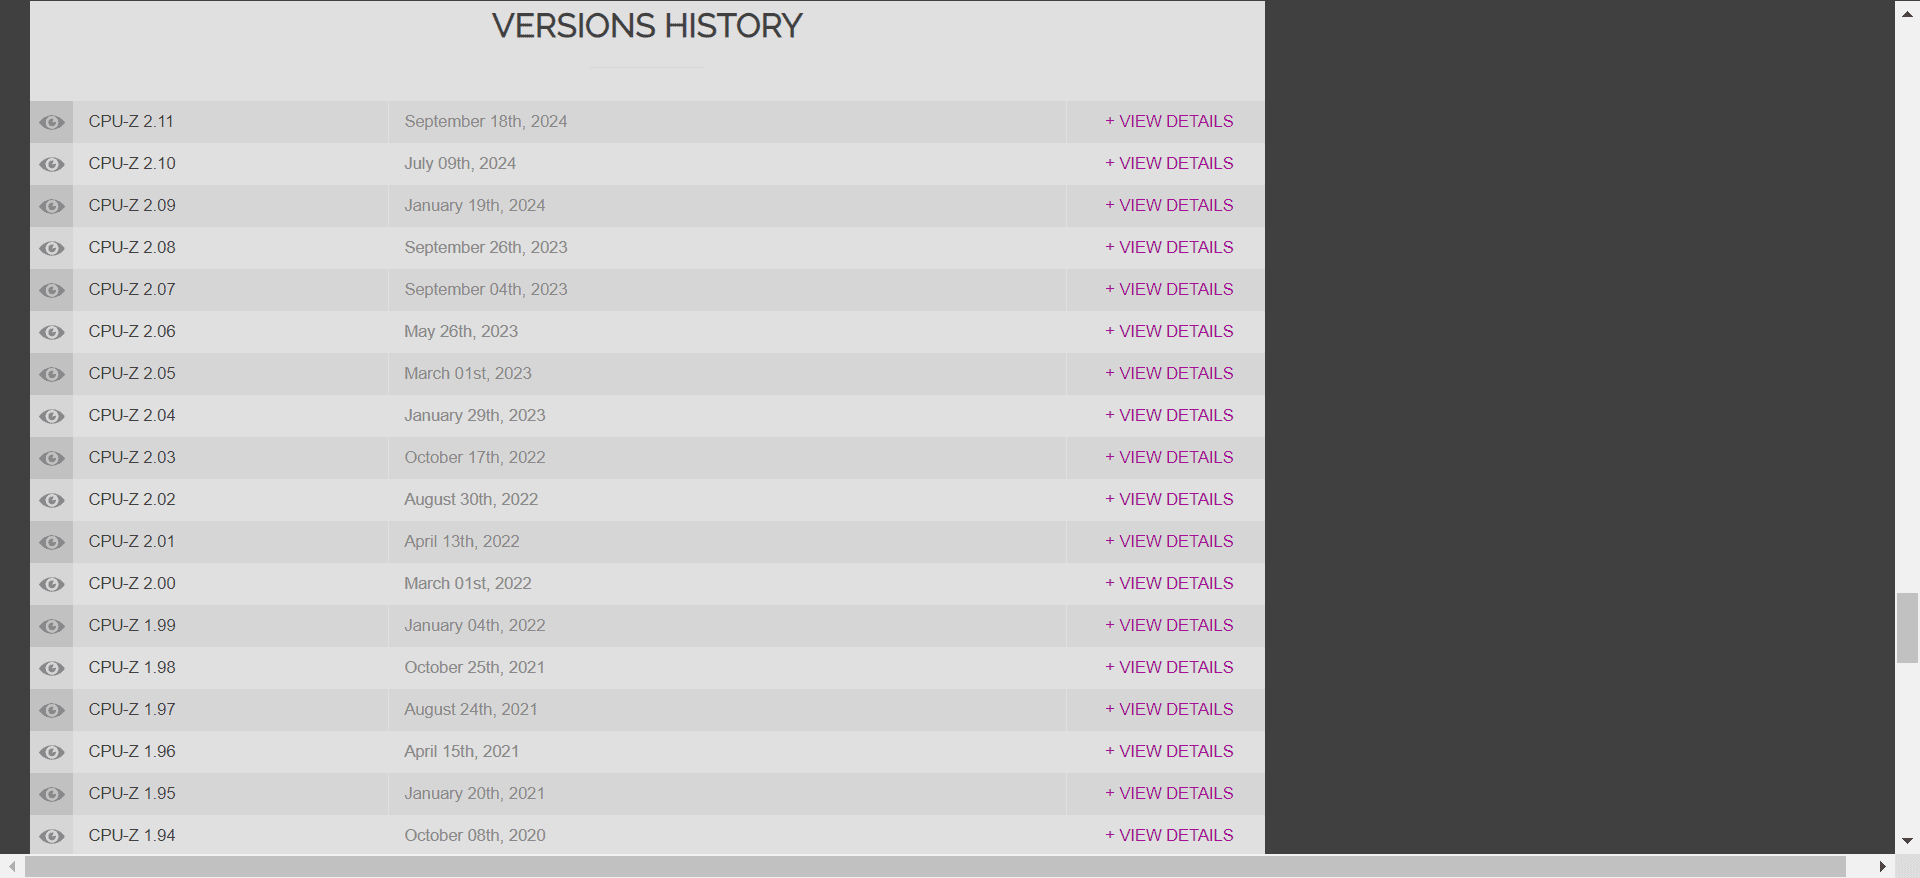
- After you are done, restart the computer, go to CPUID’s official website, and download an earlier or, if available, a newer version of CPU-Z. Make sure to get the setup instead of the ZIP file for quick and easy installation.

- Finally, check for improvements.
CPU-Z often leaves behind some files after a quick removal, which might trigger conflicts during reinstallation. That’s why experts recommend using a top-rated uninstaller software to delete all leftover files, app cache, and Registry entries.
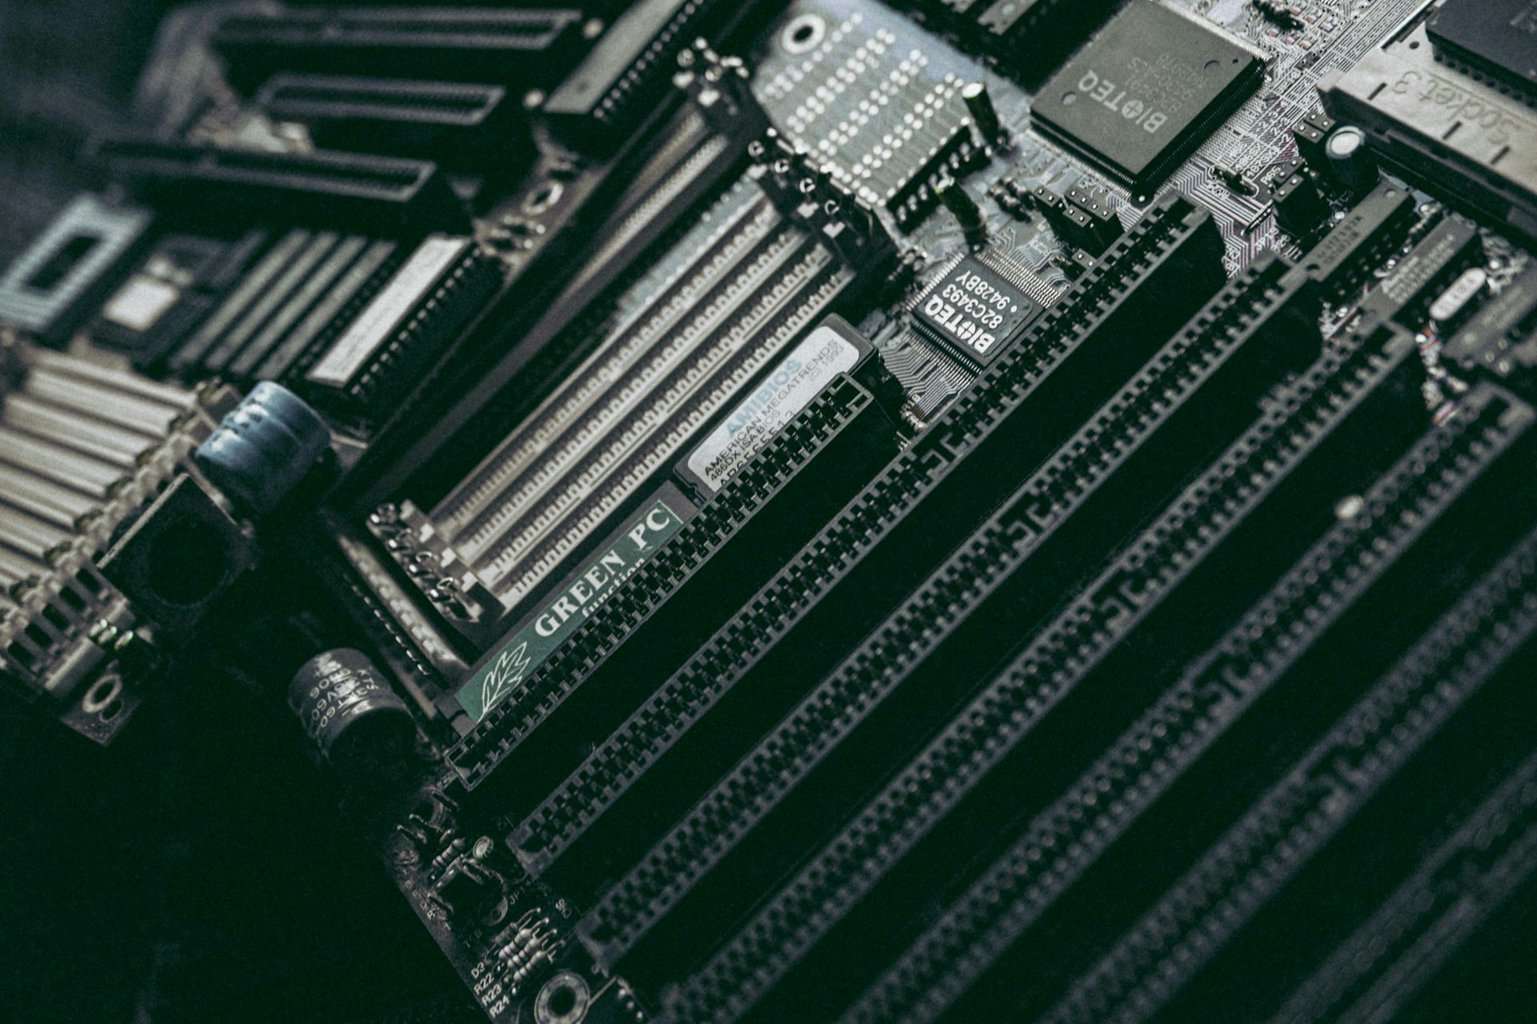
5. Reconnect the memory modules
Often, when CPU-Z is not showing the correct RAM size or doesn’t display anything at all, it’s likely that the RAM modules are not connected properly and need to be reseated.
Simply disconnect each one of the modules and then seat them in the respective slots, as specified by the system manufacturer. You can refer to the computer’s manual for the ideal arrangement of the RAM modules.
6. Look for compatibility issues
If CPU-Z shows more RAM than Windows, it’s because the connected modules are not compatible with your PC. The RAM size displayed in CPU-Z is the total connected, while Task Manager and BIOS list the RAM size currently in use (Total RAM – Incompatible RAM = Usable RAM).
So, that’s why you have different RAM sizes in CPU-Z and Task Manager/BIOS!
The best solution in this case is to check the manufacturer’s official website, identify the RAM type compatible with your PC, and get more of the same sticks.
7. Check the memory sticks for damage
In case CPU-Z detects RAM but BIOS and Windows don’t, check the modules for damage and scratches. A damaged, unreadable module is most likely to trigger this problem.
If you have spare RAM sticks (compatible with the PC), connect them and check for improvements. Because if it works now, the earlier modules were damaged and have to be replaced.
With these methods, you can fix things when CPU-Z is not showing RAM or displays the incorrect memory size and speed. In my experience, it’s usually the missing permissions or the disabled XMP profile that are to blame for such inconsistencies.
Before you leave, discover expert tips to force Windows to use all RAM and witness a significant boost in performance!
For any queries or to share more fixes with our readers, drop a comment below.
User forum
0 messages