APP_TAGGING_INITIALIZATION_FAILED: 7 Ways to Fix it
Repairing the disk should quickly fix things
![]() 4 min. read
4 min. read
![]() Published on
Published on
Share this article
Improve this guide
Read our disclosure page to find out how can you help Windows Report sustain the editorial team. Read more
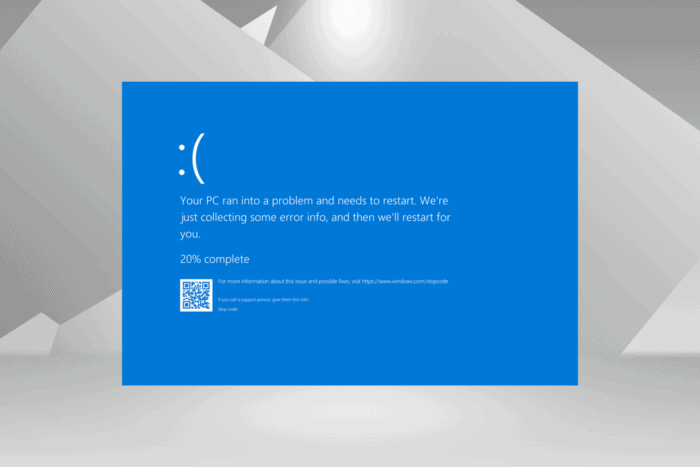
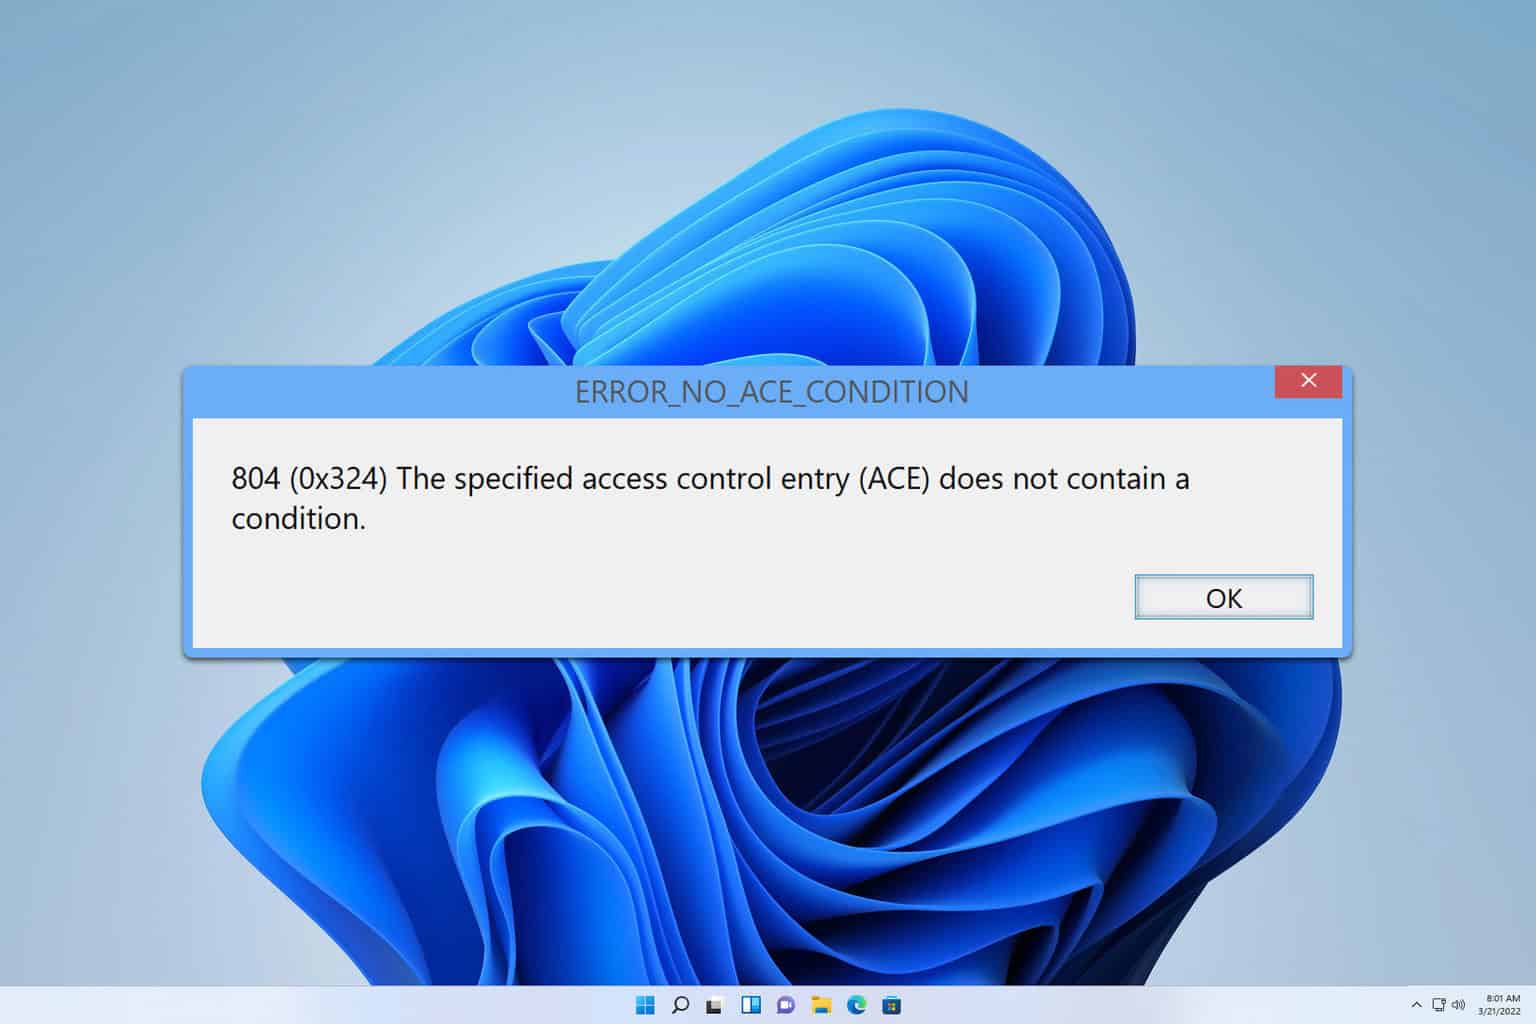
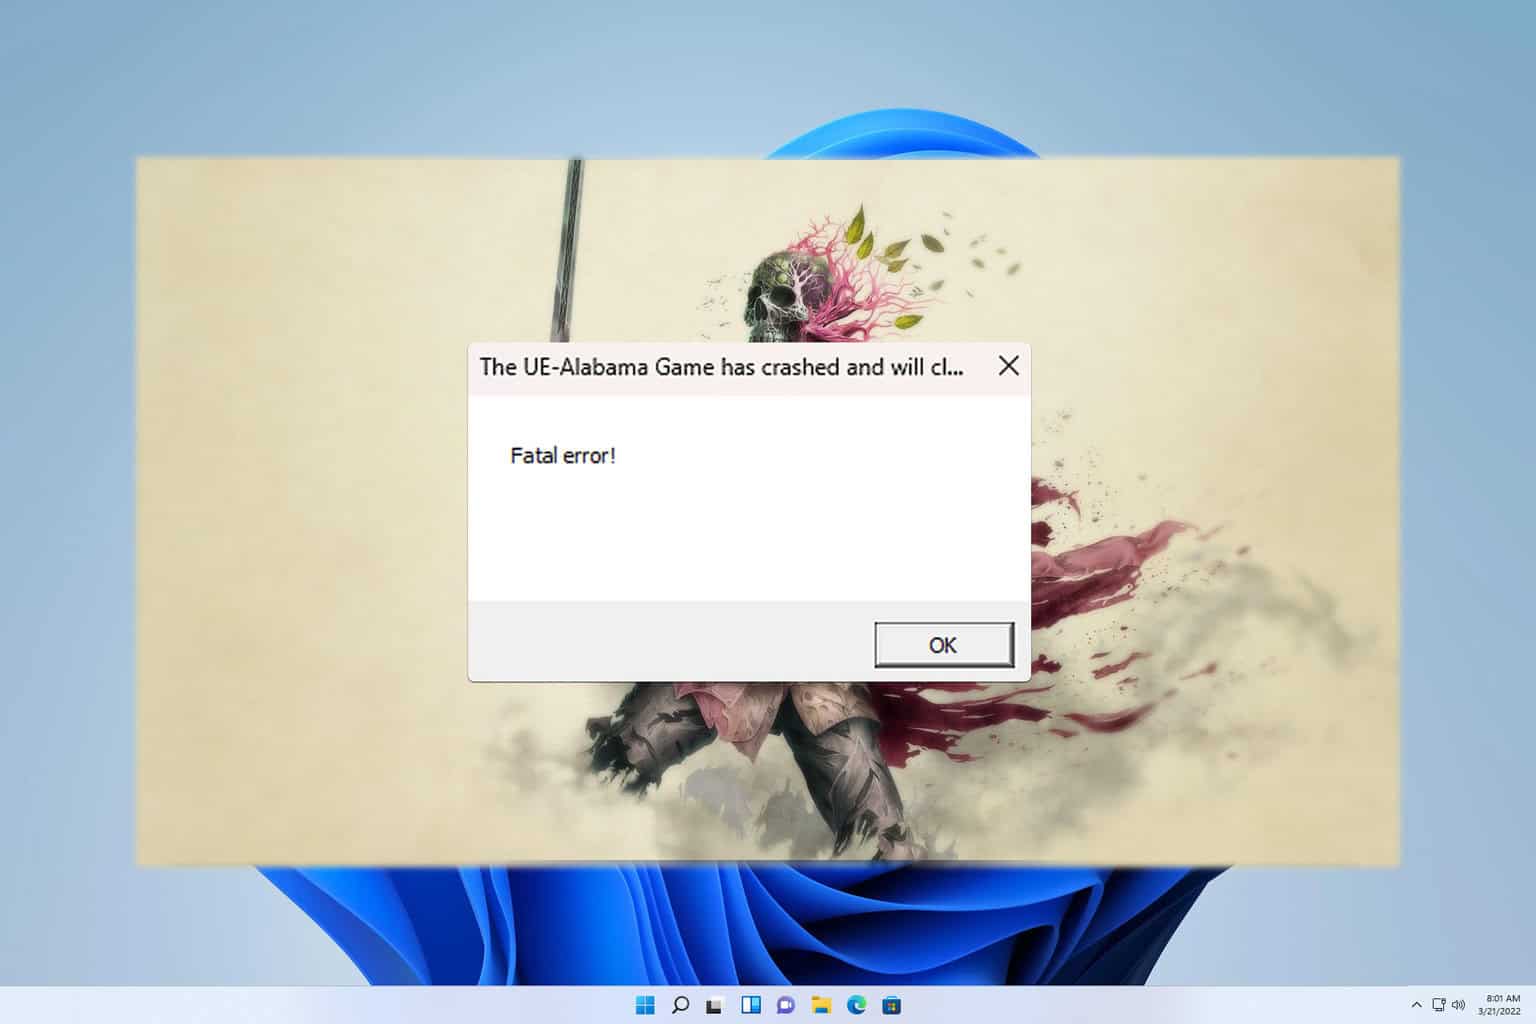
The APP_TAGGING_INITIALIZATION_FAILED BSOD (Blue Screen of Death), which crashes Windows, has a bug check value of 0x0000010A.
The error is encountered due to corrupted system files, outdated drivers, disk issues, malware infection, running incompatible apps, and misconfigured Windows settings.
Before we start troubleshooting, restart the PC, install all pending Windows updates, and disconnect any non-critical hardware. For most of you, these basic checks should fix the blue screen error!
How can I fix the APP_TAGGING_INITIALIZATION_FAILED BSOD?
1. Update all the installed drivers
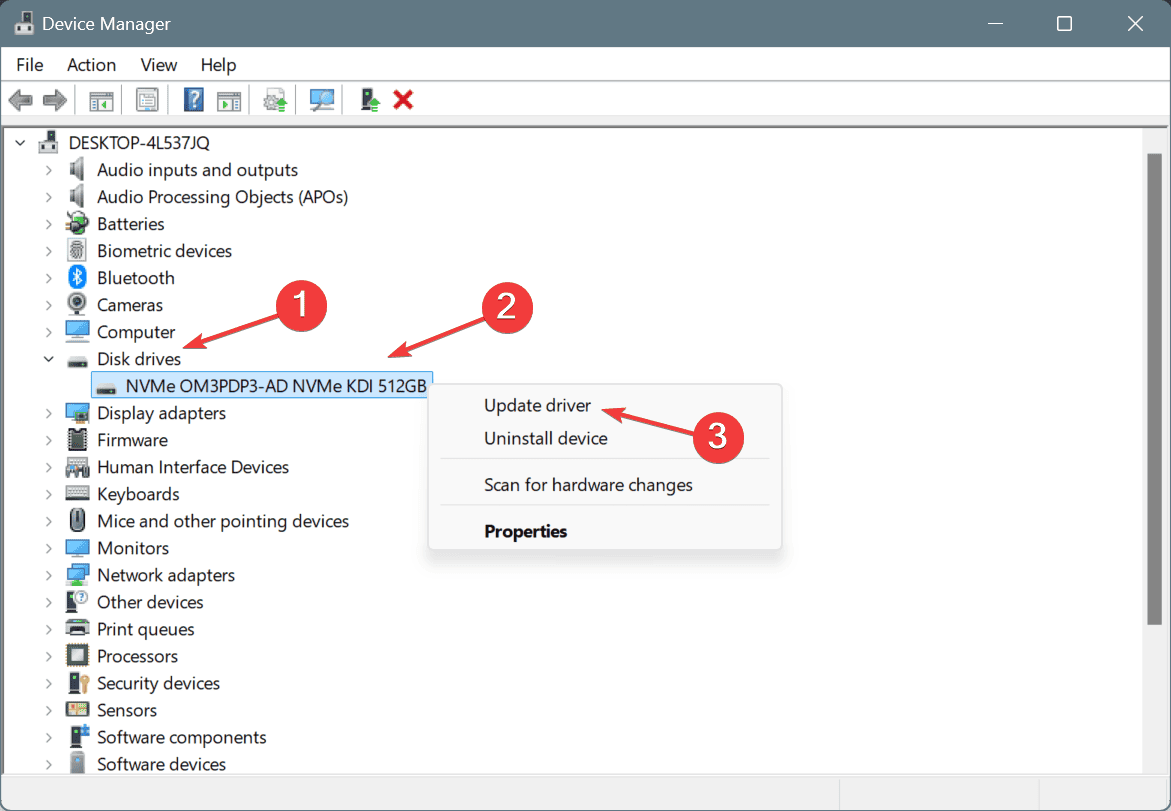
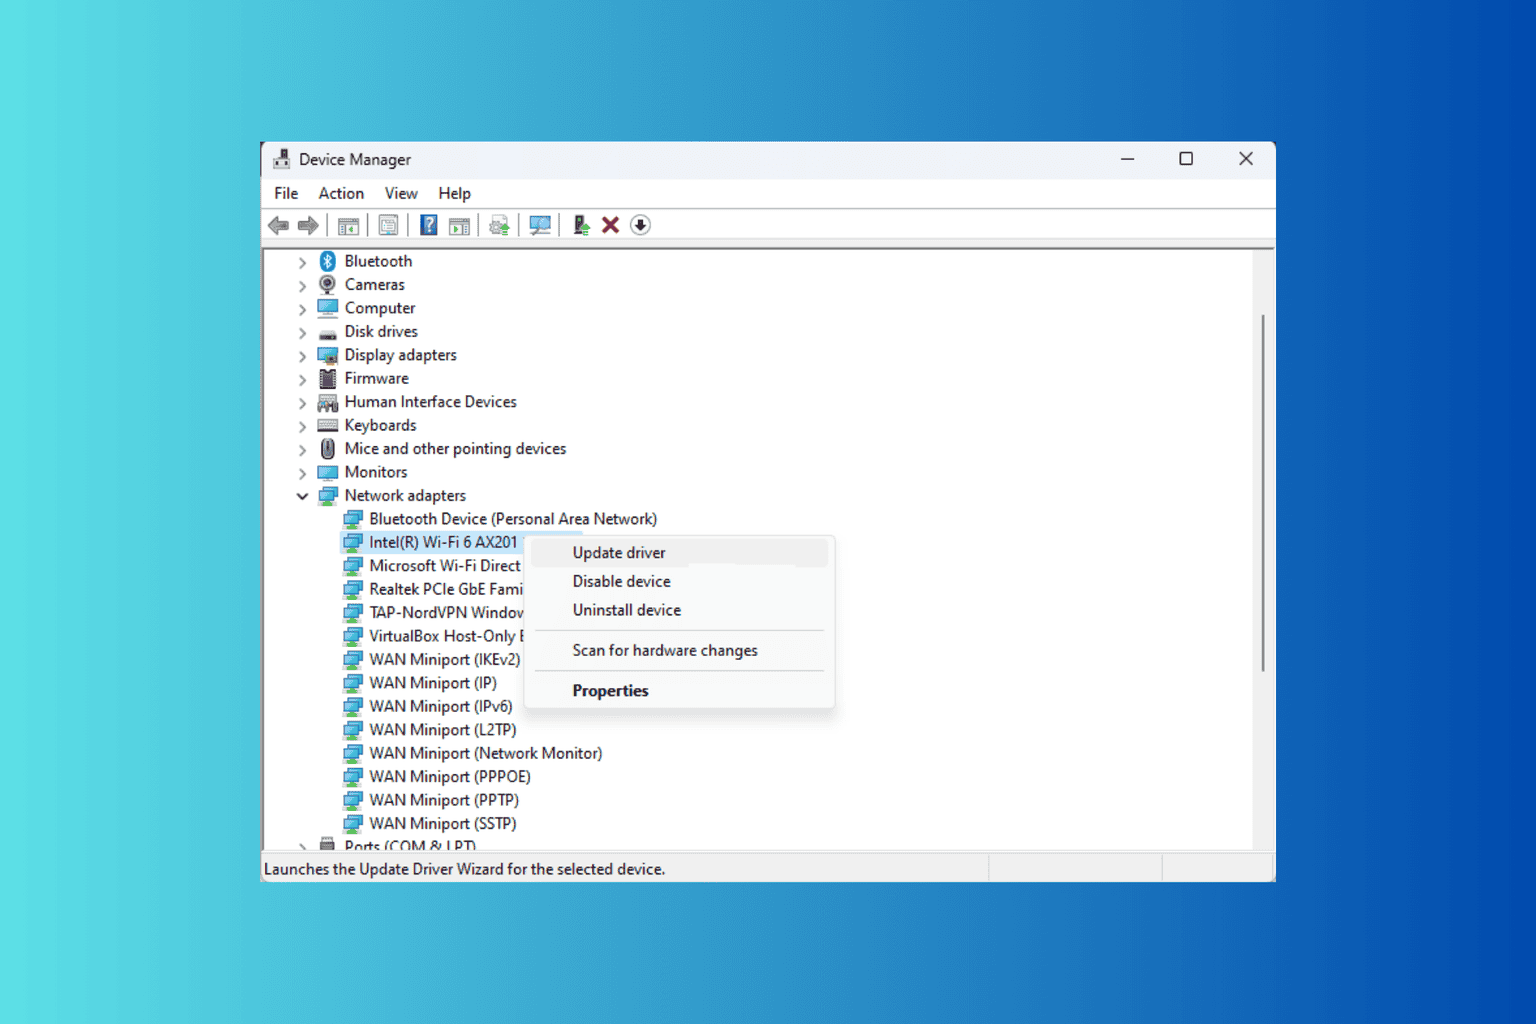
- Press Windows + X to open the Power User menu, and select Device Manager from the list.
- Expand all the entries here, right-click on the devices listed underneath individually, and select Update driver.

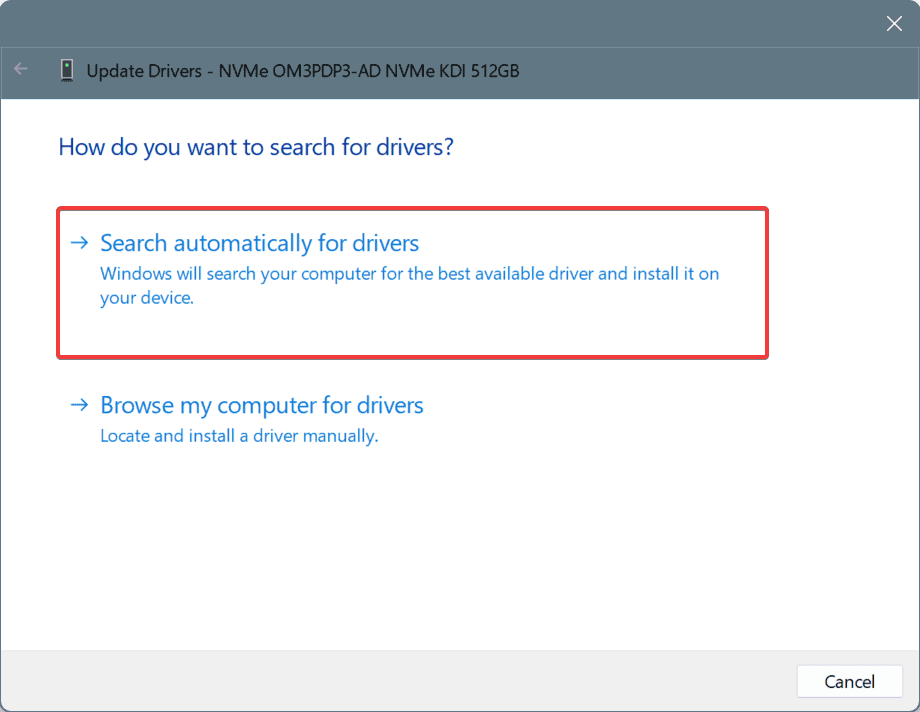
- Now, click on Search automatically for drivers and wait for Windows to install the best locally available version.

- Similarly, update all the other drivers and then restart the PC.
If you are getting APP_TAGGING_INITIALIZATION_FAILED on Windows 11 due to outdated or corrupt drivers, updating the drivers will fix things in no time. And when the OS can’t find a better version, head to the manufacturer’s website, locate the newest release, and then manually install the driver!
2. Repair the corrupted system files
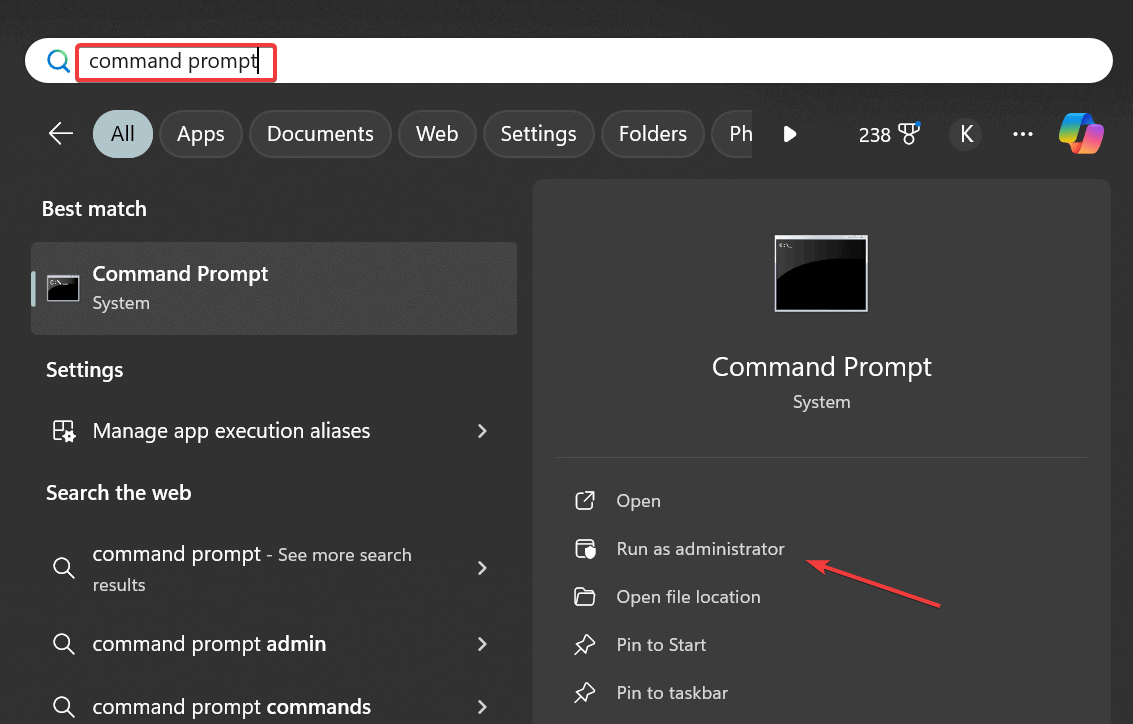
- Press Windows + S to open Search, type Command Prompt, and click on Run as administrator.

- Click Yes in the UAC prompt.
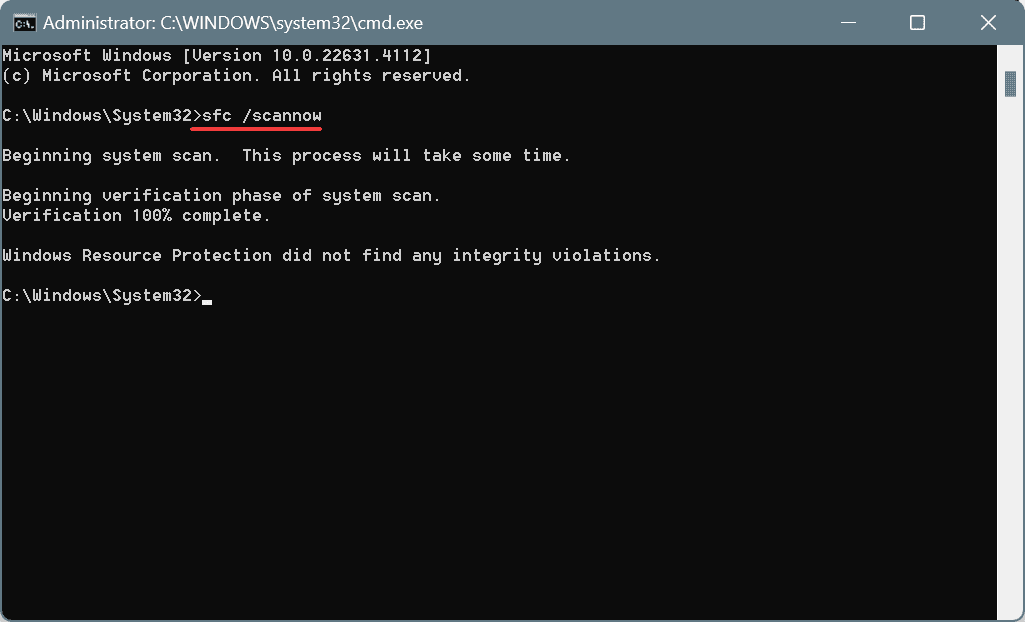
- Paste the following DISM commands individually and hit Enter after each:
DISM /Online /Cleanup-Image /CheckHealthDISM /Online /Cleanup-Image /ScanHealthDISM /Online /Cleanup-Image /RestoreHealth - Now, run this command for the SFC scan:
sfc /scannow
- Finally, reboot the PC and verify whether repairing the corrupted system files fixed things.
3. Repair the disk
- Press Windows + R to open Run, type cmd, and hit Ctrl + Shift + Enter.
- Click Yes in the UAC prompt.
- Paste the following Check Disk command and hit Enter:
chkdsk /r - If asked to run the scan upon the next reboot, press Y, then hit Enter, and restart the PC.

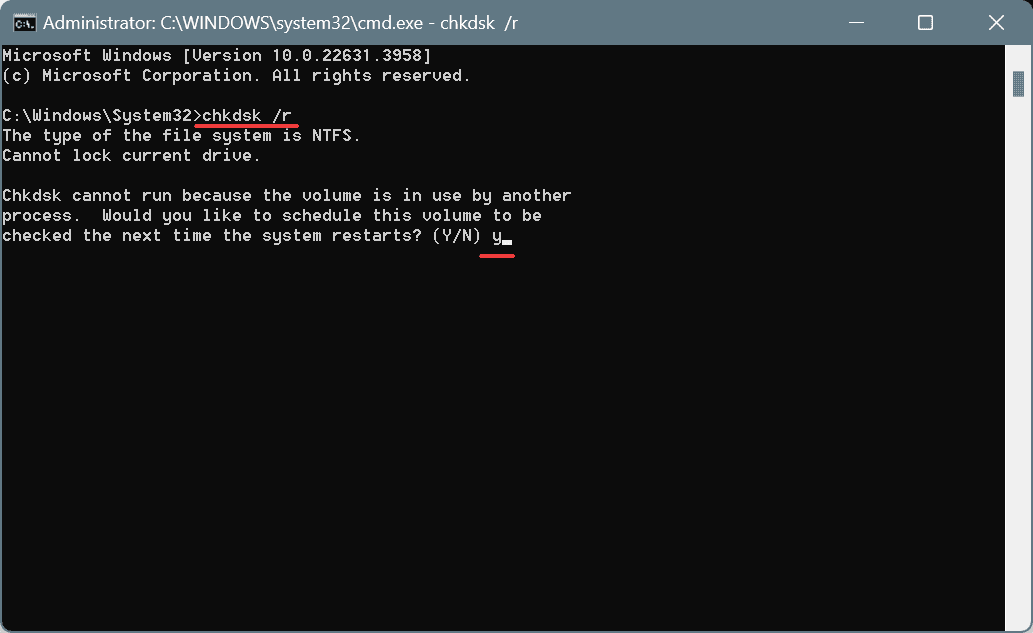
If it’s the bad sectors to blame for APP_TAGGING_INITIALIZATION_FAILED in Windows 10, you will have to repair the hard disk. To do that, an easy option is to run the built-in Check Disk utility.
4. Run a malware scan
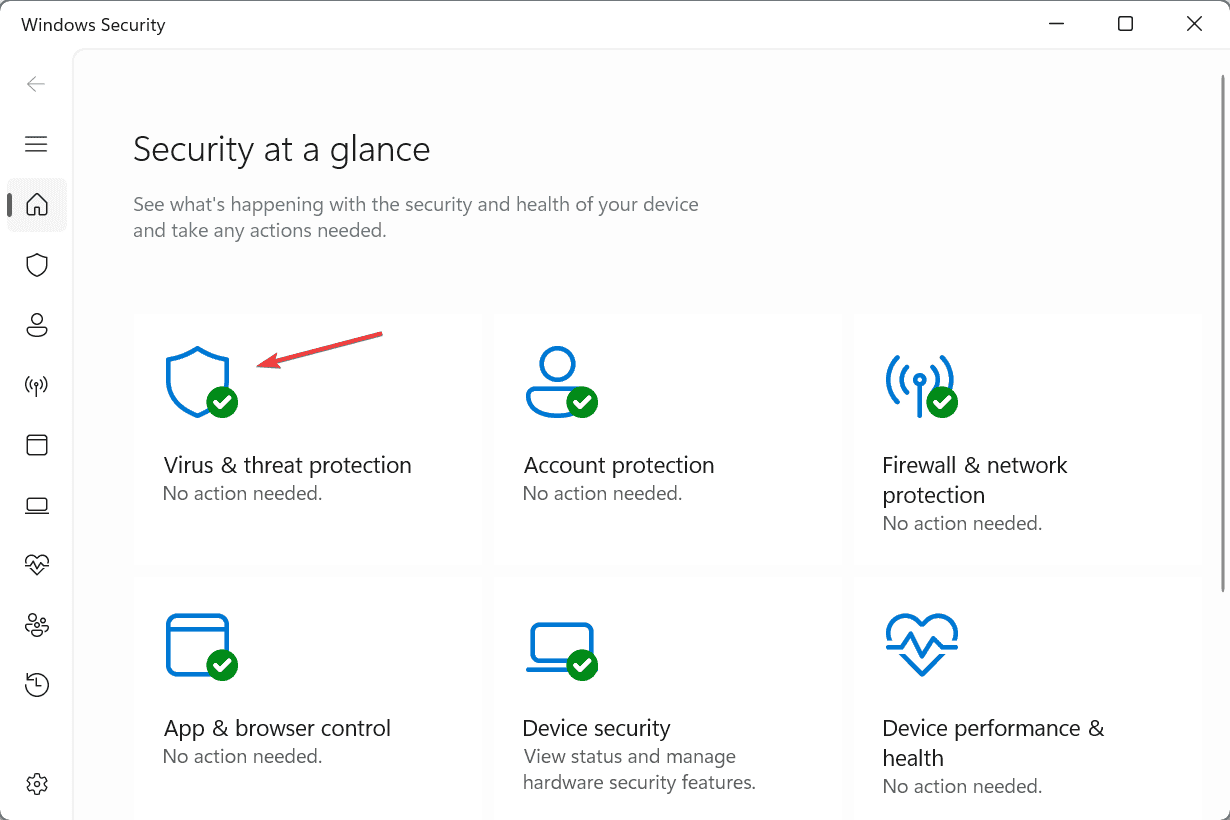
- Press Windows + S to open Search, type Windows Security in the text field, and click on the relevant result.
- Click on Virus & threat protection.

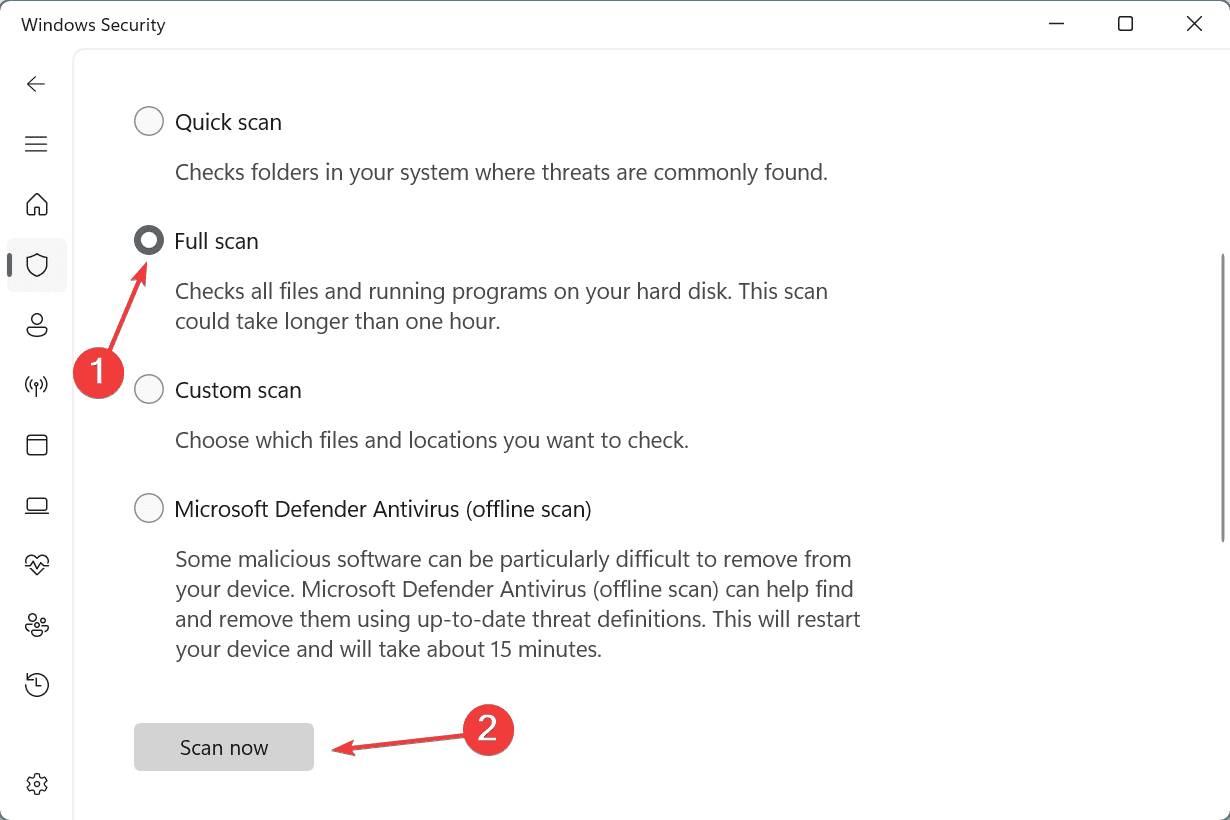
- Click on Scan options.
- Select the Full scan entry and then click the Scan now button.
- Wait for the scan to complete. It may take 15-45 minutes.
5. Uninstall conflicting third-party apps
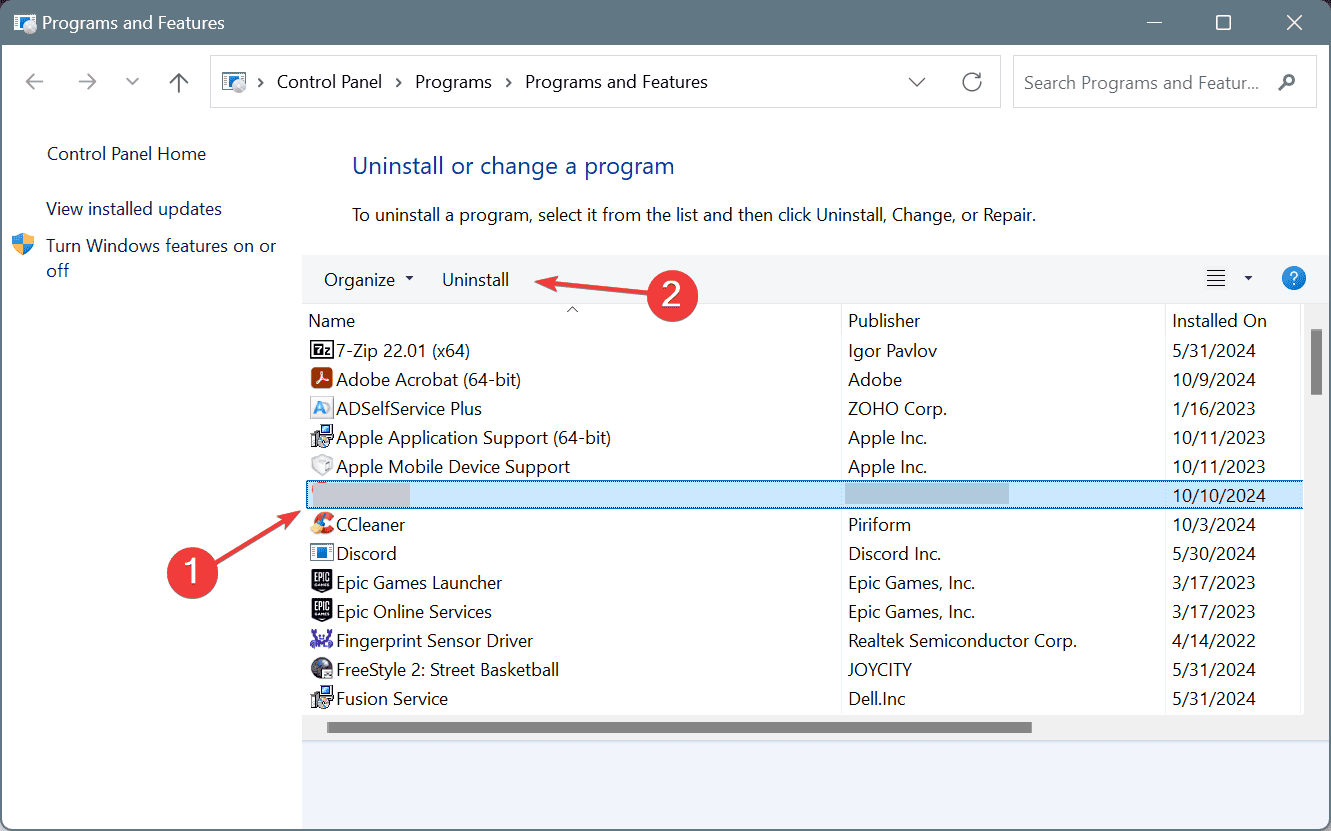
- Press Windows + R to open Run, type appwiz.cpl in the text field, and hit Enter.
- Select any app downloaded around the same time the BSOD first appeared, and click Uninstall.

- Follow the on-screen instructions to complete the process and then restart the PC.
- Verify whether the problem is resolved. If not, uninstall other apps that may be conflicting with Windows.
Sometimes, a quick app removal doesn’t work, and the data left behind can still trigger the APP_TAGGING_INITIALIZATION_FAILED blue screen error. In such cases, I recommend using a top-rated software uninstaller to delete all leftover files, app cache, and Registry entries!
6. Turn off fast startup
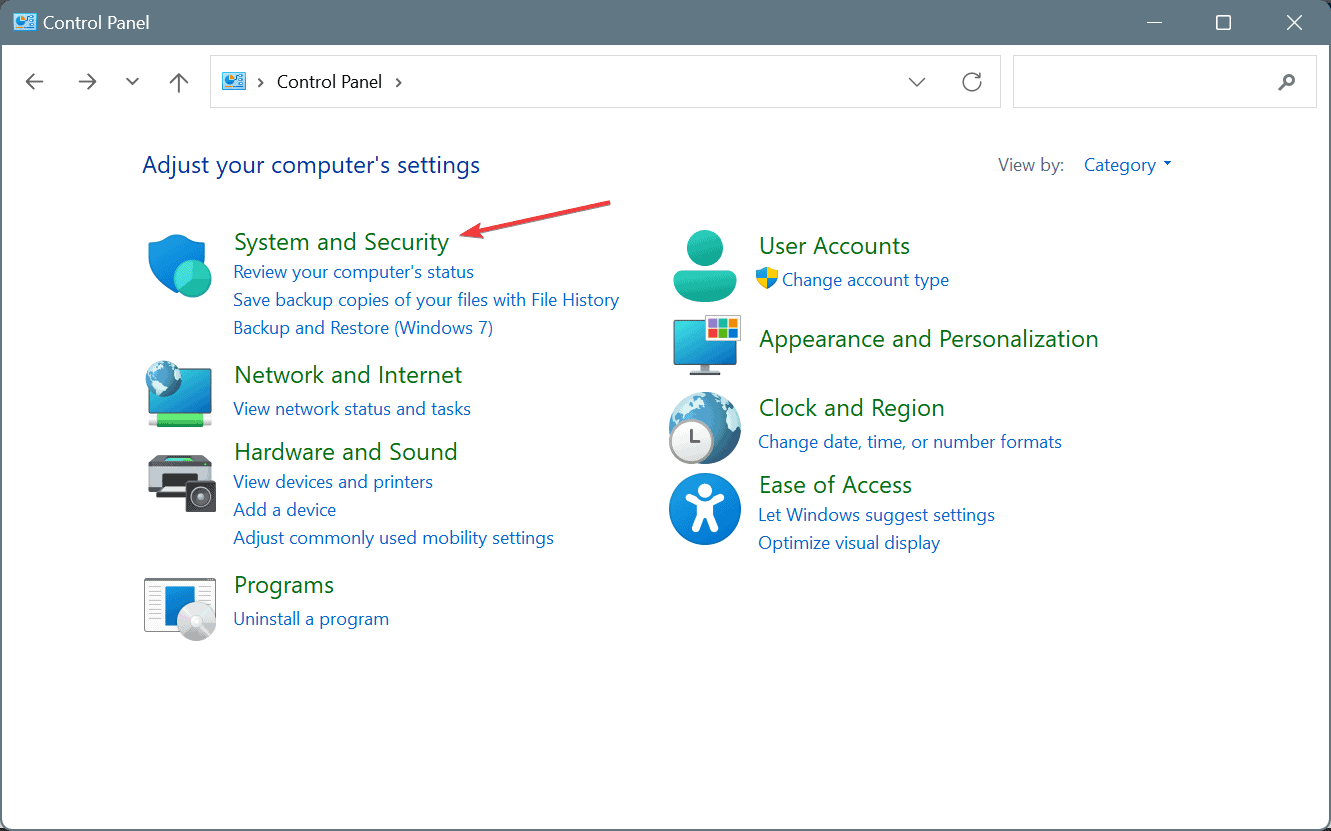
- Press Windows + S to open Search, type Control Panel in the text field, and click on the relevant result.
- Click on System and Security.
- Now, click on Change what the power buttons do under Power options.
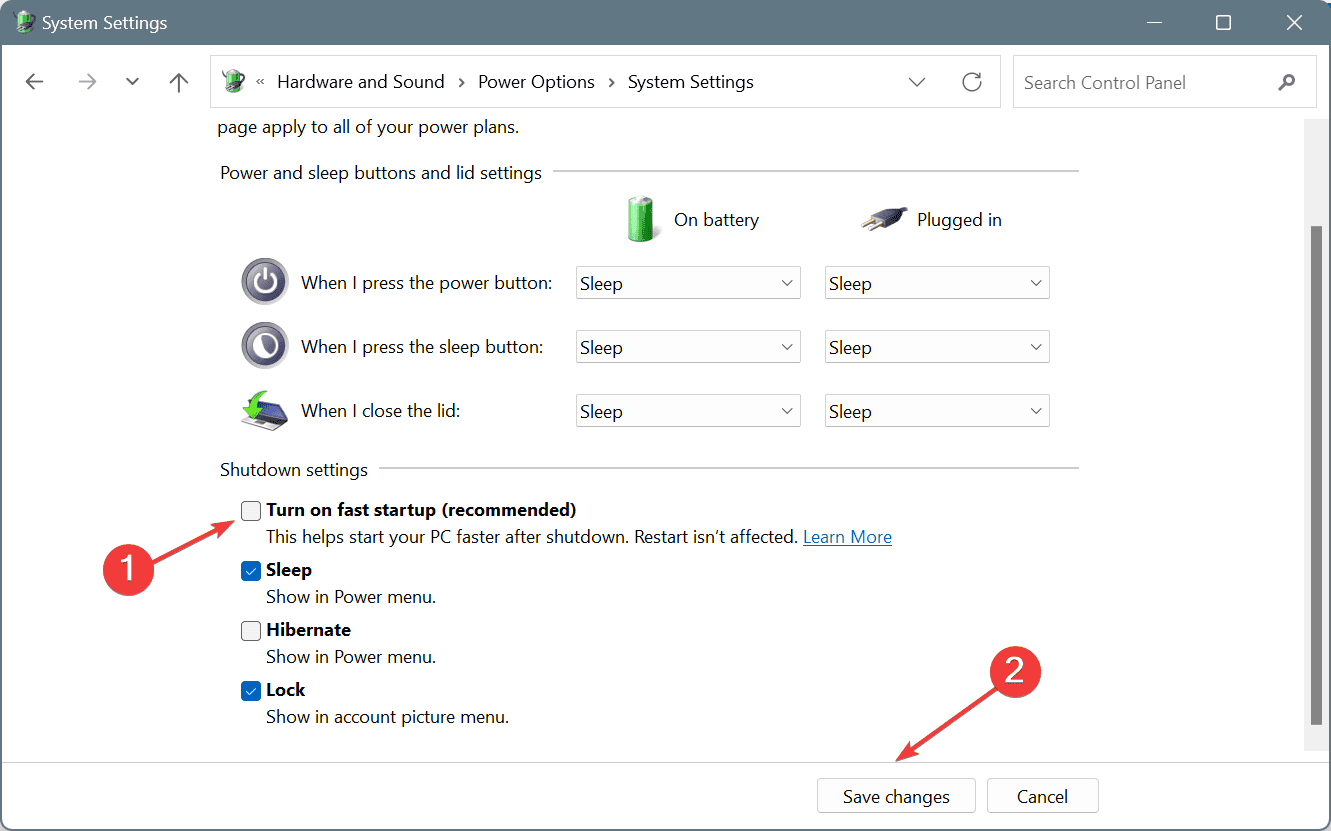
- Click on Change settings that are currently unavailable.
- Untick the checkbox for Turn on fast startup, and then click Save changes.
- Finally, restart the PC and check for improvements.
7. Perform an in-place upgrade
 NOTE
NOTE
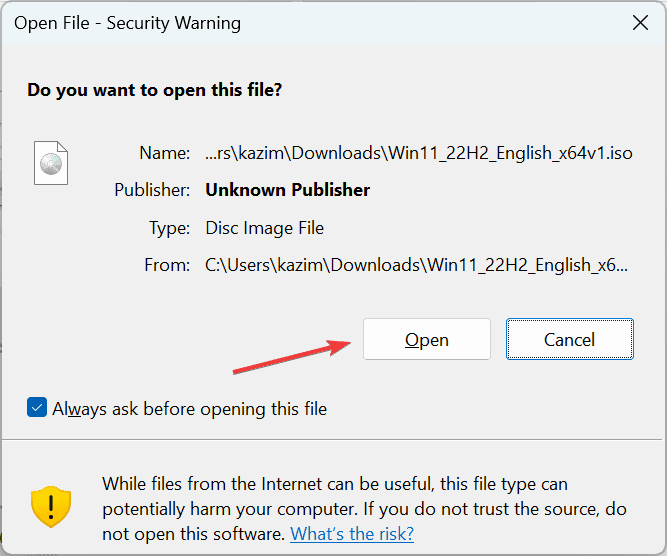
- Go to Microsoft’s official website, select the OS edition and language, and then download the Windows 11 ISO.
- Next, right-click on the ISO file, select Mount, and then click on Open in the confirmation prompt.

- Run the setup.exe file.
- Click Yes in the UAC prompt.
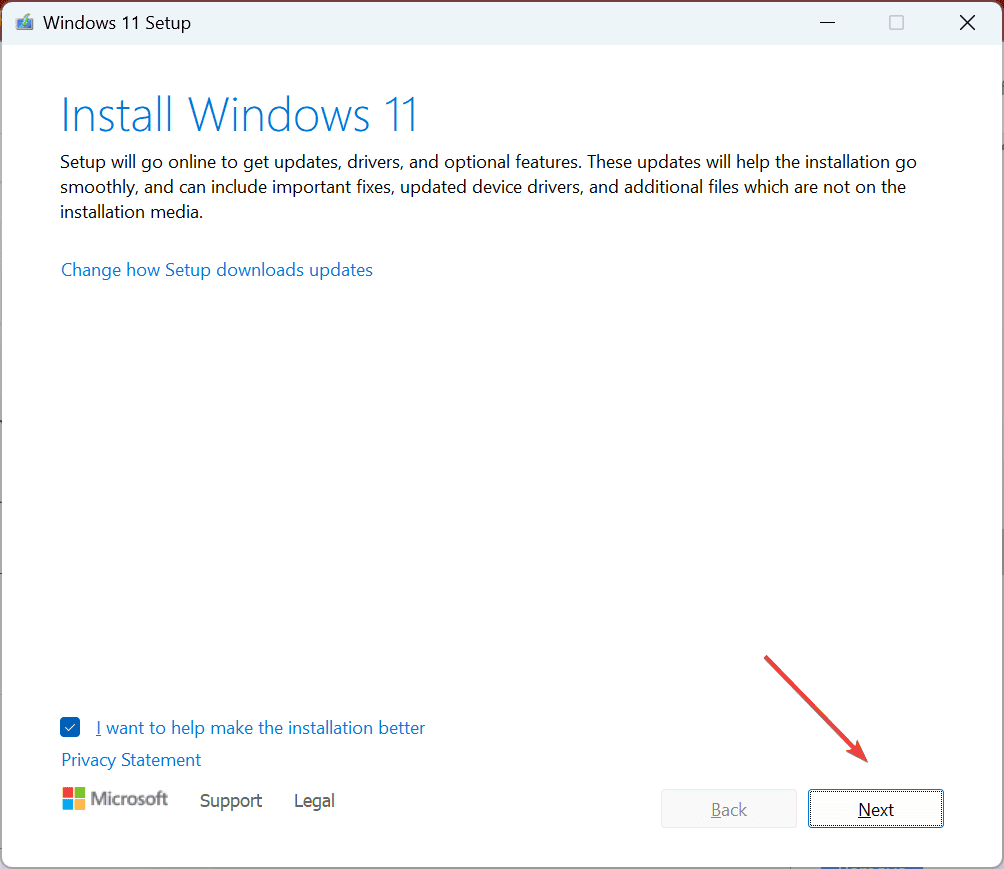
- Click on Next to proceed.

- Now, click Accept to agree to Microsoft’s license terms.
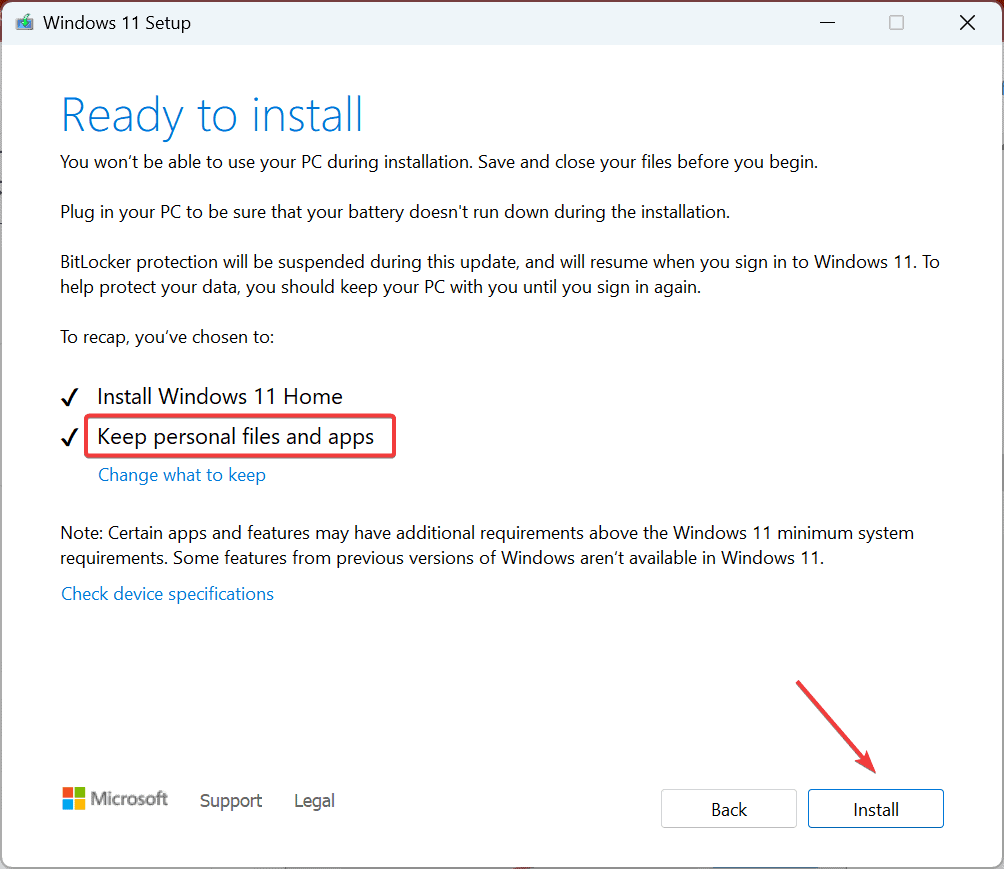
- Finally, make sure the setup reads, Keep personal files and apps, and then click on Install.
- Wait for the process to complete. It typically takes 45-90 minutes.
If it’s a problem with Windows itself, you will have to perform an in-place upgrade to fix the APP_TAGGING_INITIALIZATION_FAILED BSOD. Don’t worry, your files and apps remain unaffected during the process!
In case this, too, fails, the last option is to reinstall Windows. That will, in all likelihood, get rid of the blue screen error.
Before you leave, discover what causes BSOD on Windows and prevent such errors from reappearing!
For any queries or to share more fixes with our readers, drop a comment below.
User forum
0 messages