Solved: Fujitsu ScanSnap ix1600 Driver Not Working
Get the driver from the official manufacturer
4 min. read
Published on
Read our disclosure page to find out how can you help Windows Report sustain the editorial team. Read more
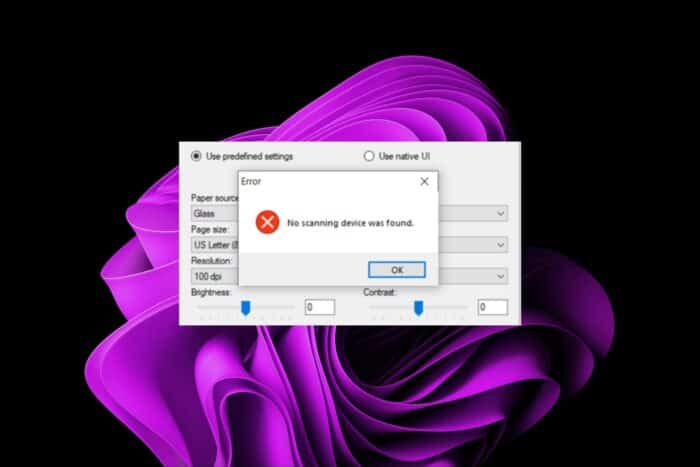
Drivers are essential for the proper functioning of any hardware so if your Fujitsu Scansnap ix1600 driver is not working, it could be a case of outdated, missing or damaged drivers.
In some cases, your scanner can’t be detected due to misconfiguration, poor connection or faulty USB cables/ports. Other possible triggers could be a virus infection or a hardware failure.
What can I do if the Fujitsu Scansnap ix1600 driver is not working?
1. Run the Hardware and Devices troubleshooter
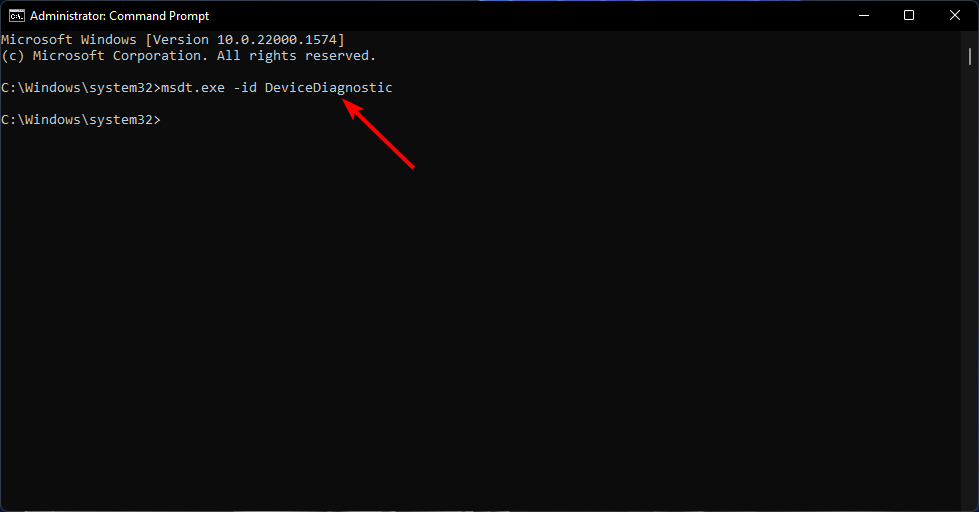
- Hit the Windows key, type cmd, and select Run as administrator.
- Type the following command and hit Enter:
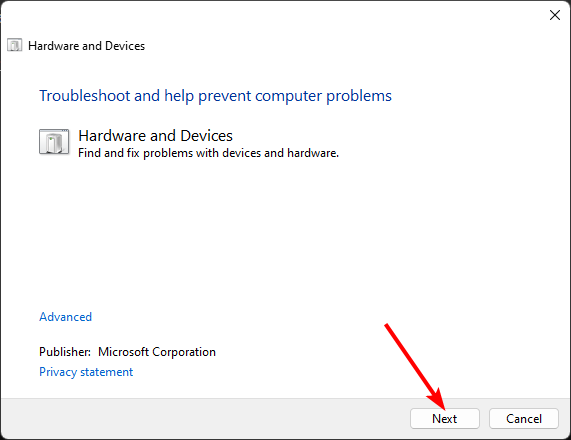
msdt.exe -id DeviceDiagnostic - In the Hardware and Devices dialog that appears, click Next.
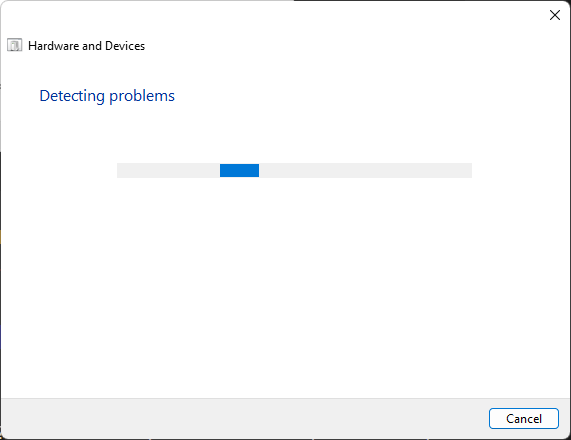
- The tool will start scanning for any problems with your hardware and recommend a fix. After it is done, try again and check if the Fujitsu Scansnap ix600 driver is working.
The built-in Windows hardware troubleshooter does a decent job but it may not be comprehensive enough to detect and recommend fixes for your scanner’s problem.
Luckily, the Scansnap setup file comes bundled with a support tool to troubleshoot the issue and help you learn and get additional help on errors.
2. Reinstall scanner drivers
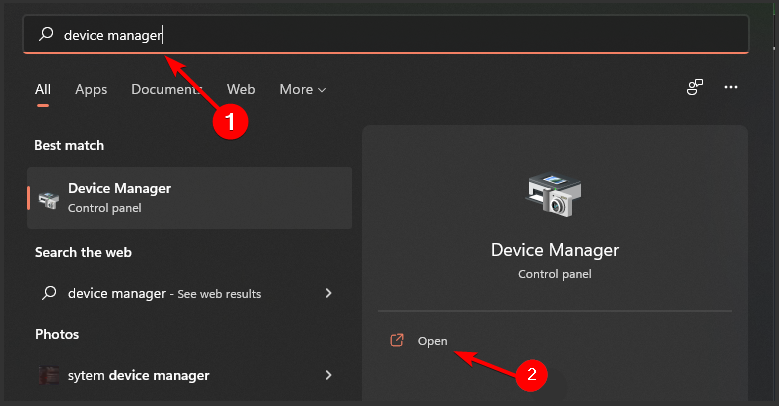
- Hit the Windows key, type Device Manager, and click Open.
- Locate Imaging Devices and right-click on your specific driver to Uninstall.
- Restart your PC and your drivers will be automatically restored.
3. Download the driver from the official site
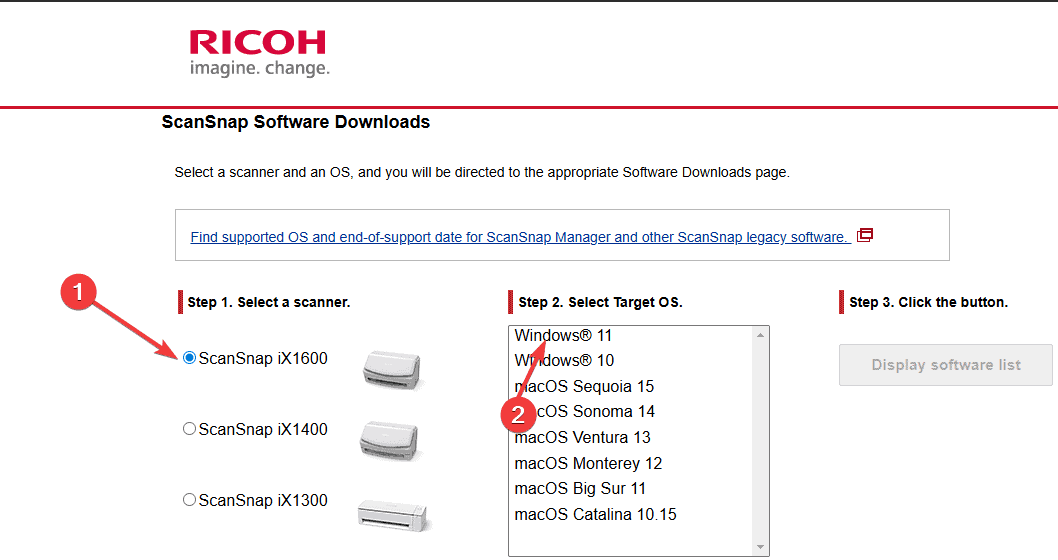
- Navigate to your browser and go to the Software download page for Scan Snap iX500.
- Click on Download next to the ScanSnap Home Download Installer.
- Open it on your PC.
- It should detect the scanner connected to your PC.
- You also can select the model manually and click on Start setup.
- Follow any on-screen steps to finish the setup and driver installation.
- After that, restart your PC.
4. Uninstall the latest Windows Update
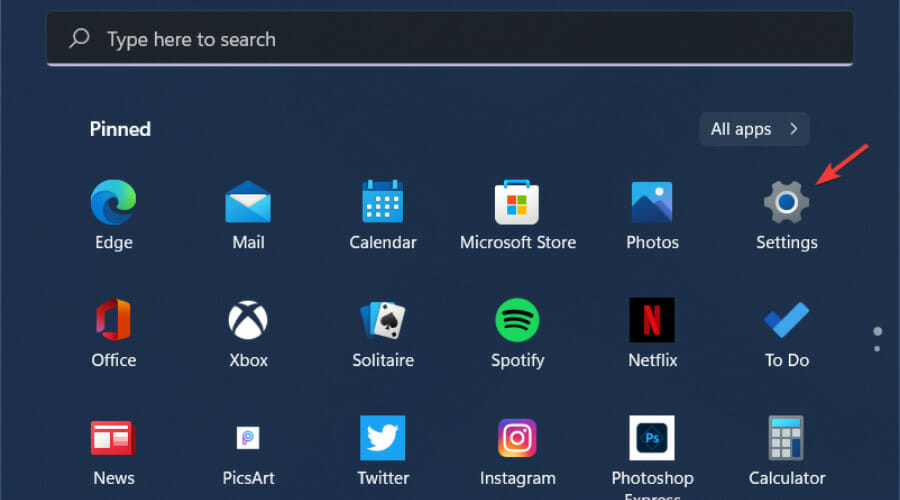
- Press the Windows + I keys simultaneously to open Settings.
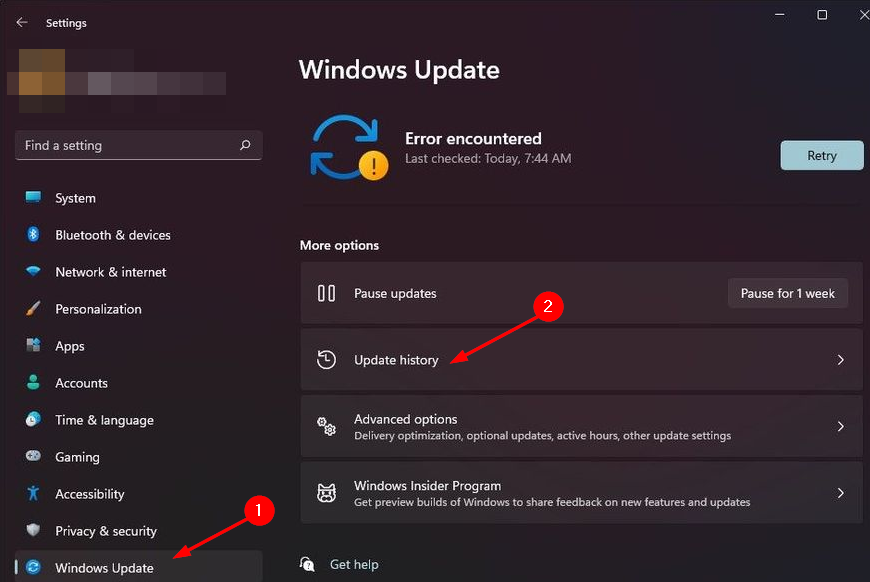
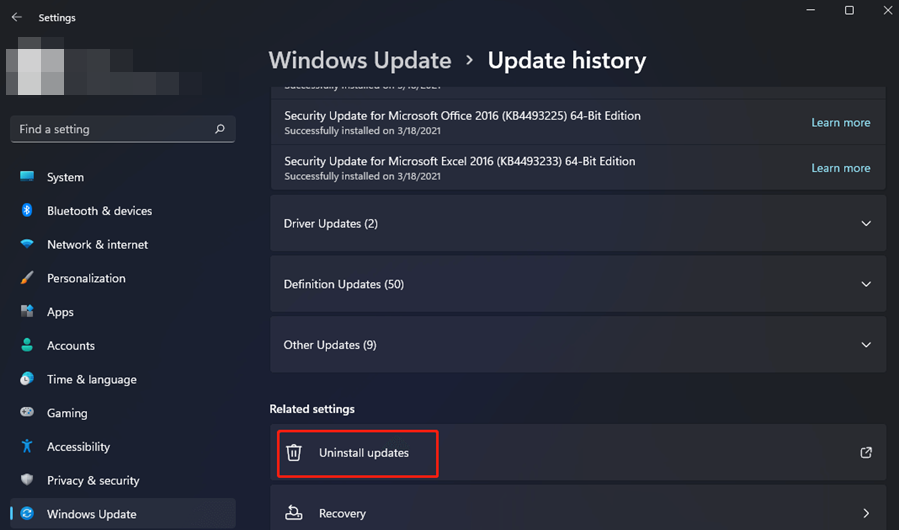
- Navigate to Windows Updates and go to Update history.
- Click on Uninstall updates.
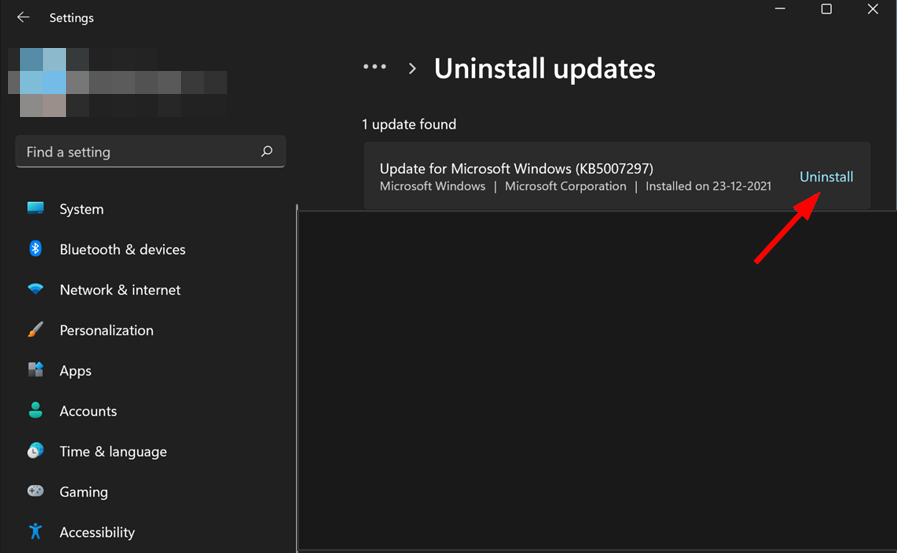
- Select the most recent update then click Uninstall.
It is possible your Fujitsu Scansnap ix1600 drivers are yet to be updated hence would be incompatible with the latest Windows build.
In this case, rolling back to the previous one should fix the issue of drivers not working but keep checking for updates from Fujitsu as you expose your system to security vulnerabilities by not updating its software.
5. Scan for viruses
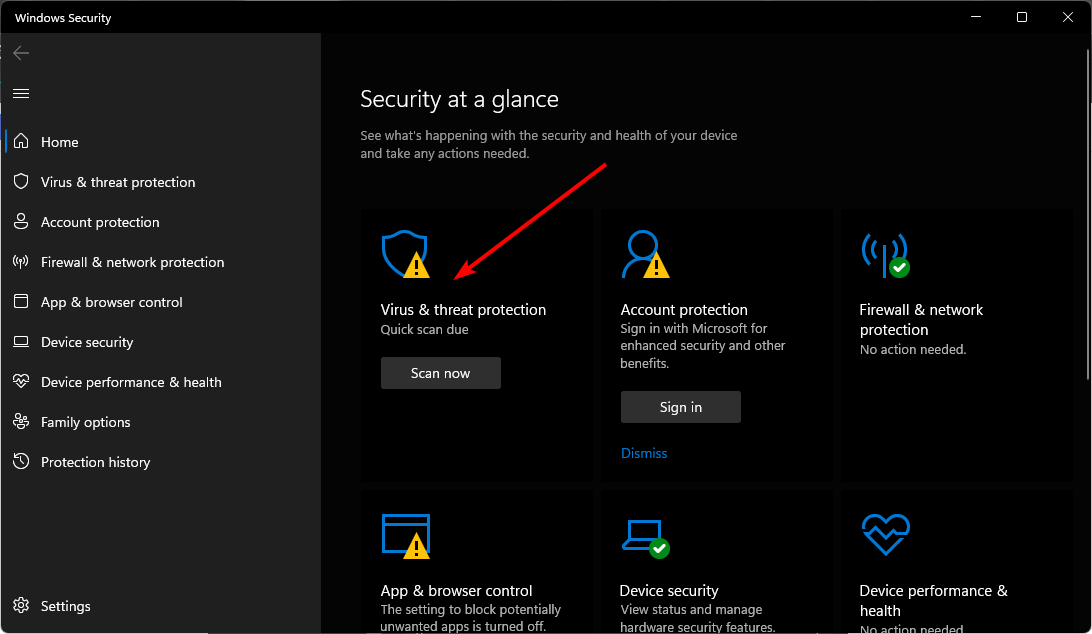
- Press the Windows key, search Windows Security, and click Open.
- Select Virus & threat protection.
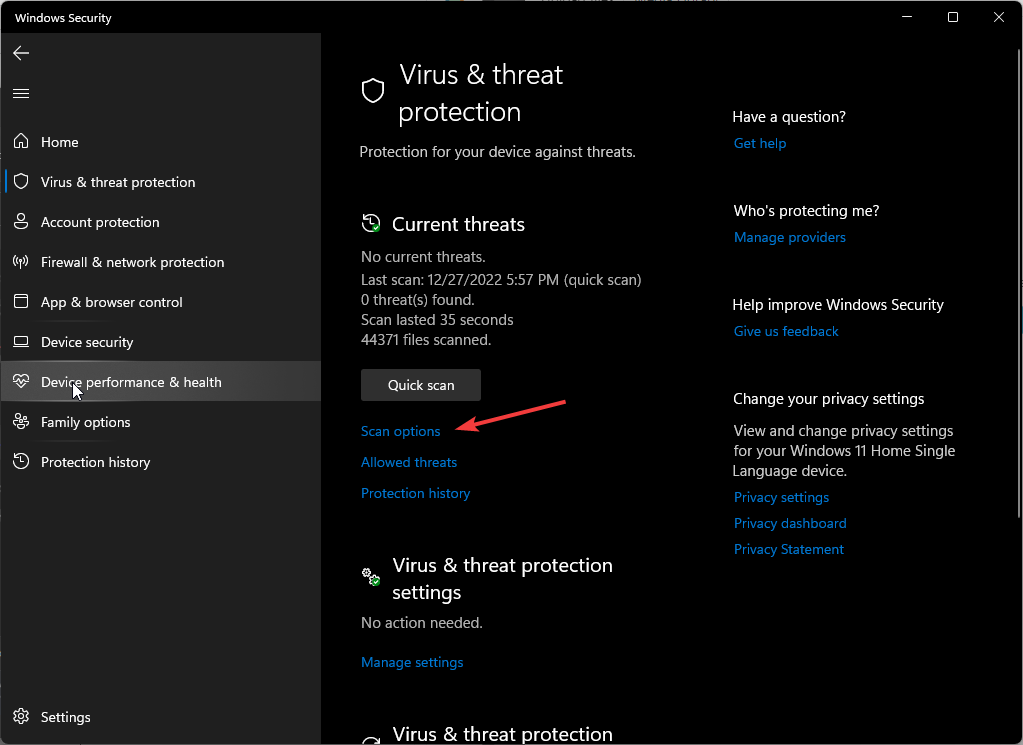
- Next, press Quick scan under Current threats.
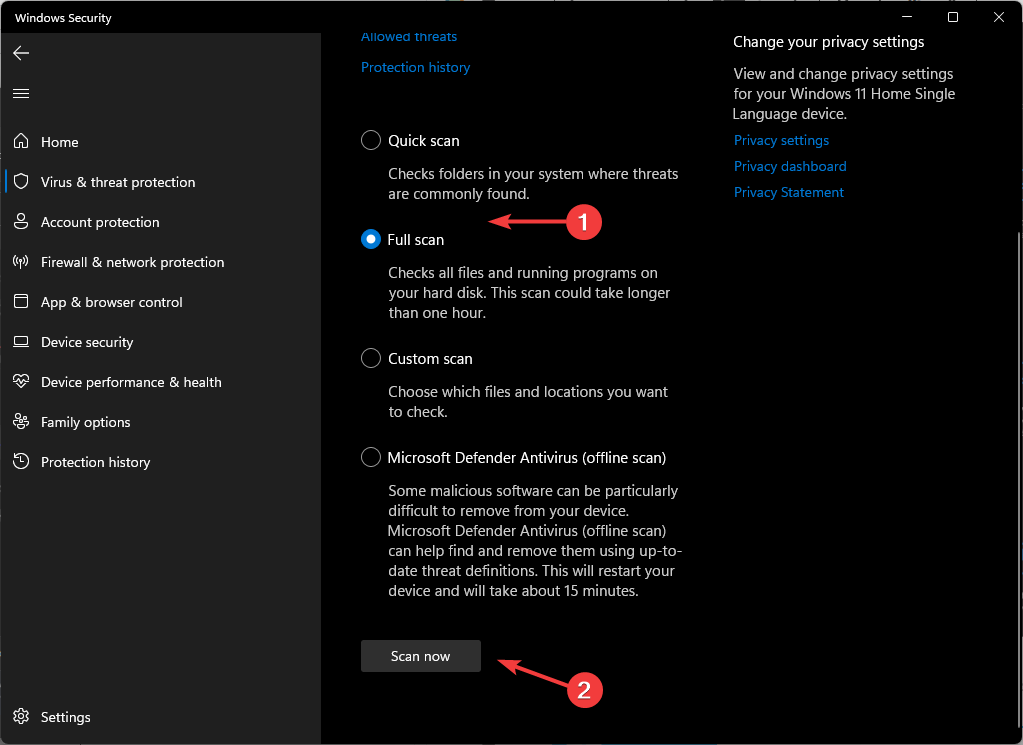
- If you don’t find any threats, proceed to perform a full scan by clicking on Scan options just below Quick scan.
- Click on Full scan, then Scan now to perform a deep scan of your PC.
- Wait for the process to finish and restart your system.
6. Perform a System Restore
- Press the Windows key, type Control Panel, and click Open.
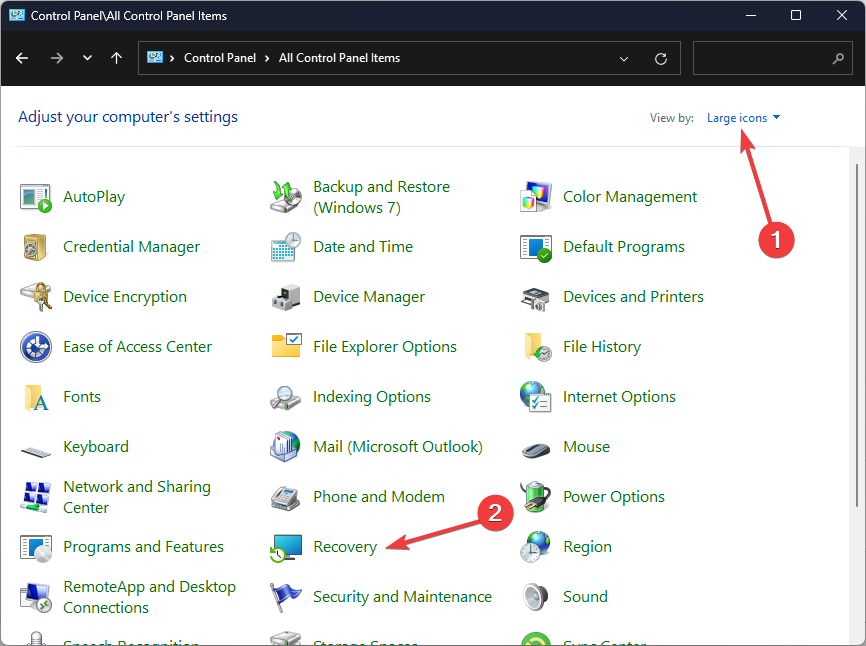
- Select Large icons as View by and click Recovery.
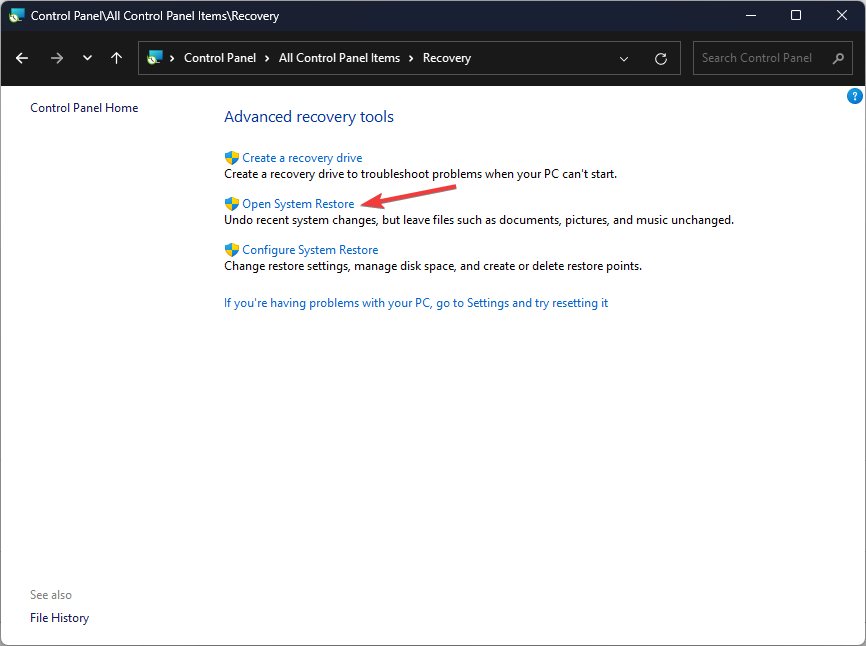
- Click Open System Restore.
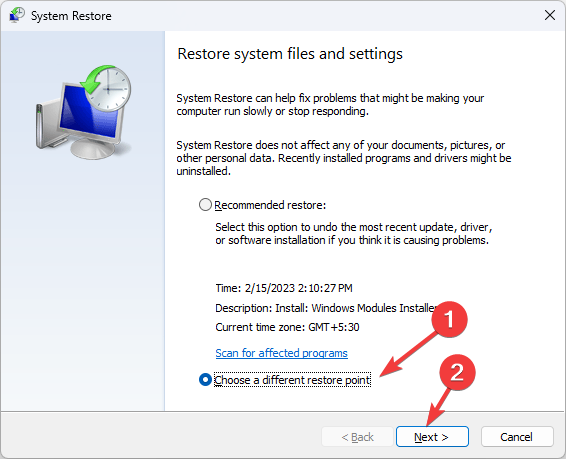
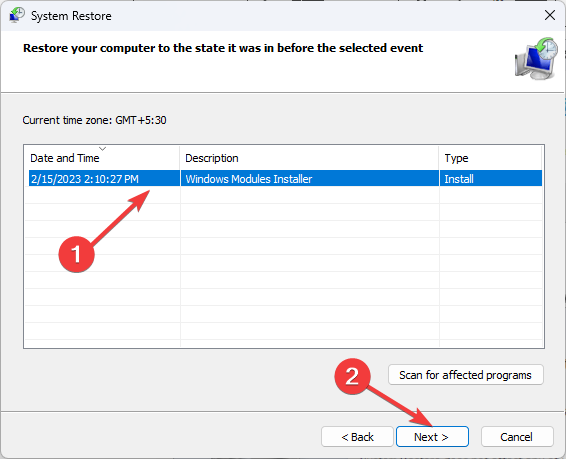
- Select Choose a different restore point and click Next.
- Now select the restore point and click Next.
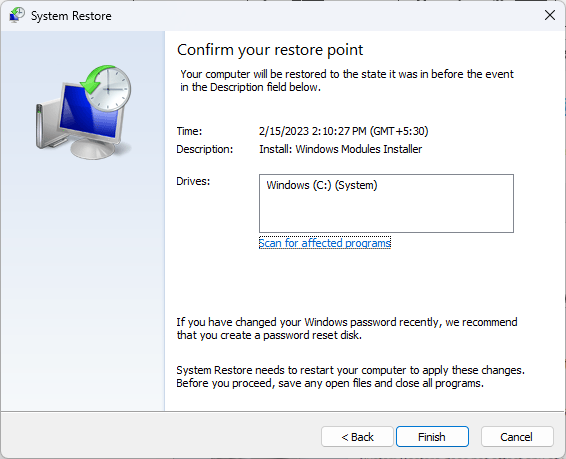
- Click Finish to restore the previous settings, and Windows will restart.
Also, keep in mind that some scanners have been discontinued while others have reached their end of support dates so while some of these solutions may work, the problem may keep reoccurring.
If this is the case, feel free to peruse our recommended scanner list for your next device. Elsewhere, check out what to do when your HP scanner stops working.
That’s it from us but if you have any other solution that worked for you but not mentioned here, feel free to drop us a line below.







User forum
0 messages