Fix Ntdll.dll Error Messages in Windows 10
You can simply solve this error following our foolproof fixes
7 min. read
Updated on
Read our disclosure page to find out how can you help Windows Report sustain the editorial team. Read more
Key notes
- The Ntdll.dll error message may appear either at startup or when you run a specific application in Windows 10.
- The first step you should take is simply to reboot your computer and check if that repaired the ntdll.dll error.
- A good solution is to uninstall the application that is giving you a hard time, so be sure to check out the steps in this guide.
- Also, we recommend you to use a proper repair tool, which you can find below along with the other solutions.
Seems that a lot of Windows 10 users have encountered at one point or another the Ntdll.dll error messages.
These error messages might occur for a huge number of reasons, but we will explain some of the most common messages that relate to the Ntdll.dll error and also how to fix them in a short tutorial below.
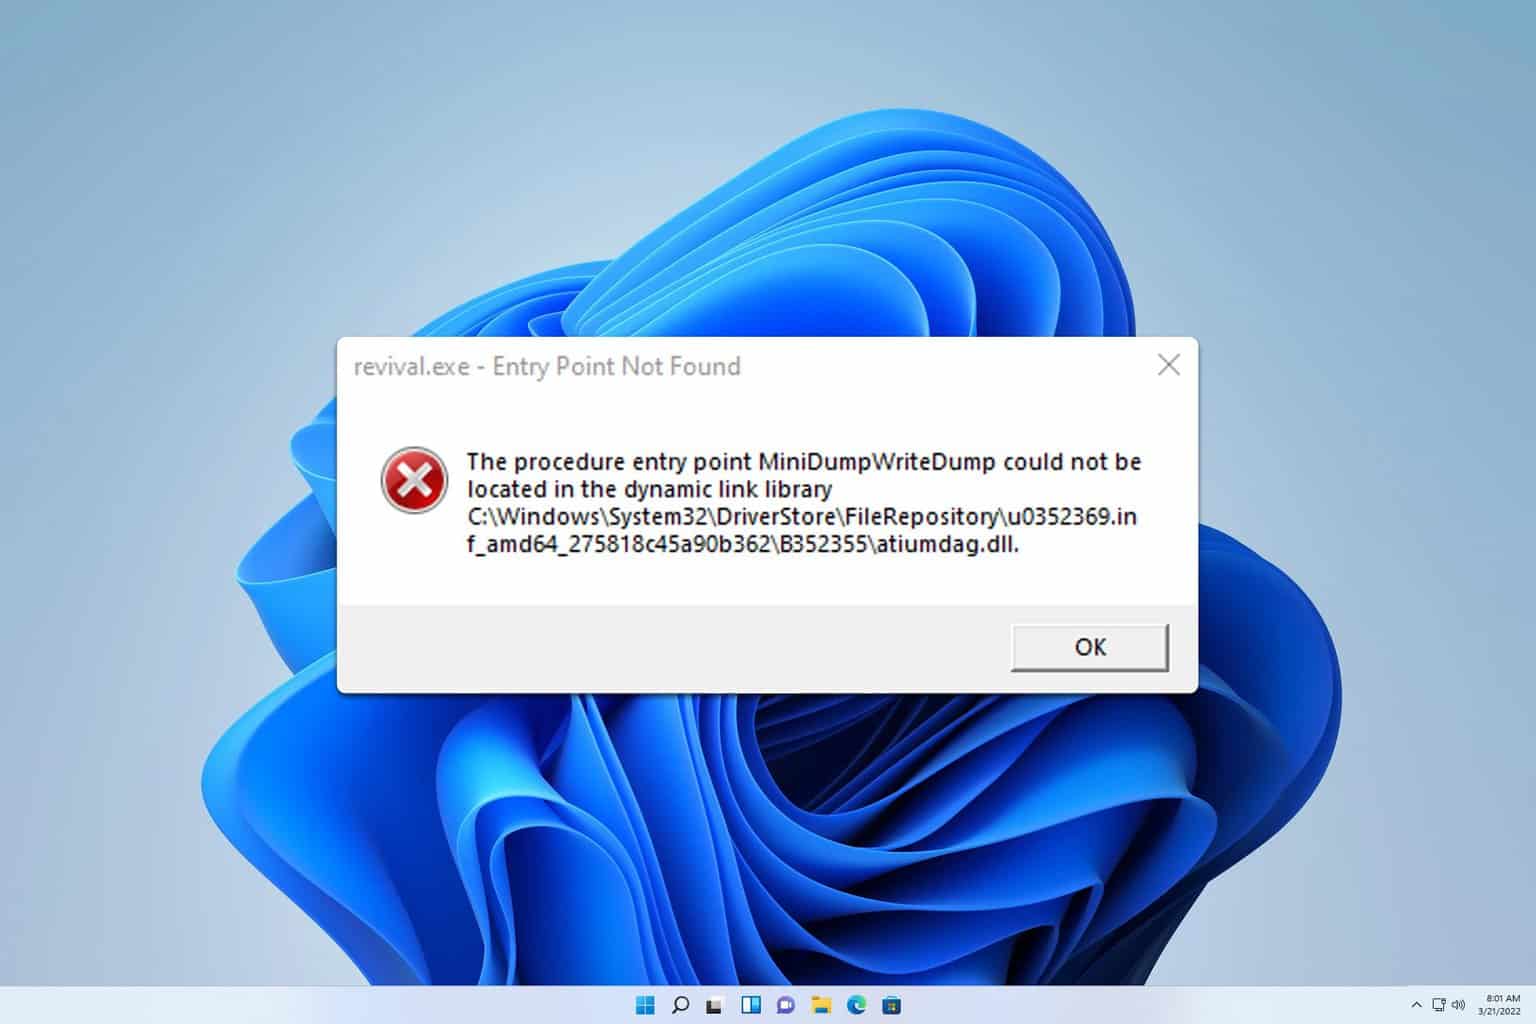
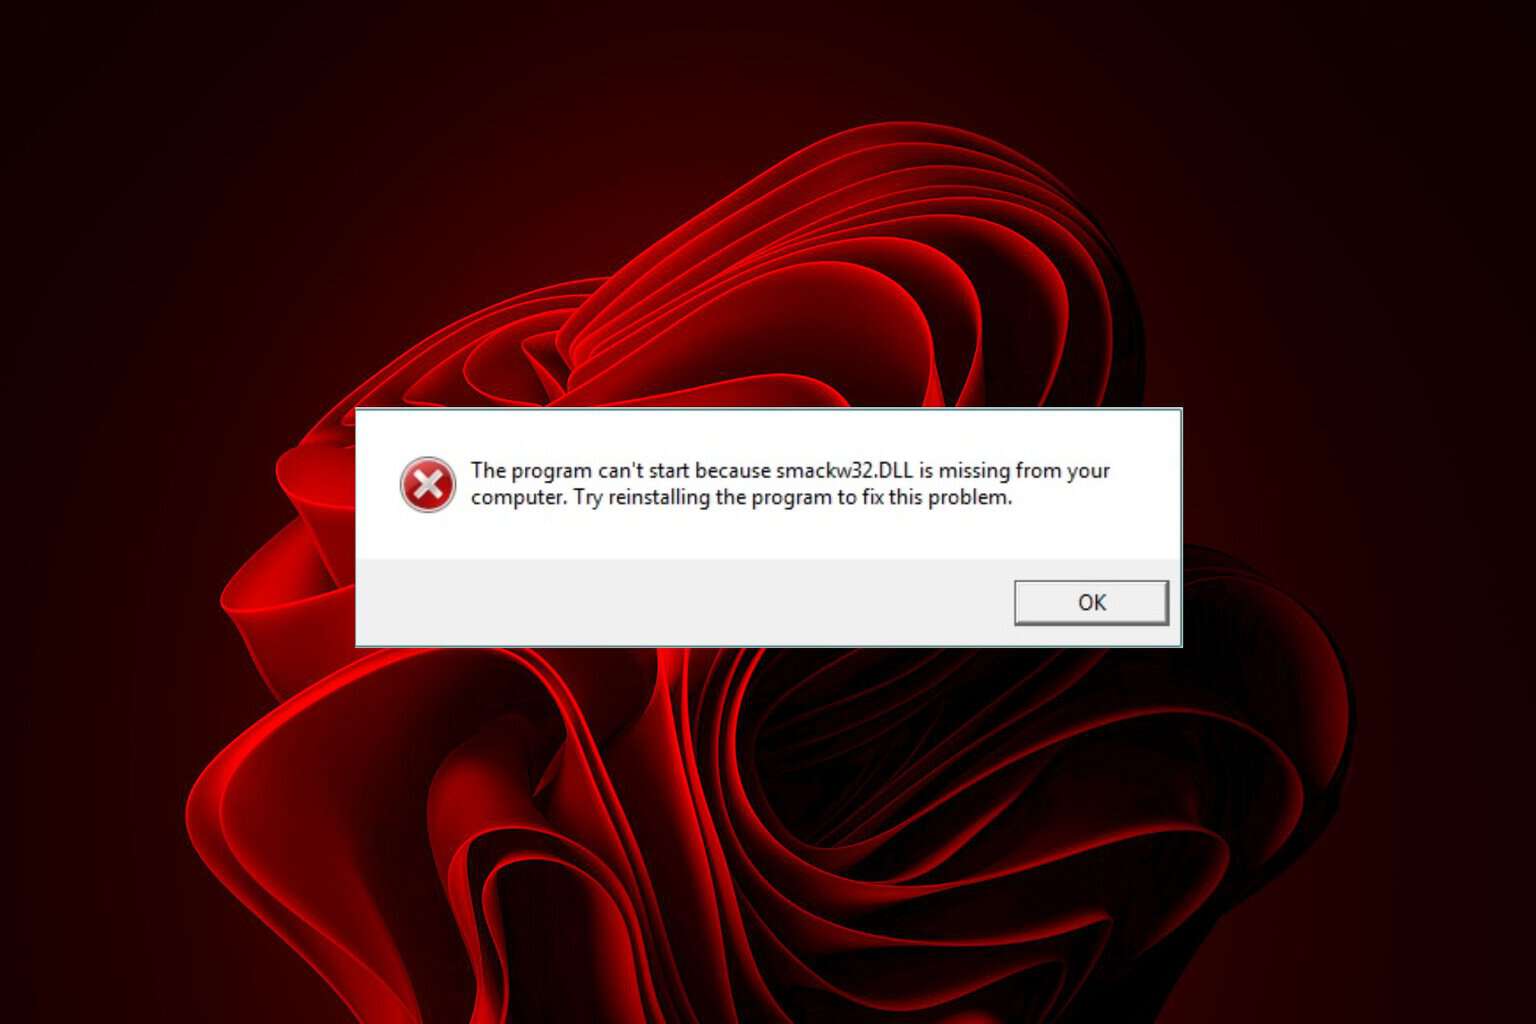
The Ntdll.dll error message can appear either when you start a specific application, while you are running an application, or just when you shut down the application in Windows 10.
Some of the more common Ntdll.dll error messages are STOP: 0xC0000221 unknown hard error C:WinntSystem32Ntdll.dll,
AppName: [PROGRAM NAME] ModName: ntdll.dll and [PROGRAM NAME] caused a fault in module NTDLL.DLL at [ANY ADDRESS].
Below, we will present you some safe solutions that you need to try in order to fix the Ntdll.ll error message on your PC, so keep reading.
How can I fix the Ntdll.dll error messages in Windows 10?
- Use a repair tool
- Reboot your system
- Remove the problematic application
- Disable IE add-ons
- Disable UAC features
- Update hardware drivers
- Check RAM and HDD
- Run a system refresh
- Replace your HDD
- Run a clean Windows installation
1. Use a specialized repair tool
There are several ways to fix the Ntdll.dll error, but if you want the fastest and safest method, you can always rely on third-party software specialized in system repairs.
Professional repair tools come with advanced features that will help you repair lost or deleted files from your PC that may cause the annoying Ntdll.dll error.
2. Reboot your system
- Save all the work you have done in the Windows 10 operating system.
- Move the mouse cursor over to the lower right side of the screen.
- From the menu that appears left click or tap on the Settings feature.
- Now left click or tap on the Power button, and afterward left-click or tap on the Restart feature.
- After the device reboots check again to see if your Ntdll.dll error message still pops up.
3. Remove the problematic application
- Move the mouse cursor over to the lower left side of the screen.
- Right-click or hold tap on the screen.
- From the menu that appears left click or tap on the Control Panel feature.
- Now, left-click or tap on the Uninstall a Program feature available in Control Panel.
- Left-click or tap on the application you are having issues with and then left click or tap on the Uninstall, Change, or Repair button.
- Follow the on-screen instructions to finish the uninstall process.
- Reboot your device and go on the manufacturer’s website to download the latest version available for the application.
- Install the application as you normally do, but keep in mind that if the application is not compatible with the Windows 10 version of the operating system, you might still get the Ntdll.dll error message.
Depending on the application you were using when you got the Ntdll.dll error message you will have to uninstall and install it again.
4. Disable IE add-ons
- Open your Internet Explorer application.
- Left-click or tap on the Tools tab situated on the upper side of the Internet Explorer window.
- Now find and left-click or tap to open the Manage Add-ons feature.
- In this window, you will have a Show drop-down menu, left-click or tap on the drop-down menu.
- Select the Add-ons that have been used by Internet Explorer option.
- Now left-click or tap on each Add-on you have in the list and then left click or tap on the Disable button.
- After this left-click or tap on the OK button.
- If you get a message saying For changes to take effect, you might need to restart Internet Explorer, left-click or tap on the OK button on this one as well.
- Close the Internet Explorer application.
- Reboot your Windows device, and see if you still get the Ntdll.dll error message.
5. Disable UAC features
- Move the mouse cursor over to the Start button.
- Right-click or hold tap on it.
- From the menu that appears left click or tap on the Control Panel feature.
- From the Control Panel window left click or tap on the System and Security feature.
- Now in the next window that appears, left-click or tap on the Administrative Tools feature.
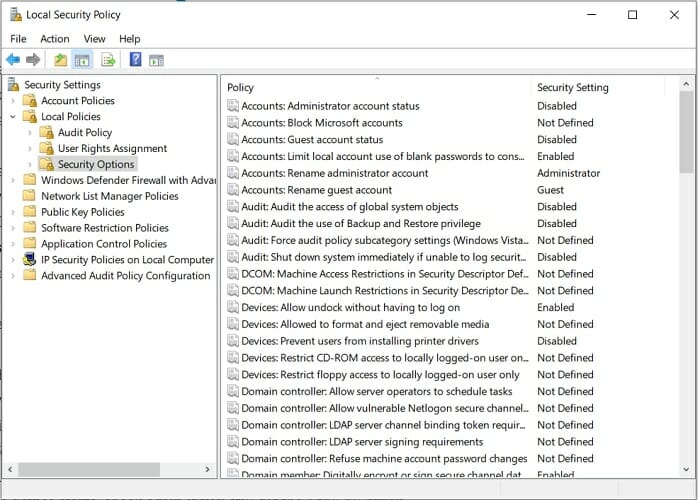
- Now from the next list that shows search for Local Security Policy, and left-click or tap on it to select it.
- On the left side panel left-click or tap on the Local Policies folder to open it.
- Within the Local Policies folder double-click or double tap on the Security Options folder.
- On the right side panel, you will have to search for all the user account control features and disable them one by one.
- After you disabled them reboot your Windows device.
- When the device starts, check again if you still get the Ntdll.dll error message.
6. Update hardware drivers
- Check on the manufacturer’s website to see if there are any available driver updates for the hardware you have on your device.
- If there are, then download and install the latest ones.
- After you successfully installed them reboot your device once more.
Updating drivers manually is a tedious process, so we recommend you use a specialized driver updater that can automatically scan for and update your drivers in just a few minutes.
7. Check RAM and HDD
- Check your RAM memory if it is operating with the right parameters.
- Check your IDE cable going from the Hard Drive to the Motherboard, if possible replace the cable and see if you still get the Ntdll.dll error messages.
8. Run a system refresh
- Move the mouse cursor over to the lower right side of the screen.
- From the menu that appears left click or tap on the Settings feature.
- Find and left-click or tap on the Change PC Settings feature.
- Left-click or tap on the General option.
- Under the Refresh Your PC Without Affecting Your Files topic, left-click or tap on the Get started option.
- Follow the on-screen instructions to finish the System Refresh.
- Check again if you still get the Ntdll.dll error message.
9. Replace your HDD
Make a backup copy of all your important files, folders, and applications and do a complete reinstall of the Windows 10 operating system.
Also, on rare occasions, the Ntdll.dll error message may appear if you have bad sectors on your hard drive, so if you do have a spare Hard drive try replacing the current one and install the Windows 10 operating system on it.
If you’re looking for a new hard drive, check out our best hard drives for Windows 10 PCs list to expand your storage space.
10. Run a clean Windows installation
This is truly the ultimate solution, so be sure you have checked all other solutions before doing it.
Beware that you have to do a clean install which means that you should erase all the tech data from the drive where you will install Windows.
Thus, you won’t have the same error after.
If you have successfully reinstalled Windows, see if the Ntdll.dll error still appears. Now try to install the programs you had before one by one and see when this error occurs.
When you have spotted which software causes the error to appear, contact the support team of that program.
There you go, a few methods will get your Ntdll.dll error message fixed in Windows 10.
Also, if you do have further questions regarding this subject please write us in the comments section of the page below, and we will help you further as soon as possible.


User forum
1 messages