Epic Games OS Unsupported [Fortnite]: How to Fix
Give a try to these quick methods now
6 min. read
Updated on
Read our disclosure page to find out how can you help Windows Report sustain the editorial team. Read more
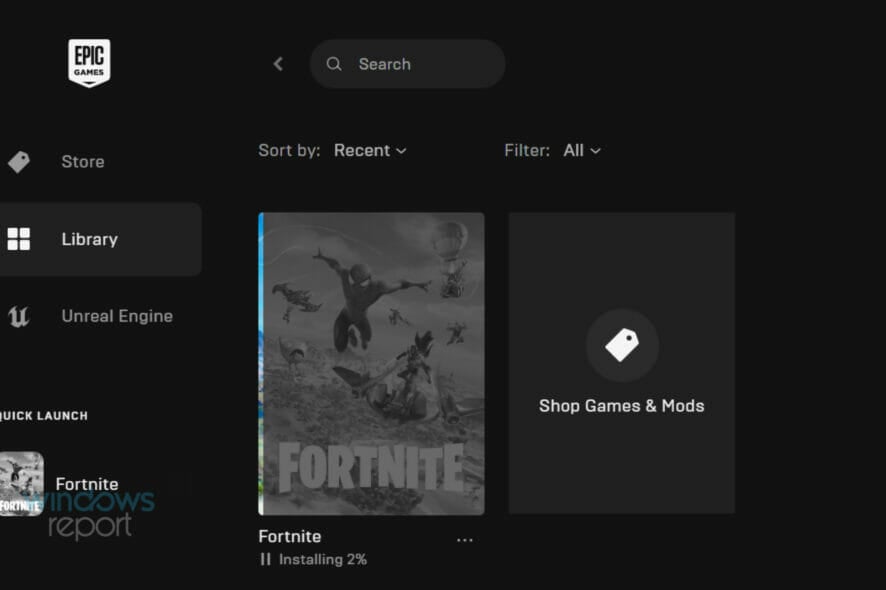
Today, we will show you how to run Fortnite on an unsupported OS. This is a popular Windows PC game by Epic Games.
Fortnite is the living, action-building survival game where you and your friends lead a group of Heroes to reclaim and rebuild a homeland left empty by a mysterious darkness called “The Storm”.
It is about crafting weapons, building fortified structures, exploring, scavenging items, and fighting massive monsters. It’s a milder version of PlayerUnknown’s Battleground if you like.
However, Fortnite’s system requirements are as shown below.
Fortnite recommended system requirements:
- Nvidia GTX 660 or AMD Radeon HD 7870 equivalent DX11 GPU
- 2 GB VRAM
- Core i5 2.8 Ghz
- 8 GB RAM
- Windows 7/8/10 64-bit
Fortnite minimum system requirements:
- Intel HD 4000
- Core i3 2.4 Ghz
- 4 GB RAM
- Windows 7/8/10 64-bit
Hence, the game can only be installed on a 64-bit processor. However, in order to install and play the game on an unsupported OS, Windows Report has compiled applicable fixes listed in this post.
How can I run Fortnite on unsupported OS?
1. Update your PC hardware
First, you may need to consider meeting Fortnite system requirements by updating your PC. Hence, replacing your PC’s RAM with 64-bit RAM may be all you need, or changing your hard drive and then reinstalling Windows OS.
However, before updating your PC’s hardware, you should carefully backup all your important files and restore them after updating your Windows PC. You can easily get this done with the help of a computer engineer/technician around you.
2. Use a 64-bit PC
Sometimes, having a dedicated gaming PC with a 64-bit partition is not a bad idea. Some PCs are not built to handle heavy-duty games such as Fortnite.
Hence, if you want to play Fortnite and other games with similar resource requirements, we recommend you do so on a 64-bit PC.
There are some impressive listings of 64-bit partition Windows 10 OS PCs available on Amazon. This is a good place to start if you want to upgrade your equipment; you will find all the necessary information, plus a real-time review from users who have already tried the device.
3. Use a PC emulator
Some Windows users reported getting Fortnite to play simply by using a PC emulator to run the game.
However, some emulators might not work with your PC depending on the configuration settings, but the following emulators are known to be able to work with Fortnite:
Meanwhile, you may proceed to the next step if this solution does not get Fortnite to run.
4. Install a 64-bit partition on your drive
Lastly, another way of getting Fortnite to run is by installing a 64-bit partition on your Windows 10 PC. Windows 10 64-bit version gives you much more advanced productivity giving you more options like a PC user.
However, this method is limited because the upgrade path allows moving a qualifying version to its similar edition on the software.
So, the best way to upgrade is to wipe clean the installation and reconfigure the settings by installing the new 64-bit version. Follow these steps to install a 64-bit partition on your drive:
4.1 Check your PC compatibility
Verify if your PC is compatible to install Windows 10 64-bit.
Windows 64-bit can only work on a PC with a 64-bit processor. The first thing to do is verify if your PC has a 64-bit processor. This can be easily checked from the system settings tab
- Use the keyboard shortcut Windows Key + I to open the Setting Menu.
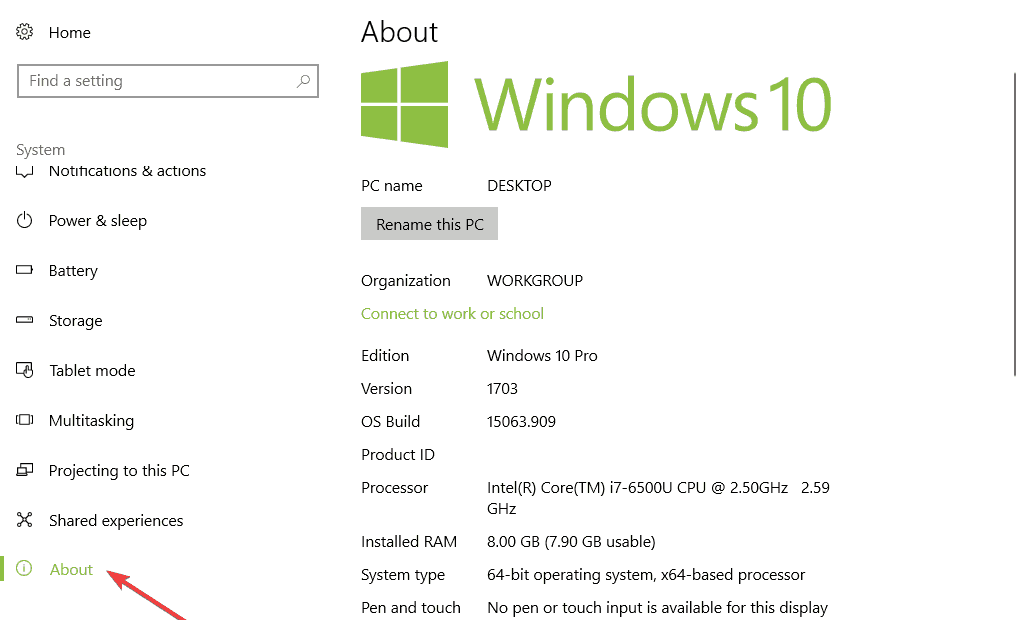
- Click on System > then click on About.
- This will open a tab where you would see two distinct information.
If it displays a 32-bit operating system, and x64-based processor, this shows your PC is compatible with Windows 10(64-bit). But if it says 32-bit operating system, x86-based processor, then your PC is not compatible with Windows 10 (64-bit)
4.2 Check if your drivers are compatible with the x64 processor
It is vital to check if other components of your PC are 64-bit compatible, as 32-bit drivers will not work with 64-bit Windows 10.
This is not usually a problem for new PCs, but if you are using an older PC, be sure to check the Manufacturer’s website to update your drivers to the 64-bit version.
Alternatively, to eliminate any risk of error, you can use dedicated driver management software to do this task automatically. It will scan your driver and, if necessary, automatically fix any mismatch issue.
4.3 Backup your PC
In addition, you need to back up your system anytime you make a significant change to your computer.
Ensure you back up your personal files on an external storage device or online storage websites, as they could be deleted during the upgrading process.
4.4 Install a Fresh Copy of Windows 10
Microsoft does not permit a direct path from a 32-bit to a 64-bit version of Windows 10; the only way to upgrade is to install a fresh copy of Windows 10.
You have to create an installation media. This can be done by following these steps:
- Connect a USB flash drive with at least 8GB of free space.
- Go to Microsoft’s Windows 10 download page and download the Media. Creation Tool on your desktop.
- Double-click on MediaCreationTool.exe file.
- Check the license terms and conditions and click Accept.
- Choose the Create installation media for another PC option.
- Click on Next
- Uncheck the box with Use the recommended options for this PC option
- In the menu, select your language, edition, and, most notably, the architecture, which is 64-bit (x64).
- Click Next.
- Choose the USB flash drive option in the menu.
- Select the removable drive from the drop list.
- Click Next.
- After the installation media is created, exit the Media Creation Tool.
5. Install the Fresh Copy 64-bit version of Windows 10
- Restart your PC with the installation flash media connected and begin the installation of Windows 10.
- On the Windows Setup Menu, click “Next”.
- Click on Install now.
- If you previously have an activated version of Windows 10, you can skip this option if you’re prompted to enter a product key.
- Click on the licensing agreement and click Next.
- Click the Custom: Install Windows only (advanced) option.
- Choose and delete system partitions: Drive 0 Partition 1 and Drive 0 Partition 2.
- Click “Next” and follow the screen directions to complete the installation.
- After installation, ensure you go to Settings > Update & security > Windows Update to download the latest updates and drivers.
- If some drivers are unavailable through the Windows Update, check your computer’s manufacturer’s website to download and install the 64-bit version of the drivers needed.
- Install any previous app and restore your files from your backup.
 NOTE
NOTE
Unfortunately, as new updates for Fortnite are released, you may experience issues such as Chapter 5 crashing because of compatibility issues.
We hope that this was helpful. Feel free to share your experience with us in the comments section below. You can also leave any other questions you may have there.

User forum
0 messages