PaperPort Only Scanning First Page: 5 Ways to Fix it
Find out the tricks that worked for others
4 min. read
Updated on
Read our disclosure page to find out how can you help Windows Report sustain the editorial team. Read more
Key notes
- When PaperPort is only scanning the first page, it's usually the misconfigured settings or drivers to blame.
- Your primary approach should be to update the TWAIN driver.
- For some users, enabling ADF in scanning profile did the trick.
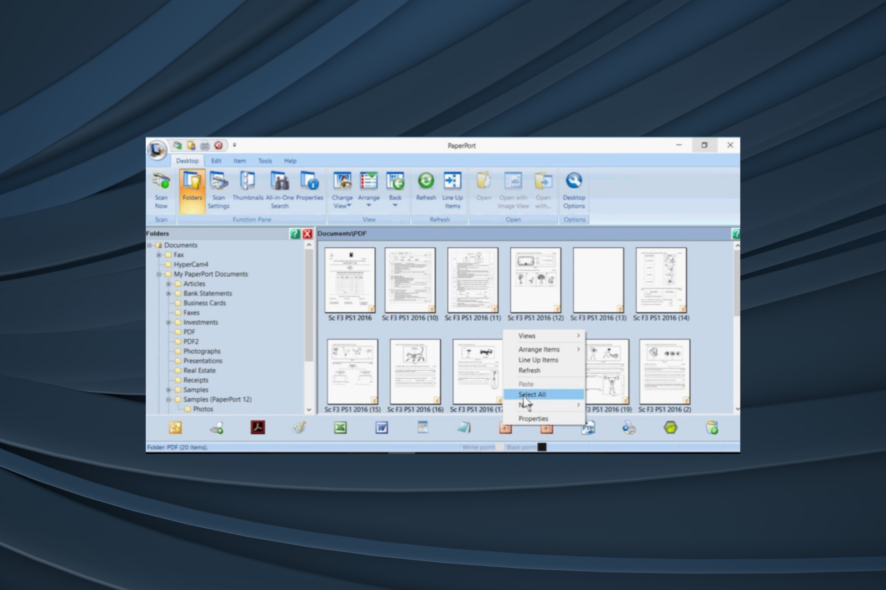
PaperPort 14 is the fastest and easiest way to scan, share, search, or organize your documents. It now has a PC version that can deliver access to your most important files using the Nuance Cloud Connector. But for some, PaperPort is only scanning the first page.
Some users have raised concerns over PaperPort not scanning multiple pages or the page quality not being optimal. Keep reading to find out all about it!
Why PaperPort won’t scan multiple pages?
The problem occurs when using the automatic document feeder (ADF) scanner in PaperPort, and this may not manage to scan multiple pages at one go without user intervention.
It also happens when you’re using an outdated scanner driver or when you haven’t properly configured the scanner to run in PaperPort 14.
How do I scan multiple pages on PaperPort?
1. Update TWAIN driver on your scanner
In order to update the scanner driver, contact the scanner’s manufacturer to get the latest TWAIN scanner driver. You can download it from the website. A good example here is if you’re using Brother Scanner, go to the official Brother website and check for the driver.
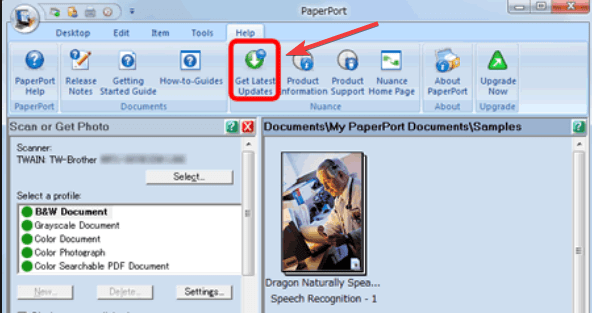
They’re usually found under the Support menu. Download the latest TWAIN driver for the Brother scanner you’re using (the exact model), and ensure the driver is designed to run on the installed operating system. Don’t forget to install the latest Paperport updates as well.
If this solution doesn’t work, try the next one.
2. Enable ADF in Scanning profile
- Open PaperPort 14, and go to Scan or Get Photo pane.
- Select the scanning profile (the one in use).
- Click Settings and then go to the Scan tab.
- Set the Source option to ADF (you can also set it to Duplex ADF if available).
- Click OK.
Scan a document to verify if the PaperPort 14 won’t scan multiple pages issue is resolved without prompting for user intervention. In case PaperPort is still only scanning the first page, head to the next fix.
3. Complete Scanner setup wizard
- Go to Scan or Get Photo pane.
- Click Select.
- Click Advanced setup under the Available Scanners window and follow the on-screen instructions.
- Test the connection to the scanner and click Next again. If you get a message saying Scanner not found, check your cables and click Try again.
- Select the Basic scan test from the list.
- Select Check ADF capabilities and click Next.
- Click Next again to start the tests
- Select the appropriate settings for the scanner and click Scan. If there’s no image, click the missing image and try scanning again
- The wizard will detect the ADF scanner type that is connected. Select the correct option and click OK.
- Place multiple pages in the paper holder and click Next to start the test. If prompted, remove the pages and proceed.
- Click Next again and click Finish to complete testing.
4. Hide scanner native user interface
- Launch PaperPort and click on Scan settings.
- Select the correct scanner driver.
- Click on Advanced setup, and then click No when prompted to download the latest scanner database
- Click Next and then select Custom Mode from the list.
- Enable Perform Tests and click Next, then click OK to continue.
- Click Next to establish communication with the scanner, and choose Advanced settings.
- Select Enabling Hiding (or Hide native user-interface) and click OK.
- Enable any scanning tests to perform.
- Click Next and then on Finish when testing is complete
When Paperport is only scanning the first page, a quick solution is to modify the scan settings and hide the scanner’s native user interface.
5. Contact support
If none of the above solutions worked and PaperPort 14 won’t scan multiple pages, even when you’re using a properly configured ADF scanner, contact the PaperPort manufacturer’s tech support.
So, if PaperPort is only scanning first page, one of these solutions should have helped.
Before you leave, check our list of the best scanner software and get one today!
Let us know if any of these solutions worked by leaving a comment in the section below.
User forum
0 messages