Snipping Tool Couldn't Copy That Image: How to Fix it
If the Snipping Tool is not copying to clipboard, change its settings
![]() 3 min. read
3 min. read
![]() Updated on
Updated on
Share this article
This article is translated in
Improve this guide
Read our disclosure page to find out how can you help Windows Report sustain the editorial team. Read more
Key notes
- When you notice that Snipping Tool copy and paste feature is not working, you need to change a few settings.
- If this feature isn't working with Office tools, you might have to reinstall them completely to fix this issue.
Snipping Tool can be useful if you want to make screenshots. However, many reported Snipping Tool couldn’t copy that image error message.
This will prevent you from copying and editing screenshots, which can be a big problem. However, you can always view snips and screenshots location and find your files.
However, this is just a workaround, so let’s see how we can fix this problem permanently.
Why can’t I copy an image in the Snipping Tool?
- You might encounter this issue if the Auto copy feature isn’t enabled on your PC.
- In some rare cases, third-party applications can cause interference with this feature.
How do I fix Snipping Tool couldn’t copy that image error?

1. Check the Auto copy to clipboard option
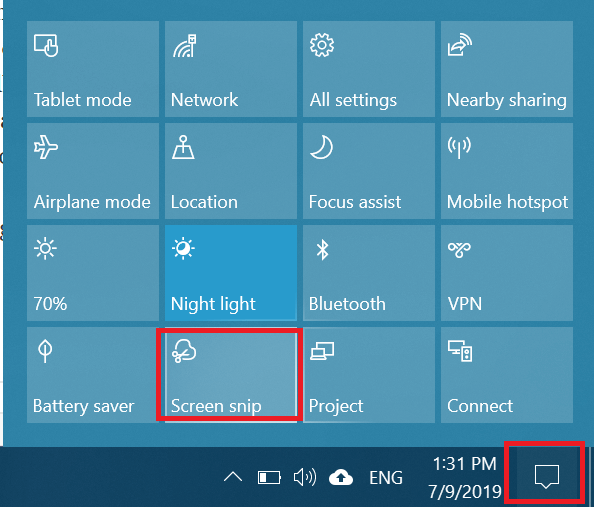
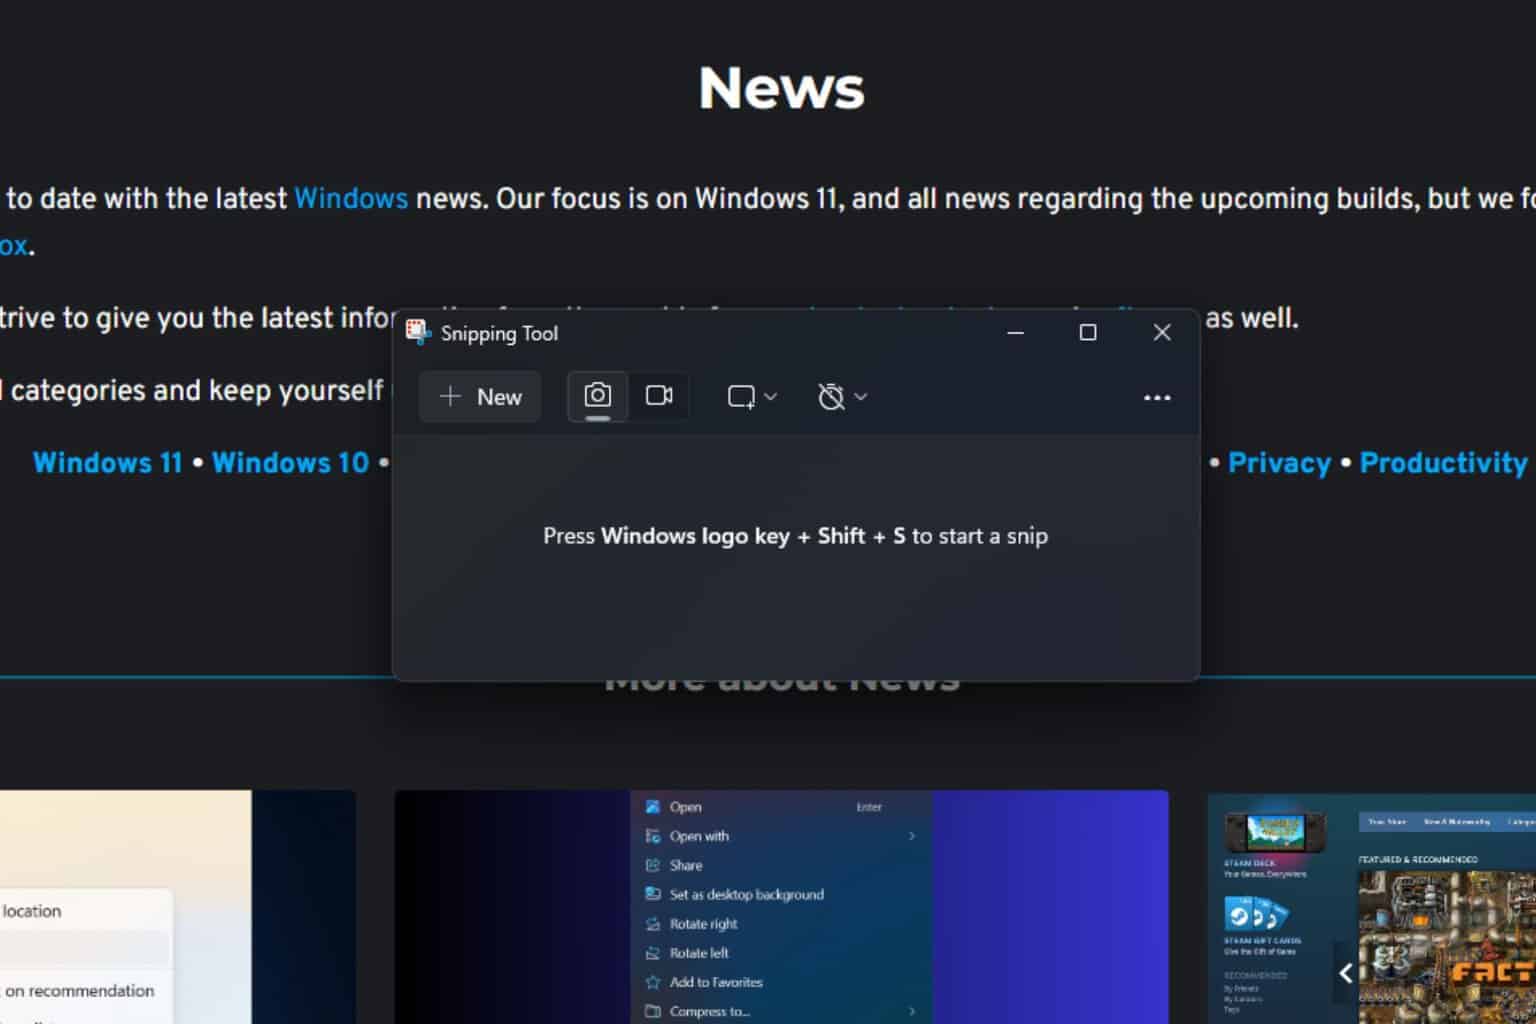
- Open the Snip and Sketch tool from the Desktop or Action Center.

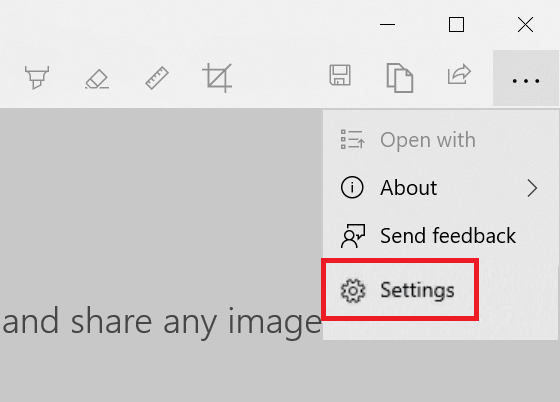
- Click the Menu button (three dots).
- Select Settings from the options.

- In Settings, under Auto copy to clipboard, make sure the Update the clipboard automatically when annotating option is enabled.
- If not, turn on the option and close the Settings window.
On Snipping Tool:
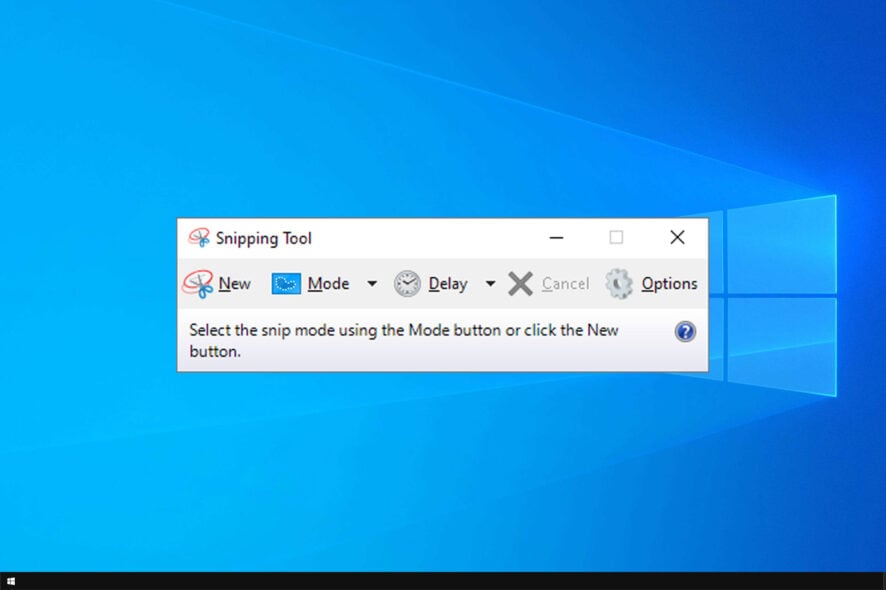
- Launch the Snipping app and click on Tools.
- Click on Options.
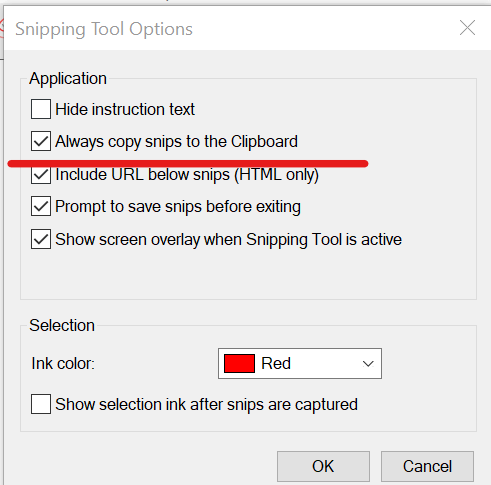
- Check the Always copy snips to the clipboard option.

- Now try to snip anything on your screen and check if it copies the image to the clipboard.
- If you don’t see the Settings option in your Snipping App, you may have to update your Windows OS to the latest build.
After making these changes, check if Snipping Tool is still not saving to clipboard. If Snipping Tool is not working, you won’t be able to paste in Paint as well.
2. Repair Microsoft Office
- Type Control Panel in the home screen search box and open the app.
- In the Control Panel, go to Programs and select Programs and Features.

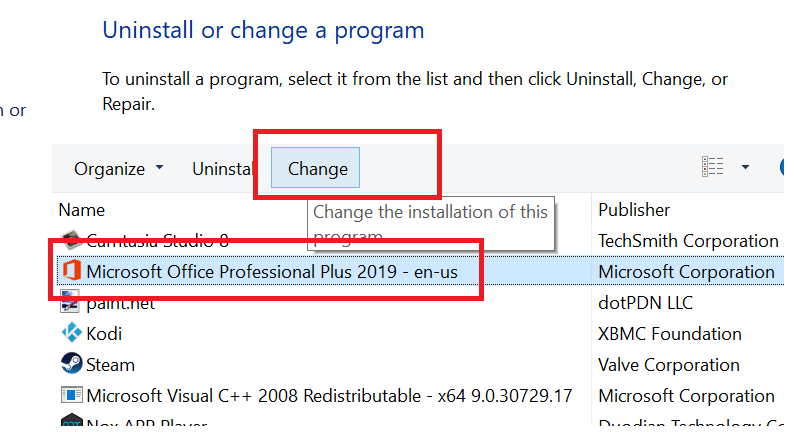
- Select Microsoft Office and click on Change. Click Yes if asked to confirm.
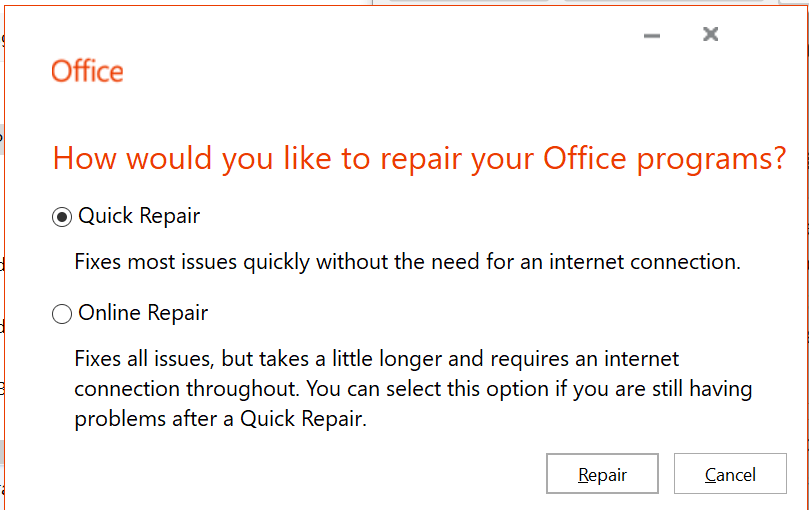
- Here, you will see the following options:
Quick Repair – Select this option first. It will quickly try to repair all the files related to your Office application without requiring internet access.
Online Repair – Use this option if Quick Repair does not work. However, this option requires an Internet connection to find and resolve the issues.
- Reboot the system once the repair is complete and check for any improvements.
The solution is valid if the issue occurs when you try to copy/paste the screenshot on any of the Microsoft Office apps like Outlook or MS PowerPoint.
As you can see, it’s pretty simple to fix Snipping Tool couldn’t copy that image error message on your PC.
Unfortunately, this isn’t the only issue you can encounter, and many reported that they can’t find Windows Snipping Tool, however, we covered that issue in a separate guide.
What method did you use to fix this problem? Share it with us in the comments section below.

User forum
7 messages