Where do Snips & Screenshots Go on Windows 10 & 11
On both version of Windows, they are saved on the clipboard
Key notes
- Snipping Tool by default can be found on Windows 11 and it is used to take screenshots of sections on a screen.
- It’s annoying to take a snip on Windows 11 or Windows 10 and not to find where it is saved. We’ve highlighted how to locate it with ease.
- We also explain how to paste the screenshot you’ve captioned onto your application of choice.
Where do snips and screenshots go in Windows 10 & 11? This is a question we get from some of our readers who probably just installed their new OS or using the Snipping Tool for the first time.
This tool is designed to take a screenshot of any or all portions of a computer screen. To put things in context, the Print Screen key will take the full snap of your screen, but the Snipping Tool is adjustable to only grab the area you prefer.
Where Do Snips & Screenshots Go on Windows 10 & 11?
By default, on both versions of Windows, snips & screenshots are saved to the clipboard of the computer. This means to retrieve them, you only need to paste them into the application you want such as Microsoft Paint, Photoshop, Microsoft Word, and others.
They can also be saved on your PC for future access. Read on as we highlight the easy steps to do this.
How do I take screenshots and save snips on Windows 11?
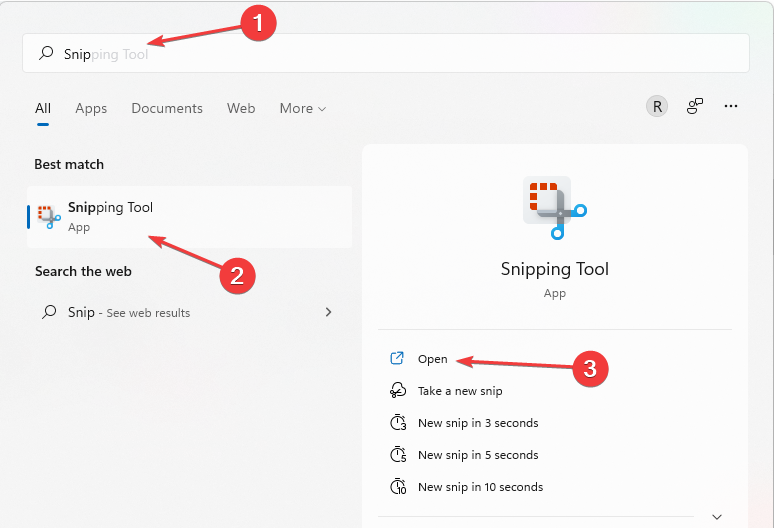
- Open Windows Search by pressing the Windows key + S.
- Type Snip in the search box. Select Snipping Tool in Best match and then click Open.
- You can also launch the Snipping Tool by pressing the Windows key + Shift + S.
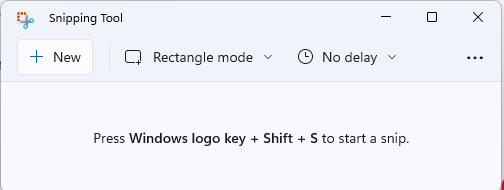
- Select New. Then choose the preferred Snip.

- Next, drag the cursor over the areas you want to screenshot.
- Click on the three-dotted icon in the menu bar to display more options. Choose Save.
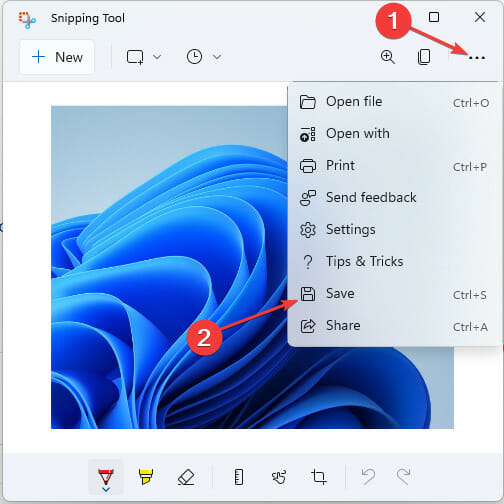
- Type the name you want for the new file, then select the location of choice to save the Snips in Windows. After this, click Save.
If the Screenshots folder is missing or you can’t find where your snips are being saved, restore the Screenshots folder in Windows 11 to fix the saving location and recover your captures.
How do I take screenshots and save snips on Windows 10?
The snipping tool is also included on Windows 10 and the app and usage are absolutely identic.
Even the opening process is the same on the old OS so all the solutions above will still apply to Windows 10 as well.
How to access the clipboard and paste the snips or screenshots?
- Go to the app where you want to paste the snip or screenshot.
- Press the Windows key + V on your keyboard.
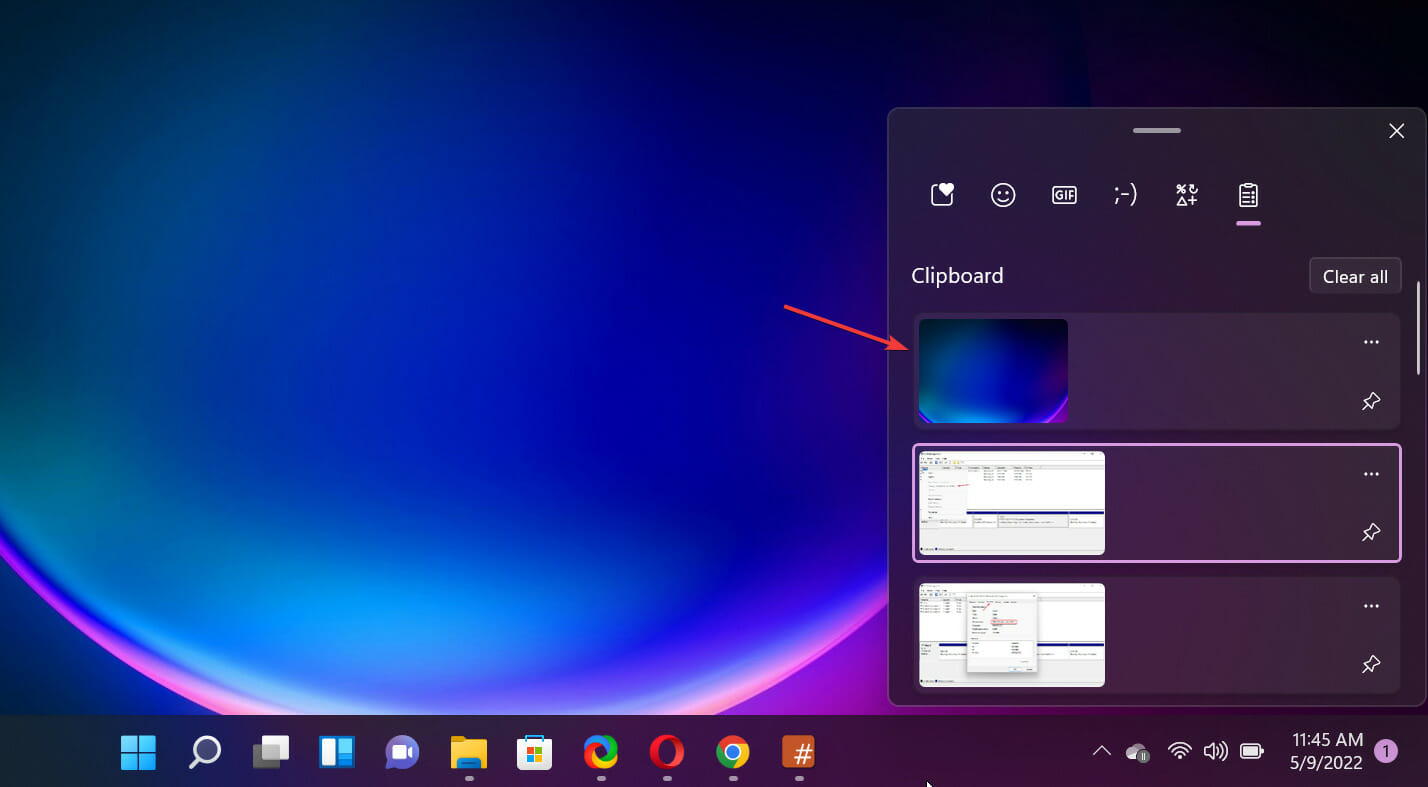
- You will see all the items you copied on the clipboard in the reverse time order so you will find the latest first. Just select it and it will be pasted automatically.
So, if you don’t save the snip or screenshot manually, it will automatically be copied on the clipboard where you can access it by using the above key combination.
This method will also work on Windows 10 as well. Even though the Clipboard app looks a little bit different, it still has the option of copying and pasting the content.
Aside from the method we highlighted above for snips, we also have an article written on other ways you can take screenshots on Windows 11 and how to install Snipping Tool on Windows 11.
You don’t need to worry because Snipping Tool for Windows 11 is available for free download.
If you can’t find the app, read our guide on what to do if the Snipping Tool is missing from your system and fix it.
Let us know in the comment section if this guide works for you. We also welcome your suggestions if you’re using another method that’s not discussed in this article.
Read our disclosure page to find out how can you help Windows Report sustain the editorial team. Read more


Improve this guide


User forum
0 messages