How to Add Error Bars in Google Sheets [Easiest Steps]
Inserting error bars is easy peasy if you follow our quick instructions
2 min. read
Updated on
Read our disclosure page to find out how can you help Windows Report sustain the editorial team. Read more
Key notes
- Sheets allow you to display error bars inside a document. The error bars are graphical representations of the different data.
- This option allows you to see an objective representation of your data to observe any measurement differences.
- It is possible to add customized error bars on Google Sheets, and here you can find out how.
- Even more, you can learn how to add standard deviation bars in Google Sheets without effort.
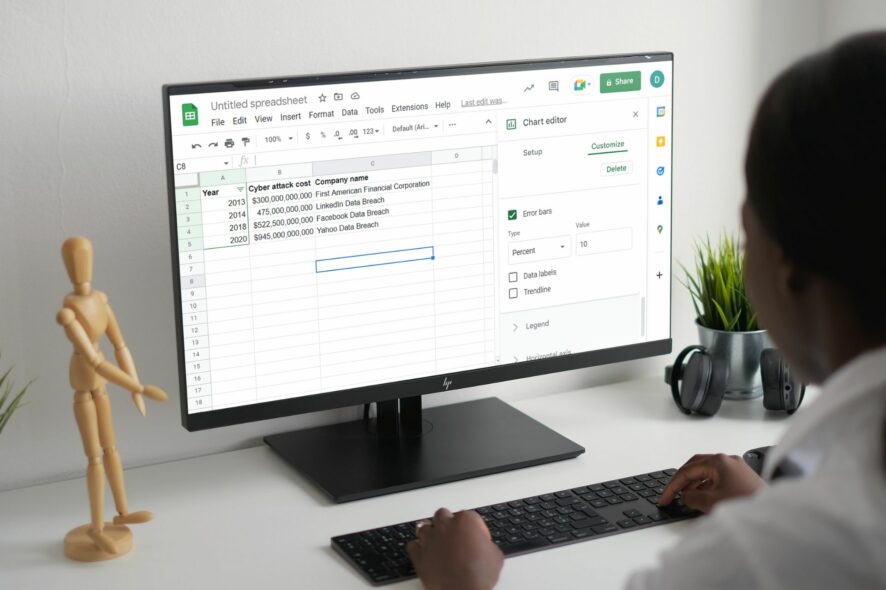
You came to the right place if you’ve ever wondered how to add error bars in Google Sheets.
Like in Microsoft Excel, Sheets also allows you to display error bars inside a document. The error bars are graphical representations of the different data introduced in the software.
This option allows you to see an objective representation of your data to observe any measurement differences.
In this article, we will explore the best way to add error bars inside your Google Sheets documents. Read on to find out more.
How can I add error bars in Google Sheets?
1. Create a graph and check the Error bars option
1. Check to see if you have the correct data inserted inside your Sheets document.
2. If the data is correct, select a blank cell and click on the button Insert chart found at the top-right corner of your Sheets window.
3. A new pop-up will appear on the screen without any values being selected.
4. Click the X-axis of your document, then select the cells you want to use for the X-axis -> press Ok.
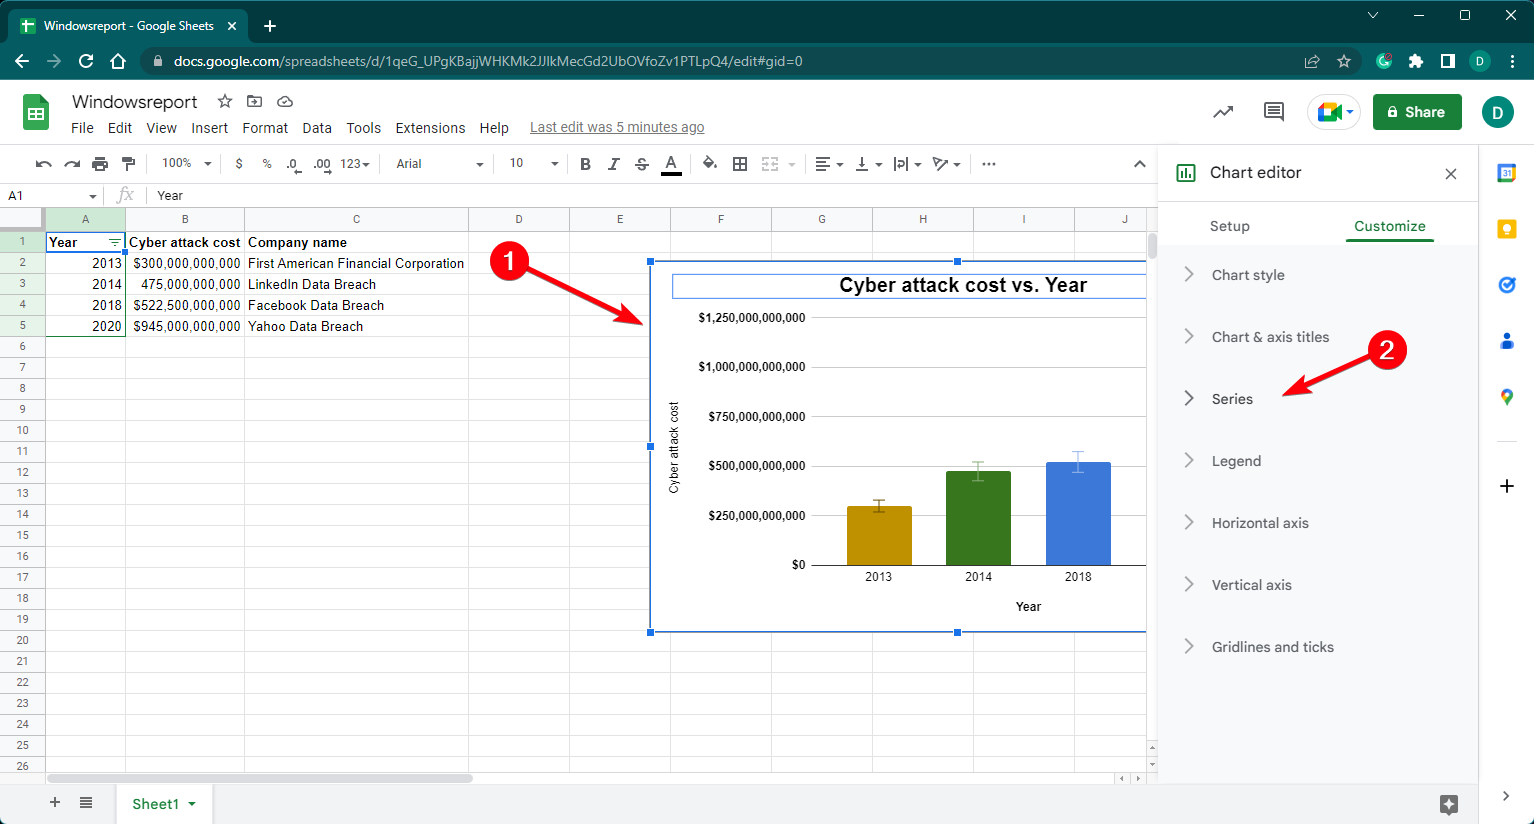
5. Click on Series -> Select the cell (do this for all the series you want to use in your error bars).
6. Sheets will automatically assign different colors to the specific values you entered (if there aren’t any different colors then it means that your data is not inserted correctly).
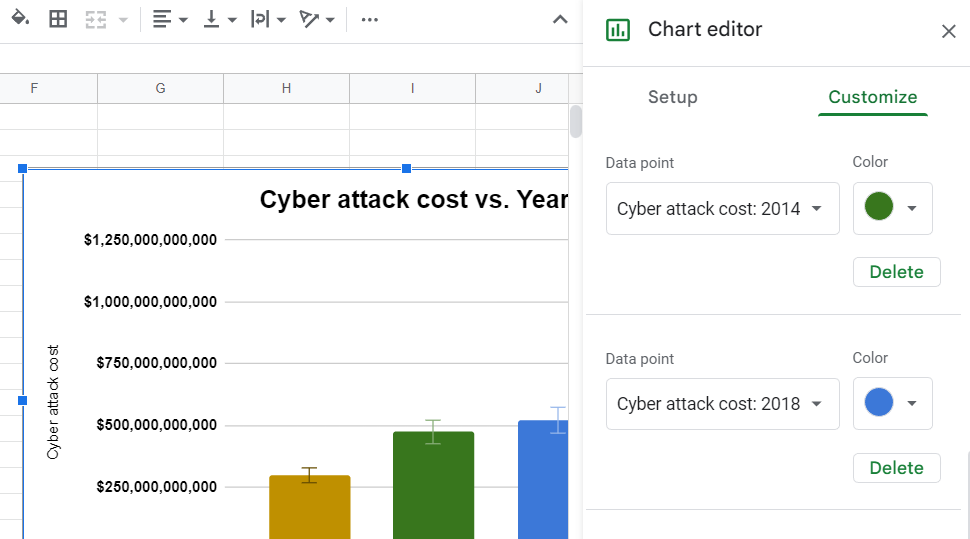
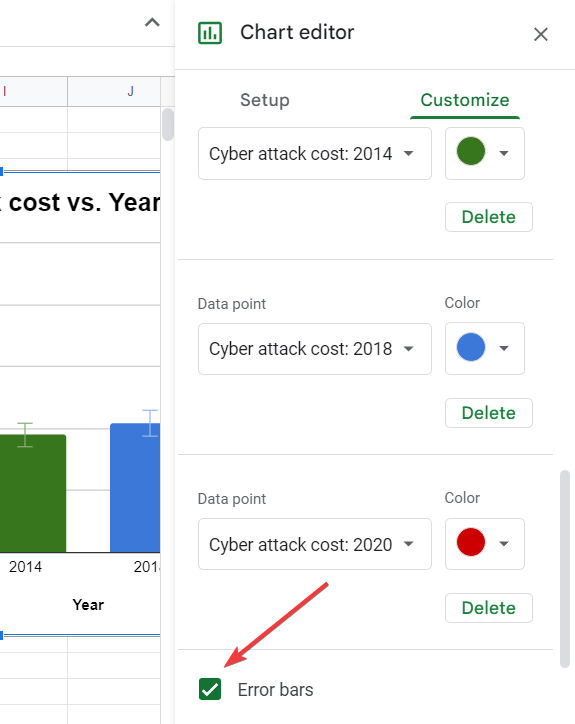
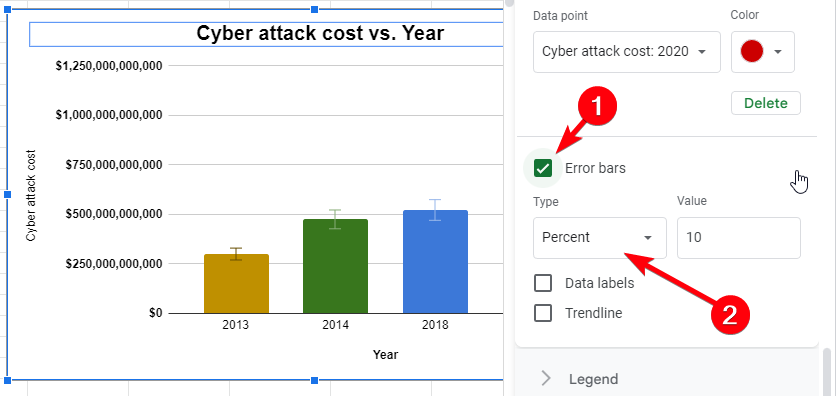
7. Select the Customize tab -> Expand series -> Tick the box next to the Error bars option -> Choose a percentage or exact value from the drop-down menu.
8. After this process is completed -> Save your document.
9. If you expand your graph you will now be able to see the error bars represented.
In order to add error bars on your graph in Google Sheets, you have to select the option from the chart editor. See the entire process below to apply it on your spreadsheet.
2. Add standard deviation error bars in Google Sheets
- Open a new Google spreadsheet and create a graph.
- Double-click on your graph to open the chart editor and Click on Series.
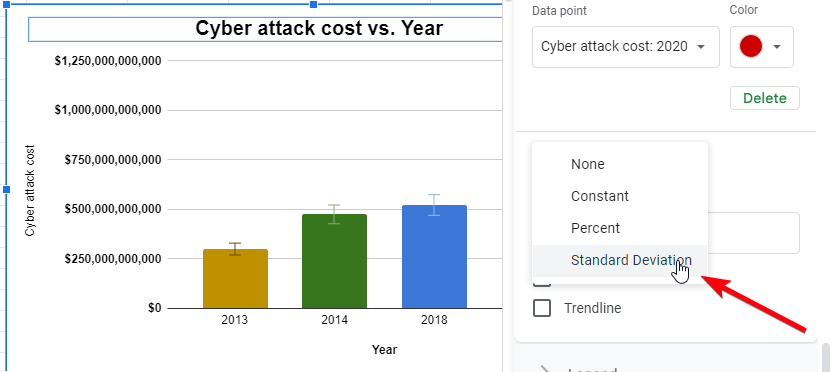
- Scroll down and tick the error bars box, and go to select the Type.
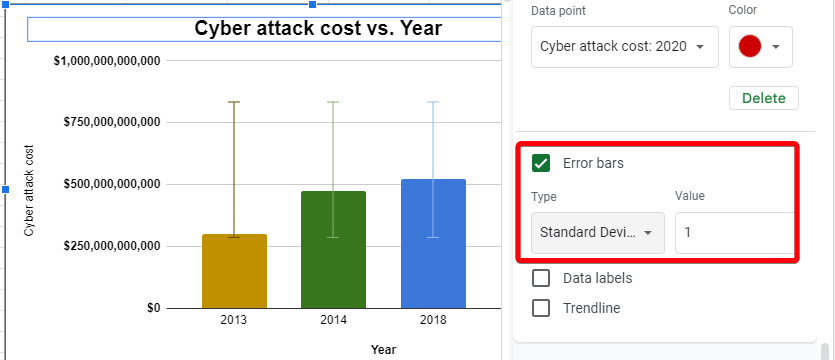
- Select the Standard Deviation type.
- Set the value of the standard deviation error bars to finish.
Today’s how-to article discussed the best way to add error bars inside your Google Sheets documents. This option will enable you to visually observe any differences in values, represented as a graph.
We hope this guide helped you understand how to add these essential elements to your documents.
If interested, check out this guide to learn a few tips to fix Formula Parse Error On Google Sheets to save you time.
Please feel free to let us know if this guide helped with a clear answer by using the comment section found below.
If you want to read more about Google Sheets, go ahead and visit our Google Sheets section.
There are more than a handful of collaboration apps from Google. Read our articles about them in our Google Teamwork Hub.




User forum
0 messages