Windows 11 Display Language Not Changing: 3 Quick Fixes
Apply our detailed procedure right away
Key notes
- Windows allows users to change the text display language which is used in menus and other graphic elements of the system.
- However, it may sometimes happen that you can’t change the display language because of a few limitations.
- This should not worry you because you can easily tweak the settings and select your preferred system language in a few easy steps.
Perhaps you have the computer you bought, but now upgrading to a new operating system changes your default system language, and you want to remove the unwanted display language in Windows 11.
Whatever your reasons, changing the Windows 11 display language should be easy. However, when you upgrade to the OS, you can encounter an issue where it is not correctly set.
You might see the language change, but it still displays what you originally had on your system even after a reboot.
How do I change the display language in Windows 11?
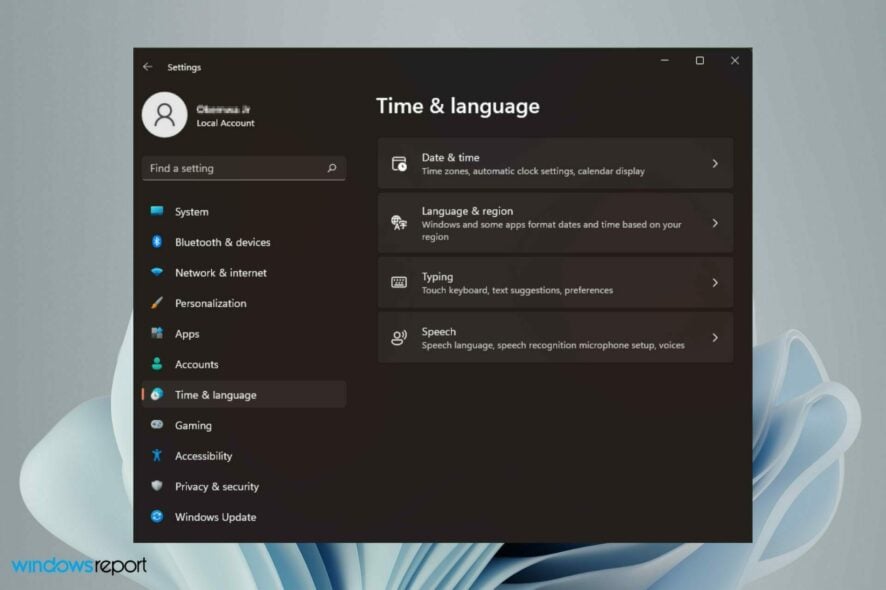
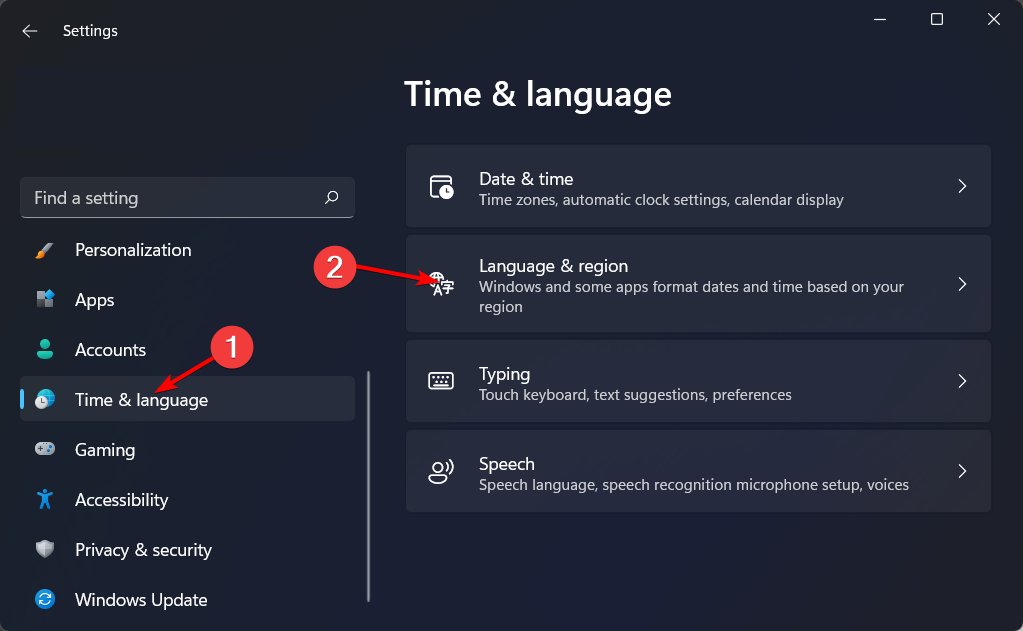
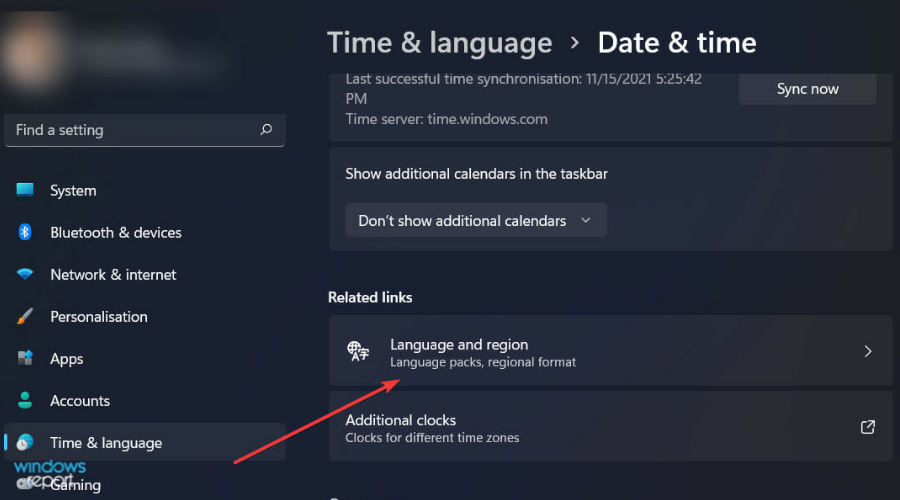
- Press Windows + I in order to open Settings and navigate to Time & language followed by Language & region.
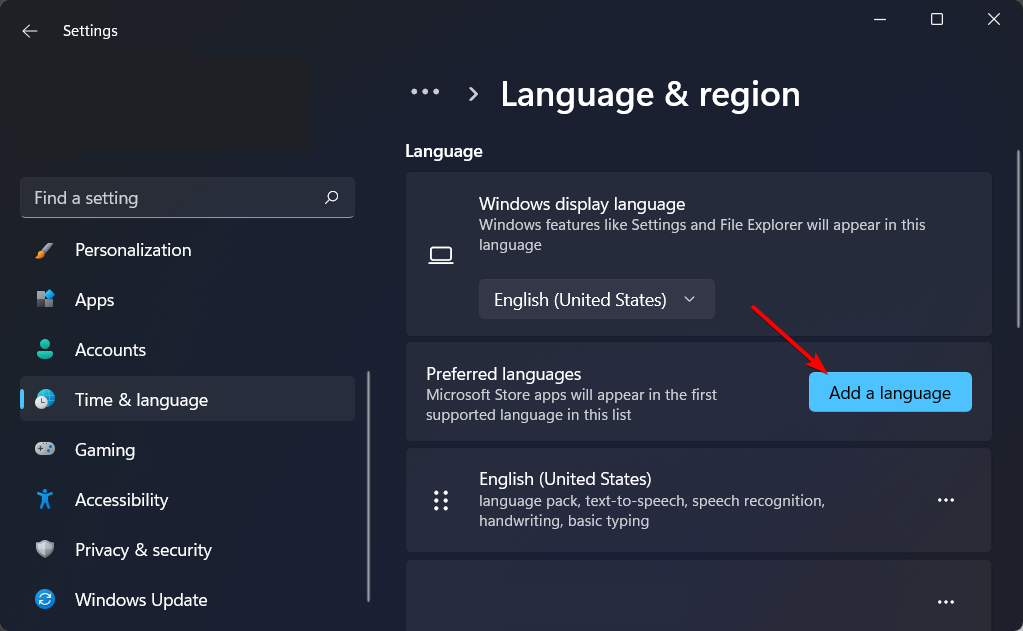
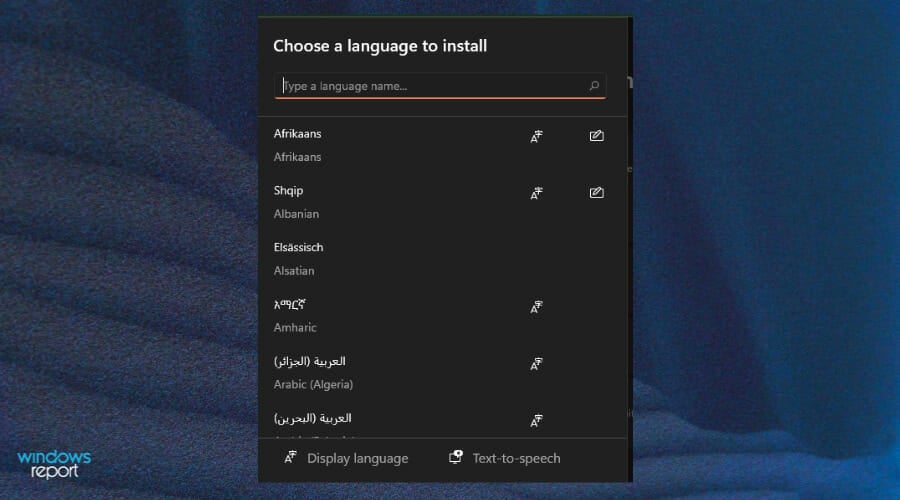
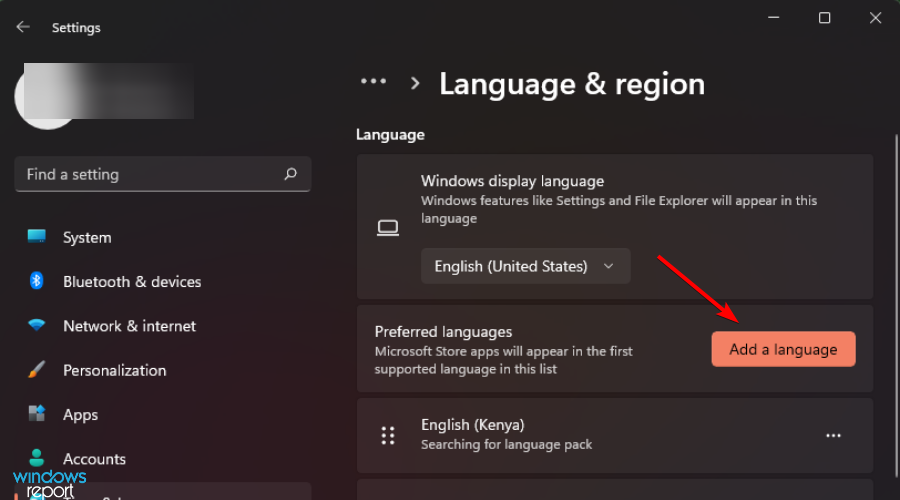
- Next, click on the Add a language button.
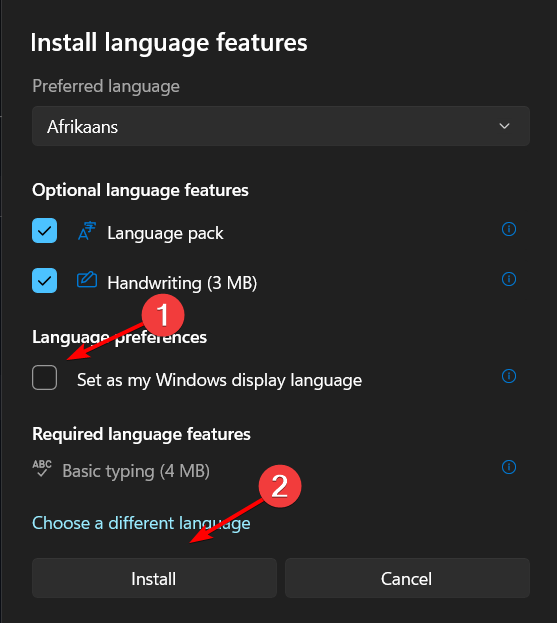
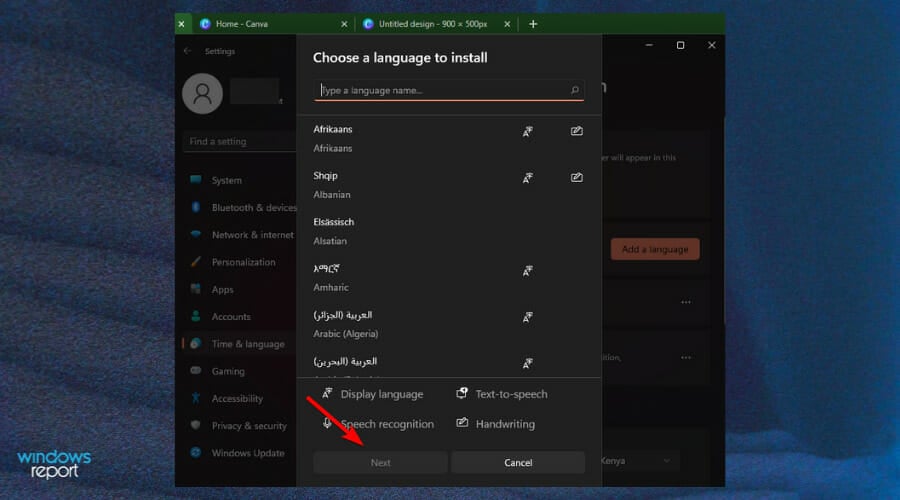
- Now, search for the desired language, click on it and select Next.
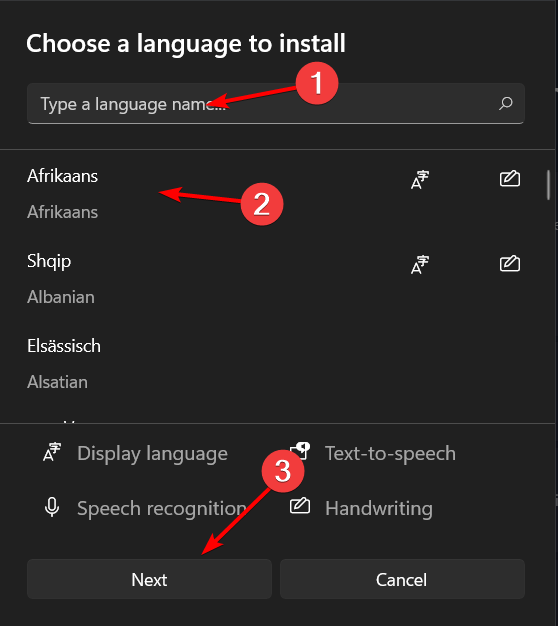
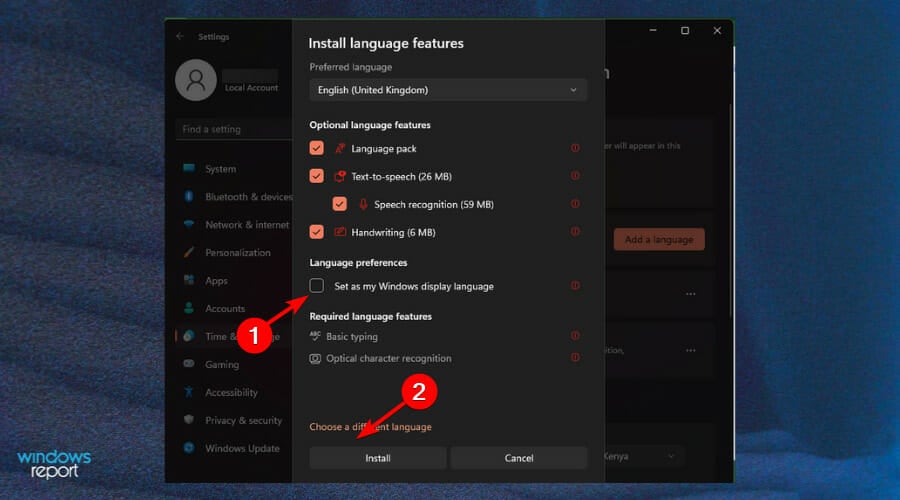
- Check the Set as my Windows display language and select Install.
For related ways to tweak your system, check out our post on how to change display language in Windows 10.
Why can’t I change my Windows display language?
The inability to change your display language can be a frustrating experience since you need to understand what you are doing on your device. If you can’t maneuver, you can be stuck for a while.
It might seem like a small issue at first glance, but it’s pretty important if you want to use your computer in multiple languages.
Some of the reasons you may be unable to change the display language are:
- You don’t have administrator privileges – If your user account doesn’t have administrator privileges, or you are logging in as a guest, you may not be able to make any changes. You need to sign in to your Microsoft account to make any changes.
- Note that you need to enable additional languages for your country/region – You can only change the display language in Windows if you have set multiple languages for your country or region.
- You need to download and install the language pack – The pack contains several languages you can choose from. Without it, you can only access the default language on your device. You can install the language pack and choose one from the list so that you can be able to toggle between languages.
If the Alt + Shift is not working to change the language, the highlighted guide will offer the right solutions.
What can I do if I can’t change the display language?
1. Install the language pack
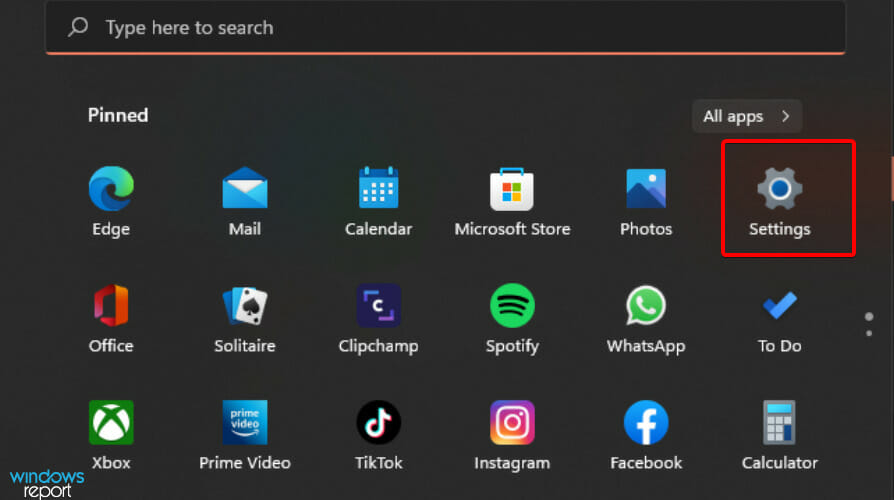
- Press the Windows + I keys to open Settings.
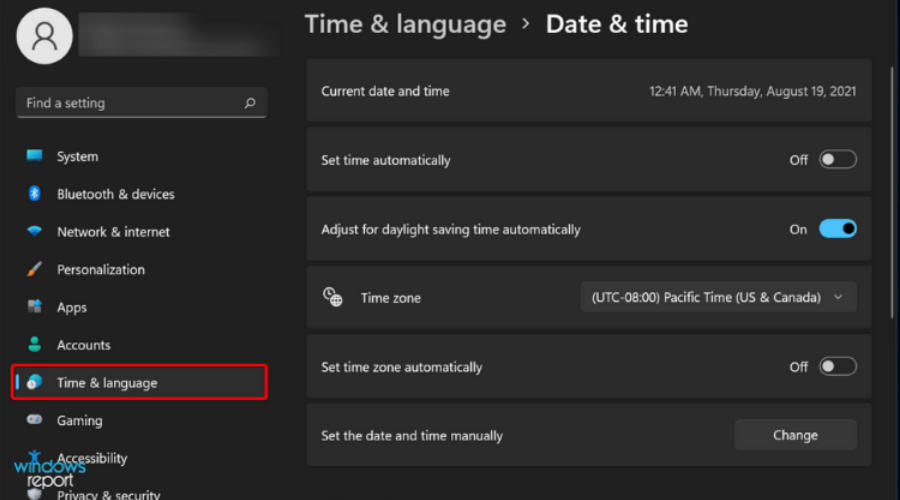
- Select Time & language on the left pane.
- Choose the Language and region option.
- Click the Add a language button.
- Select your preferred language and press Next.
- Check the box for Set as my Windows display language then press Install.
- Restart your PC to effect the changes.
2. Adjust the region settings
- Press the Windows + I keys to open Settings.
- Click on Time & language.
- Click the Language and region page on the right side.
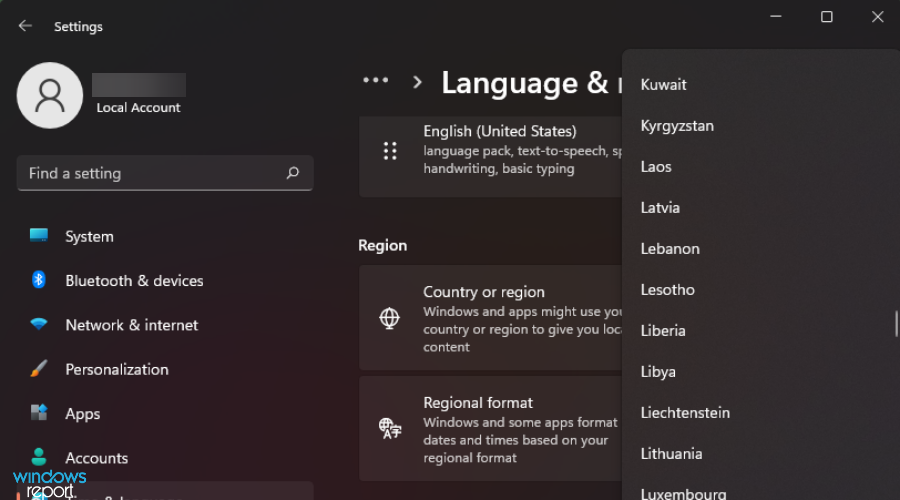
- Under Country or region, update your location if applicable.
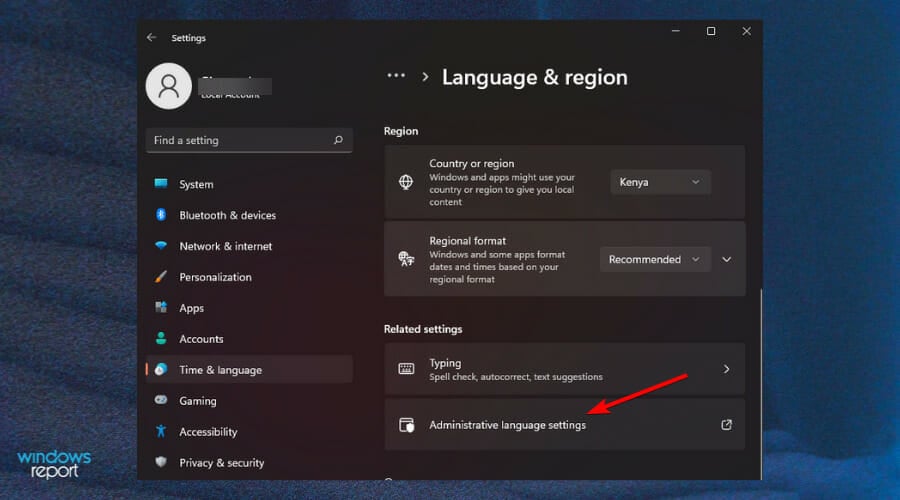
- Next, go back to the Administrative language settings.
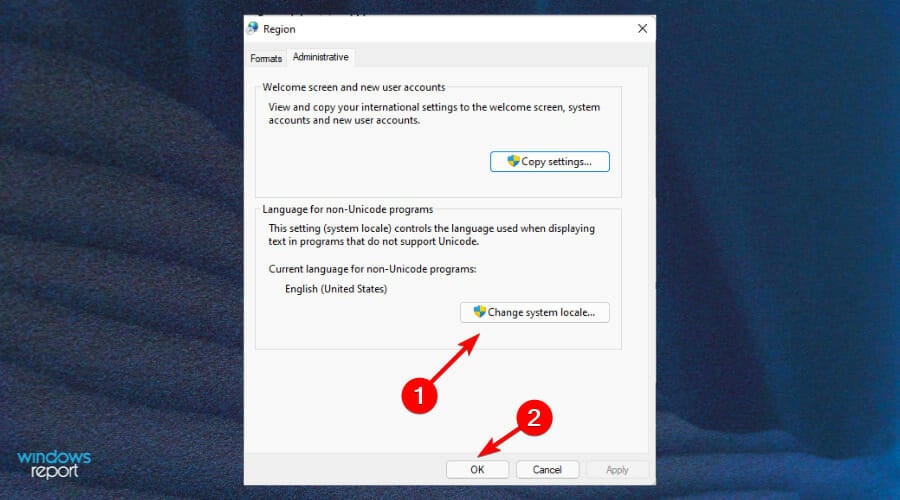
- Select Change system locale button then press OK.
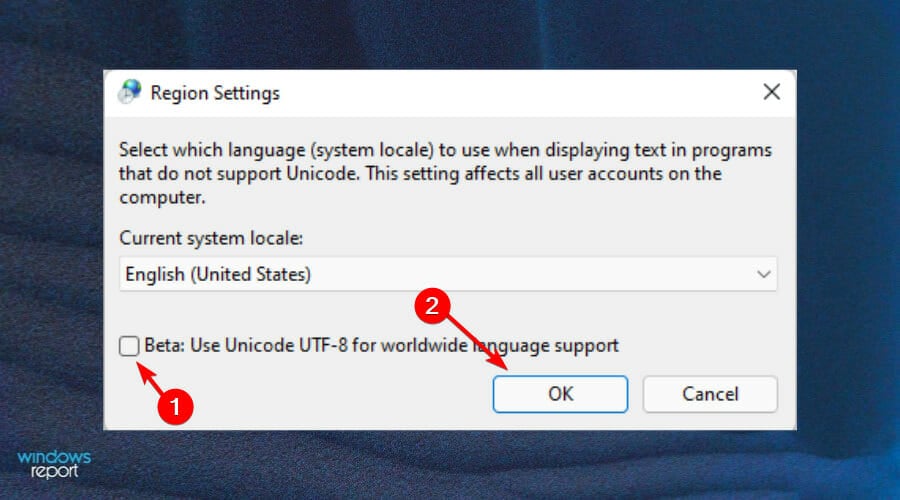
- Specify the new language, check the Beta: Use Unicode UTF-8 for worldwide language support box and then click the OK button.
- Restart your PC and try changing your display language again.
3. Disable sync for language settings
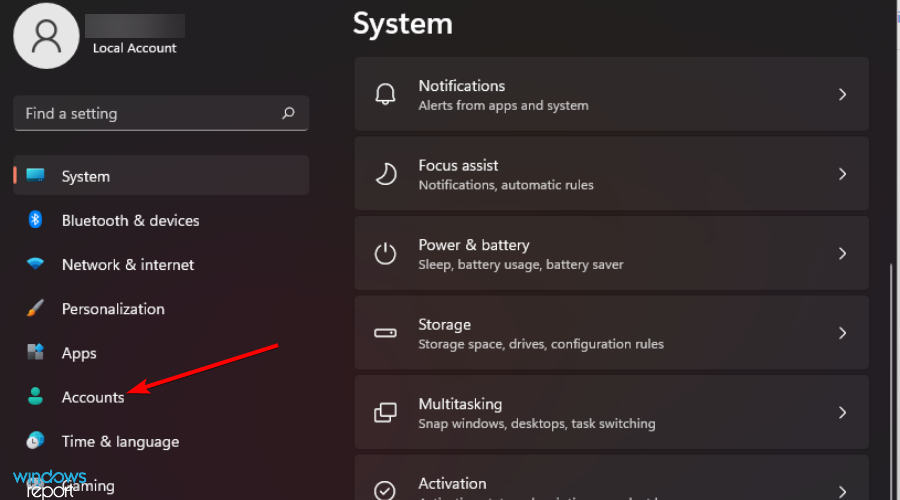
- Press the Windows + I keys to open Settings.
- Click on Accounts.
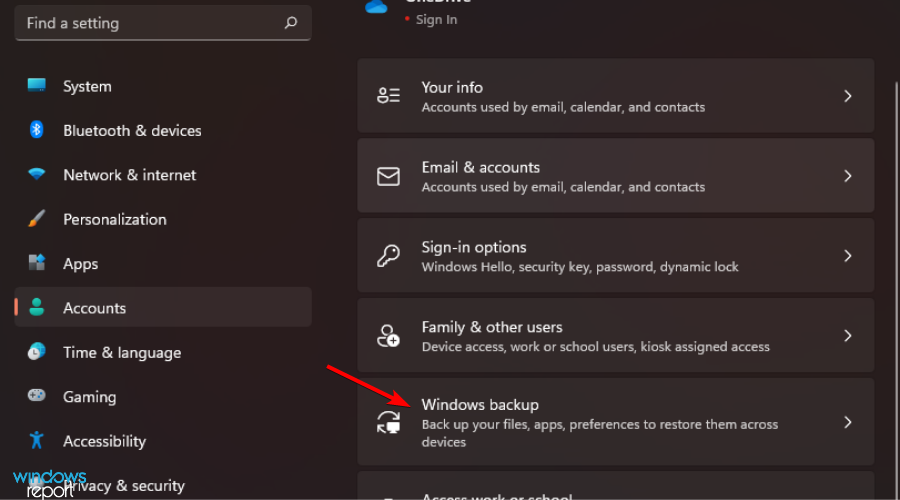
- Click the Windows backup page on the right side.
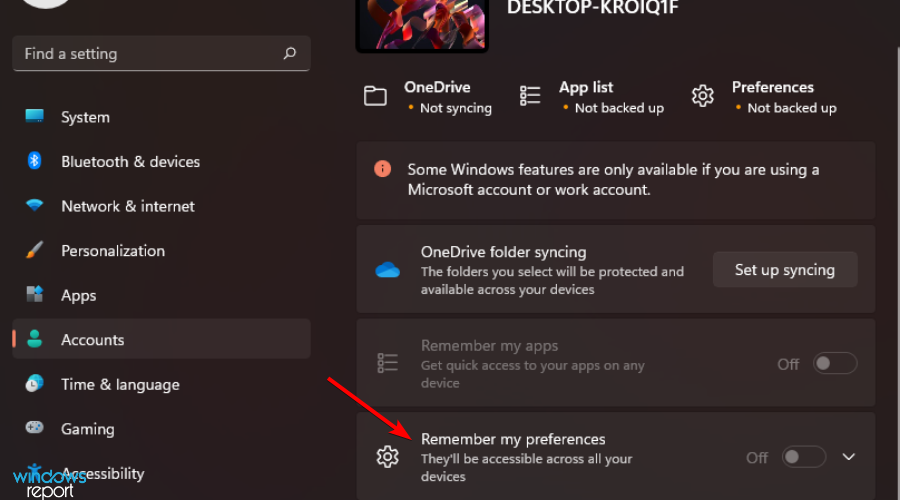
- Click Remember my preferences and toggle it on.
- Clear the Language preferences option.
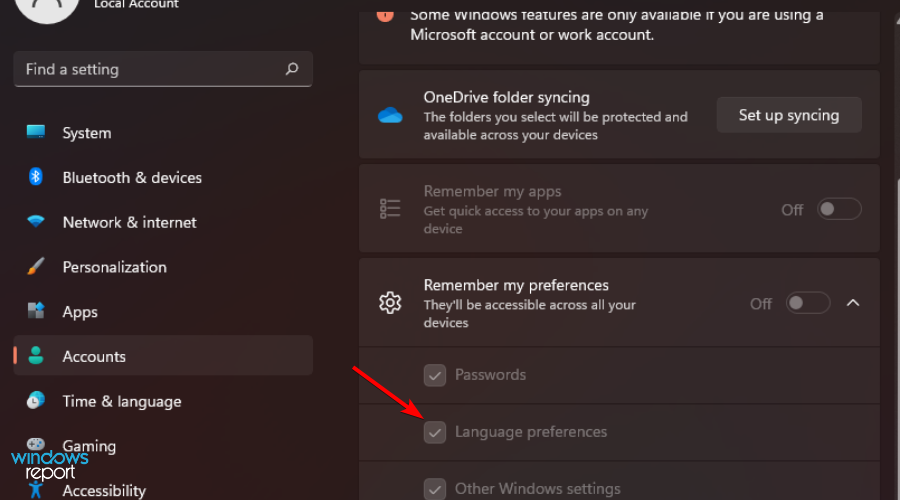
- You should now be able to change your display language.
How do I add a display language in Windows 11?
- Hit the Windows key to open Settings.
- Click on Time & language.
- Select Language and region on the right pane.
- Under the Language section, press the Add a language button.
- Select your preferred language from the drop-down list and click Next to install.
How do I add the language bar to my taskbar in Windows 11?
Having the language bar floating on your taskbar is the most efficient way of switching between languages while you’re working on your computer. Once you add it, you’ll be able to change your keyboard layout with a single click instead of navigating through the Control Panel.
To add it to the taskbar, follow the steps below:
- Press the Windows + I keys simultaneously to open Settings.
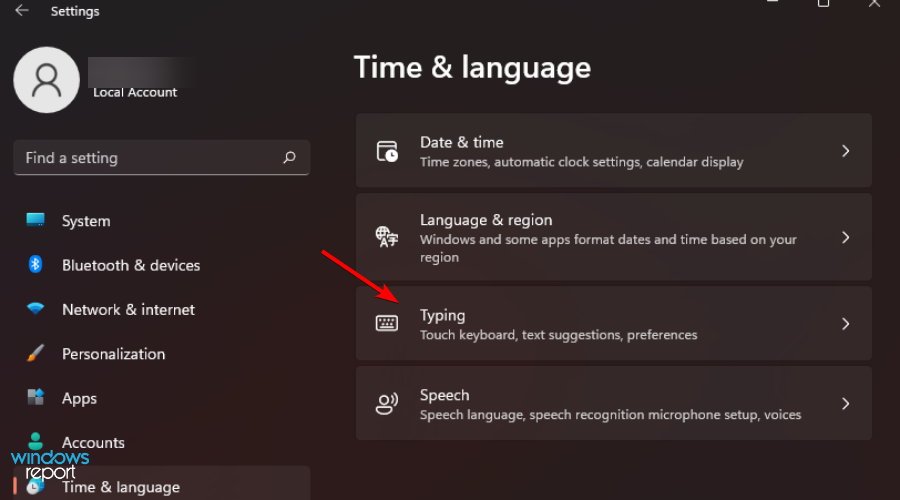
- Select Time & language.
- Select Typing option on the right pane.
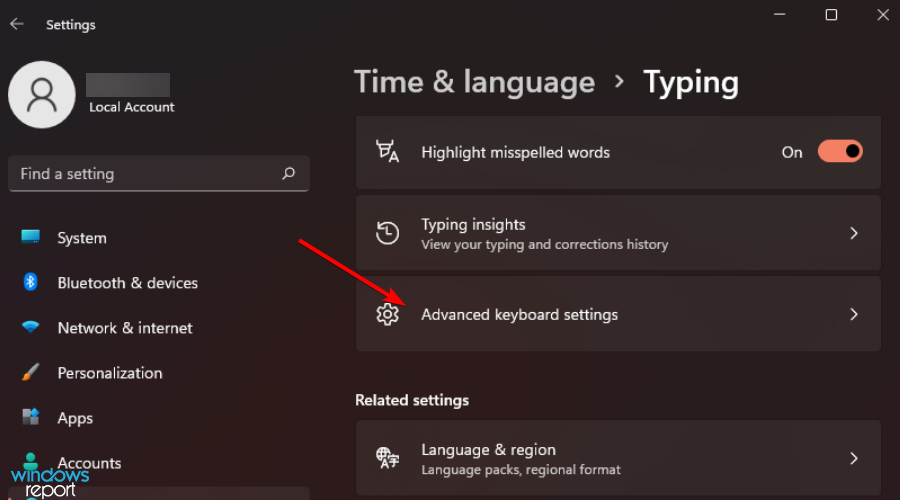
- Click on Advanced keyboard settings option.
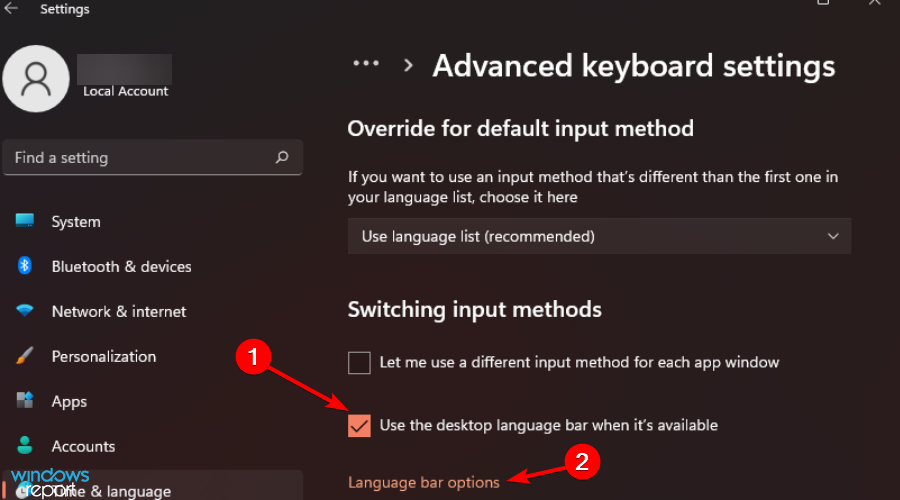
- Check the Use the Desktop language bar when it’s available box and select Language bar options.
- On the Language Bar tab, select Floating On Desktop.

- Also, check the Show additional Language bar icons in the taskbar and Show text labels on the Language bar boxes.
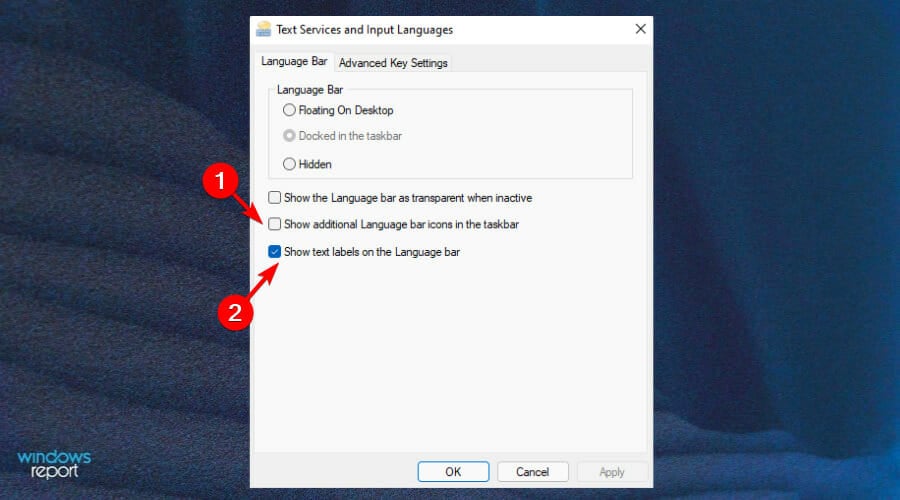
- The language bar should now appear on the taskbar.
How do I change the Welcome screen language in Windows 11?
To change your Welcome screen language, follow the steps below:
- Press the Windows key to open Settings.
- Select Time & language.
- Select Language and region on the right pane.
- Scroll down and go to Administrative language settings.

- Under the Administrative tab, select Copy settings.
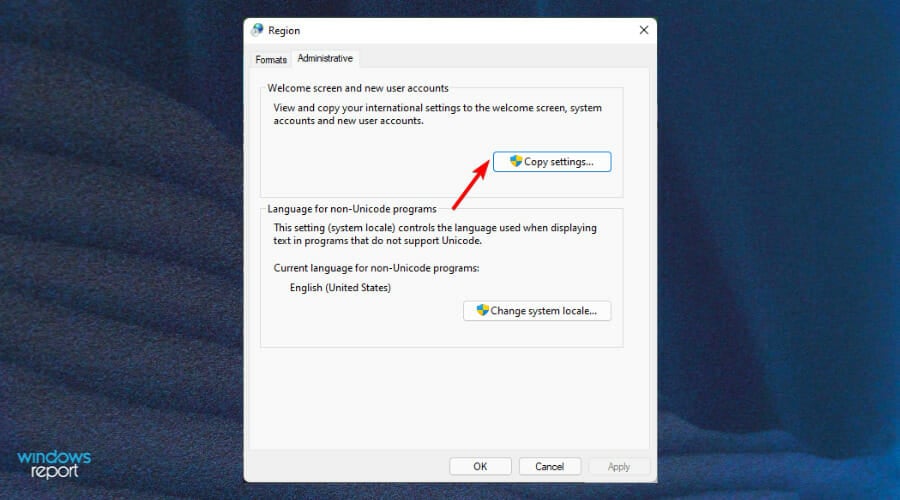
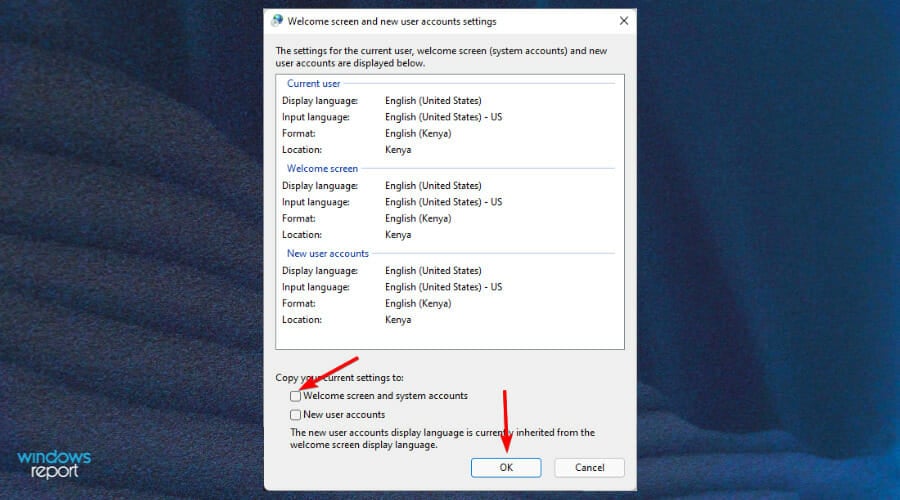
- Check the Welcome screen and system accounts box, and proceed to saving the changes by clicking OK and restart your computer.
- Your Welcome screen is now changed.
What can I do if my Windows license supports only one display language?
If your edition of Windows is not licensed to support multiple display languages but you have already added another during installation, you can still keep using that new language pack.
This will give you enough time while evaluating whether you want to purchase a product key that will enable all of its features going forward.
Alternatively, you can refer to our guide on how to fix the language not supported error to easily bypass this issue and prevent it from appearing again.
Once you are ready and have selected your preferred system language, you can proceed to uninstall and install language packs for a fresh start and avoid errors.
If you experience difficulties and your language pack does not work, we have an excellent guide to help you solve the problem.
Additionally, your system language is not the only setting you can tweak to select your preferred choice. You can also change your keyboard language.
Although you may rarely need to change your display language, knowing how to do so will be useful when you travel to a new region and desperately need to use your PC. And if the Windows lock screen language is different, you could re-enable Windows Spotlight and solve the issue in no time.
That’s it for this article, and we hope you can change your system language successfully.
Remember that language packs take up a lot of drive space, so you might want to exercise some limitations in installing multiple languages you don’t need.
If you have further comments, suggestions, or queries on this subject, share them in the comment section below.
Read our disclosure page to find out how can you help Windows Report sustain the editorial team. Read more


Improve this guide


User forum
4 messages