Adobe Media Encoder Is Not Installed: How to Fix This Error
Update the Adobe suite of apps to their latest version
Key notes
- Using the Adobe Media Encoder you get more options to export or render your files.
- If this is missing, then you should check if the Media Encoder is installed or not.
- You can also try clearing the temporary files of the Media Encoder to fix the issue.

Multiple users have reported that when they are trying to export or upload a video, they are getting the Adobe Media Encoder is not installed. This issue prompts up even after restarting the application.
In this guide, we will give you some solutions that will help you resolve the Adobe Media Encoder is not installed error message. Let us get right into it.
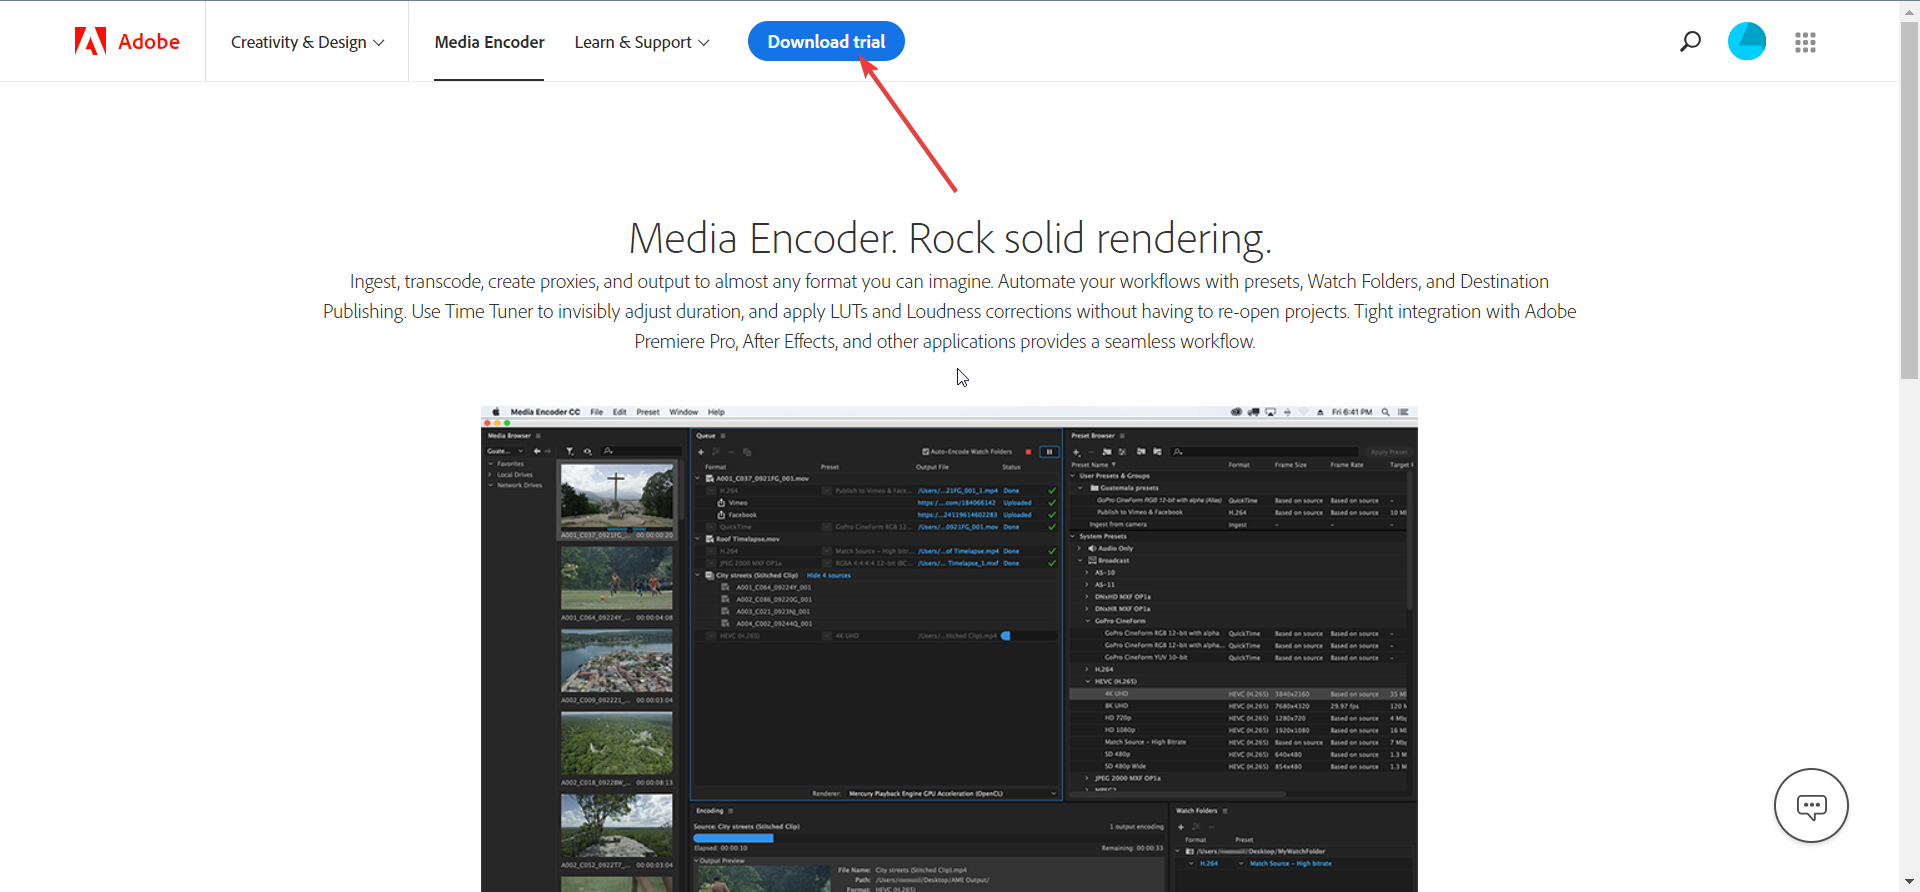
What is Adobe Media Encoder?

If you make use of Adobe products, such as Adobe Photoshop, Adobe Premiere Pro, After Effects, or any other programs, then it requires the Adobe Media Encoder to ingest, create proxies, transcode, output, and publish the media if any format.
Basically, the Adobe Media Encoder in simple terms is a powerful tool that can convert your audio or video files in various formats to make the content playable on different devices.
It is an essential component of the Adobe Creative Cloud suite and in case the Adobe Media Encoder is not working or is missing, you will come across issues such as not being able to publish or distribute the media.
Moreover, it is very important as users can send their projects directly across the Adobe suite of programs without having the need to save or export projects manually.
Why am I seeing the Adobe Media Encoder is not installed error?
We did our research and after going through multiple user reports, we have deduced a list of the most common reasons why you are seeing the Adobe Media Encoder is not installed error.
- Corrupt installation – Installations if corrupt, can cause multiple issues as important files related to the program go missing.
- Not available in the default location – The Adobe Media Encoder should be present in the default location. In case it is not, then it could cause issues such as the one at hand.
- Outdated programs – Chances are that you are running an older version of the Adobe program which is why there is a compatibility issue with the Media Encoder.
- Corrupt temporary settings – There is also a possibility that the corrupt temporary files or settings are the reason for the Adobe Media Encoder is not installed error.
- Media Encoder isn’t installed – You might have missed installing the Adobe Media Encoder, which is why you are getting the genuine error message.
Let us now check out the solutions that will help you resolve the problem at your end.
How to Fix the Adobe Media Encoder Is Not Installed?
1. Install the Media Encoder
- Visit the official website of the Adobe Media Encoder.
- Download the EXE file on your computer.
- Double-click on the executable file and install the Media Encoder on your PC.
The error could be genuine and you did not to install the Adobe Media Encoder. This is why you are getting the Adobe Media Encoder is not installed error.
2. Update the Adobe Media Encoder
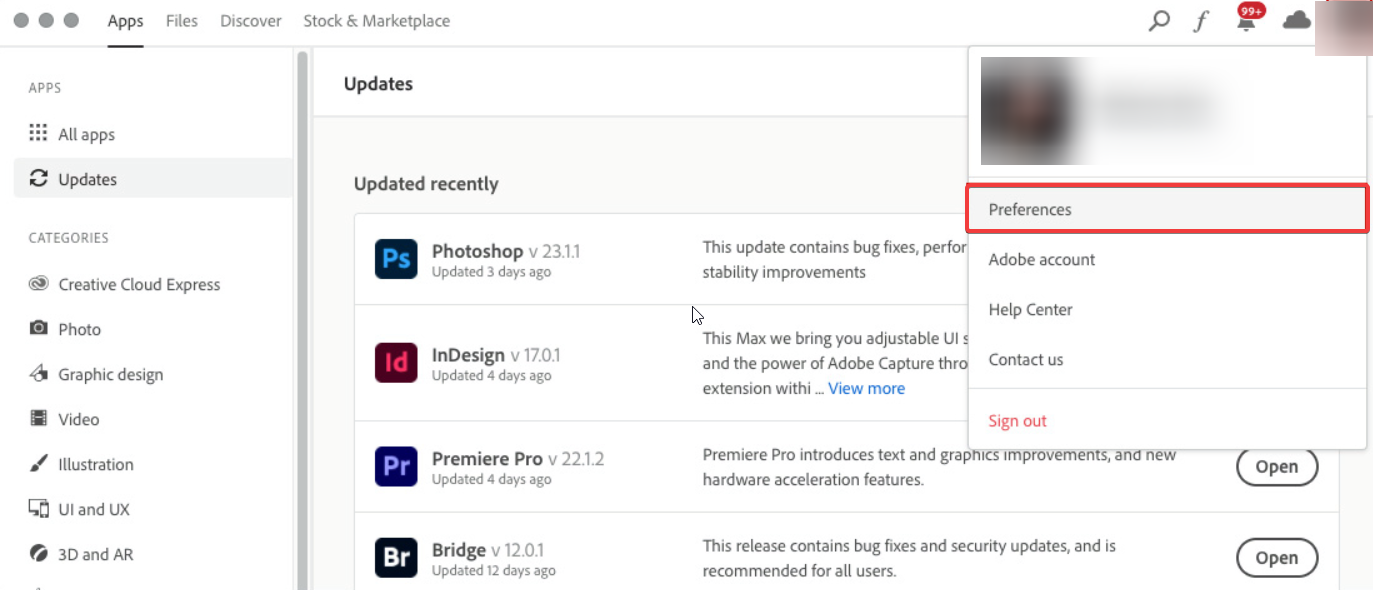
- Launch the Creative Cloud Desktop app.
- Click on the account icon and select Preferences.
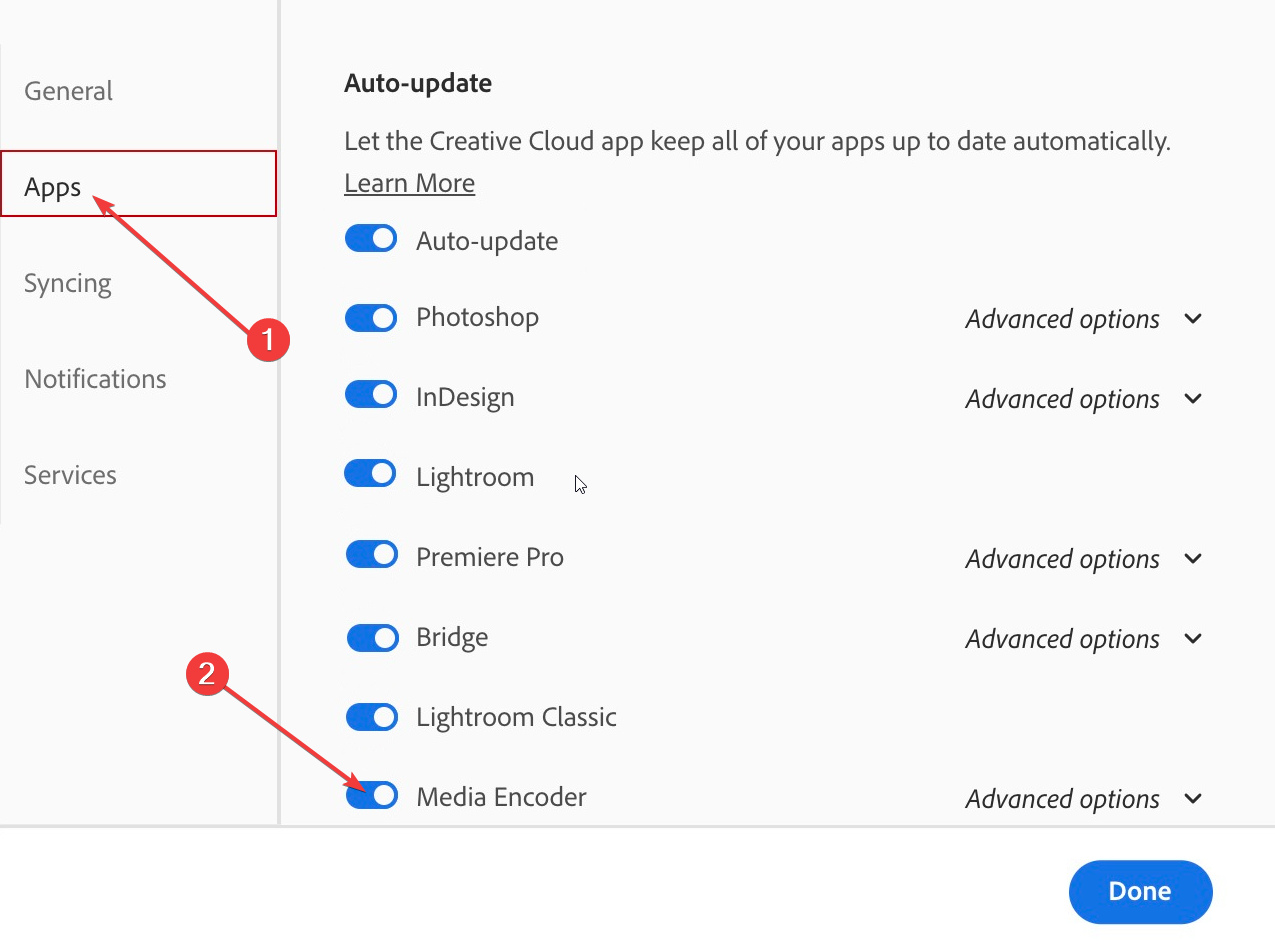
- Click on the Apps tab on the left pane and toggle on the Auto-update for all apps of Adobe software. However, make sure to toggle on the Auto-update option for Media Encoder.
- Hit the Done button to apply the changes in Creative Cloud.
Make sure to update all of your Adobe suite of apps. Also, the Adobe Media Encoder should run the latest version as well.
3. Remove Adobe Media Encoder temp settings
- Navigate to each of the following directories:
C:\Users\[username]\AppData\Roaming\Adobe\Common\AME\[version no.]
C:\Users\[username]\AppData\Roaming\Adobe\Adobe Media Encoder\[version no.]
C:\Users\[username]\AppData\Roaming\Adobe\Common\Media Cache
C:\Users\[username]\AppData\Roaming\Adobe\Common\Media Cache Files
- Move the content of the folders to another directory.

- Reboot your PC and check if this fixes the issue or not.
4. Reinstall in the correct location
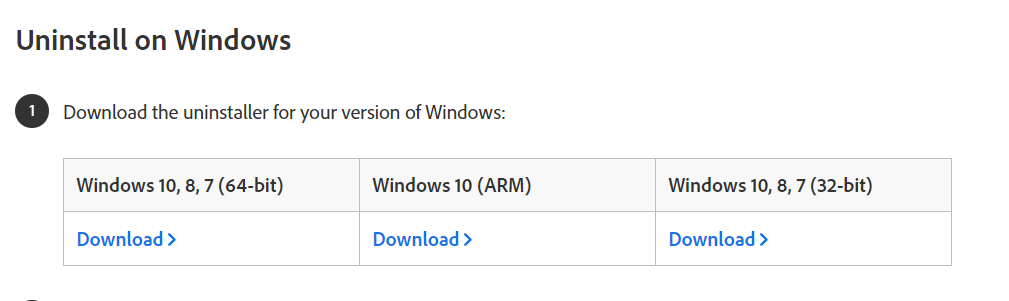
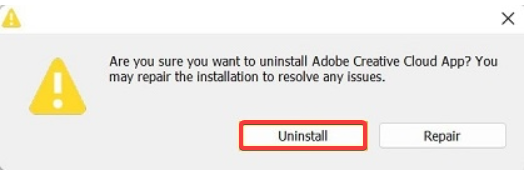
- Visit the official website and download the Creative Cloud Uninstaller for Windows.
- Extract the contents of the ZIP file and run the EXE file.
- Select the Uninstall option.
- Sign in to the Creative Cloud website and download the Creative Cloud desktop app.
- Double-click the downloaded file to begin the installation.
- Make sure to select the location as:
C:\Program Files\Adobe - Restart your computer and check if this fixes the issue or not.
5. Change the order of installation
- Open the Settings menu by pressing the Win + I keys.
- Select Apps from the left pane.

- Select Installed apps.

- Locate Adobe Media Encoder, hit the 3-dot menu icon, and select Uninstall.

- Follow the same procedure to uninstall the Premier Pro and restart your PC.
- Now, Install Adobe Premier Pro first.
- The Media Encoder will install automatically without any input from you.
- Restart your PC and check if this fixed the issue or not.
How do I export without Adobe Media Encoder?
- After editing your video, press Ctrl + M on your keyboard.
- Select the desired format, preset, and other video settings.
- Hit the Export button.
That is it from us in this guide. Besides, learn how you can fix Adobe Premiere not exporting videos.
Moreover, we also have a guide with solutions that will help you fix the problem of Adobe After Effects running slow.
Let us know which one of the above solutions fixes the Adobe Media Encoder is not installed issue.
Read our disclosure page to find out how can you help Windows Report sustain the editorial team. Read more


Improve this guide


User forum
0 messages