Adobe Media Encoder Not Working: How to Reset It
Although uncommon, virus attacks could cause this problem
5 min. read
Updated on
Read our disclosure page to find out how can you help Windows Report sustain the editorial team Read more
Key notes
- Adobe Media Encoder allows you to export media files and convert them to other file types.
- Other compositions used with AME and corrupted CC media files can prevent the feature from working.
- Resetting the CC media file and removing temp files are viable solutions for this problem.
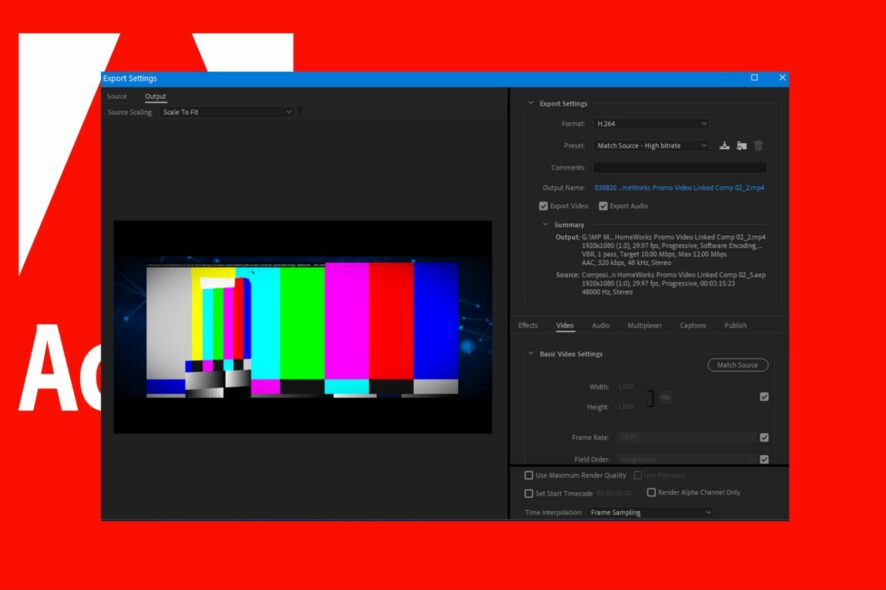
Some readers have complained that Adobe Media Encoder is not working or opening. This, in turn, limits their access to the tool’s audio/video processing capacity and other features. Hence, we will address this issue in this guide and proffer possible solutions.
Likewise, you can check out our detailed guide on fixing Adobe Premiere Pro if it’s not exporting full video.
Why is Adobe Media Encoder not working?
Adobe Media Encoder may not work under different circumstances and for several reasons. Sometimes, it may appear as AME not working with After Effects. Hence, check other likely causes below:
- Issues with other compositions added to Adobe Media Encoder – The system may run into problems when trying to launch or perform some tasks on Adobe Media Encoder on your PC if it doesn’t support the composition added to it.
- Issues with the AME update – AME may not work because of faulty or unstable updates. If you recently installed an update on any Adobe 2023 product line, it can impede its performance and affect other products.
- Corrupted or missing Adobe CC Media files – Having issues with the Adobe Media Encoder executable files can cause irregularities in the app. The Adobe CC may be corrupt or not accessible, making it difficult for the app to use the needed resources.
- Malware or virus infections – Can corrupt the app or prevent communication between it and the necessary files. Do not hesitate to check out our recommended list for the best anti-malware software to troubleshoot this.
Now, let’s explore the possible ways to troubleshoot the Adobe Media Encoder app if it’s not opening on your PC.
What can I do if Adobe Media Encoder stops working?
Before trying any advanced troubleshooting steps, apply the following:
- Turn off background apps running on your computer.
- Temporarily disable antivirus software. This will also help when Corel VideoStudio is not opening.
- Restart Windows in Safe Mode and check if the error persists.
If the issues persist, try the solutions below:
1. Reset the CC Media files
- Press the Windows + E key to open File Explorer.
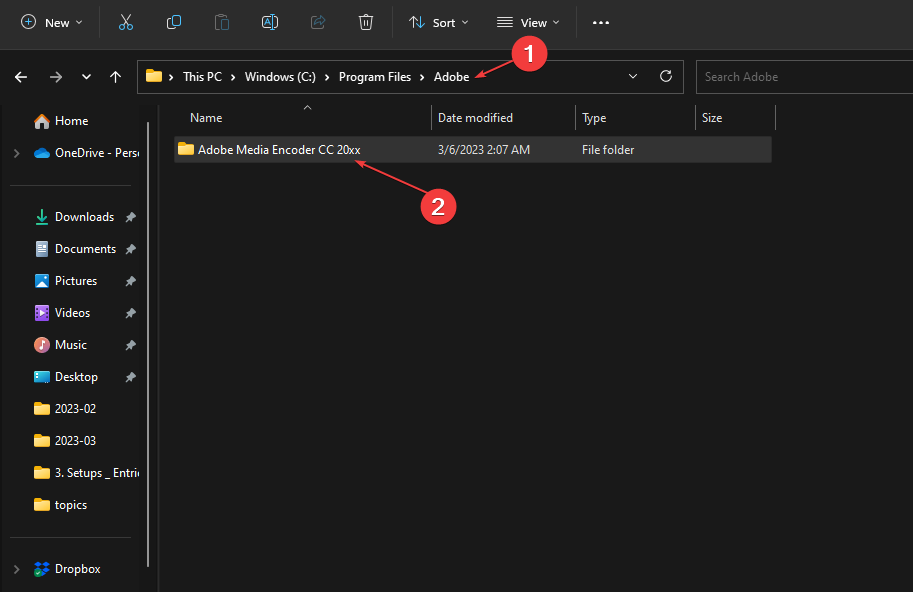
- Go to the following path to access the Adobe Media Encoder executable files:
C:\Program Files\Adobe\Adobe Media Encoder CC 20xx - Press and hold Ctrl+Shift+Alt and run the program.
Running the executable file will remove and reset the corrupted CC Media preferences files. Also, it’ll reset all the settings and fix issues preventing AME from working.
2. Remove Adobe Media Encoder temp settings
- Navigate to each of the following directories:
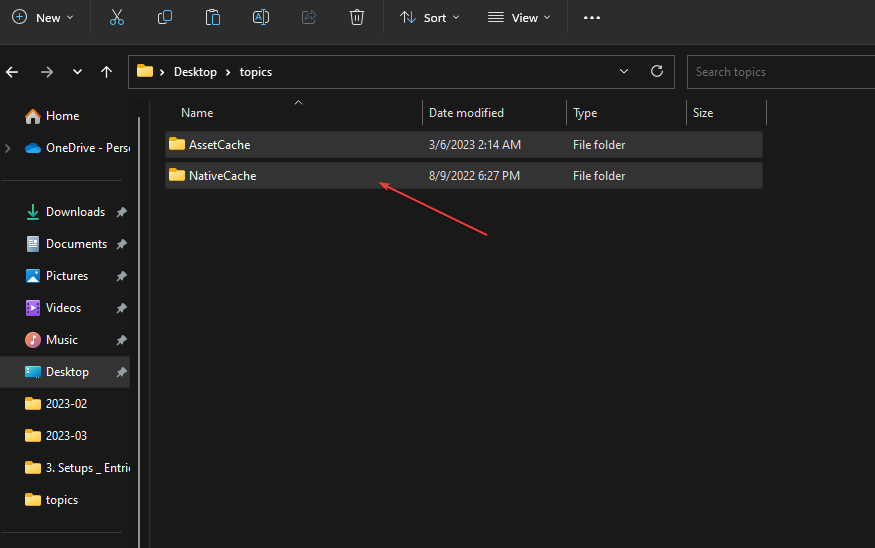
C:\Users\[username]\AppData\Roaming\Adobe\Common\AME\[version no.]C:\Users\[username]\AppData\Roaming\Adobe\Adobe Media Encoder\[version no.]C:\Users\[username]\AppData\Roaming\Adobe\Common\Media CacheC:\Users\[username]\AppData\Roaming\Adobe\Common\Media Cache Files - Highlight all the content of the directories and move them to another directory.
- Restart your PC and check if the Adobe Media Encoder works.
Removing the temp files allows the app to collect usable files and delete the corrupt or faulty ones. Check ways to run File Explorer as an administrator in Windows 11 if it is required in the process.
3. Turn off Adobe Media Encoder Parallel Encoding feature
- Left-click the Start button, type Adobe Media Encoder, and launch it.
- Go to Media Encoder CC.
- Click on Preferences, go to General, and then uncheck the Enable Parallel Encoding option.
Disabling the Parallel Encoding feature will fix any interference the alternative encoder is causing the program.
4. Update your graphics drivers
- Press Windows + R keys to prompt the Run window, type devmgmt.msc, and click OK to launch the Device Manager.
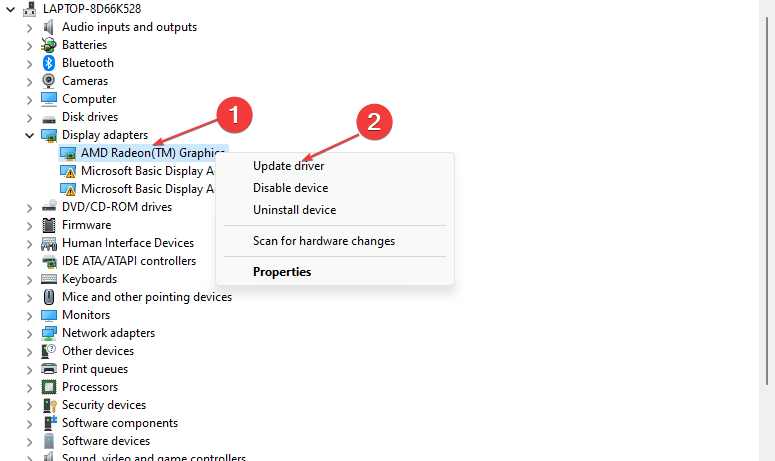
- Expand the Display adapter entry, right-click on the device, then select Update driver from the drop-down options.
- Click on Search automatically for the updated driver software option.
- Restart your PC and check if Adobe Media Encoder works.
AME uses many graphics features, so updating the graphics drivers will fix bugs causing issues with Adobe Media Encoder. Do not hesitate to check out our detailed article on updating graphics drivers on Windows 11 if you have any problems with the above steps.
You can also try a faster alternative to update your graphics drivers, and it is an automatic program like Outbyte Driver Updater that helps you locate the latest driver updates for your device from a vast database.
5. Reset Adobe Media Encoder Preferences
- Press Windows + R key to open the Run dialog box, type %appdata%, then Click OK.
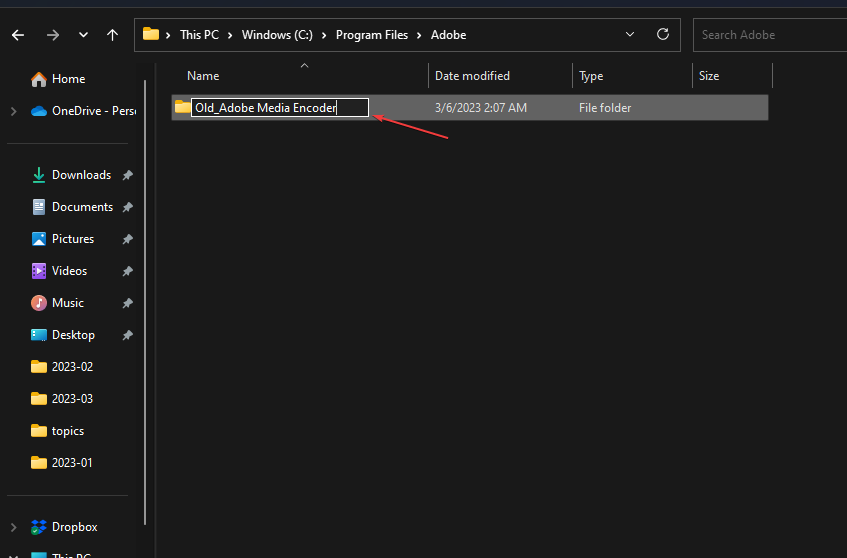
- Click on Adobe, find the Adobe Media Encoder subfolder, and rename it Old_Adobe Media Encoder.
- Close the window, go to Documents, then select Adobe in File Explorer.
- Find the Adobe Media Encoder subfolder and rename it as Old_Adobe Media Encoder.
- Launch Adobe Media Encoder and check if it works.
Resetting the preferences can fix the problem and return the settings to default.
Alternatively, you can read about the Adobe Acrobat Readers DC not responding on the PC. Also, our guide on how to fix Adobe Reader if it’s not installing applies to other Adobe products.
We also have a guide on how to fix the Adobe Media Encoder not installed error that may provide further solutions.
Should you have further questions or suggestions, kindly drop them in the comments section.

