Advrcntr6.dll is Missing: How to Download & Restore it
The DLL file could be missing due to a faulty app
![]() 4 min. read
4 min. read
![]() Updated on
Updated on
Share this article

Improve this guide
Read our disclosure page to find out how can you help Windows Report sustain the editorial team Read more
Key notes
- The reason behind the dll file missing error could be an outdated driver or corrupted system files.
- To fix the issue, run an SFC scan, uninstall the app, or check Windows for updates.
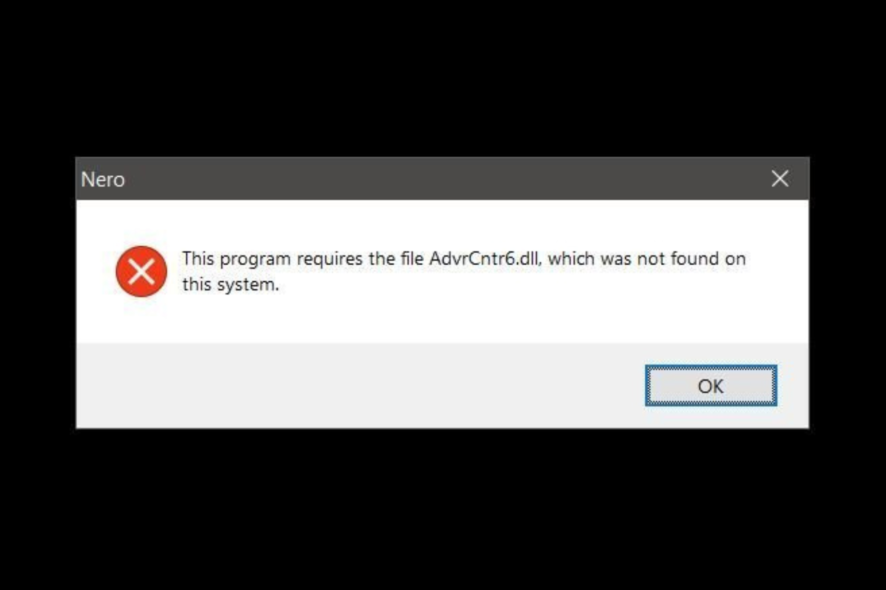
Sometimes, you may encounter the Advrcntr6.dll missing error while launching software on your PC.
This can be pretty frustrating as it prevents you from running the app. The error indicates that the DLL file is either corrupted or deleted.
In this guide, we will discuss what Advrcntr6.dll is, different methods to fix the issue, and the causes of the problem. Let’s begin!
What is Advrcntr6.dll?
Advrcntr6.dll is a Dynamic Link Library file developed by Neto AG, a necessary system file of Windows OS. It contains a set of procedures and driver functions used by Windows.
This component is important for Windows to operate properly. If missing, it could affect the software’s working using the file.
What causes the Advrcntr6.dll is missing error?
There could be several reasons why this dll is missing; some of the common ones are mentioned here:
- Program not installed properly – If the program you are launching is not installed, it might be able to use Advrcntr6.dll hence the error. To fix this, reinstall the app.
- Outdated driver – Old and outdated drivers could be one of the reasons for the missing DLL file. You need to update drivers to fix the issue.
- Pending Windows updates – Windows OS needs to be updated to fix bugs and keep everything running smoothly. If not, you may get all kinds of errors.
- DLL file is corrupt – If the DLL file is corrupt or deleted, then the app depending on the file, won’t start and will display the error.
What can I do to fix the Advrcntr6.dll missing error?
Before engaging in advanced troubleshooting steps, you should consider performing the following checks:
- Disable Antivirus temporarily.
- Update Windows OS.
- Reinstall the faulty app.
1. Re-register the DLL file
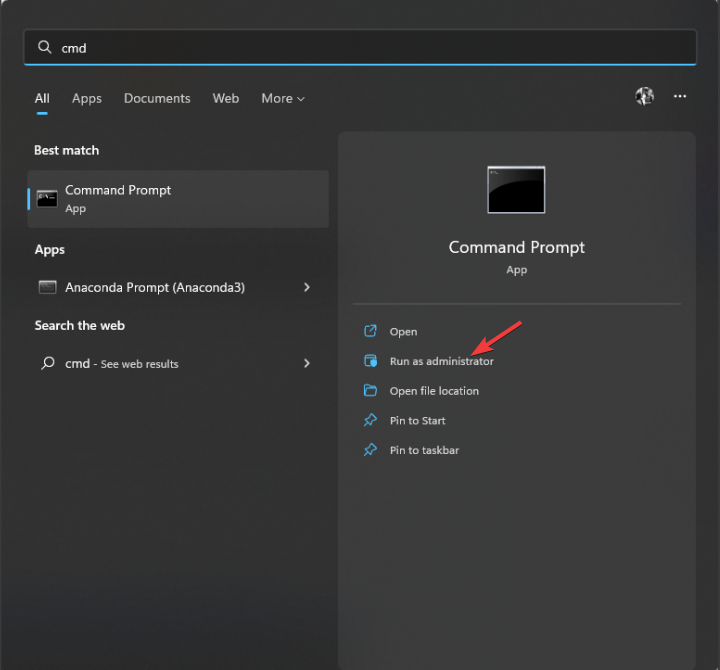
- Press the Windows key, type CMD, and click Run as administrator.

- Type the following command to re-register the dll file and press Enter:
regsvr32 Advrcntr6.dll - Restart your computer.
2. Repair/reinstall the Microsoft Visual C++ Redistributable
 Tip
Tip
2.1 Repair Microsoft Visual C++ Redistributable
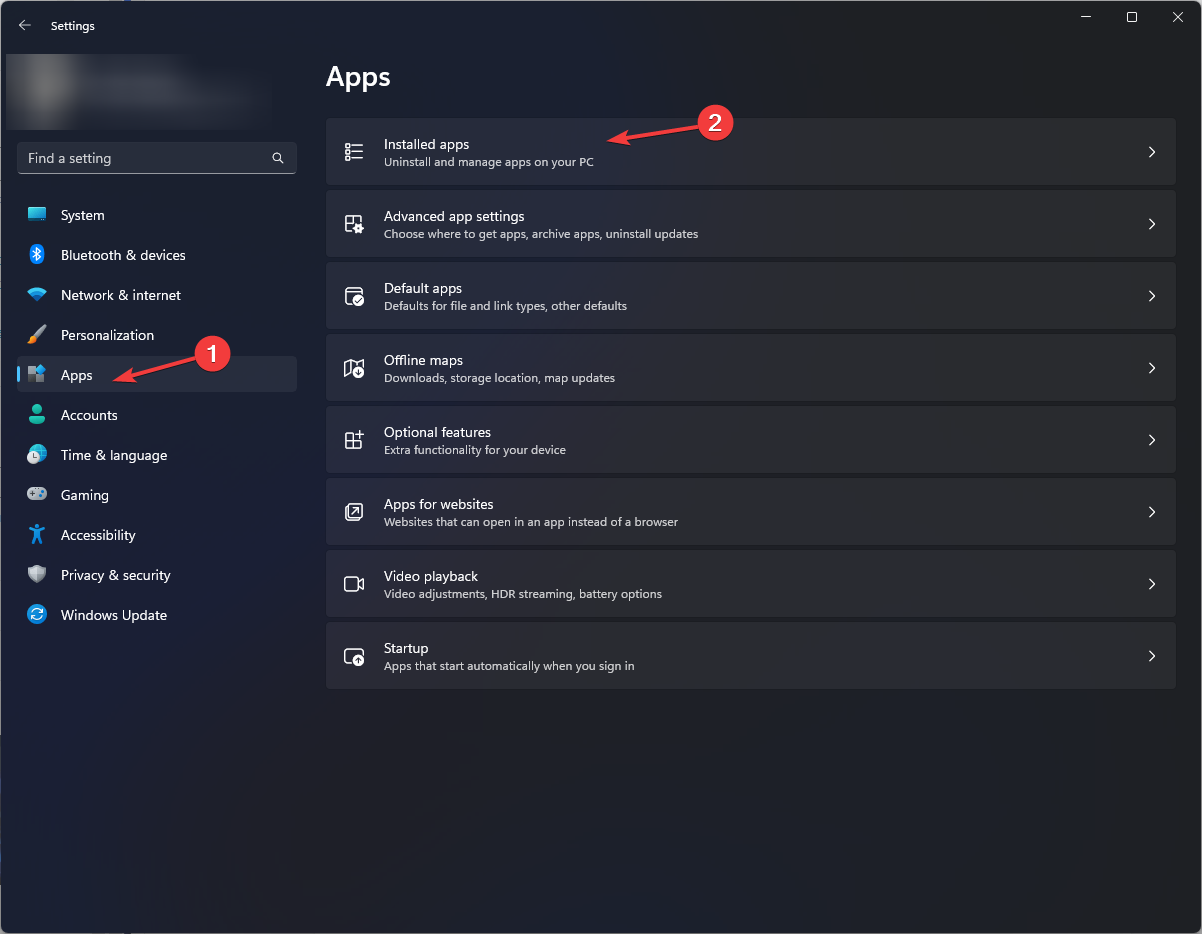
- Press Windows + I to open the Settings app.
- Go to Apps, and select Installed apps.

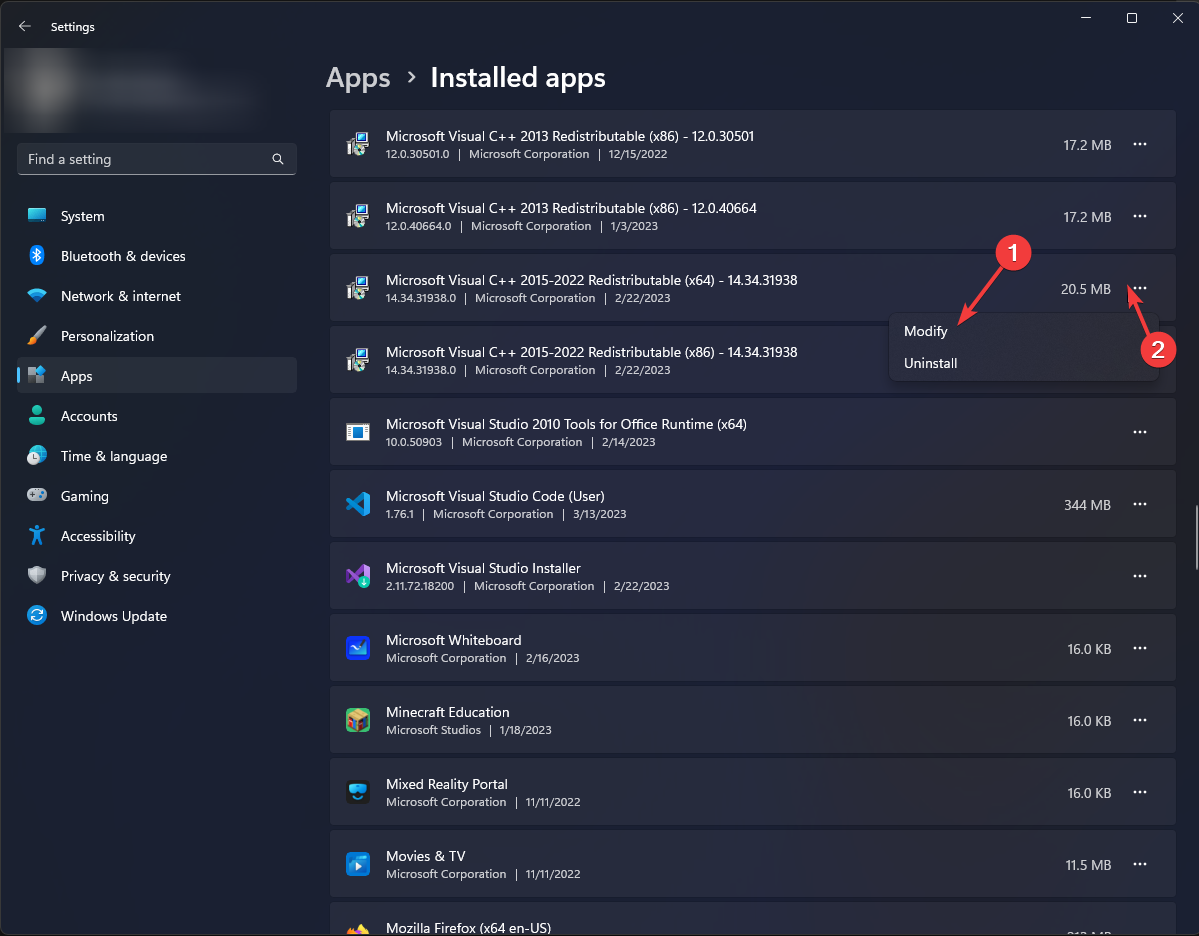
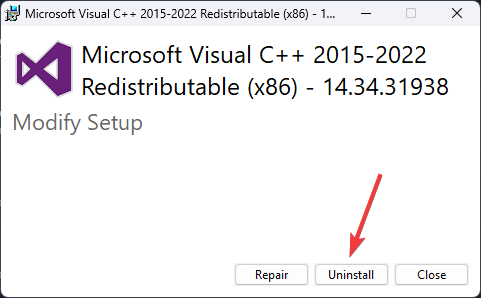
- Navigate to Microsoft Visual C++ Redistributable, click on the three dots next to it, and select Modify.

- Click Yes on the UAC prompt.
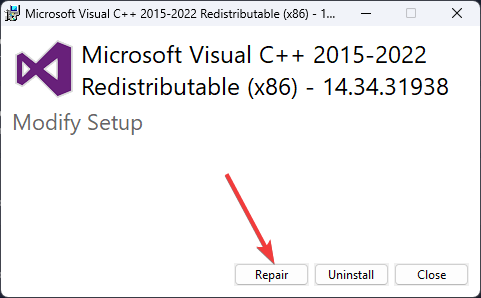
- On the following dialog box, click Repair.

- Follow the on-screen prompts if needed.
2.2 Reinstall the Microsoft Visual C++ Redistributable
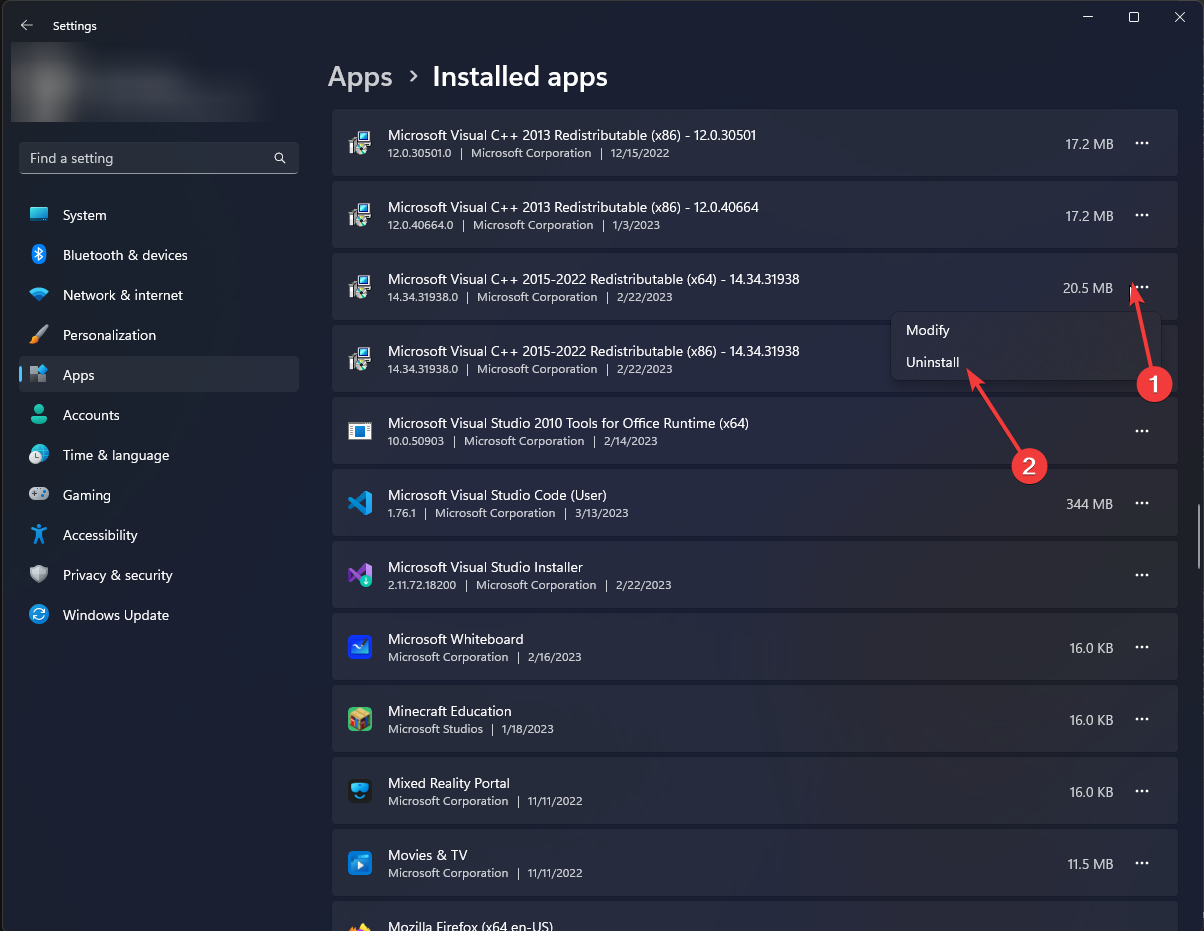
- Open Settings. Go to Apps, then the Installed apps option.
- Locate Microsoft Visual C++ Redistributable, click on three dots, and select Uninstall.

- Click Uninstall on the next window.
- Download the Microsoft Visual C++ Redistributable, and double-click the installer file.
- Follow the on-screen instructions to complete the process.
3. Update the drivers
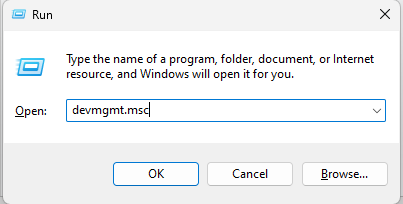
- Press Windows + R to open the Run window.

- Type devmgmt.msc and click OK to open Device Manager.
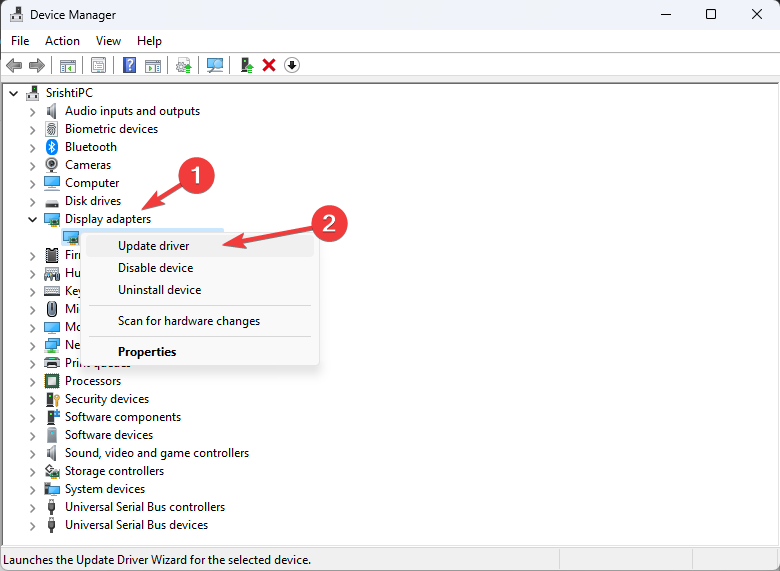
- Select the drivers from the list individually, right-click, and select Update driver.

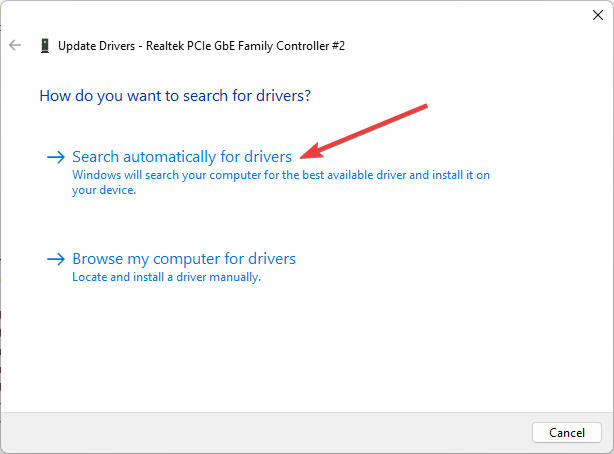
- Click Search automatically for drivers.

- Follow the on-screen instructions to complete the process.
4. Scan your PC for malware
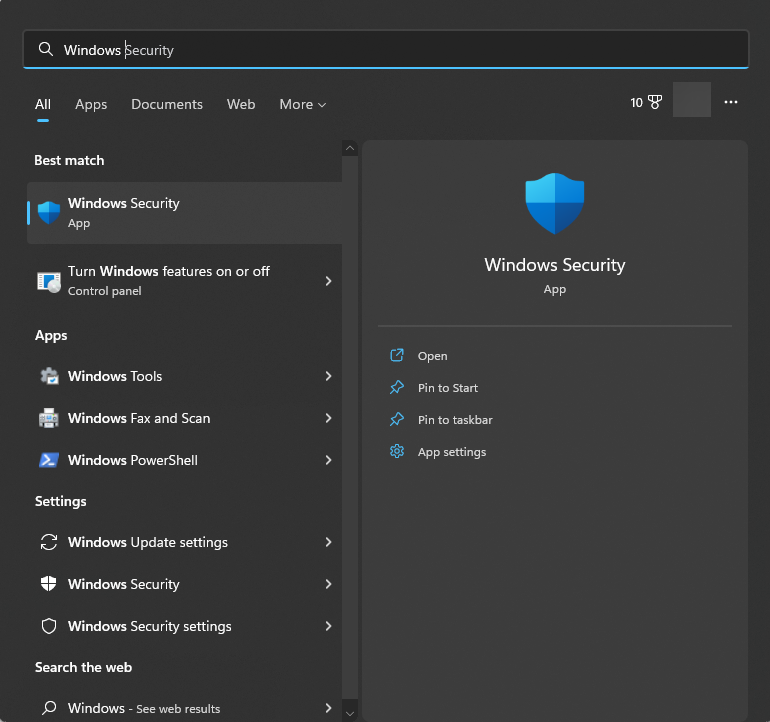
- Press the Windows key, type Windows Security, and click Open.

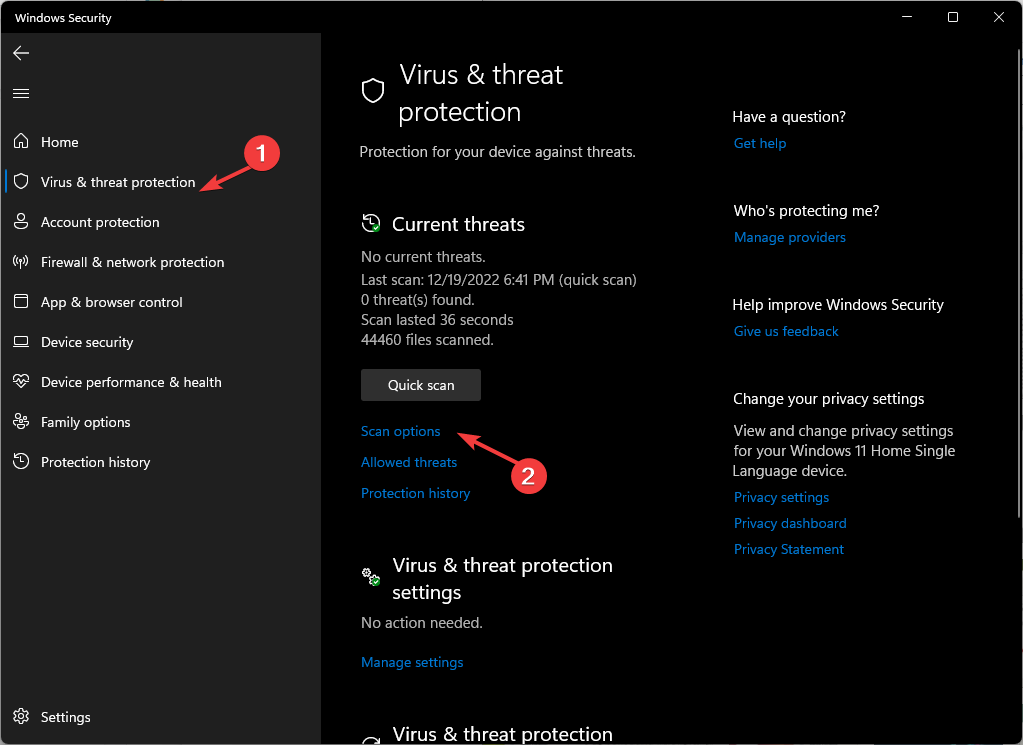
- Go to Virus & threat protection and click Scan options.

- Select Full scan and click Scan now.
- The security software will scan and show the malicious files on your computer. Select them and delete them when prompted.

5. Use the Command Prompt
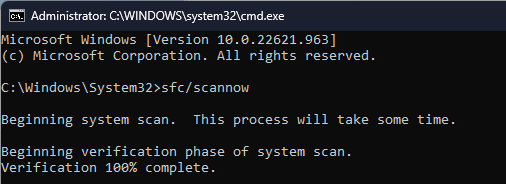
- Press the Windows key, type CMD, and click Run as administrator.
- Copy and paste the following command to repair system files and press Enter:
sfc/scannow
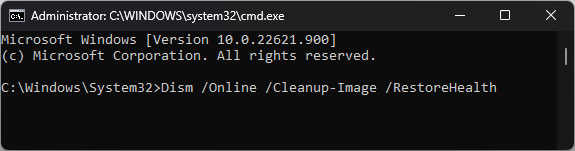
- If there is an error, type the following command and press Enter:
DISM.exe /Online /Cleanup-Image /Restorehealth

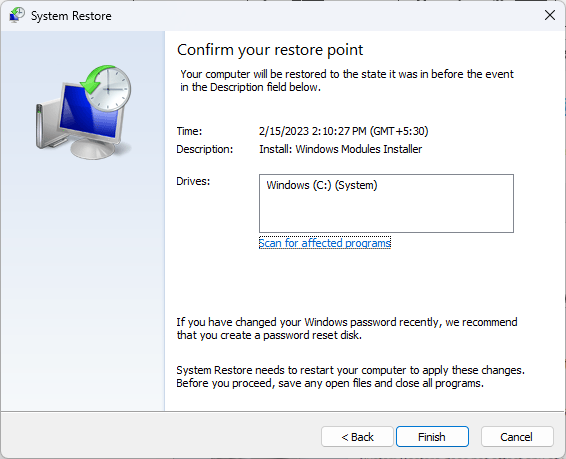
6. Perform System Restore
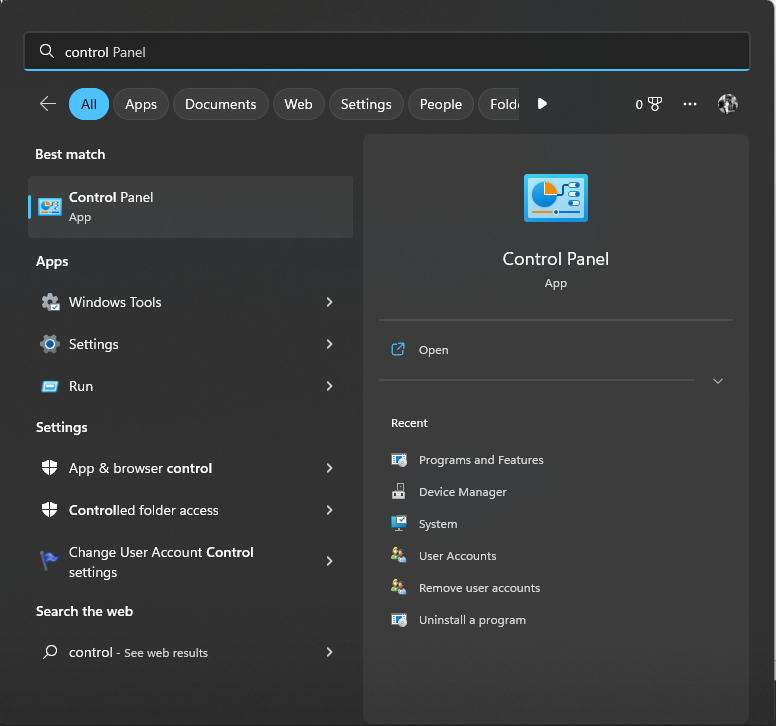
- Press the Windows key, type Control Panel, and click Open.

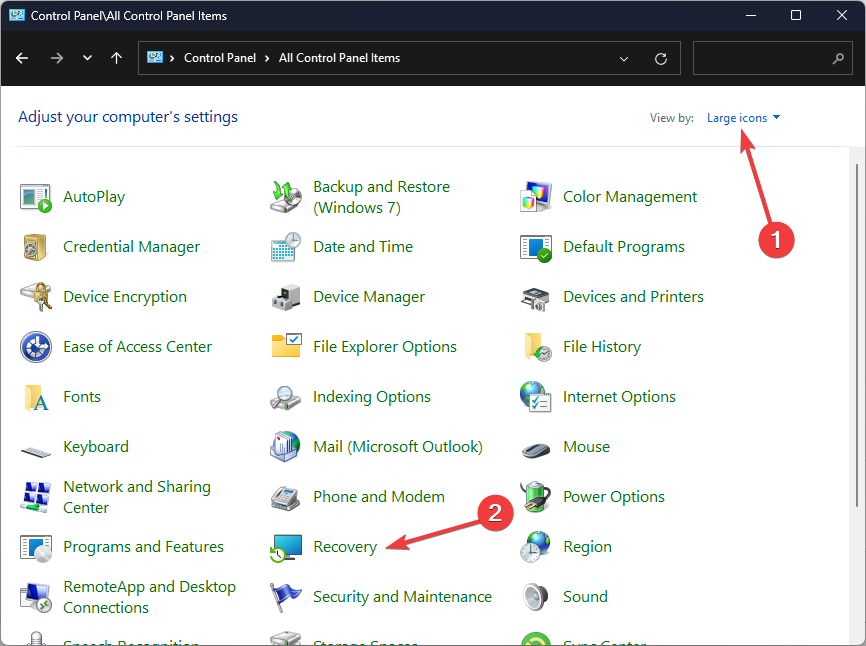
- Select Large icons as View by and click Recovery.

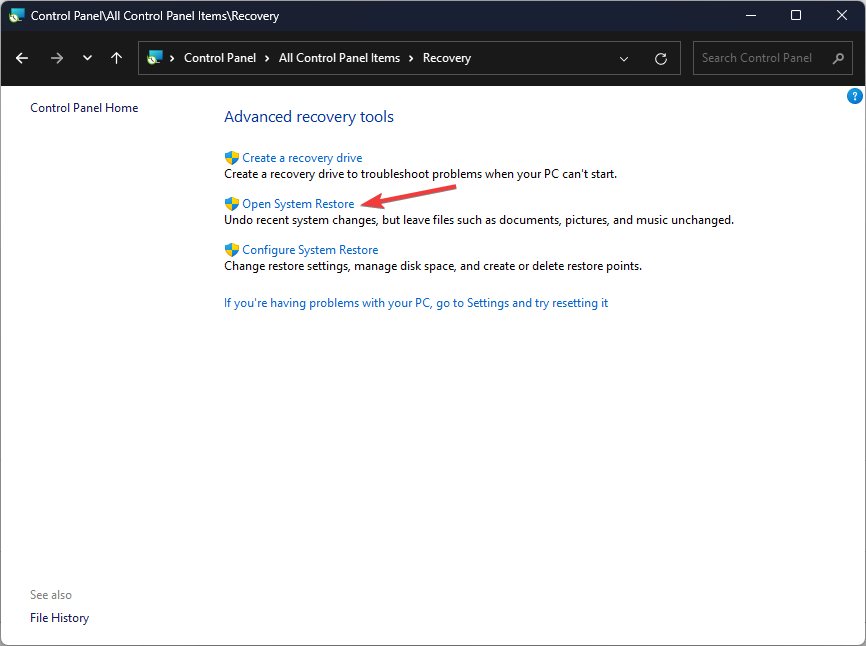
- Click Open System Restore.
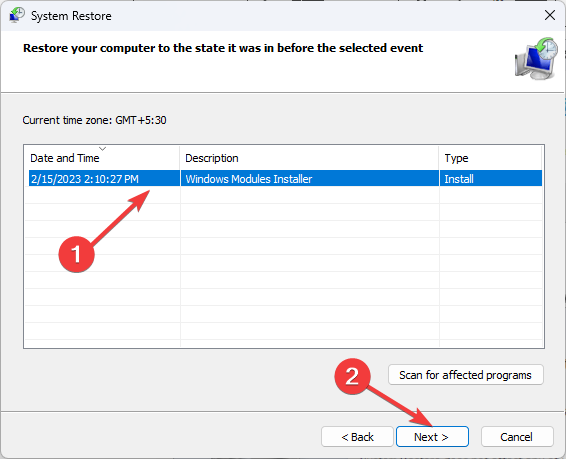
- Select Choose a different restore point and click Next.

- Now select the restore point and click Next.
- Click Finish to restore the previous settings, and Windows will restart.

7. Download and install the DLL file
- Go to the DLL website.

- Download the file which is appropriate to your operating system.
- Navigate to this path:
C:\Windows\System32 - Find the old one and rename it. If you can’t find it, then move to the next step.
- Copy and paste the newly downloaded file into the System32 folder.
- Now open Command Prompt with administrator rights and copy and paste the following command to register the DLL file:
regsvr32 Advrcntr6.dll - Restart the computer.

So, these are methods that you need to follow to fix the Advrcntr6.dll missing error. If you have any questions about Advrcntr6.dll, please mention them in the comments section below.