7 Ways to Fix Screen Brightness Not Working In Windows 11
Windows 11 brightness not working? Apply these fixes to resolve the error

Today, we’ll show you how to fix screen brightness settings if they’re not working in Windows 11.
The most common reasons why you can’t adjust brightness are faulty graphics and monitor drivers, and corrupt system files. We’ll show you how to fix these and a couple of other possible culprits below.
Let’s get your monitor brightness exactly how you want it.
How can I fix the brightness slider if it’s not working in Windows 11?
We outlined every single step in the guideline below, but if you prefer video formats, check this out:
For more details, keep reading.
1. Disable Adaptive Brightness
How to disable adaptive brightness:
- Press Windows + I to open Settings.
- Navigate to System > Display.
- If available, toggle “Change brightness automatically when lighting changes” to Off.

Alternatively:
- Open Control Panel > Hardware and Sound > Power Options.

- Click Change plan settings next to your active plan.
- Select Change advanced power settings.
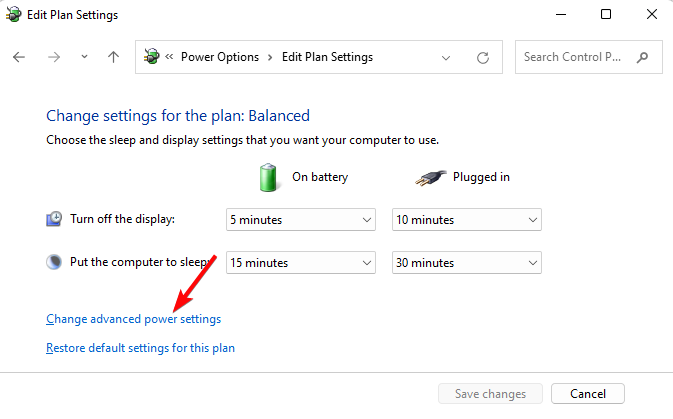
- Expand the Display section.
- Set Enable adaptive brightness to Off for both battery and plugged-in modes.
If your brightness slider is grayed out or doesn’t respond, adaptive brightness might be enabled, especially on laptops with ambient light sensors. This feature can override manual adjustments and cause brightness issues in Windows 11.
Once disabled, restart your PC and check if brightness controls work normally.
2. Reinstall the monitor driver
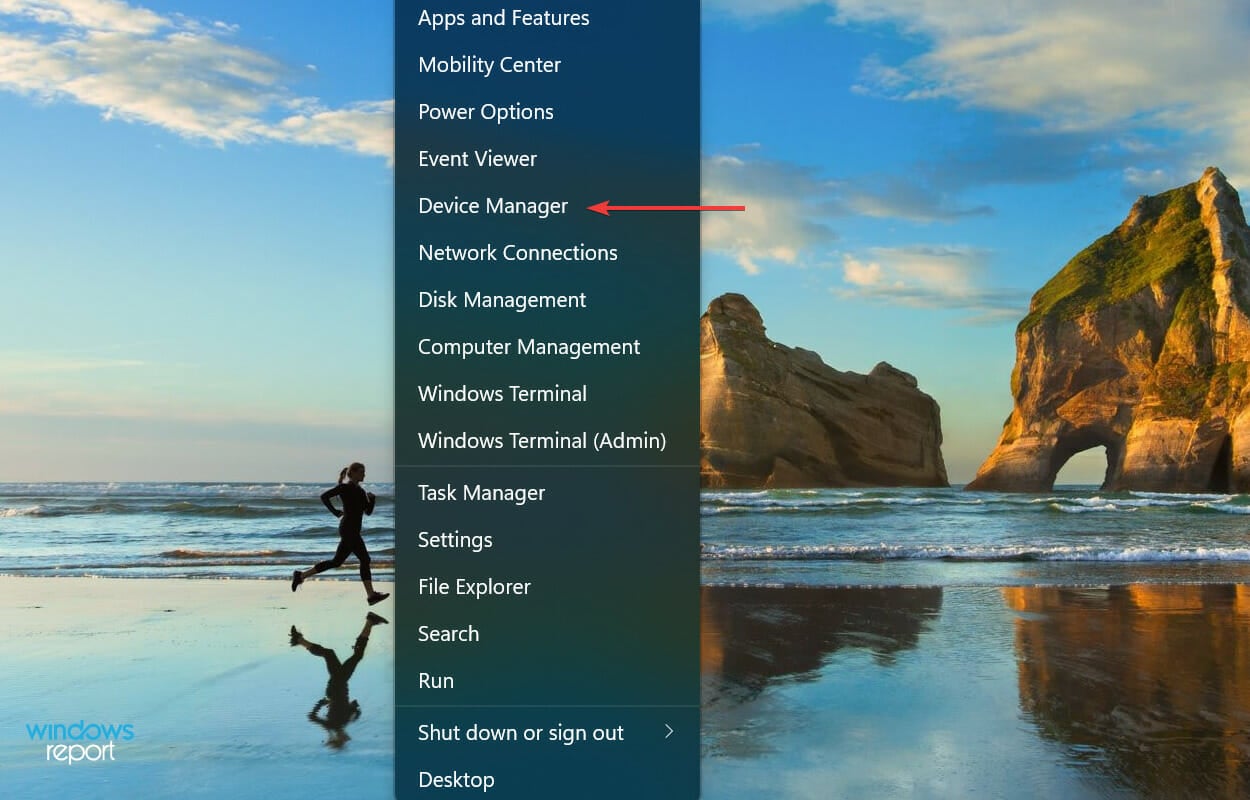
- Right-click on the Start icon and select Device Manager.
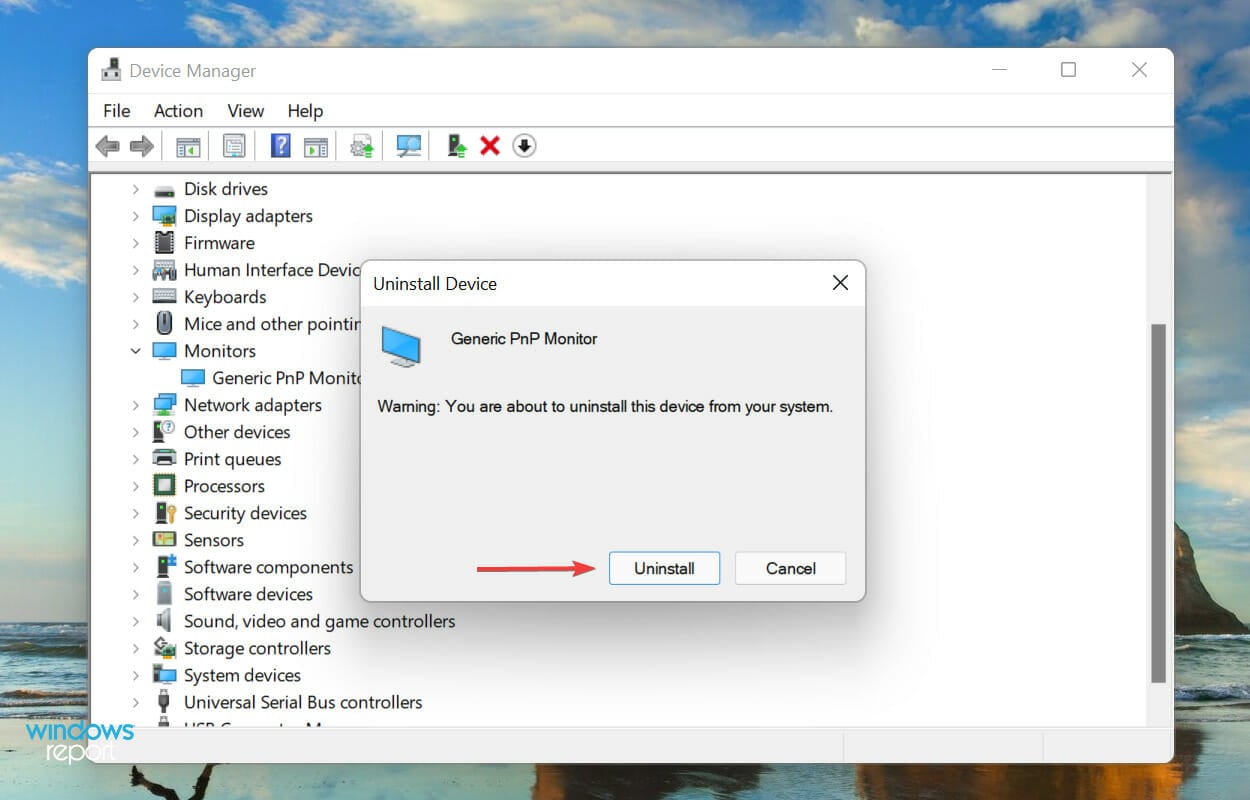
- Expand the Monitors section.

- Right-click on the Monitor and select Uninstall device from the context menu.

- Again, click Uninstall in the confirmation prompt that pops up.


3. Update the graphics driver
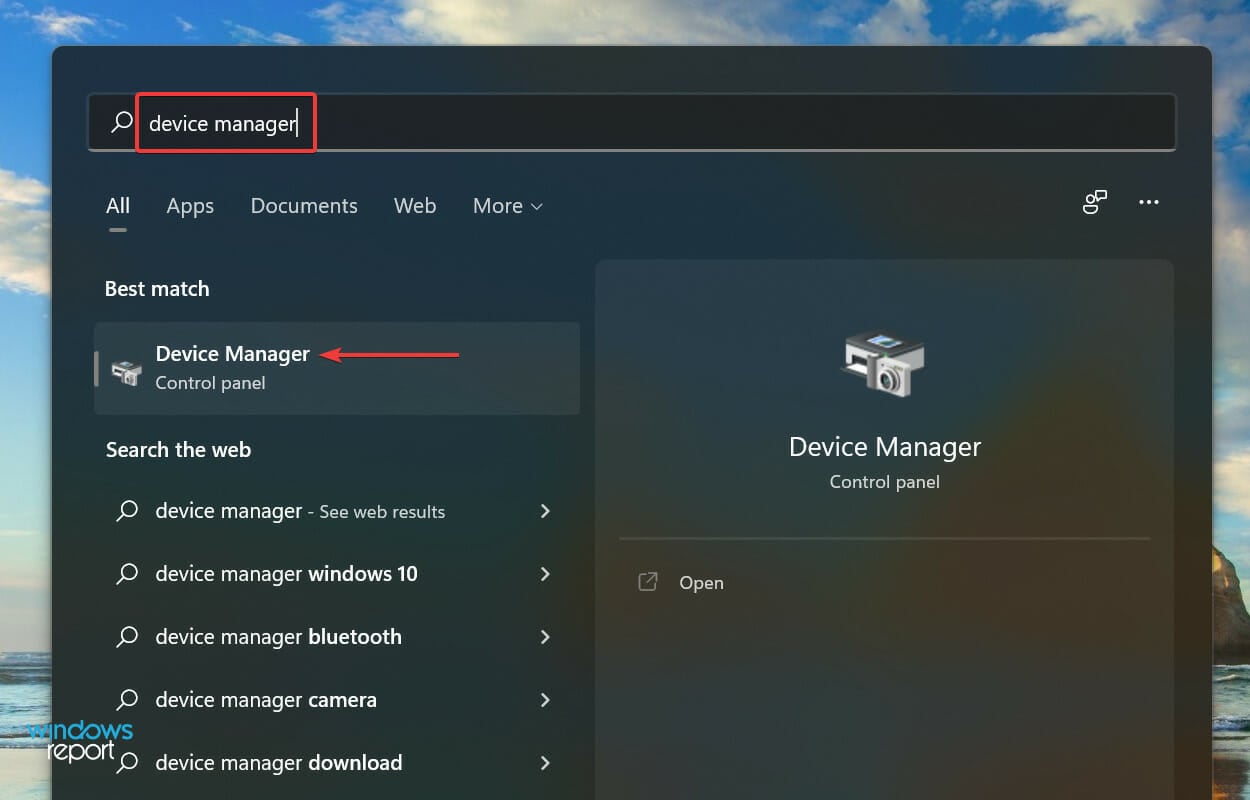
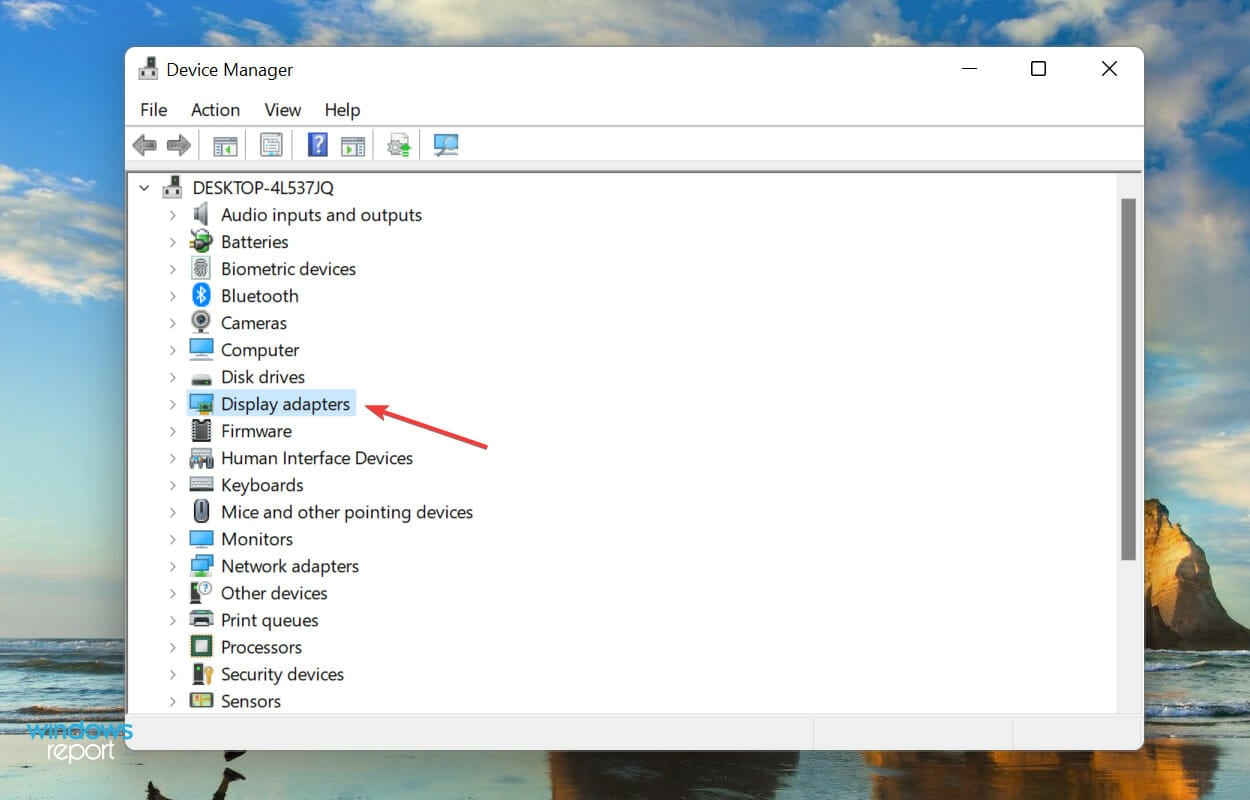
- Open the Start menu and open Device Manager.
- Double-click on the Display adapters entry.
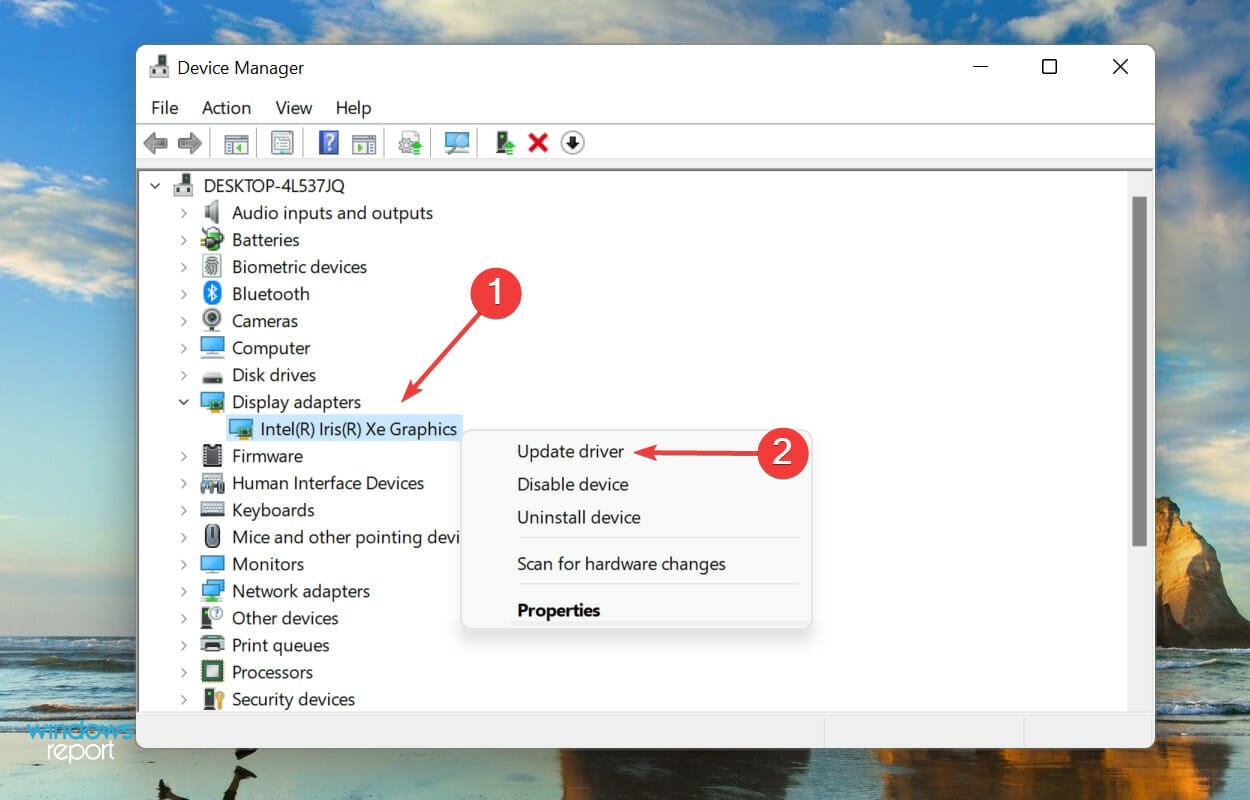
- Right-click on the graphics adapter and select Update driver from the context menu.

- Select Search automatically for drivers.
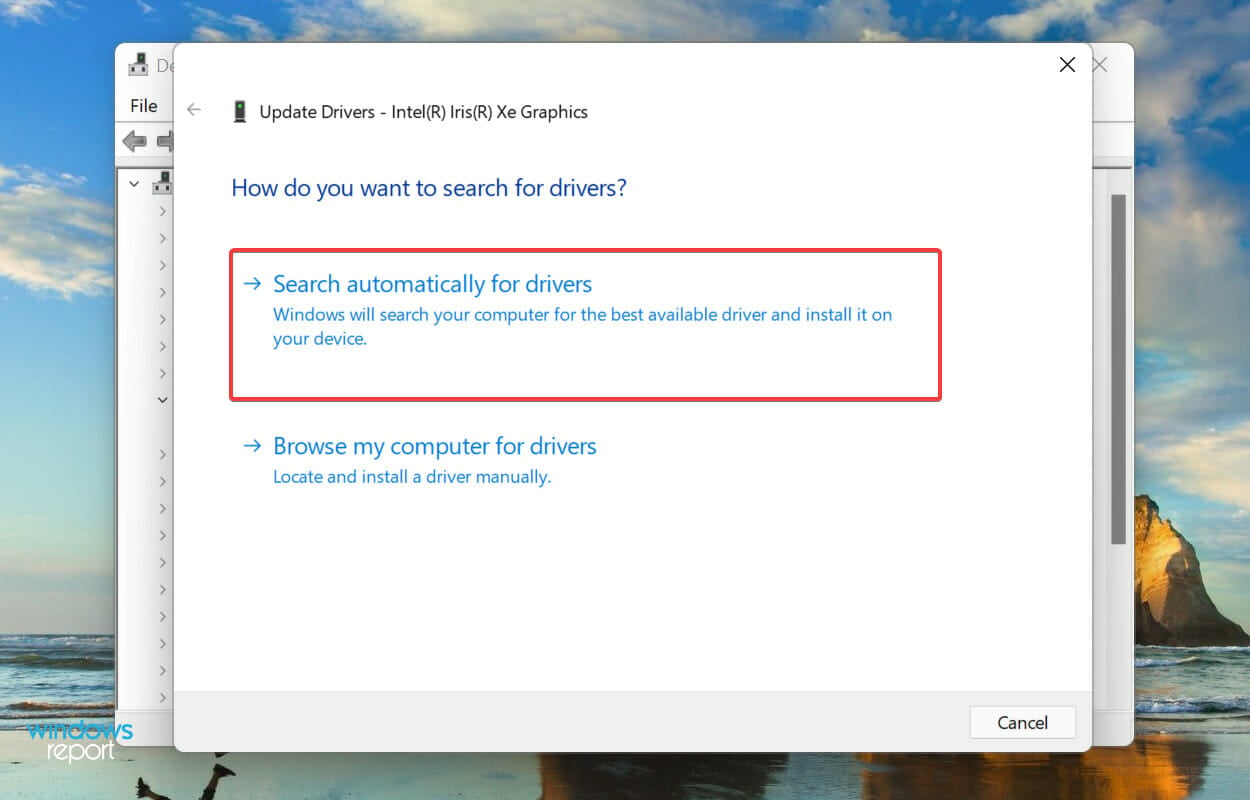
- Windows will now find the best available driver on the system and install it for the graphics adapter.


Alternatively, if Device Manager can’t find new drivers, you can use an automatic driver updater software like PC Helpsoft’s. This tool will automatically check for new drivers and install them onto your PC.
You can also check for the latest driver version in Windows Updates or manually download the setup from the official manufacturer’s website and install it.
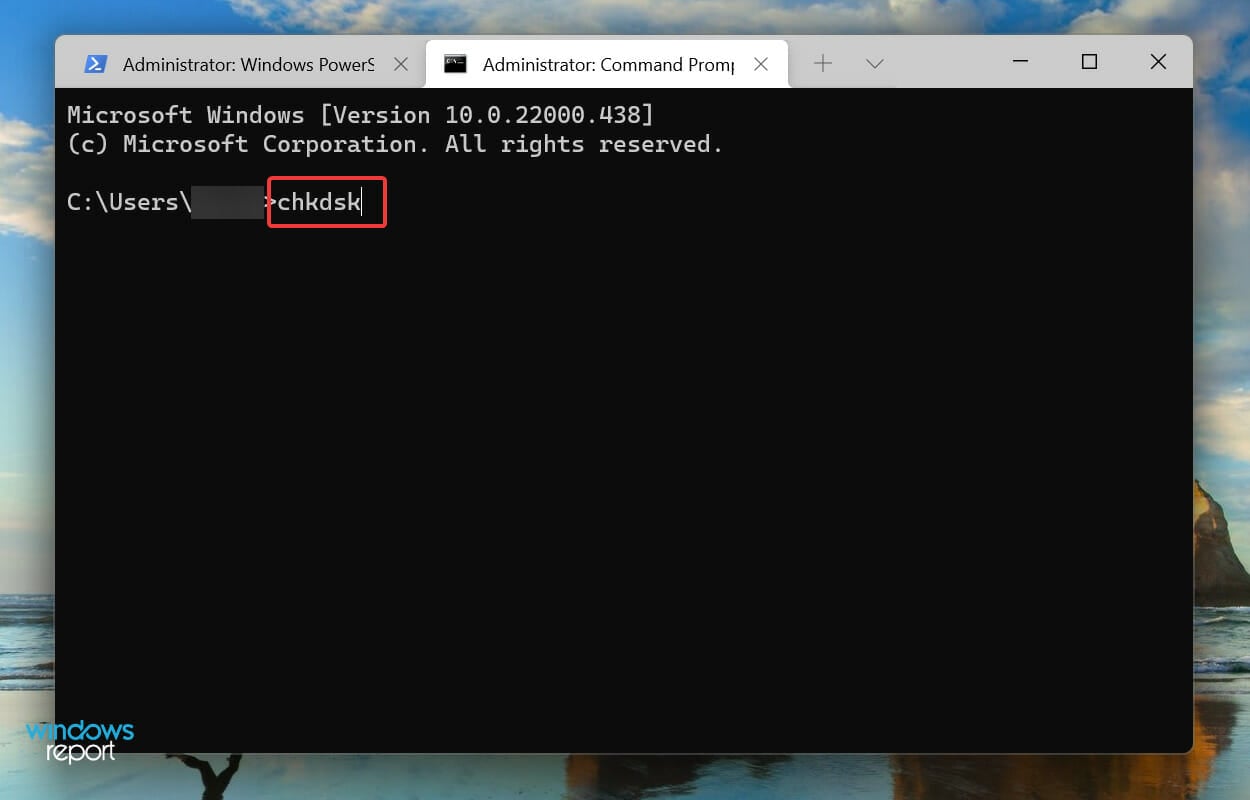
4. Perform SFC and CheckDisk scan
- Open the Search menu, type Command Prompt and select Run as administrator.

- Type the following command and hit Enter:
chkdsk
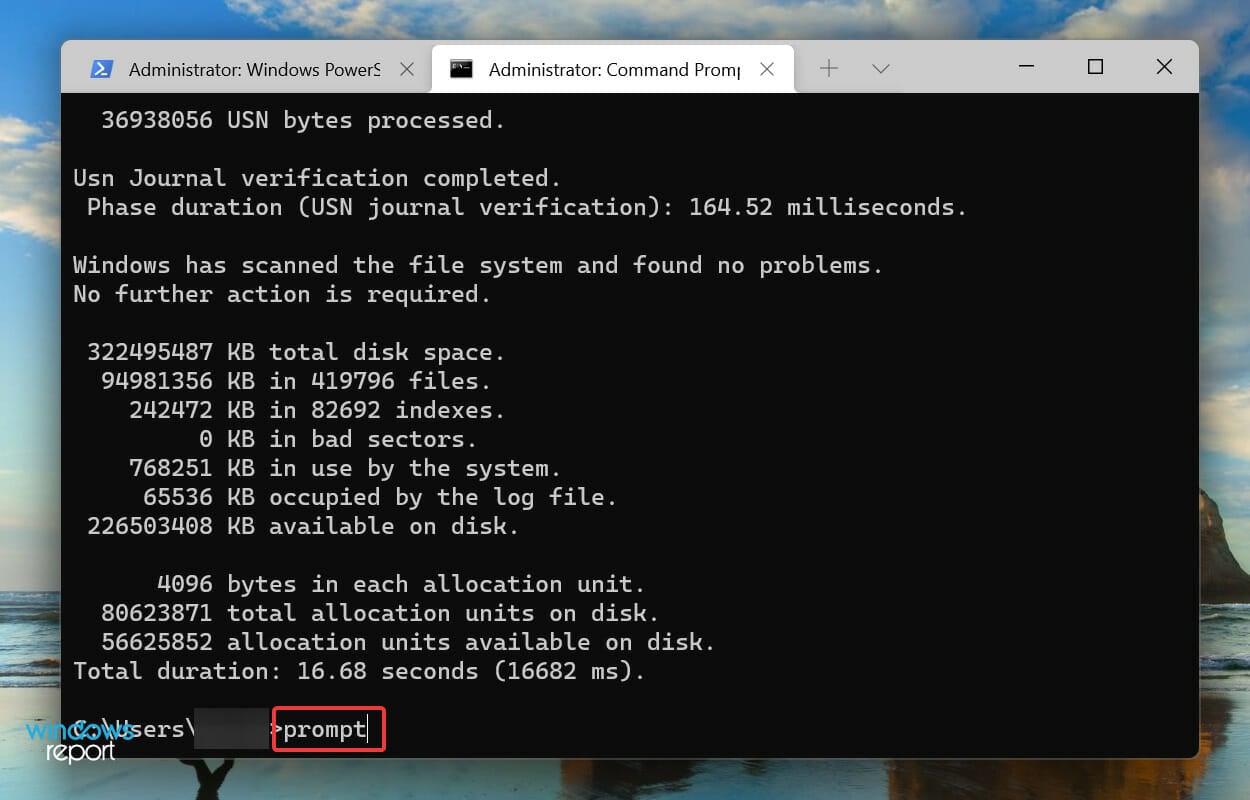
- Execute the following command:
prompt
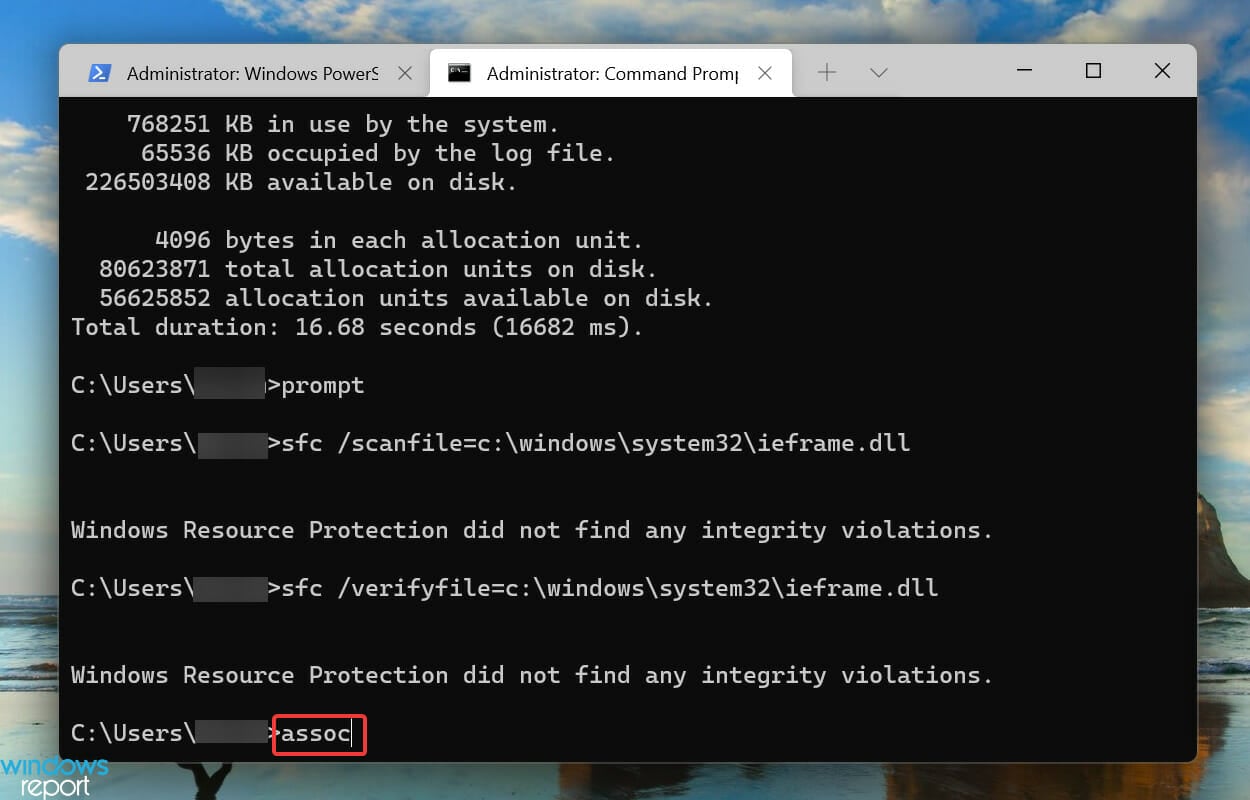
- Now, paste the following two commands and then hit Enter after each to scan and fix issues with the ieframe.dll file:
sfc /scanfile=c:\windows\system32\ieframe.dllsfc /verifyfile=c:\windows\system32\ieframe.dll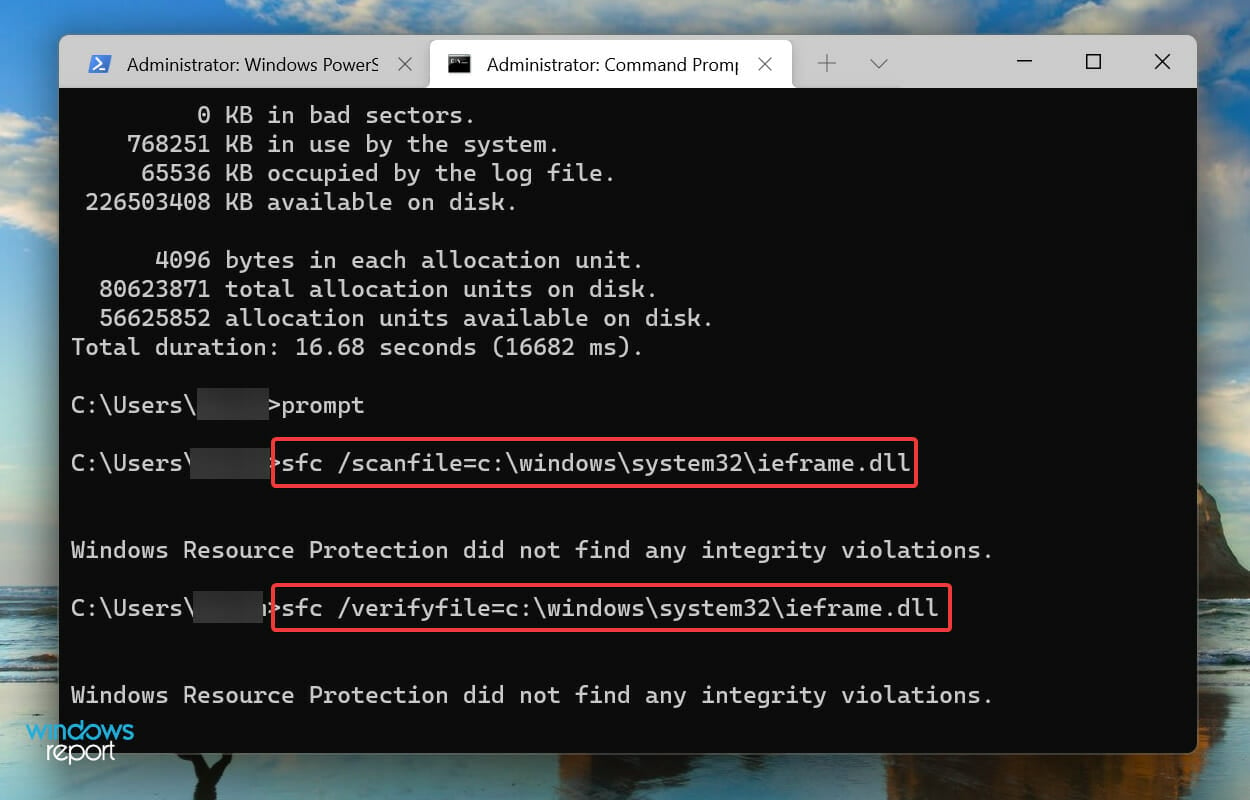
- Run the following command:
assoc
- Paste the following command and hit Enter:
sfc /scannow

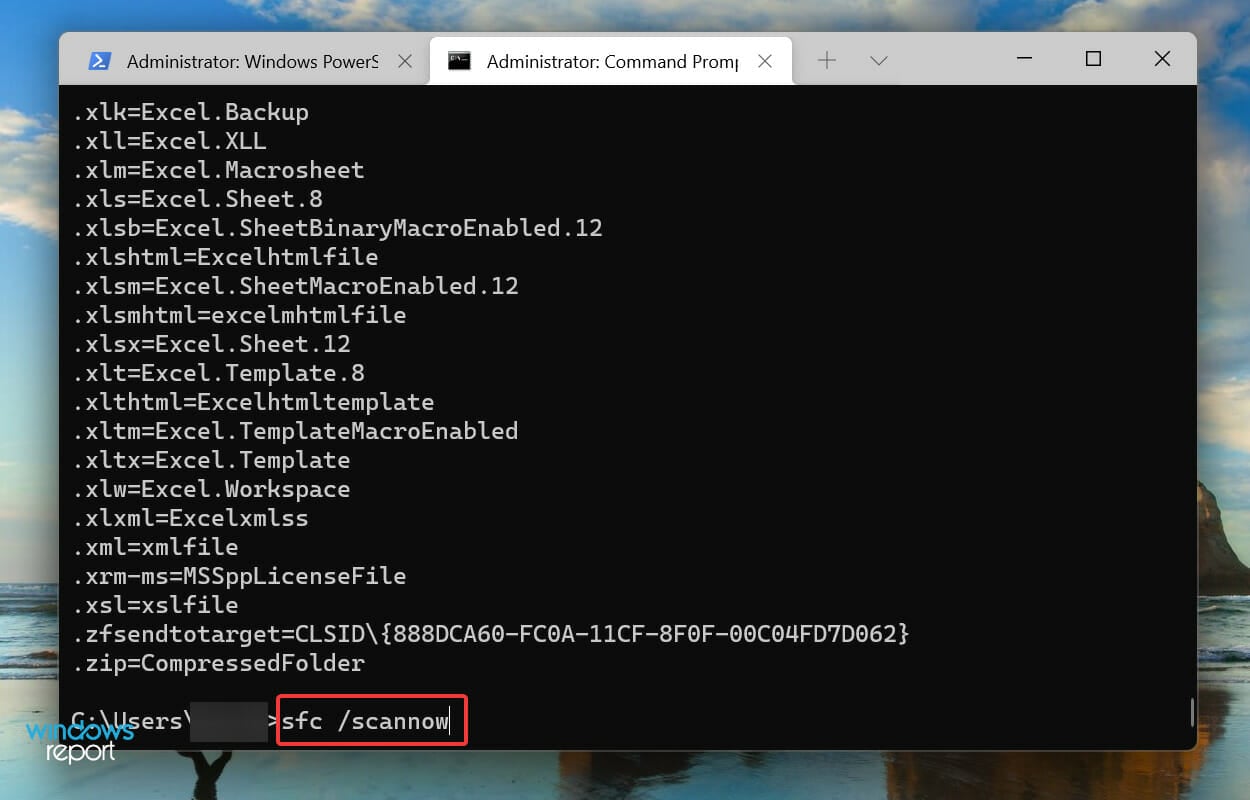
The above scans will identify problems with the ieframe.dll file and the other corrupt system files and replace them with their cached copy. After running the scans, check if the brightness slider is now working in Windows 11.
5. Update Windows 11
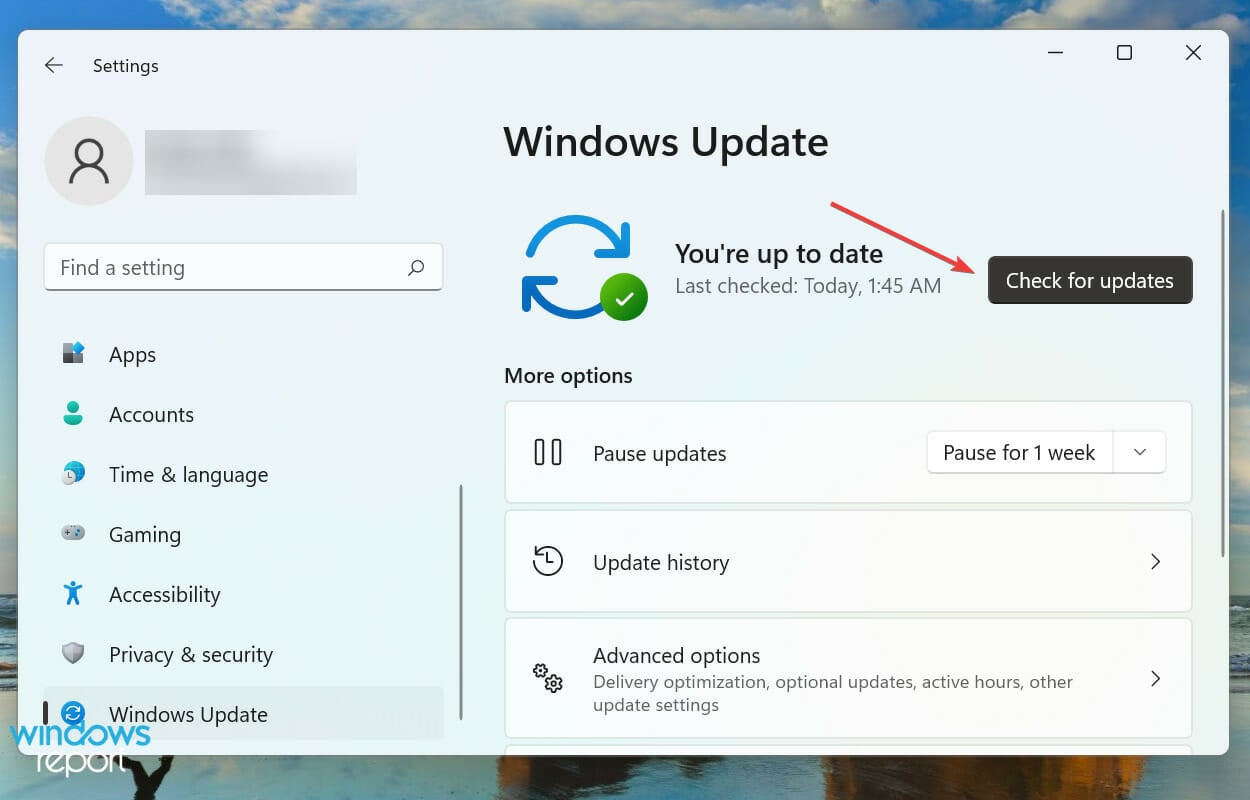
- Press Windows + I to launch the Settings app.
- Select Windows Update from the left side.

- Click on Check for updates.

- Click on the Download & install option in case any are found.


6. Perform a system restore
- Open the Start menu.
- Type Create a restore point and open it.
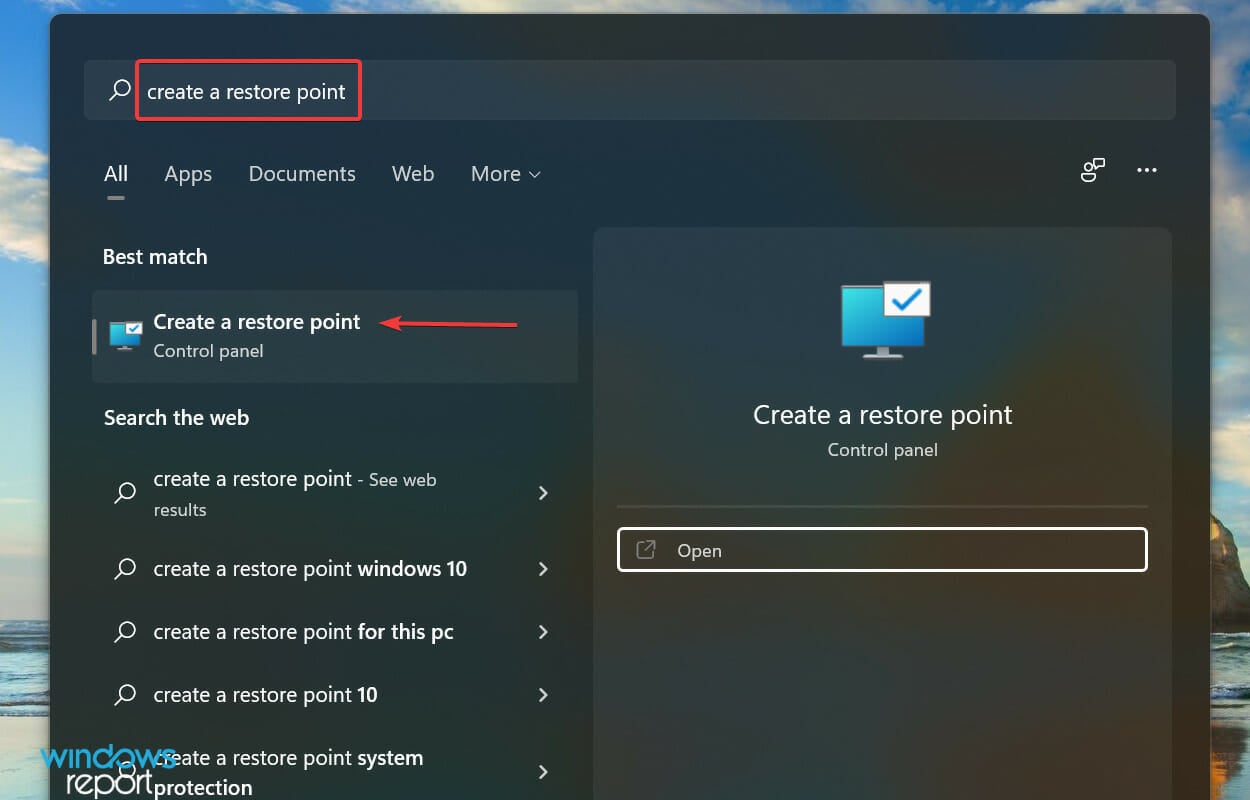
- Click on the System Restore button.

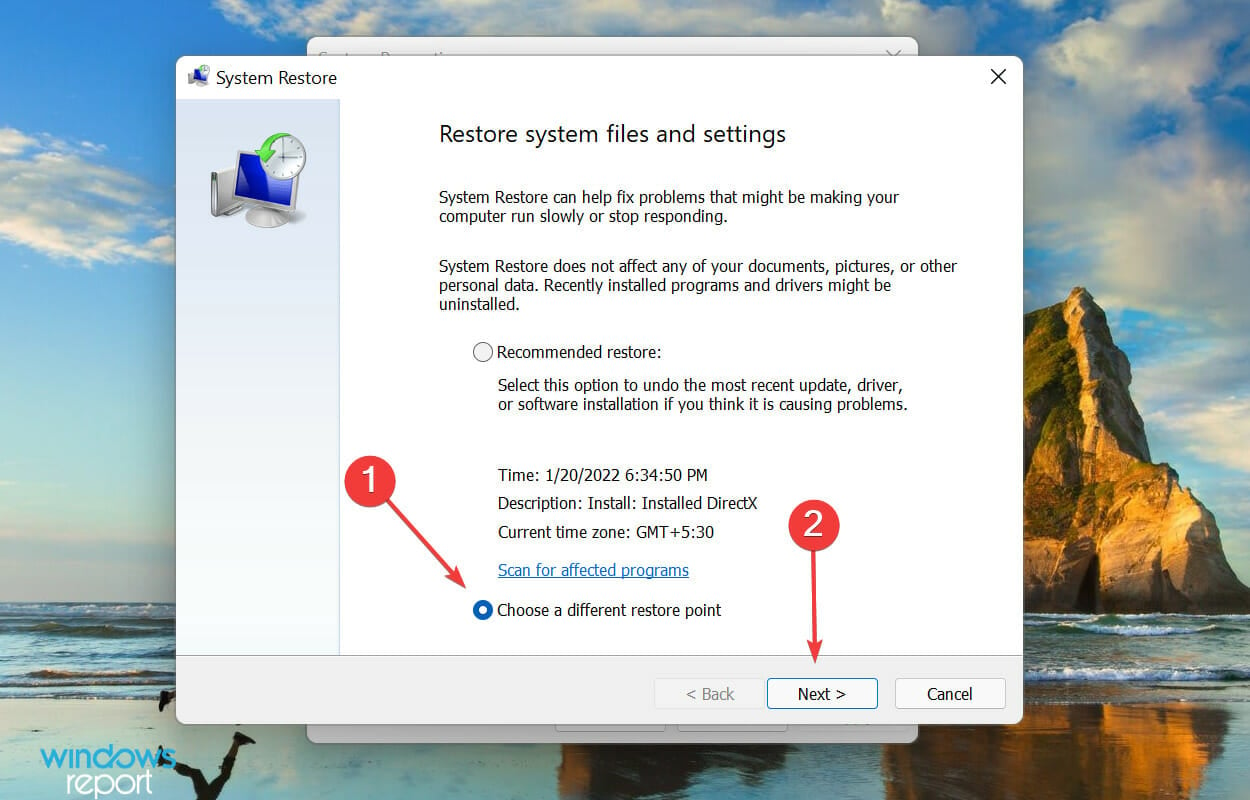
- Select the Choose a different restore point option and click on Next.

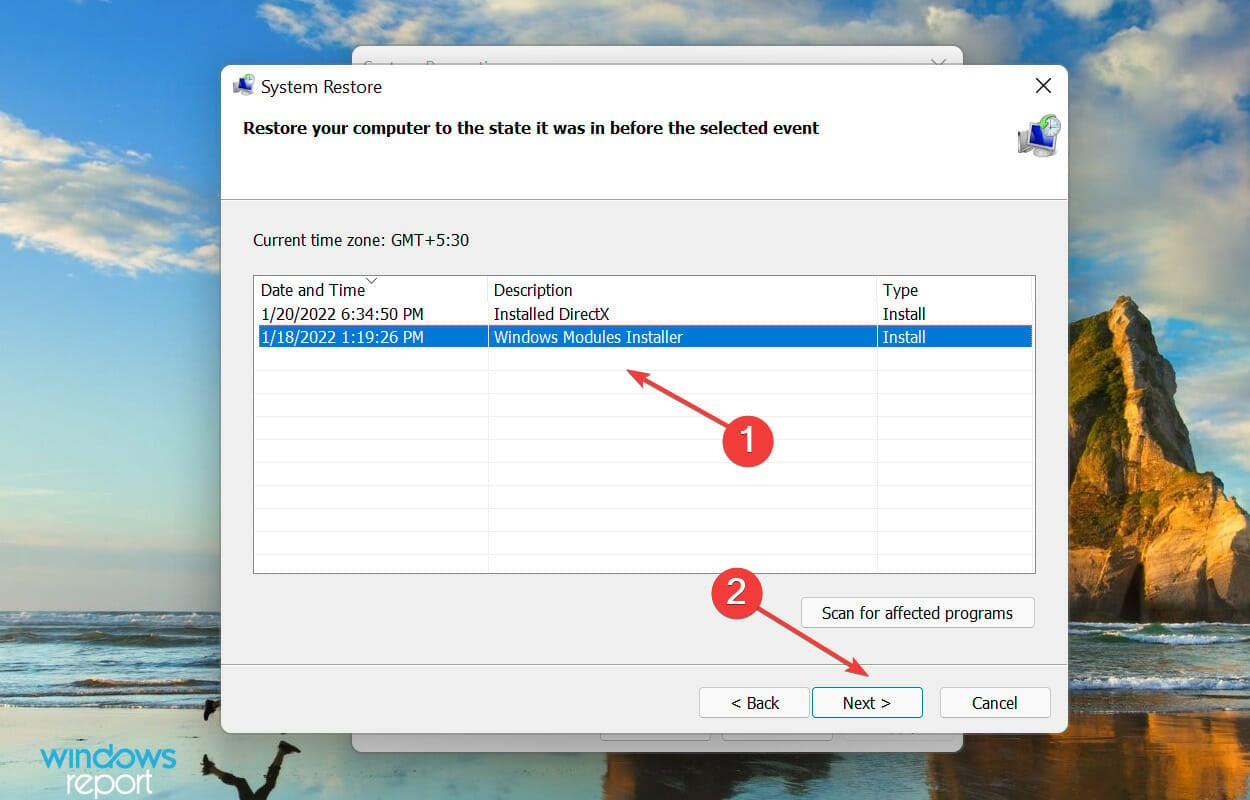
- Select a restore point from the list and click on Next to proceed.

- Verify the restore point details, and click on Finish to start the process.


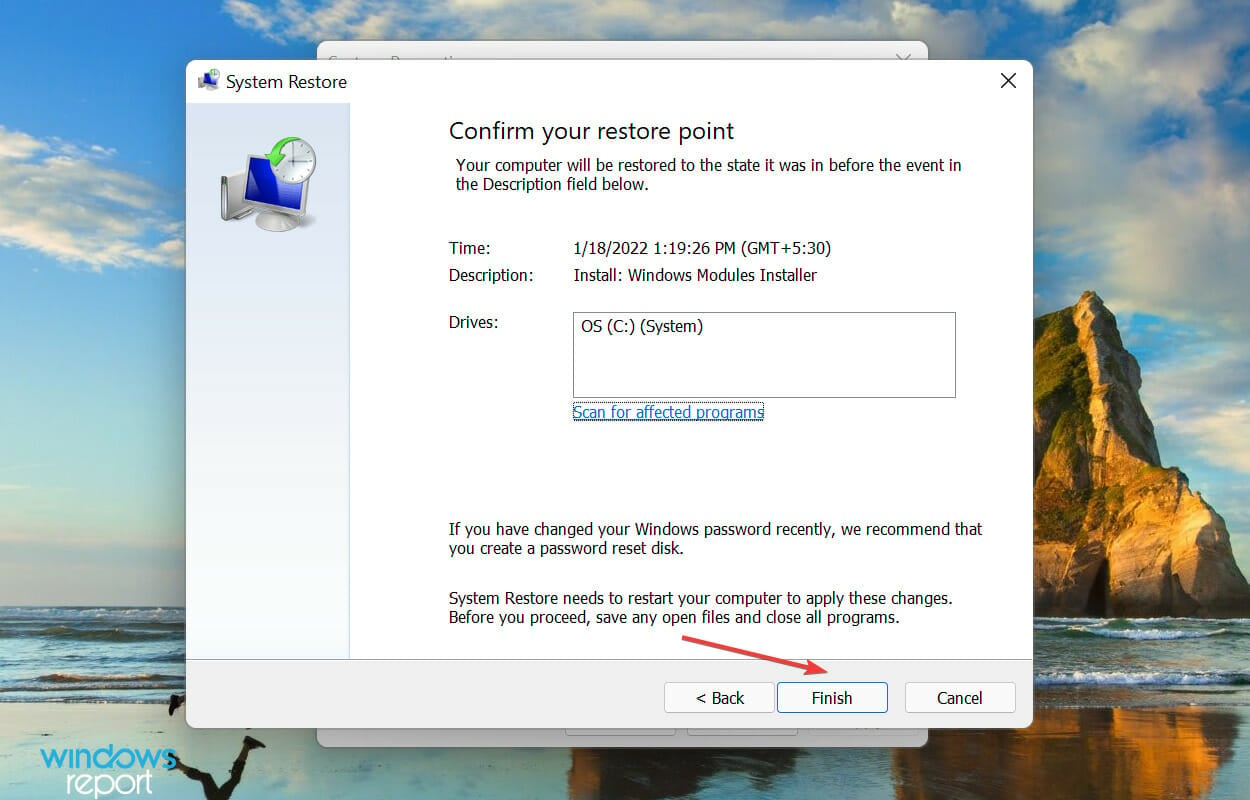
The concept of System Restore is to take the system back to a state where the error didn’t exist. But you will have to choose a restore point created before you first encountered the error.
Although Windows automatically creates them whenever undergoing any significant change, you must learn how to create a restore point in Windows 11 manually.
7. Reset display settings to default
- Right-click on the desktop and select Display settings.

- Scroll down to Advanced display settings.

- Click on Display adapter properties for your display.

- In the new window, click on the Color Management tab, then Color Management.

- Click Advanced and select Change system defaults. Reset to default settings here.

How do I stop Windows 11 from lowering brightness?
- Press the Win + I buttons to open the Settings menu.
- Select System from the left side.
- Click on Display.
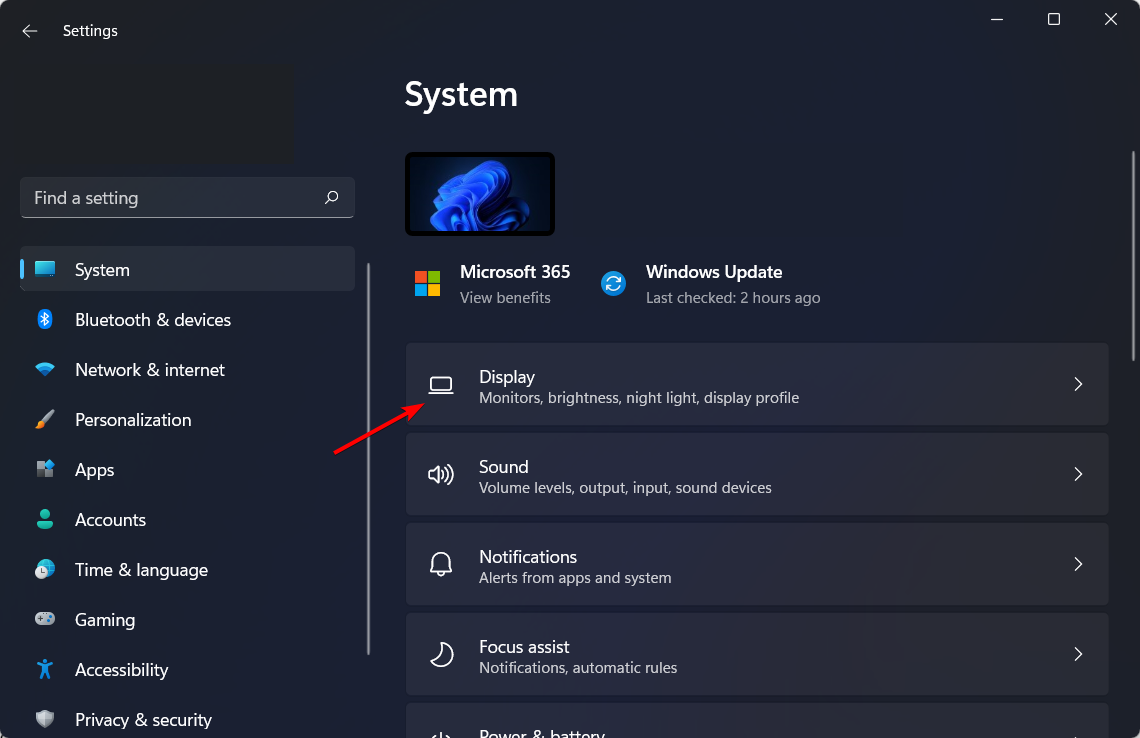
- Choose Brightness.
- Uncheck the Help improve battery by optimizing the content shown and brightness option.
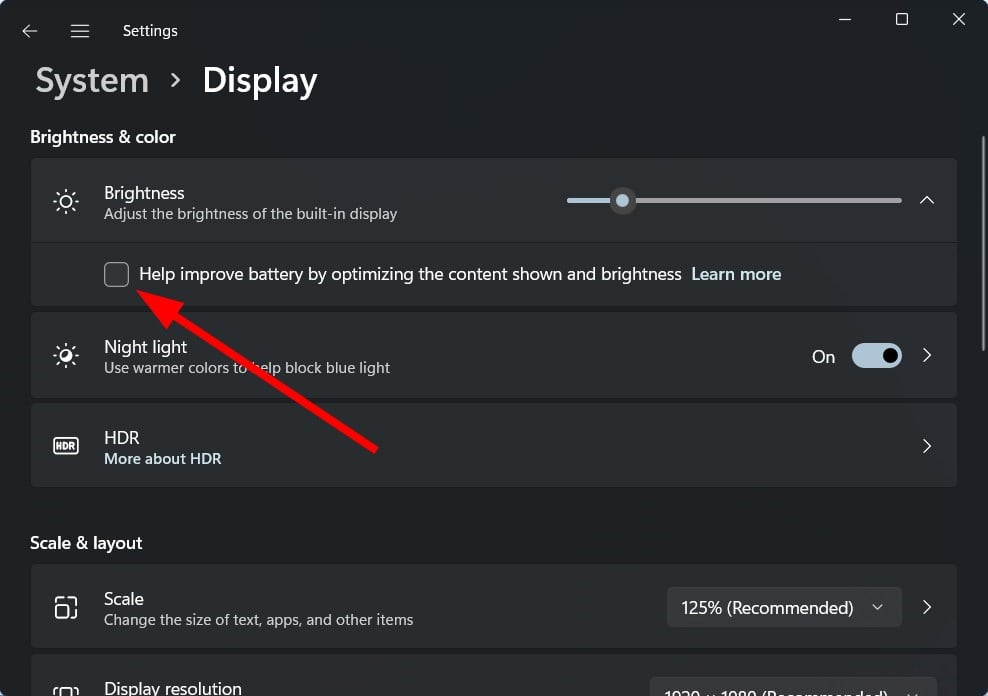
Some Windows 11 PCs can automatically adjust the brightness levels of the screen based on the content being displayed.
Following the above steps, you can quickly turn this feature off and continue with your set brightness levels.
Brightness is just the top of the iceberg
Apart from being unable to change the brightness level, several users have reported that the screen dims automatically in Windows 11. The issue arises when certain features responsible for automatically adjusting the screen brightness malfunction.
Another problem some users seem to face is the flickering screen problem, which you can resolve by following this guide for the best solutions. If you are facing the black screen issue in Windows 11, we suggest you follow our guide for the most effective methods to resolve it.
Other brightness errors you may encounter include cases where the brightness option is missing entirely from Windows 10 Settings, or situations where adjusting brightness simply doesn’t work at all.
Some users also struggle with monitor brightness changing automatically, or find that the brightness control buttons on their device stop responding.
Summary
That’s all there is to the brightness slider not working problem in Windows 11. By reaching this part of the article, the error should be eliminated, and you would also know how to troubleshoot other issues with the display.
Now that the brightness settings are accessible and working learn how to change them in Windows 11. Then, tell us which fix worked for you in the comments below.
Read our disclosure page to find out how can you help Windows Report sustain the editorial team. Read more


Improve this guide


User forum
0 messages