BSoD Code 139: How to Fix it
The reason could be outdated or corrupted drivers
![]() 6 min. read
6 min. read
![]() Updated on
Updated on
Share this article

Improve this guide
Read our disclosure page to find out how can you help Windows Report sustain the editorial team Read more
Key notes
- The BSoD 139 error occurs due to a suspicious program running in the background or incompatible software/hardware installations.
- To fix it, you need to run a malware scan, update the Windows drivers, or run SFC & DISM scans.
- To know the detailed steps, read on!
Blue Screen of Death is one of the most annoying issues that Windows users have been facing for a long time. One of the most dreaded ones is BSoD code 139.
In this guide, we will delve into common causes and discuss expert-recommended fixes to regain control of the system functionality.
What is blue screen code 139?
This BSoD Bug Check code 0x139: KERNEL_SECURITY_CHECK_FAILURE indicates that the kernel has identified the corruption of a critical data structure. Sometimes it also appears as kernel_security_check_failure (139). Here are the probable causes of the error:
- Recent software/hardware installations or updates.
- Outdated or incompatible drivers.
- Malware infection or corrupted system files.
- Memory-related issues.
How do I fix blue screen code 139?
Before proceeding with any steps to fix the BSoD error code 139, go through the following preliminary checks:
- If you are not able to boot into Windows, enter into Windows Recovery Environment.
- Check the error logs to understand the issue.
- Run a deep malware scan using a reliable antivirus tool.
- Ensure your Windows is updated to the latest version and log in using a user profile with administrator privileges, then run your PC in a clean boot state to isolate the problem.
- If you have added hardware recently, remove or replace it. Also, verify if the PSU unit is working fine and the cards, jumpers, connectors, & RAM are clean and properly seated.
1. Update your device drivers
- Press Windows + R to open the Run dialog box.
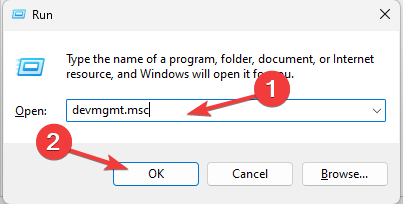
- Type devmgmt.msc and click OK to open Device Manager.
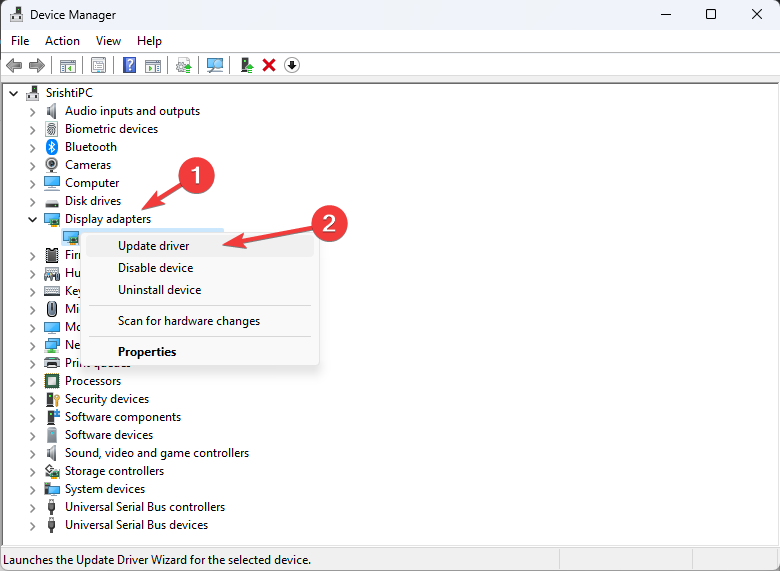
- Go to each category individually, and look for an exclamation mark in the yellow triangle on the device’s logo. If you see it, right-click the driver and choose Update driver.
- Next, click Search automatically for drivers and follow the on-screen instructions to complete the process.
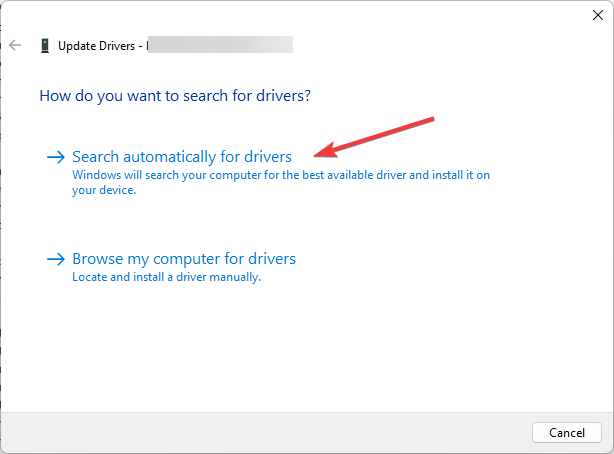
- Repeat the process if multiple drivers have the yellow triangle to resolve any driver issues.
2. Run an SFC scan
- Press the Windows key, type cmd, and click Run as administrator.
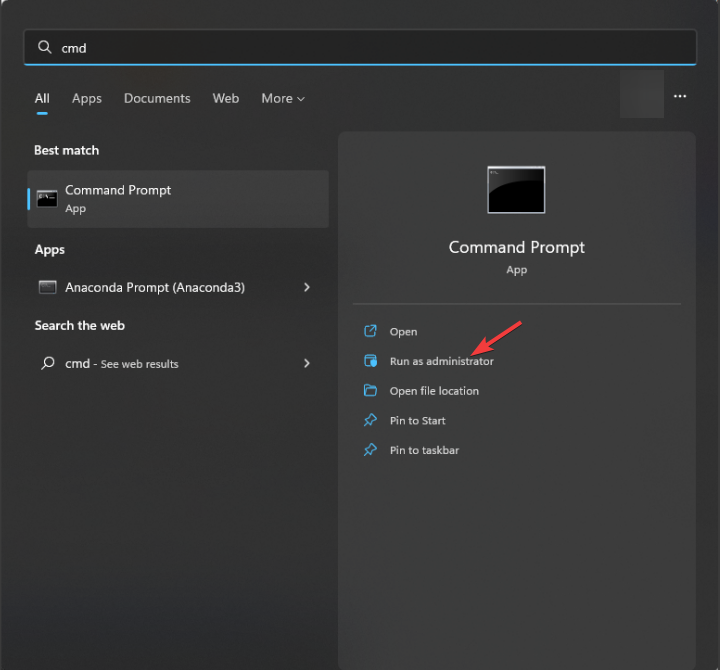
- Type the following command to identify and replace the problematic system files with a clean copy from the local cache or the original installation media and hit Enter:
sfc /scannow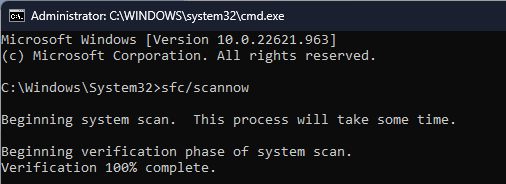
- Once the commands are executed, restart your computer to save the changes.
This whole process could be made easier by using specialized third-party software. These kinds of tools automized most of the steps described here and everything can be done with just a few clicks.
3. Run the Windows Diagnostic tool
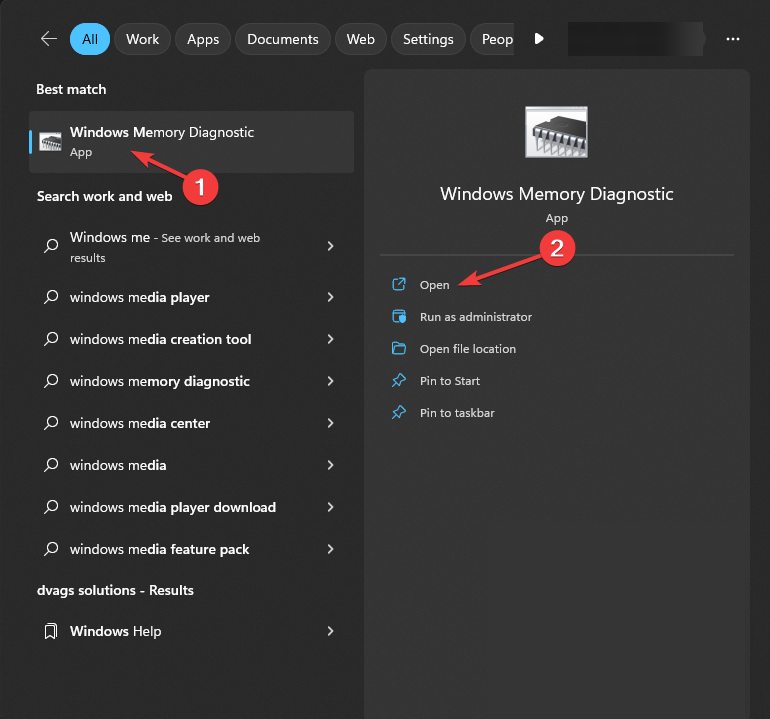
- Press the Windows key, type windows diagnostic, and click Open.
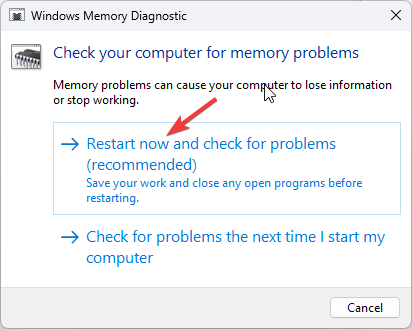
- Select Restart now and check for problems, then your computer will reboot.
- The Windows Memory Diagnostic tool will scan your system to check for issues related to the computer’s memory (RAM).
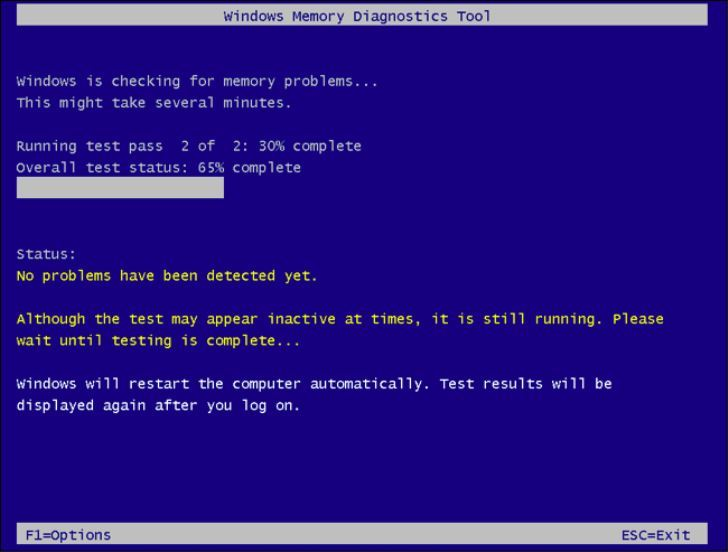
- Once the test is complete, your system will reboot and take you to the login screen.
Login, and you will get the results on the screen. If the test found issues, remove dust or debris from the RAM and ensure it is properly seated.
Run the tool again, and if it still shows errors, you might have to replace or repair the faulty RAM to fix the BSoD code 139.
4. Run the CHKDSK command
- Press the Windows key, type cmd, and click Run as administrator.
- Copy & paste the following command after replacing C with your system drive and hit Enter:
chkdsk C: /f /r /x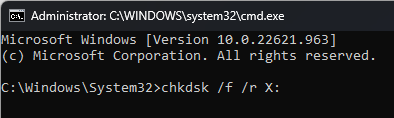
- Type Y to proceed and press Enter.
- To initiate the scan, your computer will restart. Once the scan is complete, reboot your PC again.
The scan checks the integrity of your hard drive and fixes various disk-related issues, such as Memory Management error 0x0000001A on Windows 11; read this to learn more.
5. Run the Driver Verifier to track down a misbehaving driver
Before running the utility, make sure you create a restore point and enable storing mini dump using these steps:
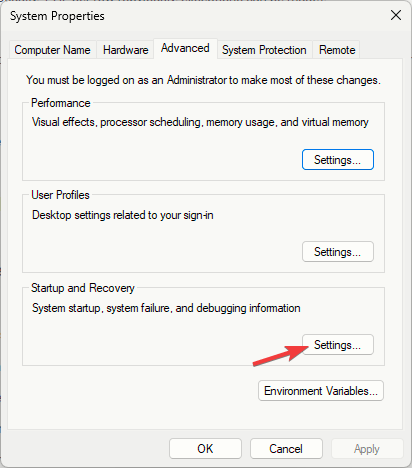
- Press Windows + R to open the Run dialog box, then type sysdm.cpl and click OK.

- Go to the Advanced tab, locate Startup and Recovery, and click Settings.
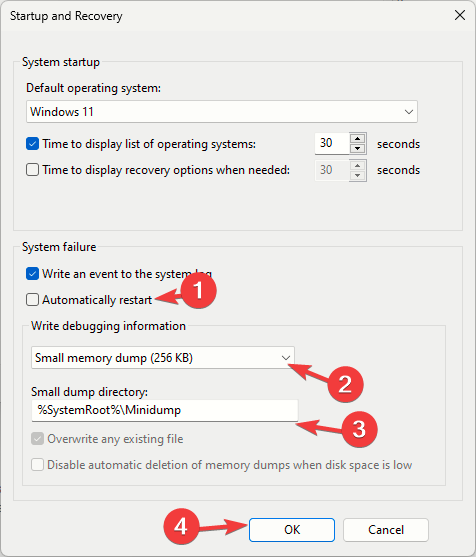
- Remove the checkmark next to Automatically restart, & for the Write debugging information option, select Small memory dump (256 KB), and set the Small dump directory to %SystemRoot%\Minidump, then click OK and restart your computer.
Once your PC is turned on, follow these steps to run Driver Verifier to scan for driver faults:
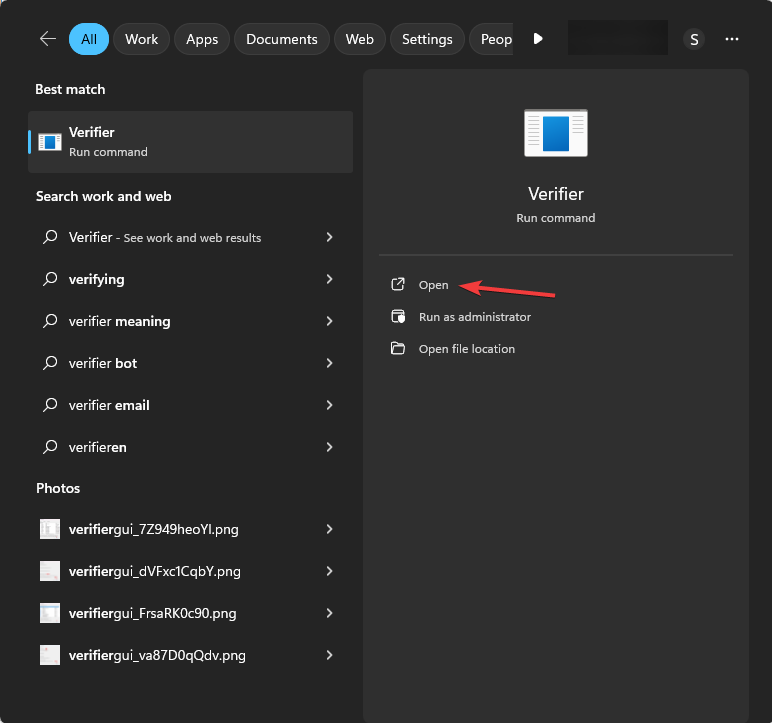
- Press the Windows key, type verifier, and click Open. Click Yes on the UAC prompt.
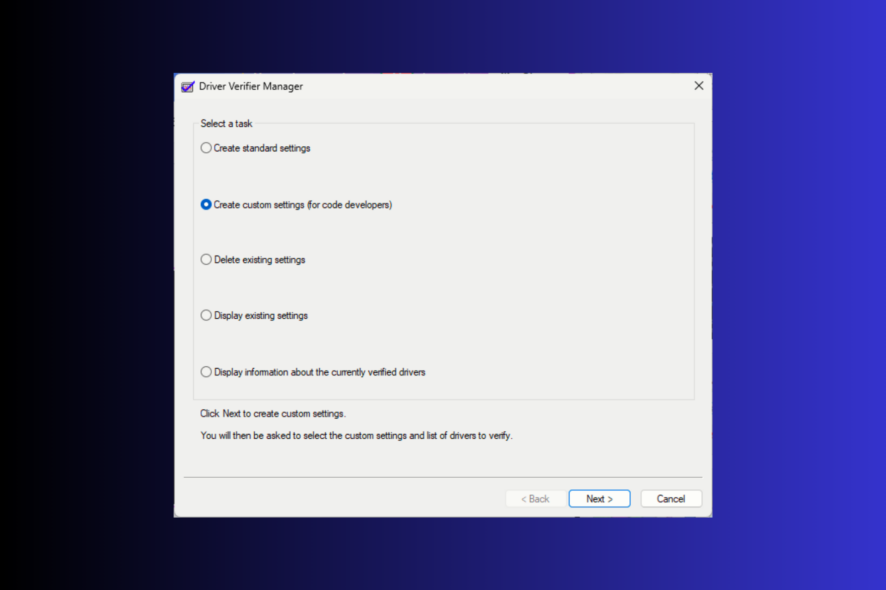
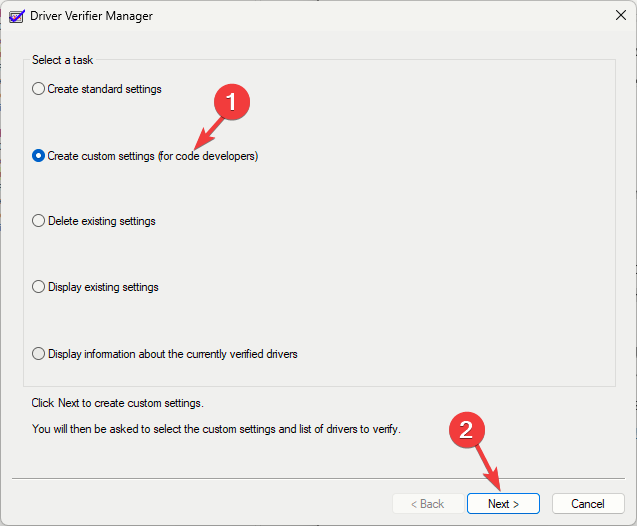
- For the Select a task page, select Create custom settings (for code developers) and click Next.
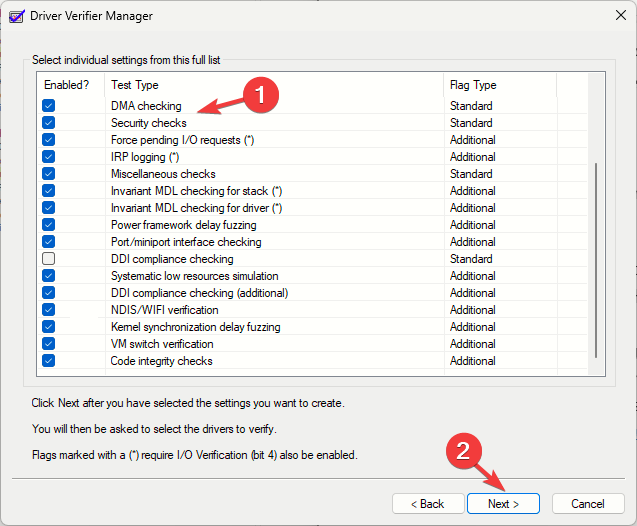
- Next, on Select individual settings from this full list page, select all the options except DDI compliance checking and randomized low resource simulation, then click Next.
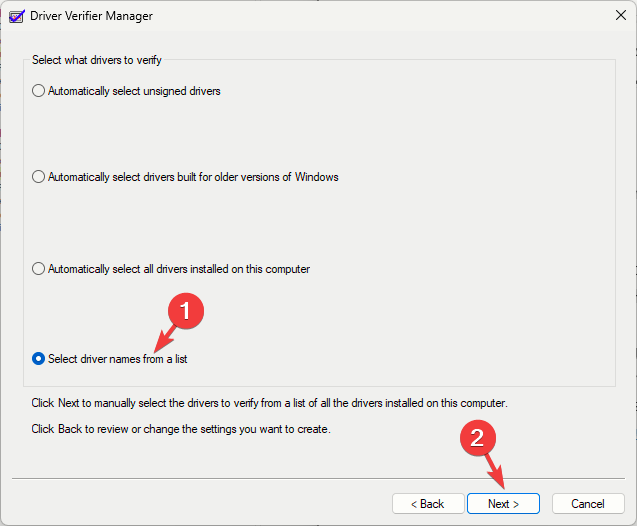
- From the Select what drivers to verify, place a checkmark next to Select driver names from the list, then click Next.
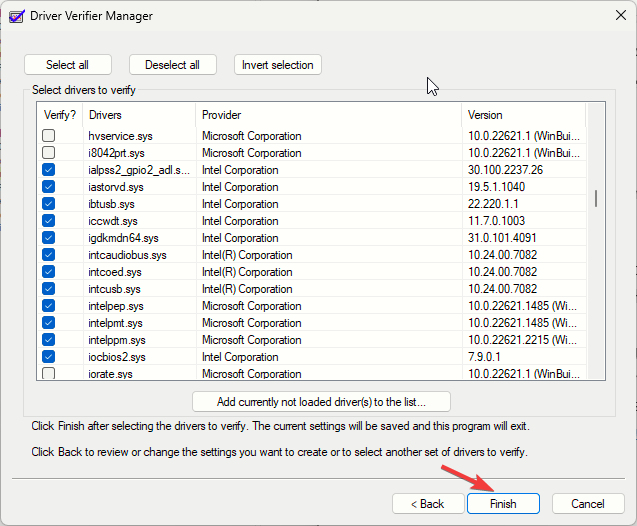
- Click Finish; then you will get a popup asking to initiate the restart; click OK, then restart your computer.
Now, you must ensure the verifier is running. To do that, follow these steps:
- Press the Windows key, type cmd, and click Run as administrator.
- Type the following command and hit Enter:
verifier /querysettings
- If it is running, you will see the list of drivers. Now reboot the system and wait for it to crash to a Blue Screen; meanwhile, you can use it normally.
- If your system crashes, it triggers a Blue Screen of Death (BSoD) with a specific error code. Note it down to find out the problematic driver.
- The Driver Verifier will also store all information about the crash in a dump file; you can read the log files using the Windows debugger tool.
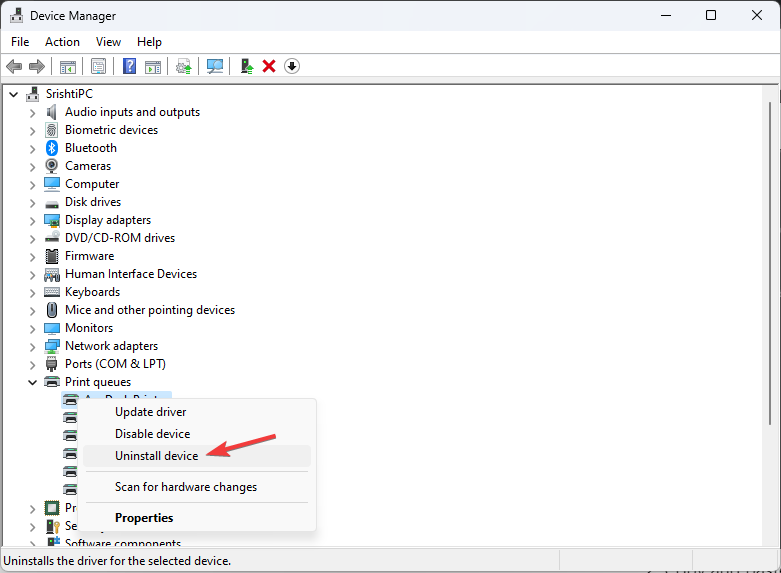
Next, to reinstall the problematic driver, then disable the Driver Verifier using Command Prompt, follow these steps:
- Press Windows + R to open the Run dialog box.
- Type devmgmt.msc and click OK to open Device Manager.
- Go to the driver, right-click it, select Uninstall device, then restart your computer to reinstall it.
- Once your computer is up, open Command Prompt with administrator rights and type the following command, then hit Enter:
verifier /reset
- Reboot your computer normally.
In case you are still encountering the BSoD error code 139, restore your PC to the last known good configuration.
To avoid BSoD errors, always keep your drivers and Windows up to date and install only the software and hardware compatible with your device.
If you have any questions or suggestions about the subject, feel free to mention them in the comments section below.