Change the Administrator Account in Windows 11 [5 Quick Ways]
Simple and surefire ways to get administrative rights on your PC
Key notes
- To change the administrator in Windows 11, you need to modify some user account settings from the Settings app.
- Various built-in applets can be used to adjust your Windows account settings.
- You may also change the administrative account from the PowerShell and Command Prompt command line.
There are multiple user types on Windows, each with different permissions. Out of all available groups, the administrator group has the most privileges. Sometimes, to make certain changes on your PC, you need to have the maximum rights.
If you want to change your current account settings and give it additional privileges, this is possible in Windows 11 and the process isn’t that much different when compared to the one of making yourself an administrator in Windows 10.
Why don’t I have admin rights on Windows 11?
If you don’t have admin rights on Windows 11, it might be because you are using a standard account instead of an administrator account.
Also, if you are using a PC owned by your company, the admin rights might be disabled by your organization.
Should I use an administrator or a standard account?
Administrators have full and unrestricted access to system files, and they can install applications. However, this isn’t without security concerns.
If your PC were to get infected by malware, it could spread with almost no restrictions and perform whatever it wants if it infects a user with maximum access rights.
By using a standard account, the malware won’t be able to run without extra permissions, so the chance of getting infected is smaller.
Therefore, many experts recommend using a Windows 11 local account and enabling the administrator account only when necessary. You can also assign elevated privileges, which is different from an administrator account, but it comes with its own share of risks.
Even more, for an extra layer of protection, we highly recommend installing a Windows 11 compatible antivirus.
How can I change the administrator account in Windows 11?
1. Use the Settings app
- Click the Start button in the Taskbar.
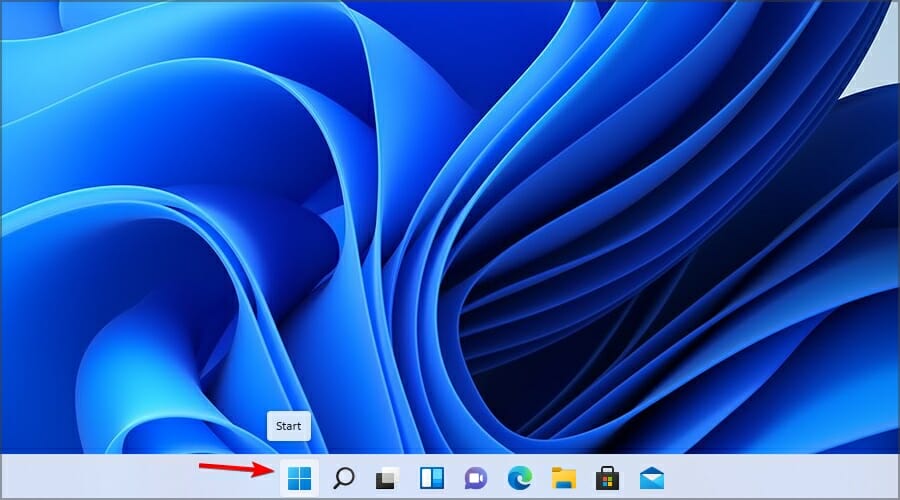
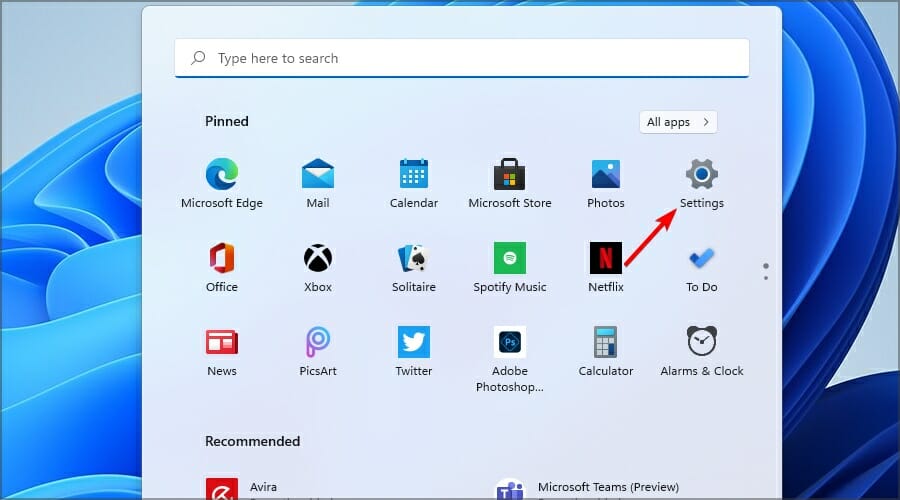
- Select Settings.
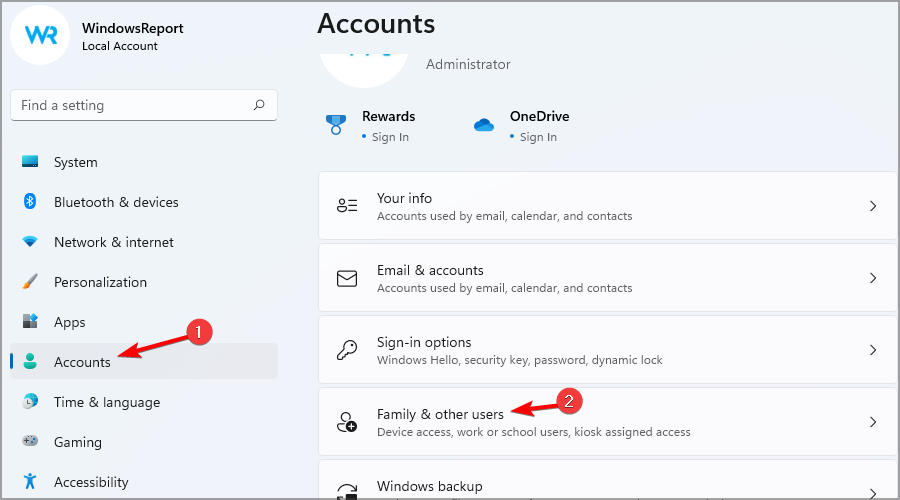
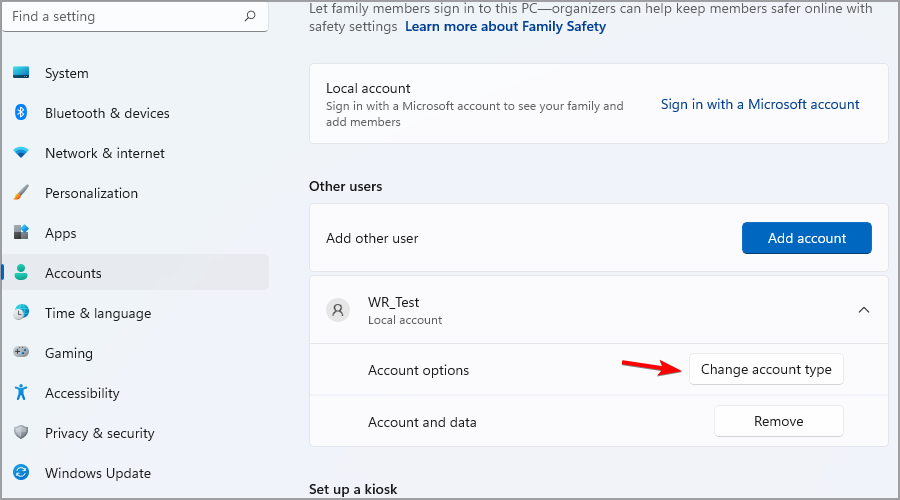
- Now go to the Accounts section and choose Family & other users.
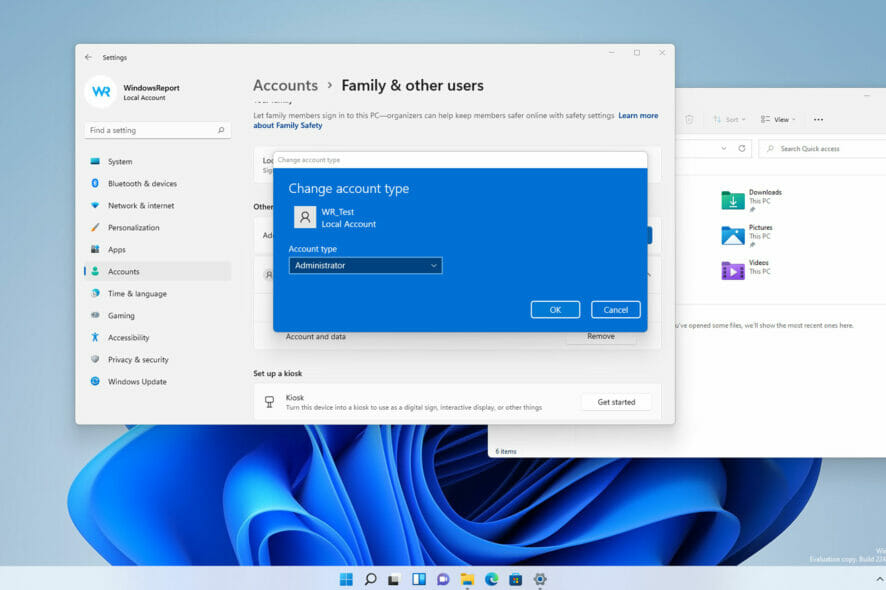
- Select the account that you want to change to administrator and click on Change account type.
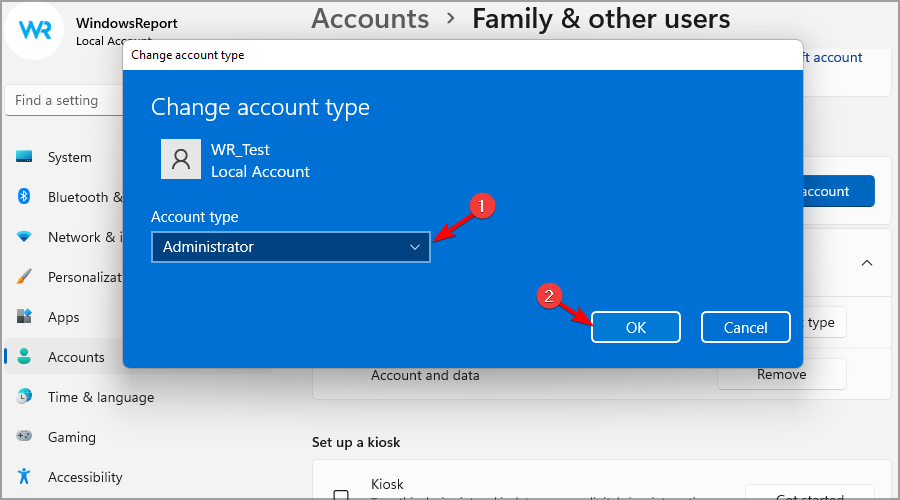
- Set the Account type to Administrator and click OK to save changes.
If the Settings app fails to work, you can fix the issue by using the command-line tool and running a few commands, as described in this guide on what to do if the Settings app crashes in Windows 11.
Need sign in steps after changing roles? See how to log in as Administrator on Windows 11 for a quick walkthrough.
2. Use Control Panel
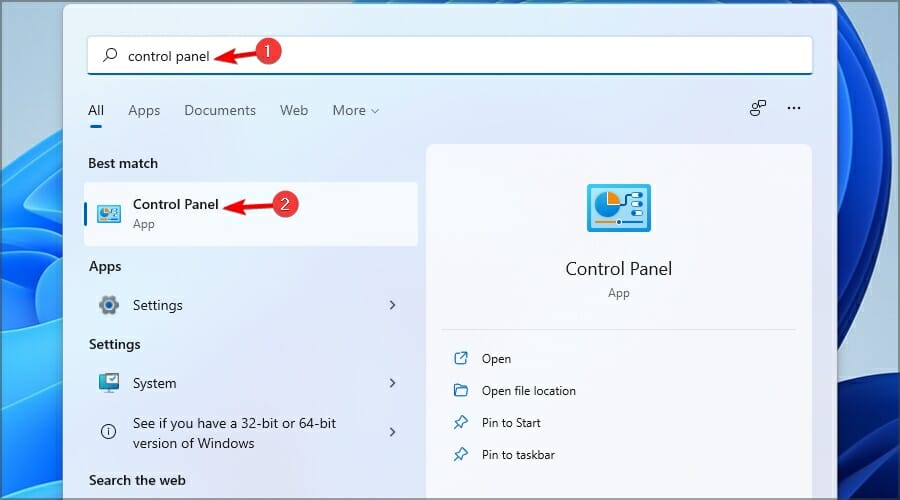
- Click the Search icon in the Taskbar.
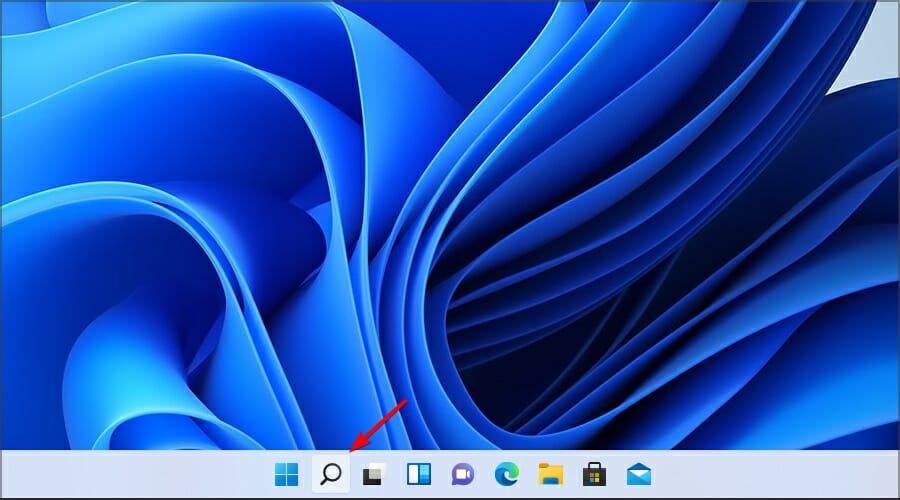
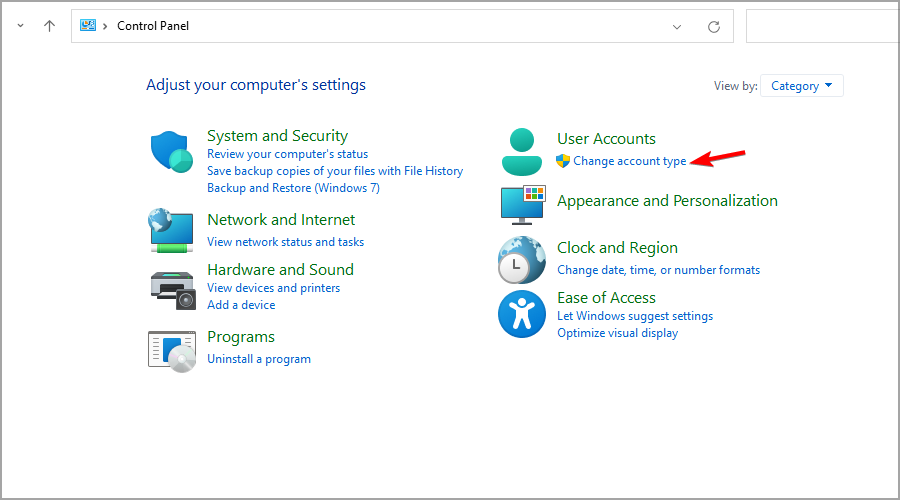
- Type control panel and select Control Panel from the list of results.
- Now select Change account type.
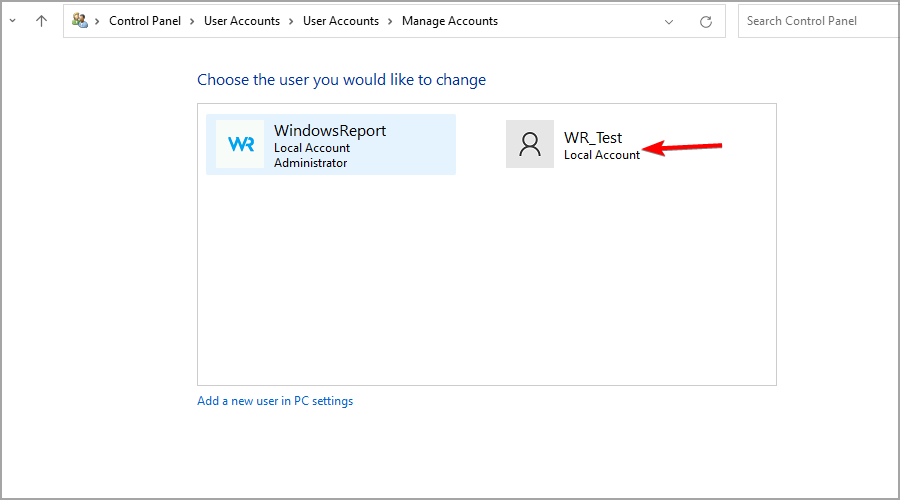
- Choose the account that you want to change.
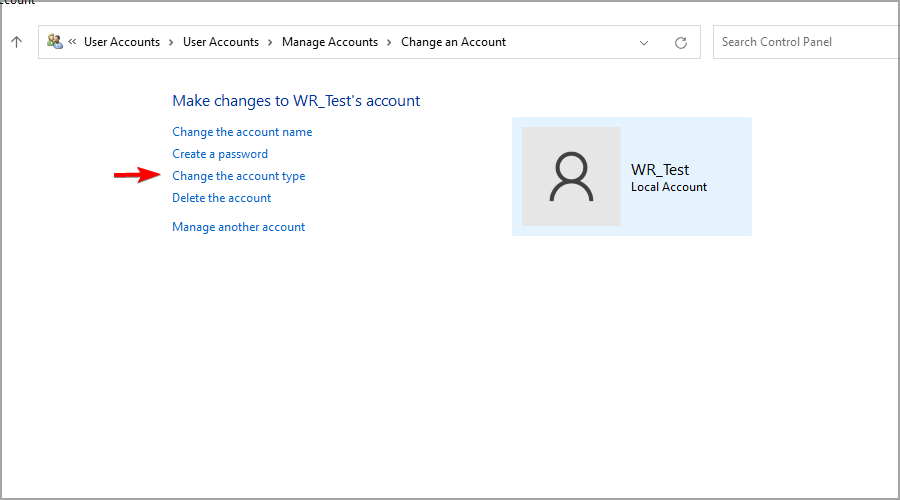
- Now select Change the account type.
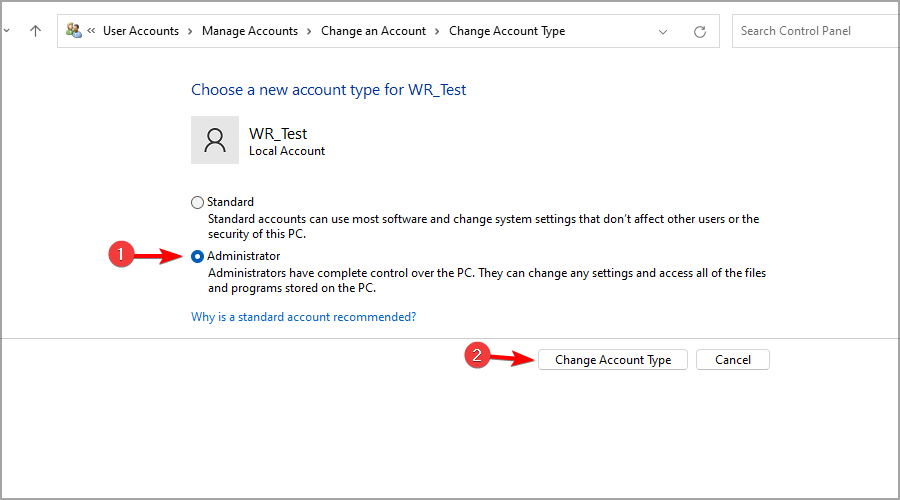
- Choose Administrator and click on Change account type.
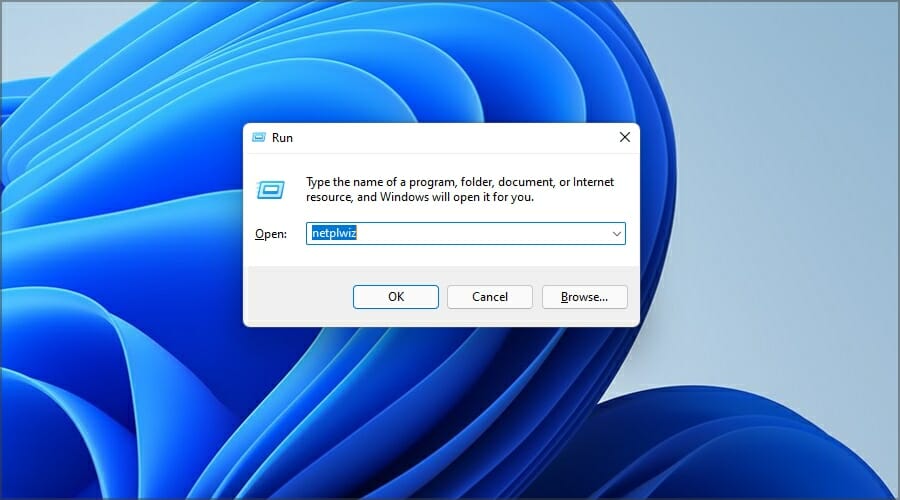
3. Use the netplwiz command
- Press Windows key + R and enter netplwiz. Press Enter.
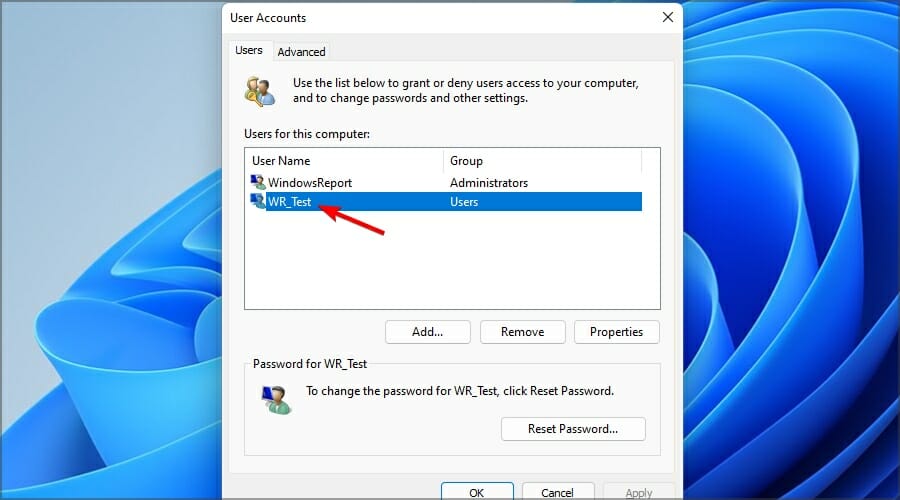
- Double-click the account that you want to change.
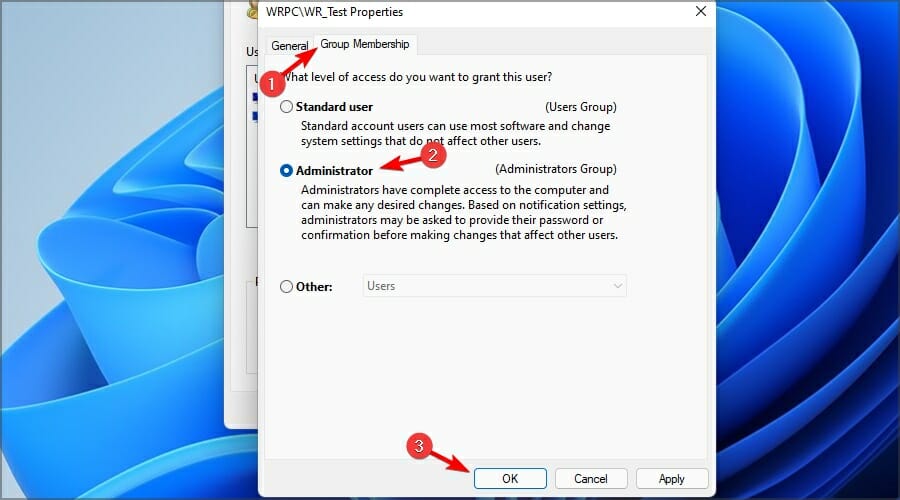
- Navigate to the Group Membership tab. Now select Administrator and click on Apply and OK.
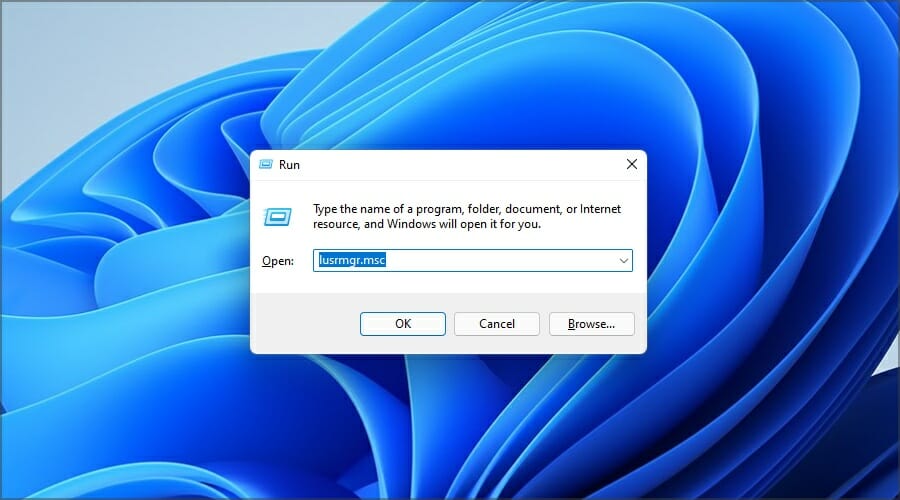
4. Use the lusrmgr command
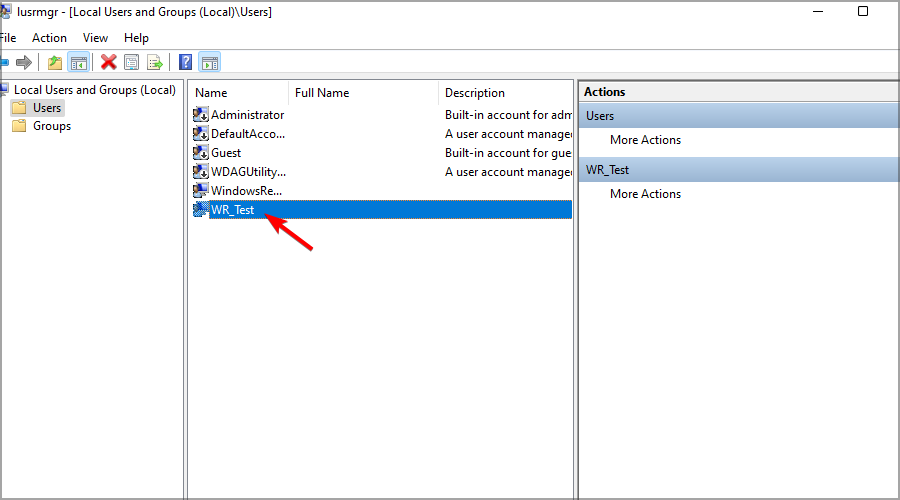
- Press Windows key + R, enter lusrmgr.msc, and hit Enter.
- Select your user account and double-click it.
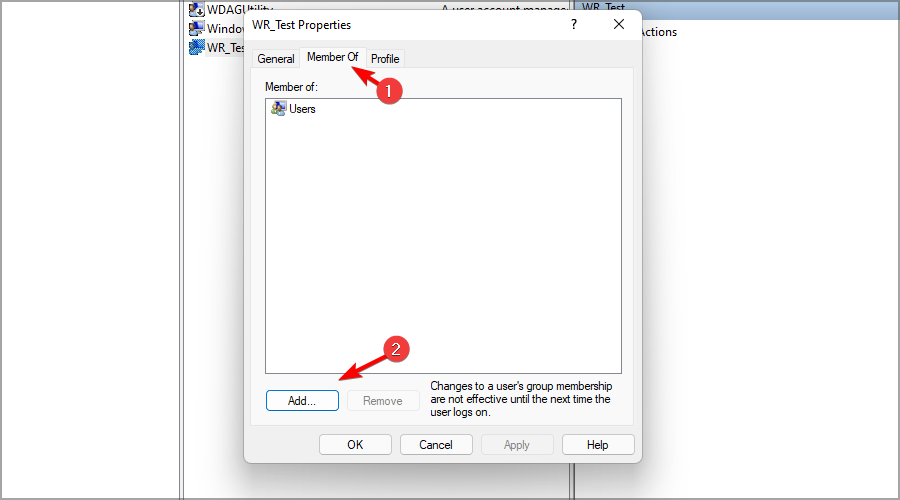
- Navigate to the Member Of tab and click on Add.
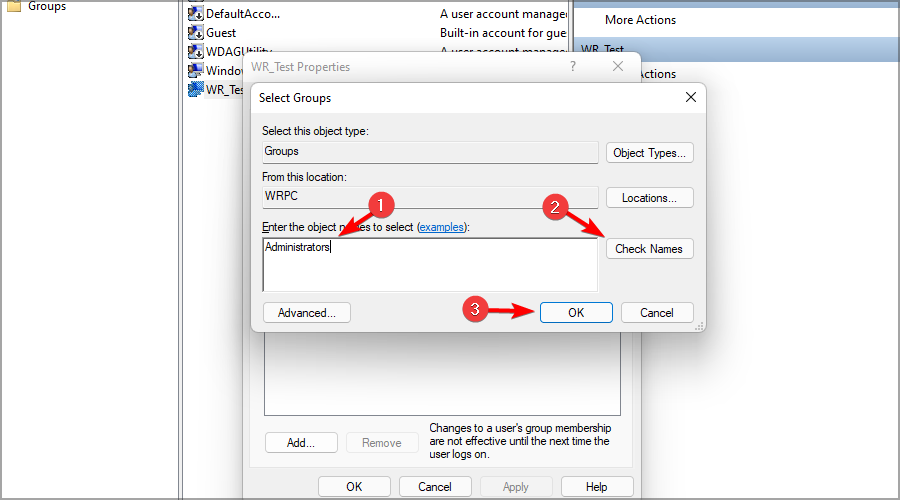
- Enter Administrators in the input field and click on Check Names. The input will now change if the name is good. Click OK.
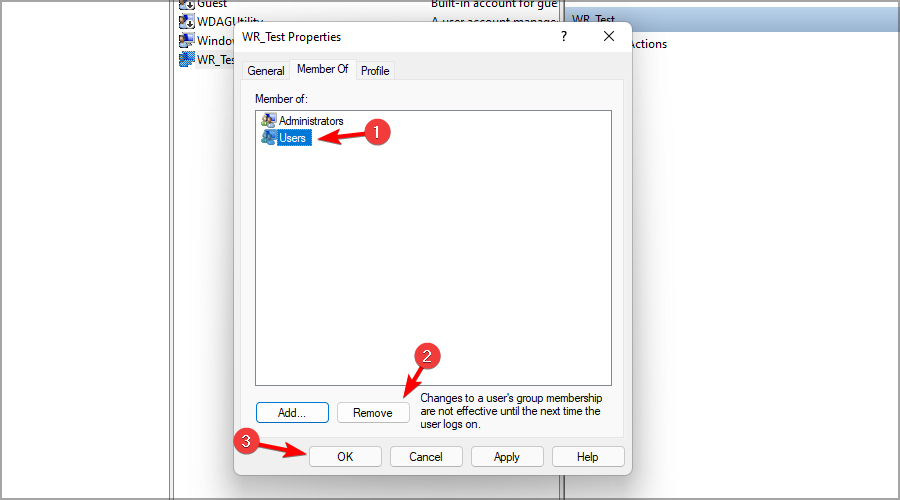
- Select Users and click on Remove. Now click Apply and OK to save changes.
5. Use Terminal
5.1. On PowerShell
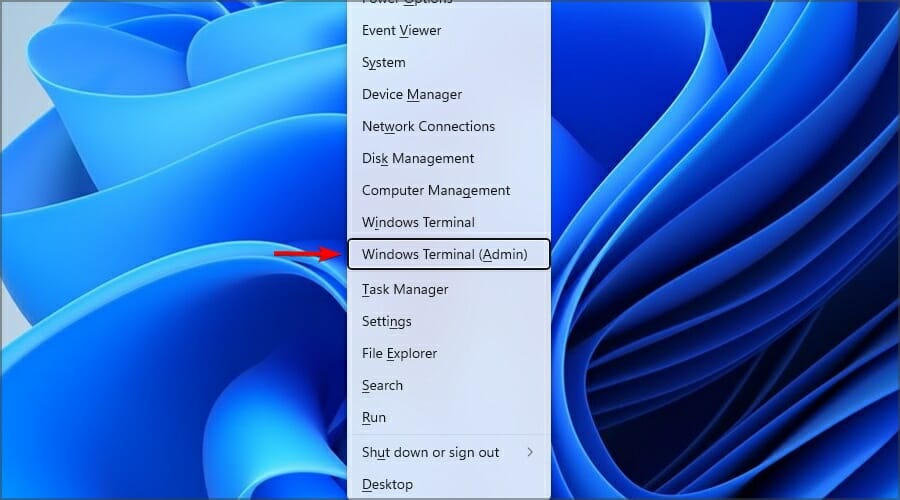
- Press Windows Key + X and choose Windows Terminal (Admin) from the list.
- Run the following command to add the user account to the Administrator group:
add-LocalGroupMember -Group “Administrators” -Member “WR_Test”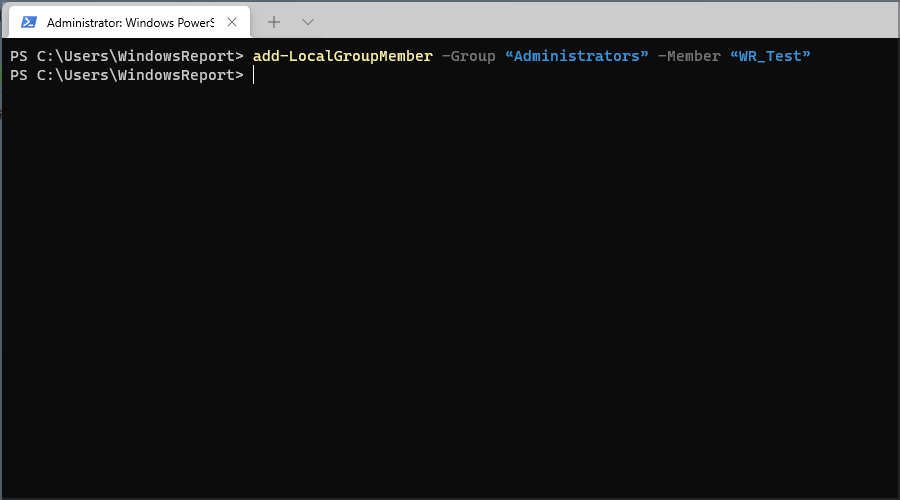
- Optional: To remove a user from the administrator group, use the following command:
remove-LocalGroupMember -Group “Administrators” -Member “WR_Test”
5.2. On Command Prompt
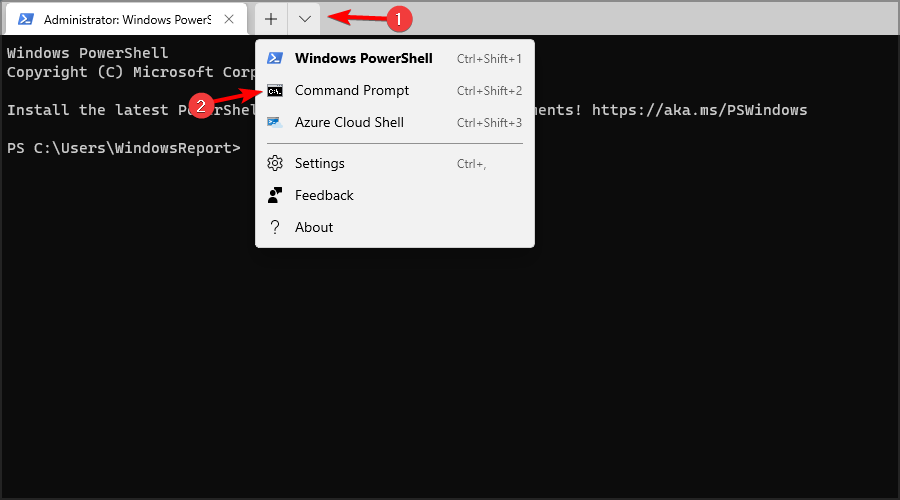
- Start Windows Terminal by pressing Windows Key + X and choosing the Windows Terminal (Admin) from the list.
- Click the down arrow and select Command Prompt.
- When the Command Prompt window opens, run this command:
net localgroup Administrators "WR_Test" /add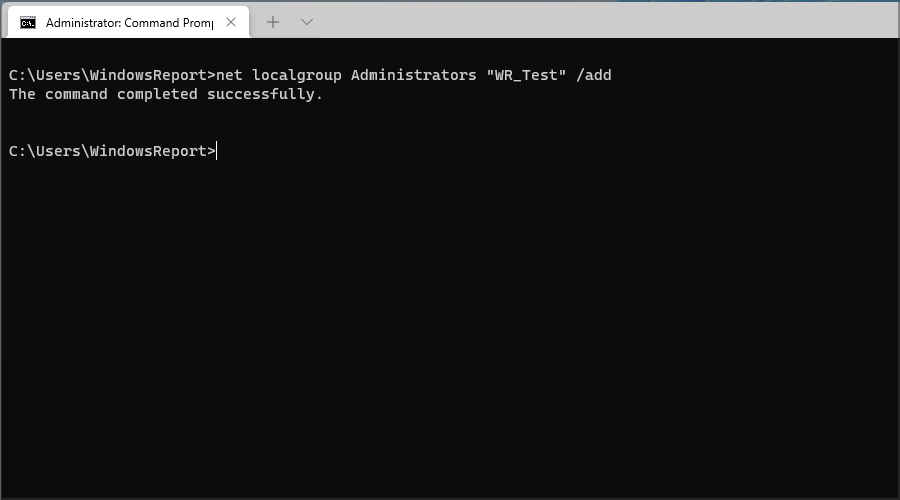
- Optional: To remove an account from the Administrators group, run this command:
net localgroup Administrators "WR_Test" /delete
These are some methods to change the administrator account on Windows 11 on a Lenovo laptop and other PCs. All our solutions are relatively simple, but we suggest using the Settings app since it’s the most straightforward.
However, if you’re an advanced user you can enable the hidden administrator account for high level operations. You can also add a user account to the administrator group quickly using the Terminal because it only takes a few seconds.
If you want to know how to delete an administrator or local account on Windows 11, check our guide to do it quickly. You can also check if your account has admin privileges on Windows 11 or learn what to do when you’re locked out.
When faced with performance issues, sign out all other users in Windows 11 to get a quick boost.
What is your favorite method of changing the system administrator? Let us know in the comments section below.
Read our disclosure page to find out how can you help Windows Report sustain the editorial team. Read more


Improve this guide


User forum
0 messages