How to Easily Change the IP Address of Your QNAP NAS
Change the IP address on your NAS with these easy steps
Key notes
- The NAS system by QNAP allows users to easily store files, data, media, and more via the internet.
- Most NAS devices do not need a static IP address, but having one makes it easier to manage internet traffic.
- Users can access their QNAP NAS locally by connecting their PC to the same network.
QNAP’s Network Attached Storage (NAS) is a system that connects hard drives to your internet to provide extra storage for files and media. Here’s how to easily change the IP address of your QNAP NAS.
What is the IP address of my QNAP NAS?
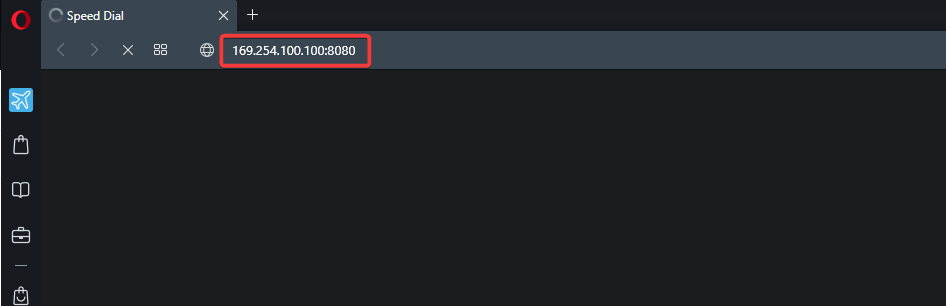
Users can locate the IP address of all devices connected to your network using Command Prompt. However, the default NAS IP address is 169.254.100.100:8080. If your NAS uses DHCP network protocol, the IP address may be different.
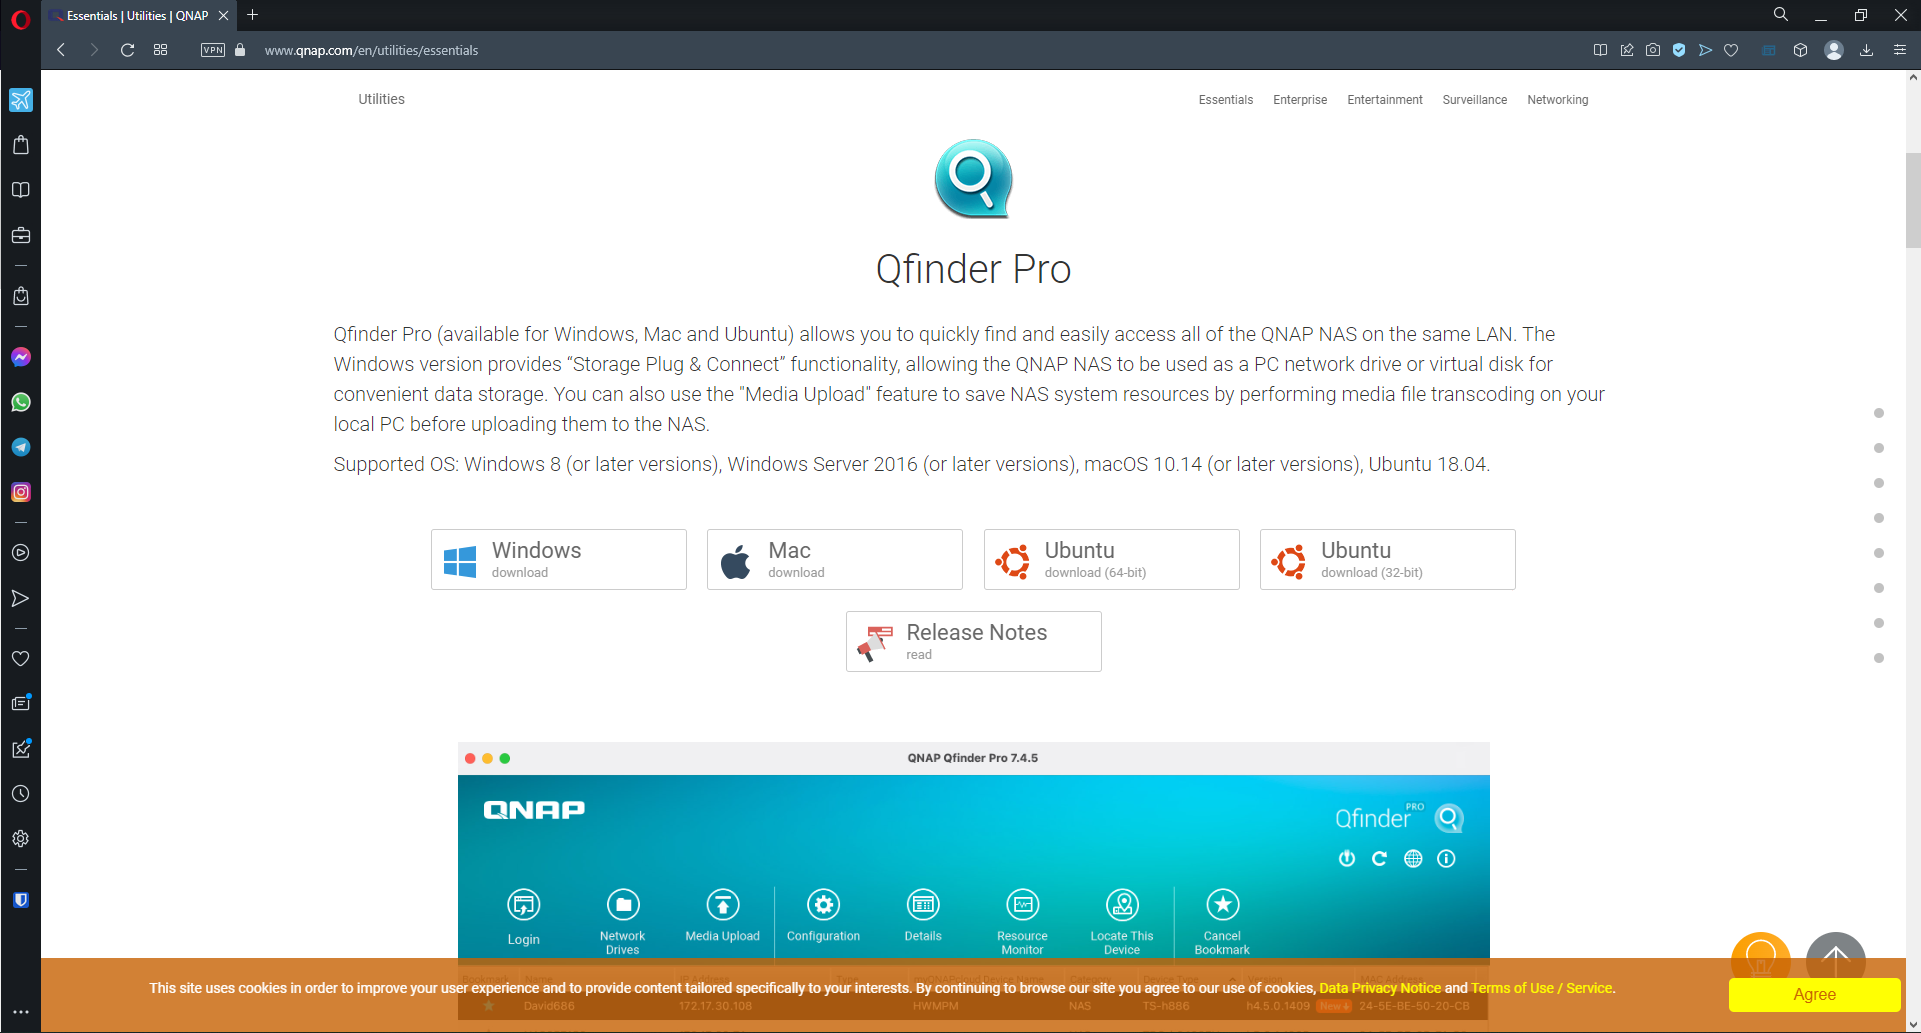
The QNAP Qfinder is also a quick way to find the IP address of your NAS.
Does my NAS need a static IP?
It’s not required for your NAS to have a static IP address, however, having a static IP makes it easier to manage internet traffic and firewalls. A static IP will give users a fixed IP address regardless of the network they are connected to.
How do I change the IP address of my NAS?
1. Set a static IP address
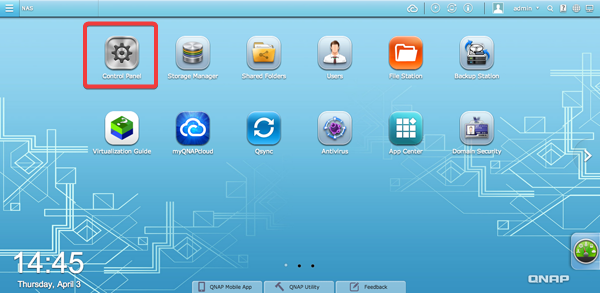
- Open the QNAP GUI and click on Control Panel.
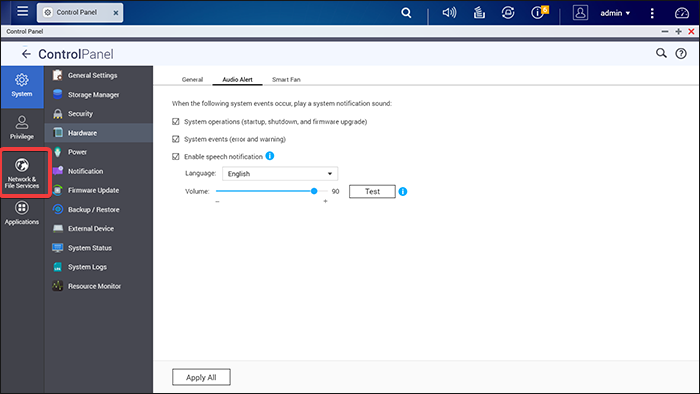
- Under System, select General Settings.
- Select Network & File Services and click Network & Virtual Switch.
- Under Adapter List, locate the adapter with the IP address you wish to change and click on the three dots next to it.
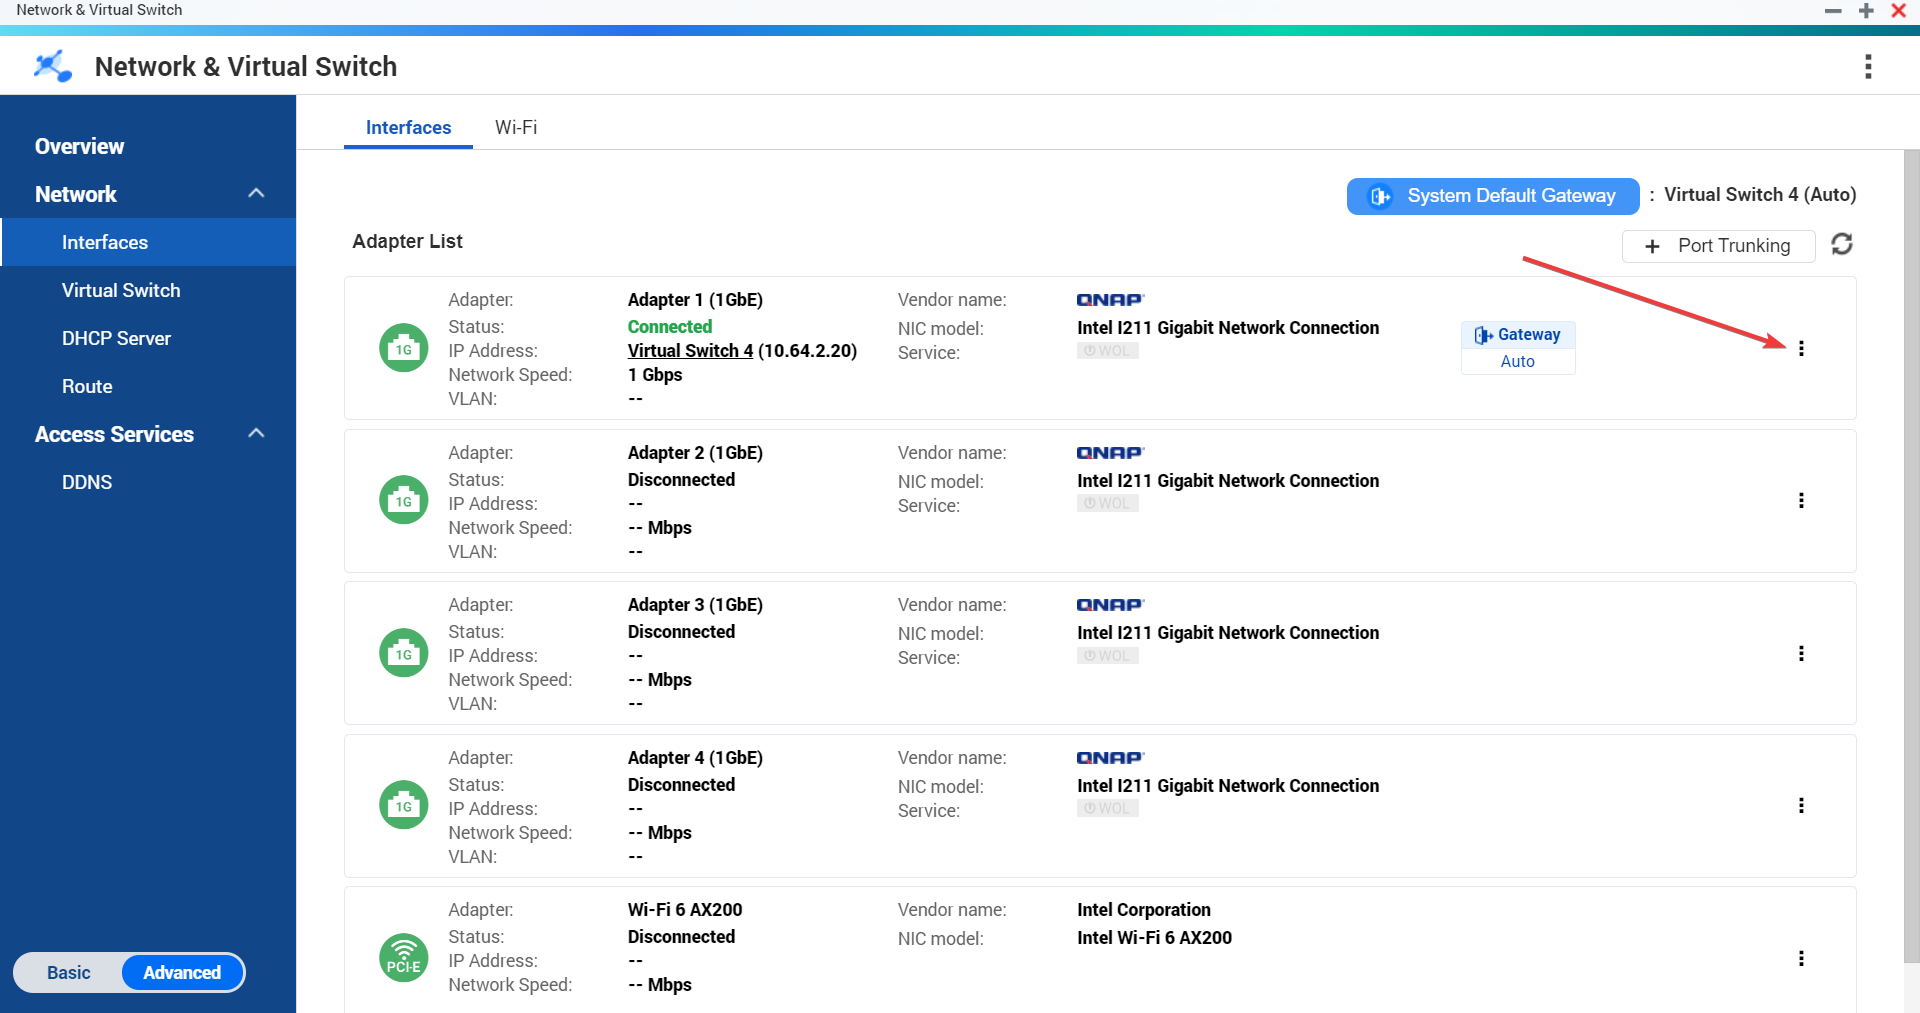
- Select Configure and input your static IP address, then click Apply.
This is how to set or change a static IP address for your QNAP NAS.
2. Change IP address
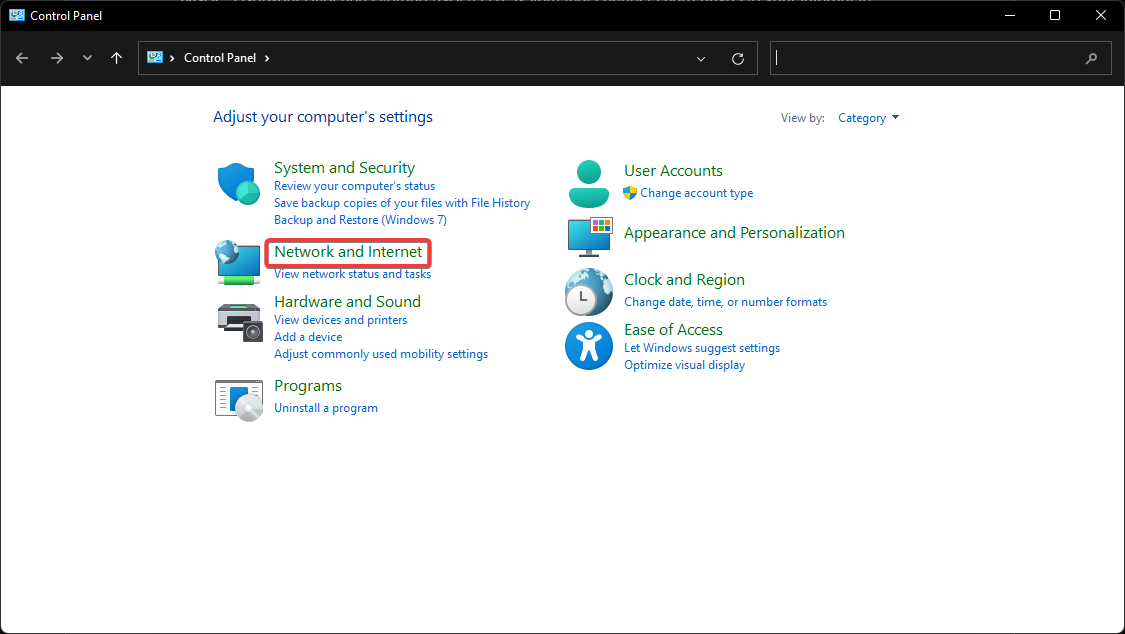
- Click on Start, search for Control Panel, and hit Enter.
- Select Network and Internet.
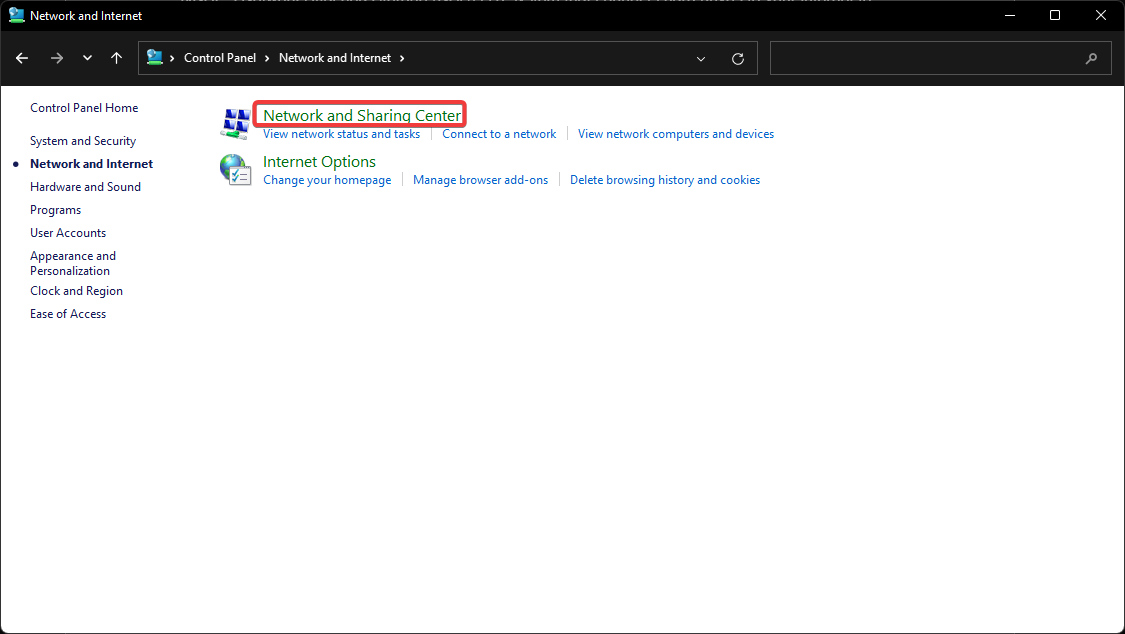
- Click Network and Sharing Center.
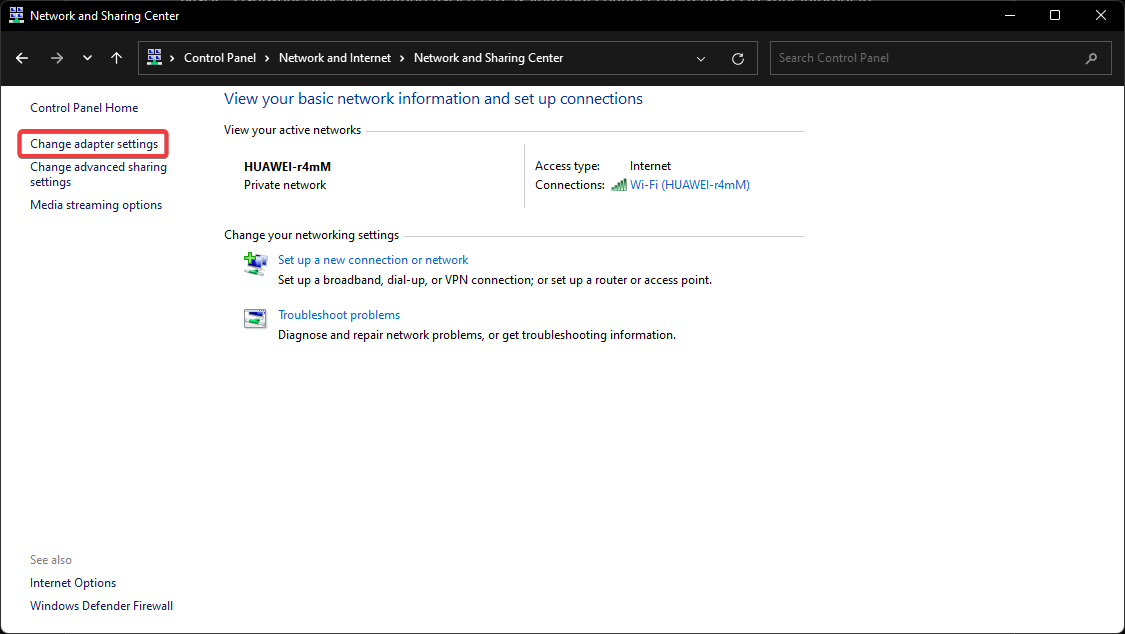
- Select Change adapter settings then right-click on your NAS and select Properties.
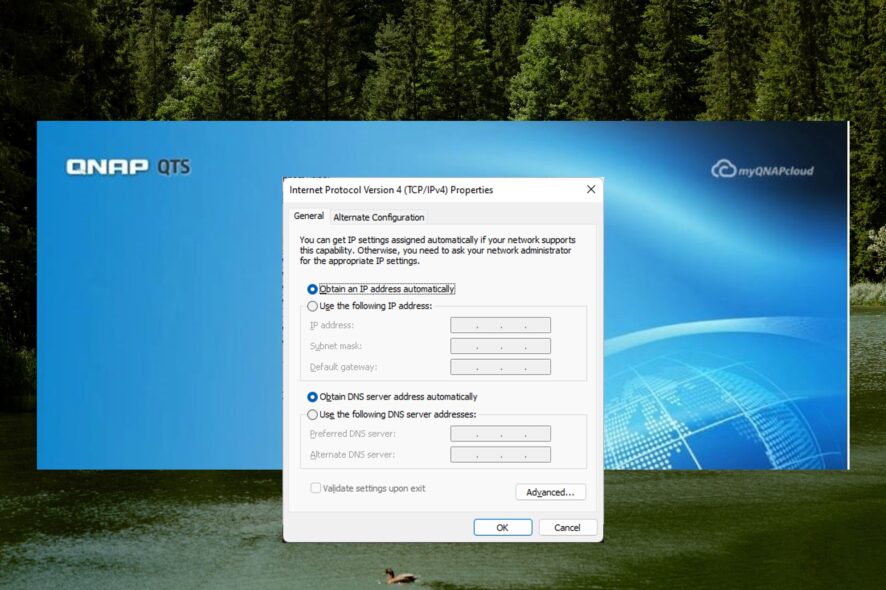
- Under This connection uses the following items, double-click Internet Protocol Version 4 (TCP/IPv4).
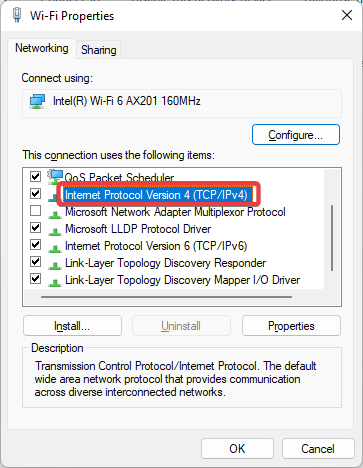
- Select Use the following IP address and input your IP address then click OK.
This can also be done from the QNAP GUI in the Control Panel.
How do I access QNAP NAS locally?
- Connect your PC to the same network as your NAS.
- Open any web browser and type in the IP address of your NAS in the address bar and hit Enter.
- Enter your QTS username and password (if you don’t have one, the default username and password is admin).
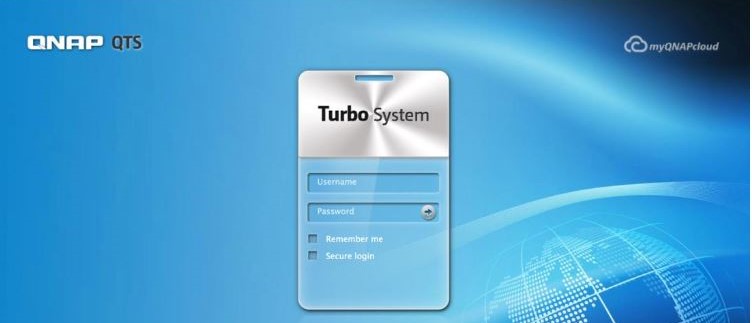
- Click Login.
You can access your NAS locally if your NAS and PC are connected to the same network.
We hope you were able to change your IP address for your QNAP NAS by following one of the above solutions. For recommendations on the best QNAP NAS backup software, we have a guide for that. Let us know in the comments which step worked for you.
Read our disclosure page to find out how can you help Windows Report sustain the editorial team. Read more


Improve this guide

User forum
0 messages