How to Change Windows Defender Full Scan 100% CPU Usage
Programs can start to freeze because of the processor's max usage
Key notes
- If you're among the ones who think that the built-in antivirus is consuming too many resources, you can easily change Windows Defender's max CPU usage.
- Using a command-line tool from your OS will get the aforementioned limit exactly as you want.
- You can also employ the use of the Registry Editor to set things right with resource consumption.
- Of course, if it looks too complicated, you should consider getting a third-party antivirus instead.

Windows Defender is Microsoft’s default and a solid line of defense when it comes to a consumer’s cyber-protection.
This is done thanks to the security intelligence definitions which it constantly updates. And the software does a good job too.
However, those of you running Windows 10 on older PCs may notice that Windows Defender 100% CPU usage for scans can be quite high at times.
If that is the case, then knowing how to reduce max CPU usage may help you in the long run and save you a lot of headaches in the process.
How do I change Windows Defender’s full scan 100% CPU usage?
1. Use PowerShell
- Right-click the Start button and select PowerShell (Admin) from the list.
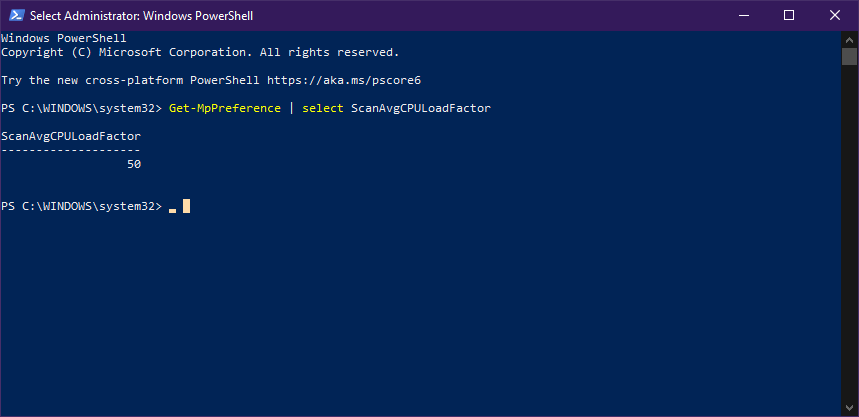
- Type in or copy-paste the following command:
Get-MpPreference | select ScanAvgCPULoadFactor- By doing this, you will display the current CPU usage percentage limit for Windows Defender.
- To change the value, type in or copy-paste the following command:
Set-MpPreference -ScanAvgCPULoadFactor <percentage>
Keep note that the value of <percentage> needs to be between 5 and 100. If you set the percentage value to 0, it will remove the CPU limit and allow Windows Defender to use up even 100% of it.
This is not recommended as it can lead to unresponsive apps, freezing, and even overheating so proceed with extreme caution.
2. Modify the Registry
1. Press Win + R.
2. Type in regedit and press Enter (This will open the Registry Editor).

3. Go to the following Registry key:
HKEY_LOCAL_MACHINE/SOFTWARE/Policies/Microsoft/Windows Defender/Scan4. Edit or make a new 32-bit DWORD value called AvgCPULoadFactor.
5. Switch the value data editor to Decimal.
6. Set the value data between 5 to 100.
If you are having trouble with Windows Defender’s 100% CPU usage, you can tweak your Registry to fix it.
You can set a percentage of CPU usage that you want Windows Defender Antivirus not to exceed with the help of a custom DWORD. You can add any value and limit CPU usage to it.
If you want to undo the change, simply delete the DWORD you created and everything will go back to the previous settings.
If you can’t access the Registry, don’t worry because you can fix this issue right away by following the instructions in our step-by-step guide.
3. Via Group Policy
- Press Win + R.
- Type in gpedit.msc and press Enter to start the Group Policy Editor.

- Navigate to Computer Configuration.
- Go to the following path:
Administrative Templates/Windows Components/Microsoft Defender Antivirus/Scan - Double-click on the Specify the maximum percentage of CPU utilization during a scan policy.
- Enable it.
- Enter the desired CPU limit under Specify the maximum percentage of CPU utilization during a scan.
- Select Apply.
- Click OK.
By following these steps, you can manage the average CPU usage that your Windows Defender uses up during scans.
Changing the value has both pros and cons. While higher values mean the scans will perform better, you won’t be able to make use of the PC until it is complete.
On the flip side, lower values mean your scans will take a long time, but you will at least be able to use your PC undisturbed.
4. Try a better antivirus
Unfortunately, many users complained that Windows Defender consumes a lot of the CPU resources when it’s performing a scan.
We have just shown you how to change that but if you find it too complicated, there’s always the option to switch to a third-party antivirus that will not create that problem.
In fact, the tool recommended below has a dedicated low-power mode that will stop all resource-hungry processes to conserve energy.
That is also perfect if you’re running it on a laptop and you want to stay online as much as possible to finish your tasks.
So, that’s it! We hope that our methods helped you change the Windows Defender max CPU usage during scans.
But if you don’t get to fix the things to your liking, consider getting a third-party antivirus from our list containing the best antiviruses with unlimited license that will also help you save some money.
Do you think changing Windows Defender‘s CPU usage is useful? Let us know in the comments section below.
Read our disclosure page to find out how can you help Windows Report sustain the editorial team. Read more


Improve this guide


User forum
0 messages