What is CompatTelRunner.exe & Should I Disable it?
3 min. read
Updated on
Read our disclosure page to find out how can you help Windows Report sustain the editorial team. Read more
Key notes
- Some Windows 10 users reported that the CompatTelRunner.exe file causes high CPU usage.
- Task Scheduler can be a great help to disable some unnecessary tasks.
- In this article you will find how to disable CompatTelRunner.exe for good.

Windows users may sometimes notice some strange files on their computers. Usually, these files go undetected until they impact your computer negatively.
High CPU usage is usually the most common tell-tale sign. In this article, we’re going to talk about the CompatTelRunner.exe file.
We’ll tell what this file is and how it affects your computer, so don’t hesitate to keep on reading.
What is CompatTelRunner.exe?
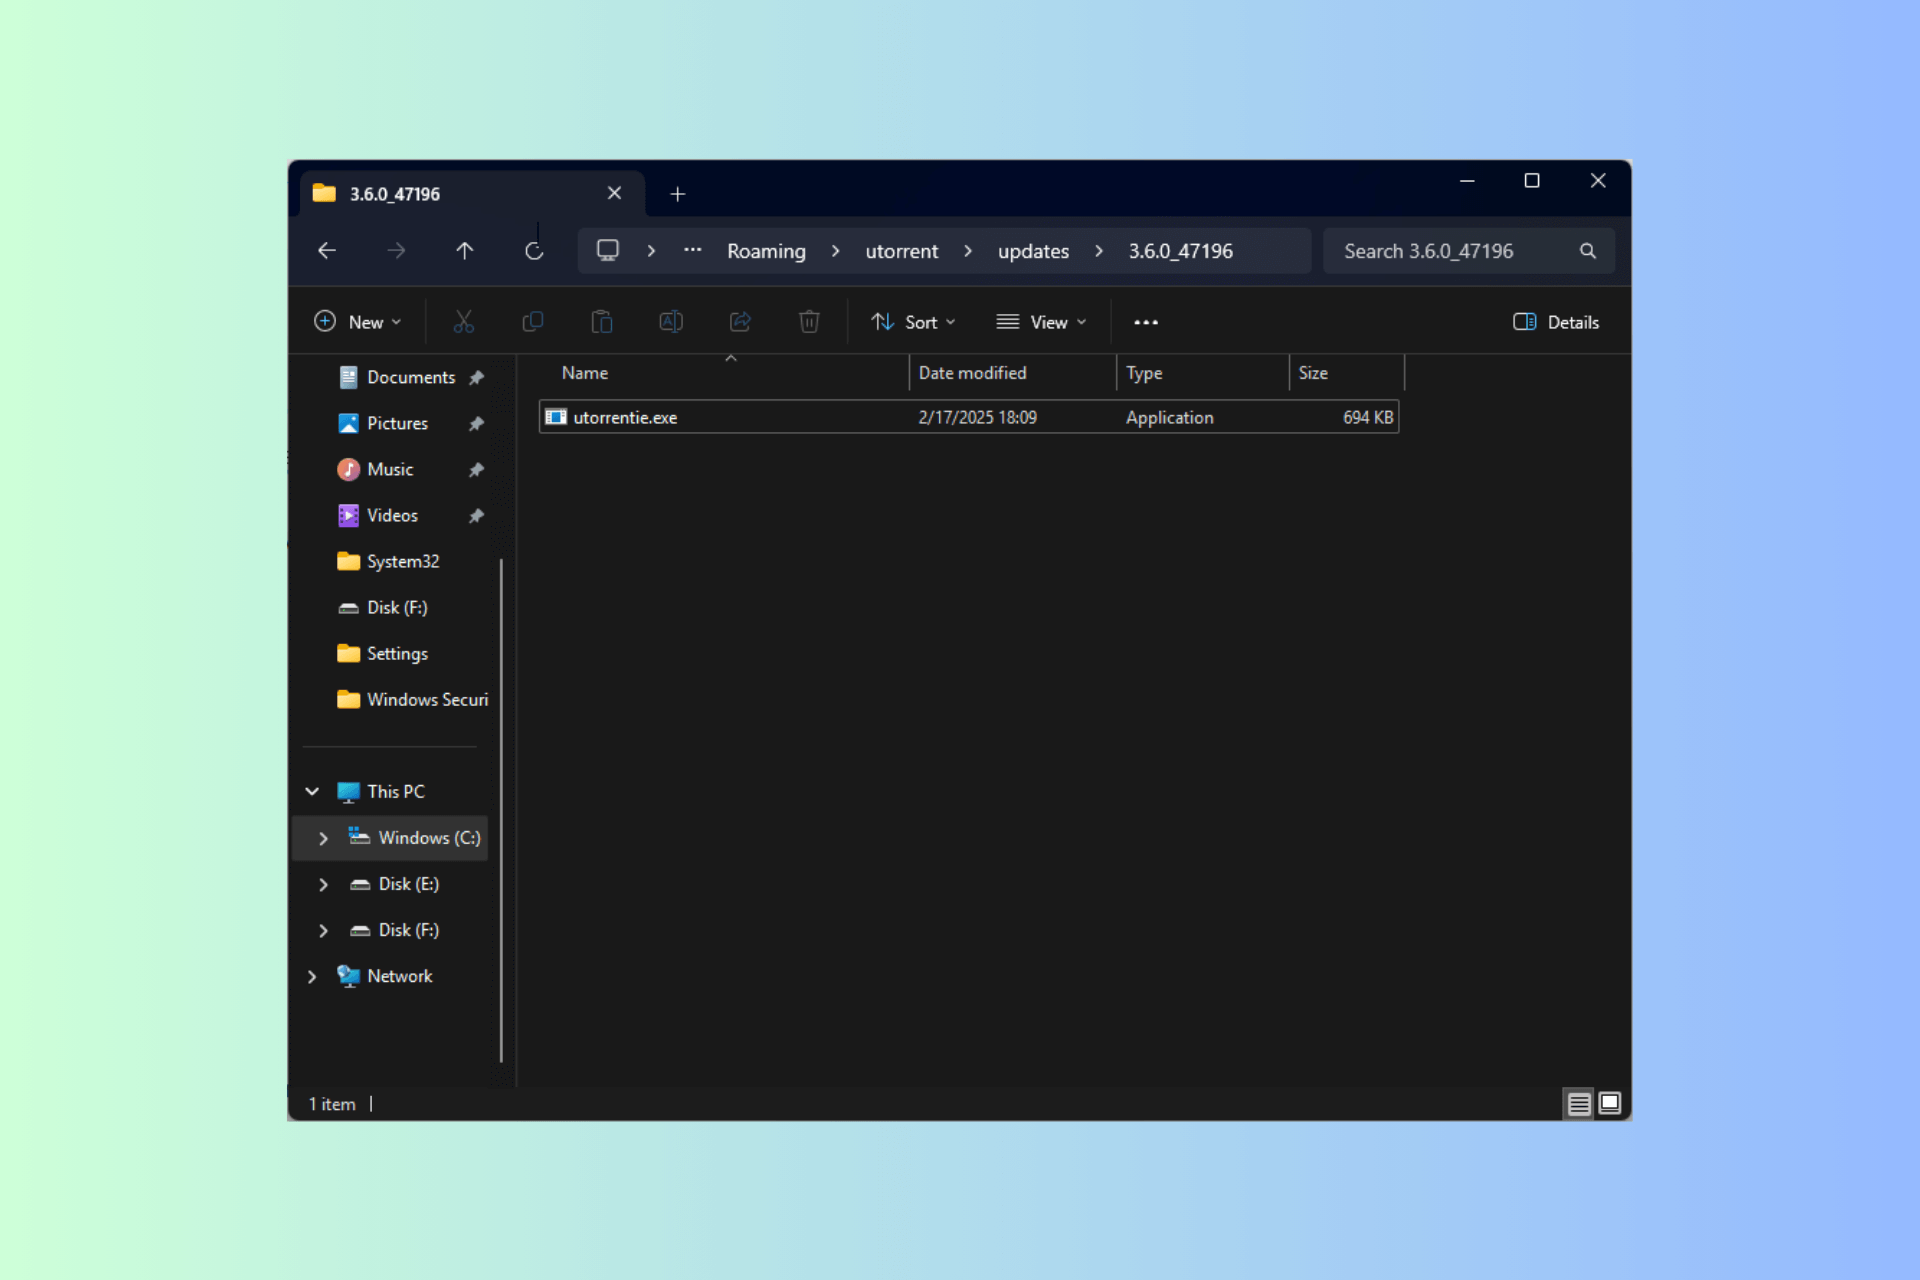
The CompatTelRunner.exe file is a Microsoft Compatibility Telemetry file located in the C:WindowsSystem32 folder.
Microsoft uses Telemetry to collect system data in order to keep Windows devices secure and improve the quality of its services.
The CompatTelRunner.exe file is also used to upgrade your system to the latest OS version and install the latest updates.
How to disable CompatTelRunner.exe?
1. Disable it from Task Scheduler
- Start Task Scheduler.
- Go to
Task Scheduler Library > Microsoft > Windows > Application Experience. - Disable all three tasks in that folder.
- Go to
Ask Scheduler Library > Microsoft > Windows > Customer Experience Improvement Program. - Disable all three tasks in that folder.
For all versions of Windows, start by removing it from the Task Scheduler as above explained. If Task Scheduler won’t run on your PC, you should read our easy solutions guide.
2. Tweak the Registry
- Start Registry Editor (regedit.exe) as Administrator.
- Go to
- Rename the entry from TelemetryController to TelemetryControllerX.
- Restart your PC.
Then for Windows 10, you need to kill CompatTelRunner.exe from the registry. If Registry Editor doesn’t open, check this detailed article to see how to fix it.
3. Run SFC
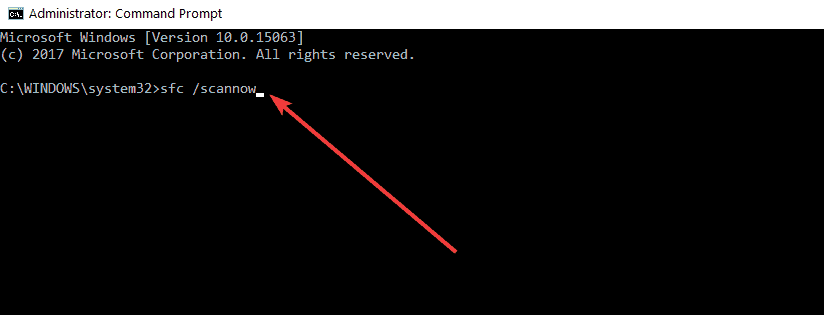
- Launch Command Prompt (Admin) as an administrator.
- Enter sfc /scannow and hit Enter.
- Wait until the repair process is completed (this may take a while).
This command helps you to fix system file issues by replacing missing or corrupted files. Follow the steps above to launch the scan.
4. Clean boot your PC
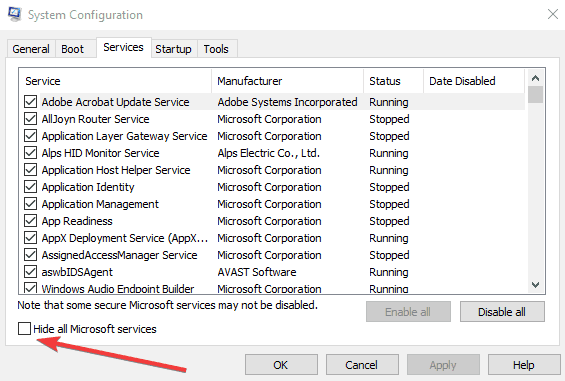
- Navigate to Start > type msconfig > press Enter.
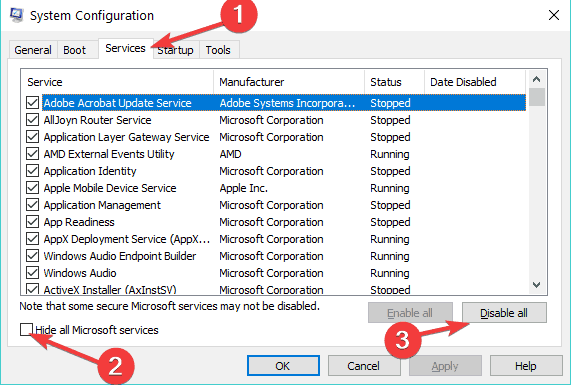
- Go to System Configuration, and click on the Services tab.
- Check the Hide all Microsoft services check box, and click Disable all.
- Go to the Startup tab, and open Task Manager.
- Select each startup item, and click Disable.
- Close Task Manager, and restart your PC.
Clean booting your device allows you to start your machine using only a minimum set of drivers and programs to avoid software compatibility issues.
However, the catch is that you’ll need to do this every time Windows installs new updates on your machine.
Have you applied the above procedures? Let us know if any of them worked for you by using the comments area below.


User forum
0 messages