Your computer exceeds the power rating [STEP-BY-STEP GUIDE]
2 min. read
Updated on
Read our disclosure page to find out how can you help Windows Report sustain the editorial team. Read more

There are various errors that can appear on your PC, and many users reported Your computer exceeds the power rating message. In today’s article, we’ll show you how to fix this error once and for all on your Windows 10 PC.
How can I fix Your computer exceeds the power rating error?
1. Reinstall Microsoft ACPI
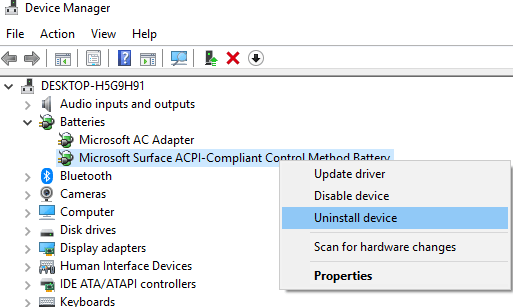
- From your Start Menu, select Device Manager.
- Now expand Batteries, right-click the desired batter and choose Uninstall device.
- Once it’s complete, Windows will attempt to reinstall the drivers for you.
- Now you can restart your machine.
2. Change Power Settings
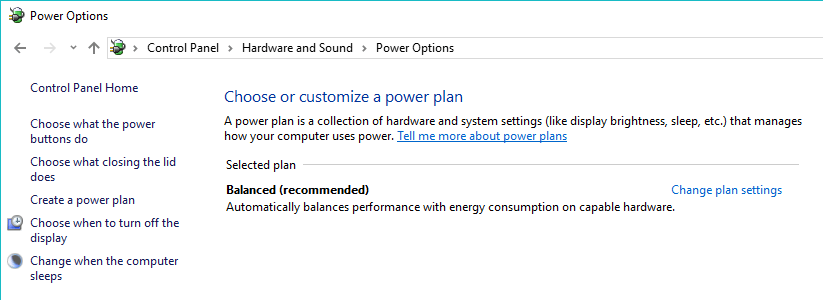
- Open Control Panel.
- Now head on over to Hardware and Sound, and select Power Options.
- Choose the appropriate power plan for your PC.
3. Unplug your device
- Disconnect the power cord until the battery drops down to 15%.
- Now you’re gonna turn off your machine and power it back up after half an hour. But do keep in mind to unplug all USB devices you might have plugged into your laptop.
4. Perform UEFI tests
- Keep your machine connected to the power cord.
- Now, you’re going to press and hold the Power button until the laptop turns off.
- Now turn on the laptop.
- As your system boots up, press the F2 key repeatedly, until the UEFI Diagnostics screen is displayed.
- At the UEFI menu, select Component Tests, and then select Power.
- Now select AC Adapter test, and run the tests.
- Follow the onscreen instructions.
- Depending on the results, you’re good to go, or you should follow up with the last solution.
5. Replace your power output
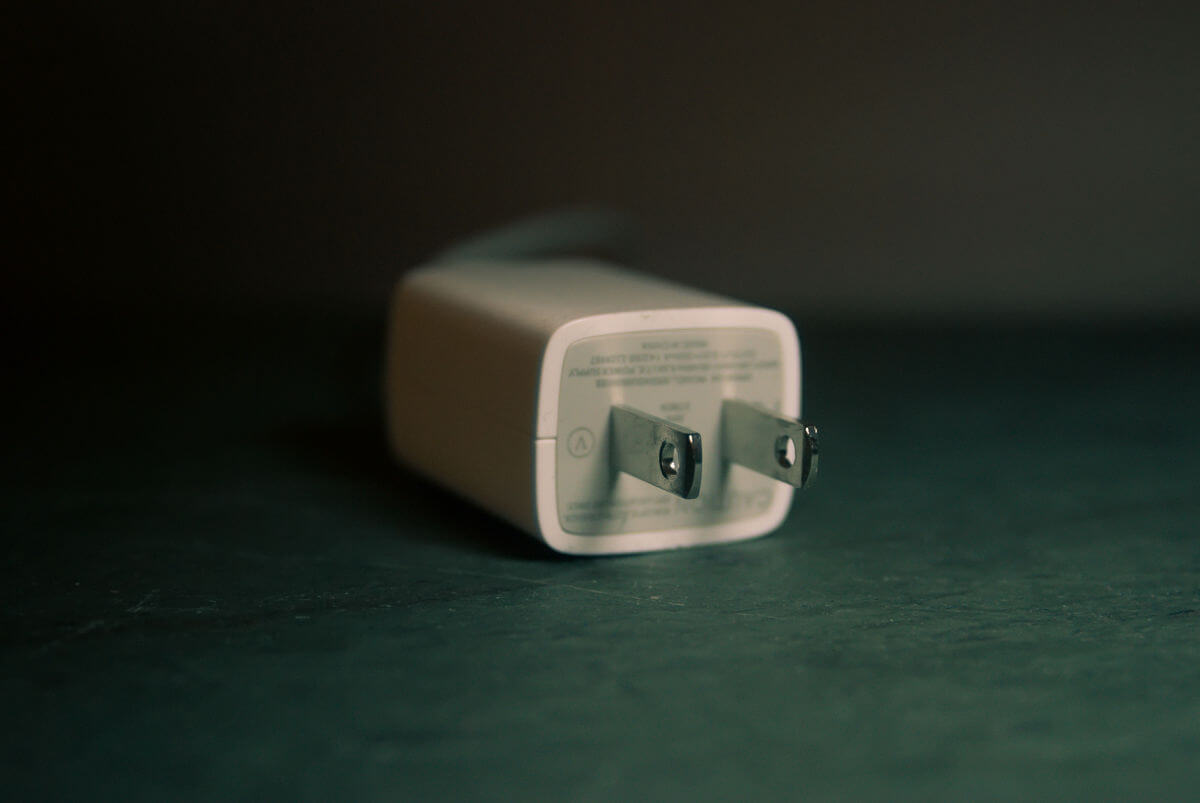
- Check your power adapter.
- If you suspect that your adapter is faulty, be sure to replace it and the problem will be resolved.
There you go, these are our solutions for Your computer exceeds the power rating message error.
RELATED STORIES TO CHECK OUT:


User forum
0 messages