Create Stamp Design for Cricut Maker 3 - Top 3 Hand-Picked Options
![]() 7 min. read
7 min. read
![]() Updated on
Updated on
Share this article
Improve this guide
Read our disclosure page to find out how can you help Windows Report sustain the editorial team. Read more

Want to create a stamp design for Cricut Maker 3?
After thorough research and testing, I found the top three third-party software that work perfectly with major Cricut Maker models. Moreover, these tools can help you cut your materials, add unique fonts, and design stamp elements with ease. I’ll also demonstrate how to use them.
Sounds like a good deal? Let’s roll in!
3 Best Software to Create Stamp Design for Cricut Maker 3
Check out these amazing software:
1. Adobe Photoshop – Powerful Editing Options and Cloud Collaboration
Adobe Systems deployed Adobe Photoshop in the late 1990s. However, it has maintained its popularity since then.
You can use this graphic design and photo editing program to create and edit digital images, animations, paintings, and drawings, including stamp designs for Cricut Maker. Notably, most designers switch to it when they need to handle image masking and alpha compositing, retouch images, or create bitmaps in multiple layers.
To be more specific, it can help you to:
- Apply smart portrait and colorize neural filters
- Use live shape enhancements and pattern preview
- Make large objects disappear
- Instantly expand images
- Edit with next-step suggestions
- Add and edit gradients on canvas
- Utilize generative AI effects and adjustment presets
- Use auto-selection tools and more.
Besides, Adobe Photoshop allows you to collaborate with your team members to track projects.
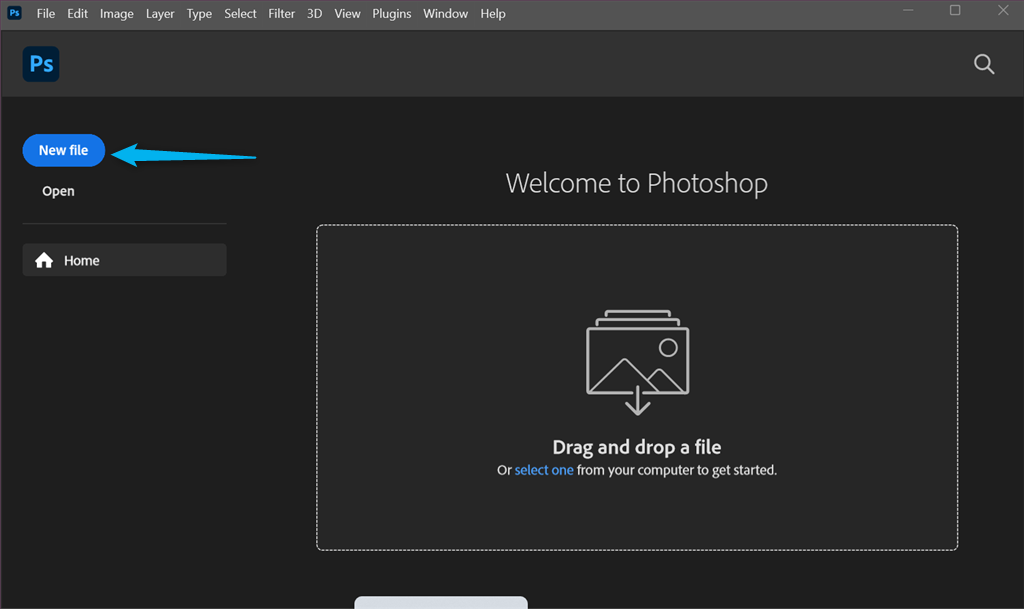
To create a stamp design, open the app, and click on New file.
Add elements to your canvas according to the idea you’ve in mind. For instance, I wanted to create a rectangular stamp design stating “VERIFIED”.
For this, I clicked on the Shape tool and added a Rectangle.

Next, I filled the rectangle with the red color.

Then, I use the highlighted pointers to round the corners of the rectangle.

Likewise, I’ve added another rectangle to the canvas and filled it with white color.

Then, I rounded its corners.

After that, I clicked on the Text tool to add “VERFIFIED” as the stamp text and aligned it to the center.

Adobe Photoshop also allows you to customize the text and set its:
- Font style
- Font size
- Alignment
- Color.

Moreover, you can right-click on the selected text and apply any Warp Text… effect.

In my case, I clicked on the Filter menu, moved to the Render section, and applied the Clouds filter.

Here’s the final look of the created stamp design.

Pros:
- Stands out as an industry standard for editing and manipulating images
- Provides various raw camera file tools
- Customizable brushes
- Offers unlimited filters, masks, and layers
- Supports several high-quality templates, typography, and drawing tools
Cons:
- Expensive compared to its competitors
- Its advanced features might overwhelm new users
- No perpetual-license option
- Runs multiple processes in the background
- Steep learning curve
2. CorelDRAW – Built-in Assets and Design Effects
CorelDRAW is a multi-functional graphic designing software mostly used by professional designers and photo artists. This vector-based tool helps you to create logos, stamp designs, architectural layouts, 3D illustrations, and other complex marketing materials.
Furthermore, you can create your own designs from scratch or customize existing ones with ease. It provides access to 100+ predesigned templates, ranging from geometric patterns to floral designs.
Some of the new standout features of CorelDRAW include:
- Multipage view
- Live comments
- Perspective drawing
- Multi-asset export
- Image adjustment
- HEIF support
- Pages docker
- Pan and Zoom.
CorelDRAW also allows you to customize its interface using icon sizes, color schemes, windows borders, toolboxes, and document opening options. Moreover, you can import text from popular word-processing programs, such as Microsoft Word. Additionally, CorelDRAW’s Learning Center provides step-by-step tutorials to get started with it.
To test it, I opened the app, clicked on the New File icon, and specified a custom size for the stamp design.

With the help of the left-side toolbar, I added a circle to the canvas.

Then, I changed its color using the color palette placed on the right side.

Next, I opened the Effects menu, navigated to Texture, and selected the Brick Wall… option.

From the opened dialog box, I adjusted some options for the Brick Wall texture and clicked OK.

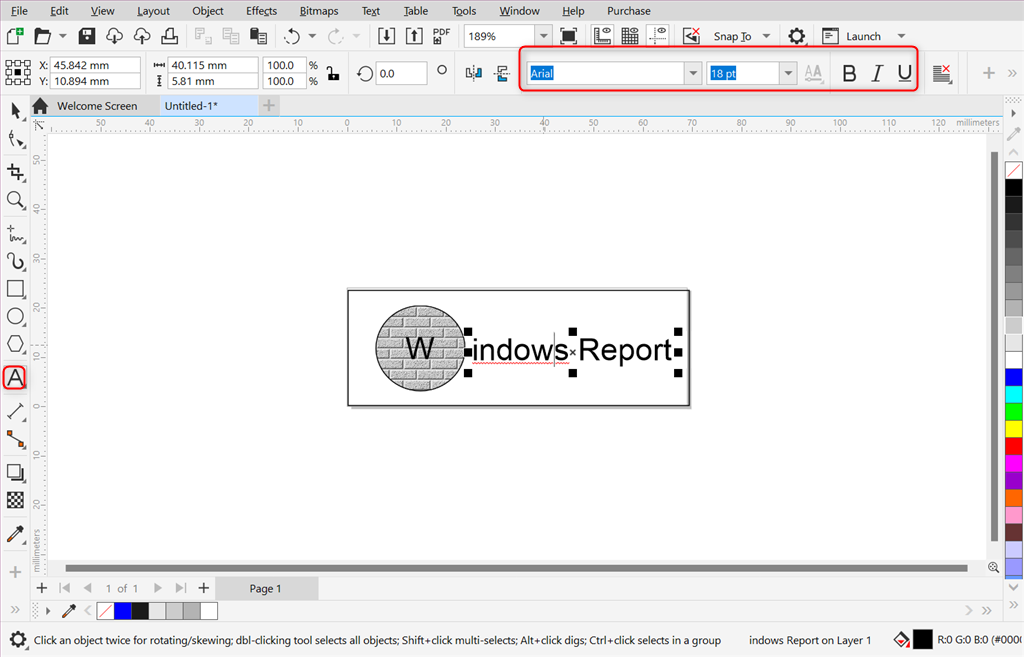
After doing so, I added some text to the canvas and customized its style and size.
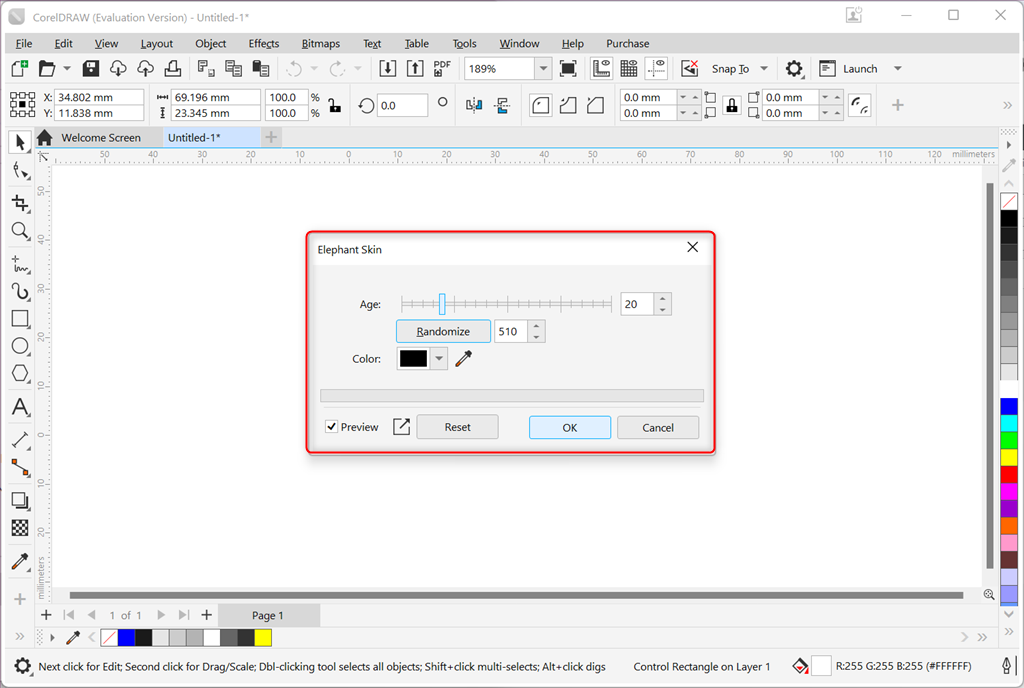
Then, I pressed CTRL+A to select the canvas with all of its added elements, moved to the Texture menu, and selected the Elephant Skin… option

Next, I adjusted the Age and Color of the Elephant Skin texture and clicked OK.
So here’s the final look of my stamp design.

Pros:
- Offers a 15-day trial version
- Highly customizable interface
- Support for TTF files
- Smoothly integrates with popular plugins for cutting
- Easier to learn compared to Adobe Photoshop
- Converts files to SVG format
- Perpetual licenses and subscriptions are available at reasonable prices
Cons:
- Some users may find it difficult to navigate
- There might be glitches in the new version
- Occasional crashes
3. Cricut Design Space – Access Designs Anywhere With Cloud Storage
Cricut Design Space is a free and easy-to-use tool that comes with your Cricut machine and can be installed manually. It allows you to use its pre-made projects or designs called Cartridges or create a stamp design project from scratch.
Moreover, it’s a cloud-based software. This means you can easily access your design from anywhere. It’s also explicitly designed for Cricut, so it contains certain features that won’t be available in other software.
It offers thousands of free and paid templates that can help you especially if you’re a newbie. Furthermore, to create a more detailed multi-layer design, you can choose any element from its library:
- 30+ built-in and other online shapes
- 300K+ phrases
- 21K+ free and premium editable images
- 100+ classic and thematic monograms
- 1000+ fonts in over 20 languages.
Additionally, you can export the created design in SVG format or save it as a project in your workspace for later use.
The best thing about Cricut Design Space is that you can directly connect it to your Cricut machine. This ultimately enables you to preview the created designs and cut almost everything on the fly.
To create a stamp design, first, open your Cricut Design Space app and click on the + New Project button.

From the left side panel, choose the required elements that you want to add to the canvas.

In my case, I added a rectangle and set its material color to white.

Then, I navigated to the Editable Images section, applied the Free filter, and clicked Add to Canvas.

After adding an image, I resized it to fit within the rectangle.

Additionally, Cricut Design Space allows you to customize the editable image, including its:
- Color
- Arrangement
- Flip position
- Font
- Style
- Letter Space, and more.
Here, I changed the text color to green.

Other than this, you can Slice, Combine, Attach, Flatten, or Contour selected elements with ease.

Select the added elements and click the Group icon under the Layers tab.

Click Make to directly print the stamp design with your configured Cricut Maker machine.

Otherwise, click Save to store it on your cloud storage or local system.

From the pop-up window, click Create New Collection.

Enter the New Collection name and click Create.

Specify the Title of the stamp design, mark the collection checkbox, and click Save.

Choose your save location and click Apply.

Here, I’ve successfully added the created stamp design as a project to my Cricut Design Space workspace.

Pros:
- Easy to learn and navigate, even for beginners
- Allows you to upload your own images and fonts
- Accessible from PC, phone, or tablet for on-the-go free designs
- Helps you print designs and then use Cricut to cut them out precisely
- Offers custom-designed stamped elements to add to your project
Cons:
- Professional artists may not prefer it
- Requires subscription to access extra features
- Free designs and font collection aren’t as extensive compared to the paid library
How I Chose the Best Software to Create Stamp Design for Cricut Maker 3
During my tests, I prioritized the following qualities to select the best tools for Cricut designs. All options need to:
- Have a user-friendly interface
- Let you personalize text, colors, and add special effects
- Provide features like shapes, fonts, images, and editing tools
- Smoothly integrate with Cricut Design Space
- Cater to different project complexities.
So now you’ve all the info you need to find the best software to create a stamp design for Cricut Maker 3. Feel free to let me know which option you liked the most in the comment section!


User forum
0 messages