Is Cricut not cutting your materials? Fix it in 6 easy steps
3 min. read
Updated on
Read our disclosure page to find out how can you help Windows Report sustain the editorial team Read more

If your Cirut machine is not cutting through your material or the Circuit is not cutting at all, you can repair it with some simple troubleshooting. So many times, you attempt to use Cricut for a design, but the machine completely messes it up.
A lot of users have had the challenge of Cricut not cutting through the material, so we will explore the solutions for this problem here. Let us go through troubleshooting tips for when Cricut is not cutting or when it does not cut all the way through.
How do I fix my Cricut not cutting correctly?
1. General troubleshooting tips
- Ensure that the blade depth is deep enough to cut cardstock. In most cases, five is perfect.
- Increase the pressure to the highest setting.
- Make use of a Circut brand blade.
- Remove the blade and reinsert it the correct way – the cone point end should not be the side sticking out.
- The material you intend to cut must match the one you selected in the material setting.
- Try using a different web browser.
- Clean the mat to remove debris and create some clearance in the front and back of the machine.
The tips above are the general troubleshooting steps to take when you notice that Circut is not cutting correctly.
If you attempt 1 to 7, and the machine is still malfunctioning, then proceed to the specific solutions that follow.
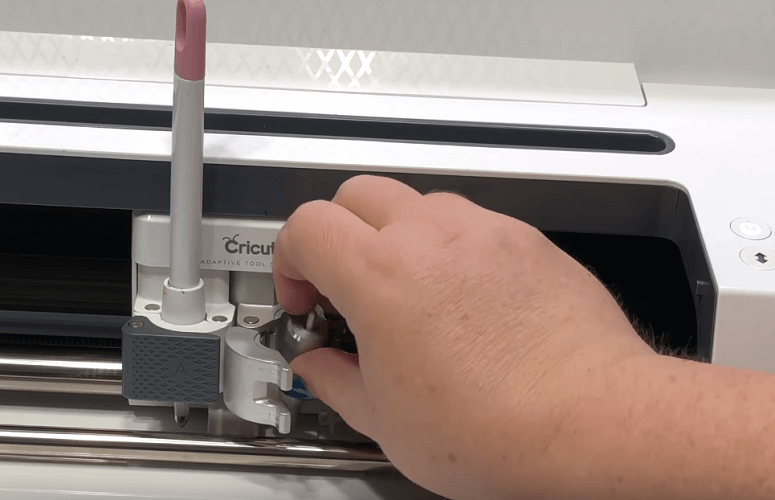
2. Install the green/gold assembly into the cutting arms correctly
Always insert the green/gold assembly in the middle groove area. Users mistakenly put it in the lower groove area, and this can be why the Cricut is not cutting.
If you install the assembly correctly, there will be no space between the bottom of the machine and the blade.
3. Determine why Cricut is not cutting using an assembly test
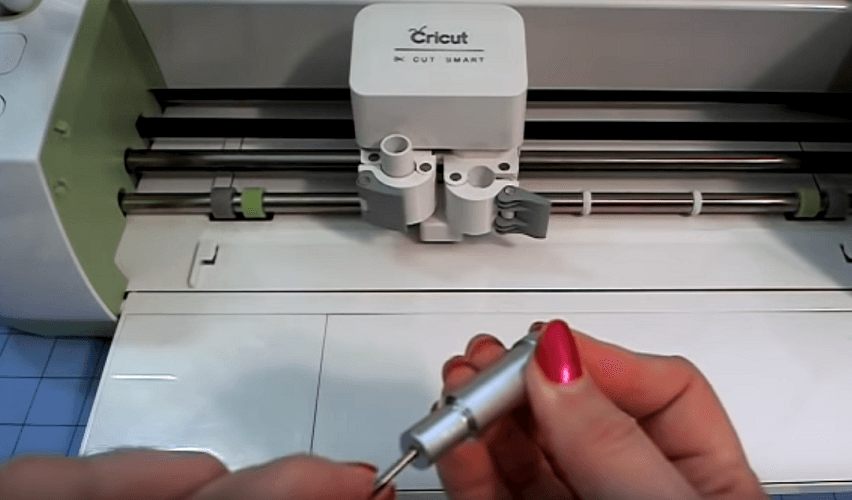
- Remove the blade and reinsert it slowly.
- While reinserting the blade, check how it enters. Make sure that the blade goes in naturally.
- If the blade is not inserted correctly, it would look like it does not fit or stick while going in.
4. Check blade height setting
Without additional external testing, you can confirm if the blade extends out of the green/gold blade assembly. If it does, then you need to adjust the blade height settings.
It is tough to estimate the correct height. So, change the blade height to around 6 (1 mm) and adjust it from there.
5. Determine why Cricut is not cutting using an arm buoyancy test
- Turn on the machine and flick the assembly arm gently.
- When flicking the assembly arm, see if it is bouncy or only goes up and down.
- Also, confirm that there were no obstructions when the arm is pushed down.
6. Adjust the sizes
- Increase the image size and retry.
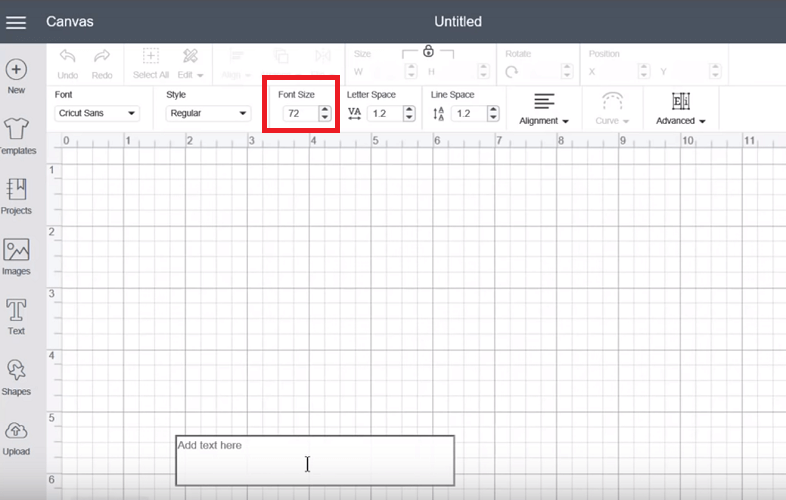
- If there are texts, increase the font size and try again.
- Bolden the font.
- If you can afford to, delete the section of the design.
Images and texts may be too small to cut. Changing the size of the fonts and images can fix this issue of Cricut not cutting.
Several factors can be the reason for Cricut not cutting all the way through, and we have explored the solutions. Begin the troubleshooting with the tips in the first section, as these are sufficient for most cases.

