Cudart64_90.dll is Missing: 4 Ways to Get it Back
Install the right version of the CUDA Toolkit to fix this
![]() 2 min. read
2 min. read
![]() Published on
Published on
Share this article
Improve this guide
Read our disclosure page to find out how can you help Windows Report sustain the editorial team. Read more

Many users reported Could not find the cudart64_90.dll message while using Tensorflow or similar tools. This can be a problem if you’re a developer, so today we’re going to show you how to fix it properly.
What can I do if cudart64_90.dll is missing?
1. Install CUDA Toolkit 9
- Visit the CUDA Toolkit 9 download page.
- Select the version and your operating system.

- Click on Download in the Base Installer section to download it.

- Once downloaded, run the setup file and follow the instructions.


Few users reported that the network installer works better than the offline one, while others say that the offline version works better, so try them both.
2. Manually copy the missing files
- Download CUDA Toolkit 9 and extract it. Do not run the setup file.
- Press Windows key + R and type %localappdata%.

- Next, go to
Temp\CUDA\cudart\bin - In there, locate cudart64_90.dll and copy it.
- Next, navigate to
C:\Program Files\NVIDIA GPU Computing Toolkit\CUDA\v9.1\bin - Paste the DLL in that directory.

Keep in mind that the file path in Step 5 might differ depending on the version of CUDA that you have installed.
3. Reinstall CUDA Toolkit 9
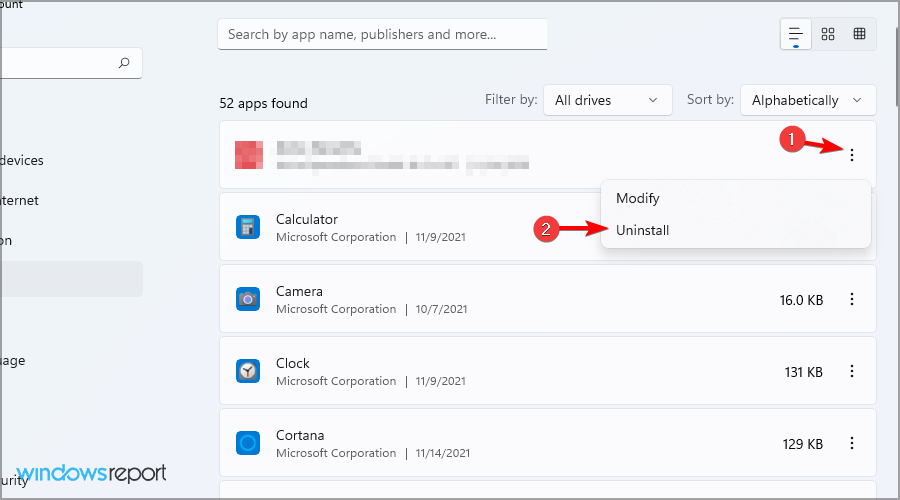
- Press the Windows key + X and select Apps and Features.

- Locate CUDA Toolkit 9, click the three dots next to and choose Uninstall.

- Follow the instructions on the screen.
- Once removed, download CUDA Toolkit 9 again.

If you have any other version installed, such as 9.1, you need to remove it for this solution to work.
4. Change PATH variables
- Make sure you have CUDA and cuDNN installed. You need version 9 for this solution to work.
- Press the Windows key + S and type view advanced. Choose View advanced system settings from the list.

- Click on Environment Variables.

- Double-click the Path variable for your user and add paths from CUDA and CuDNN that contain cudart64_90.dll.
- Save changes.
- In the System variables locate the Path variable and add the same paths from Step 4.
- Save changes.


If you’re using a virtual environment, you might have to add these paths to that environment as well.
This isn’t the only error that you can encounter with Nvidia DLLs, and we already wrote about nvapi64.dll and what to do if nvspcap64.dll is not found error.
We also have a guide on how to fix a missing nvcpl.dll file, so don’t hesitate to check it out for more information.


User forum
0 messages