Debloat Windows 11: How to Remove Bloatware in 4 Steps
Improve PC performance by debloating it
Are you looking to debloat Windows 11 to improve your computer performance? Among other solutions, you will learn how to use the iwr -useb https://git.io/debloat|iex command.
Debloating is an essential part of improving your computer’s performance. It allows you to get rid of any apps you may find unnecessary, intrusive, and wasteful for your resources.
How do I debloat Windows 11?
1. Use the debloat command in PowerShell
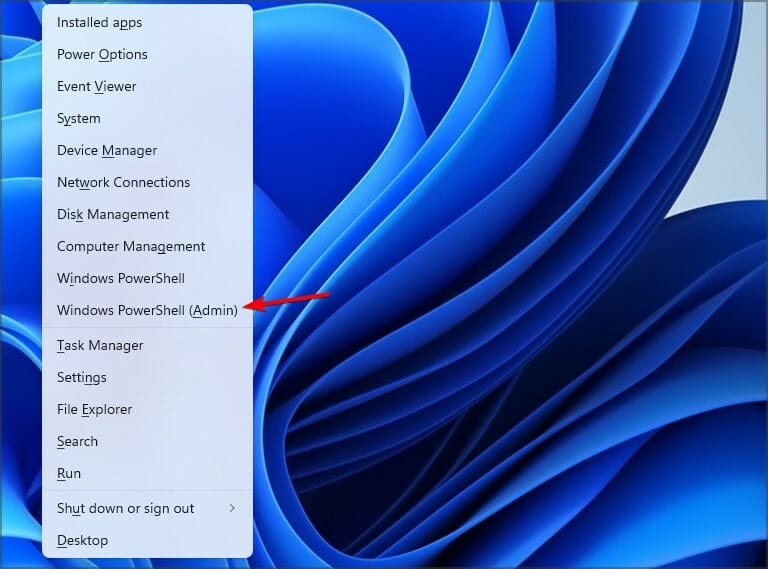
1. Press Windows key + X to open the Power Menu on your PC.
2. Select Windows PowerShell (Admin) from the list.
3. Run the following command:
iwr https://git.io/debloat11|iex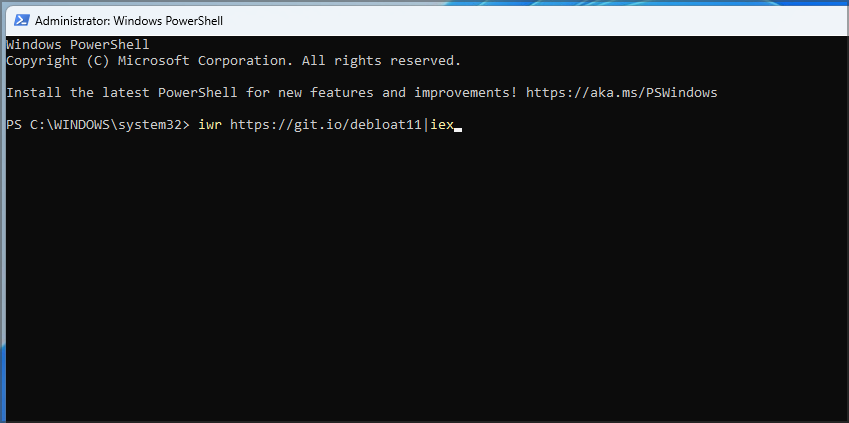
4. Now in the Bloatware section, click on Customize blocklist which allows you to pick out specific apps that you will remove while leaving the rest intact.
The Windows debloater might give you the option to remove all bloatware. Avoid this option and opt to manually select what files to remove.

5. Follow the instructions on the screen to complete the removal process.
A great method to remove bloating on your Windows 11 is to use Powershell. It is a buit-in command line tool which allows you to manually remove all the unwanted apps and tools on your PC, including system apps.
2. Use traditional uninstall methods
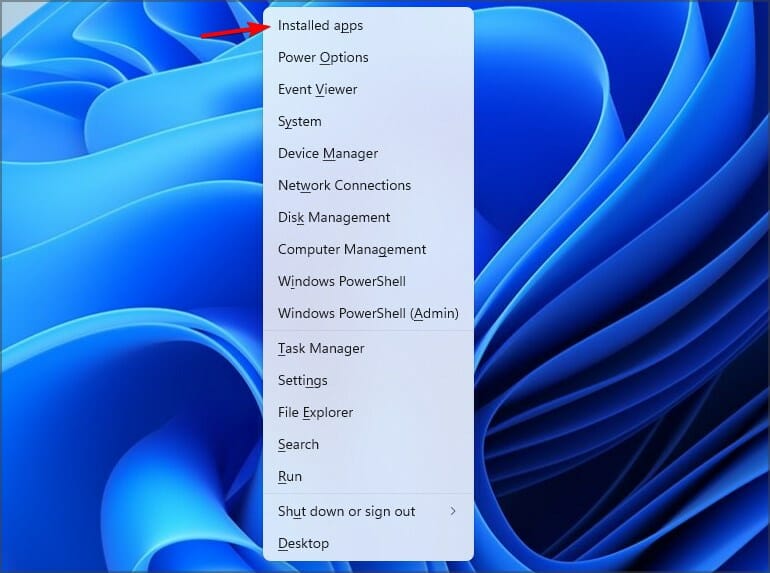
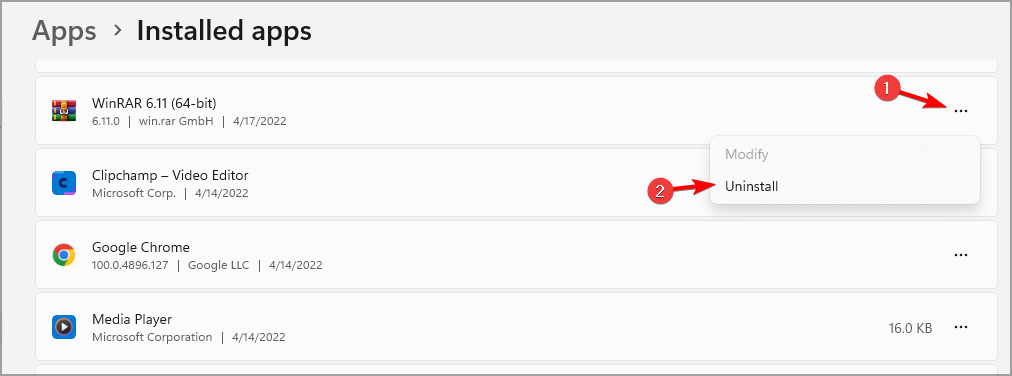
- Press Windows key + X and select Installed apps from the menu.
- Go through the list and check which apps you won’t be using.
- Click on the three dots next to the app that you want to remove. Select Uninstall.
- Click on Uninstall to confirm.
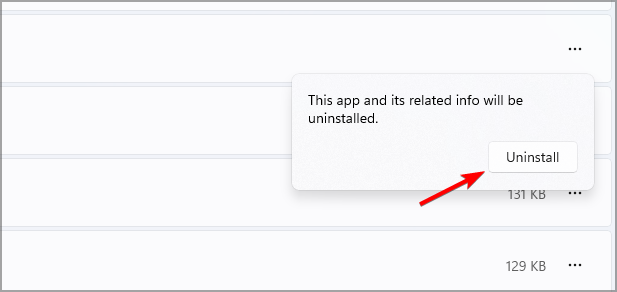
- Repeat the last two steps for all apps that you wish to remove.
Sometimes, your operating system will not let you uninstall some apps by greying out the Uninstall option.
These are known as system apps and they come with the OS.
If you have system apps that you would like to get rid of, consider the next option.
3. Use the Windows 11 debloater from GitHub
 NOTE
NOTE
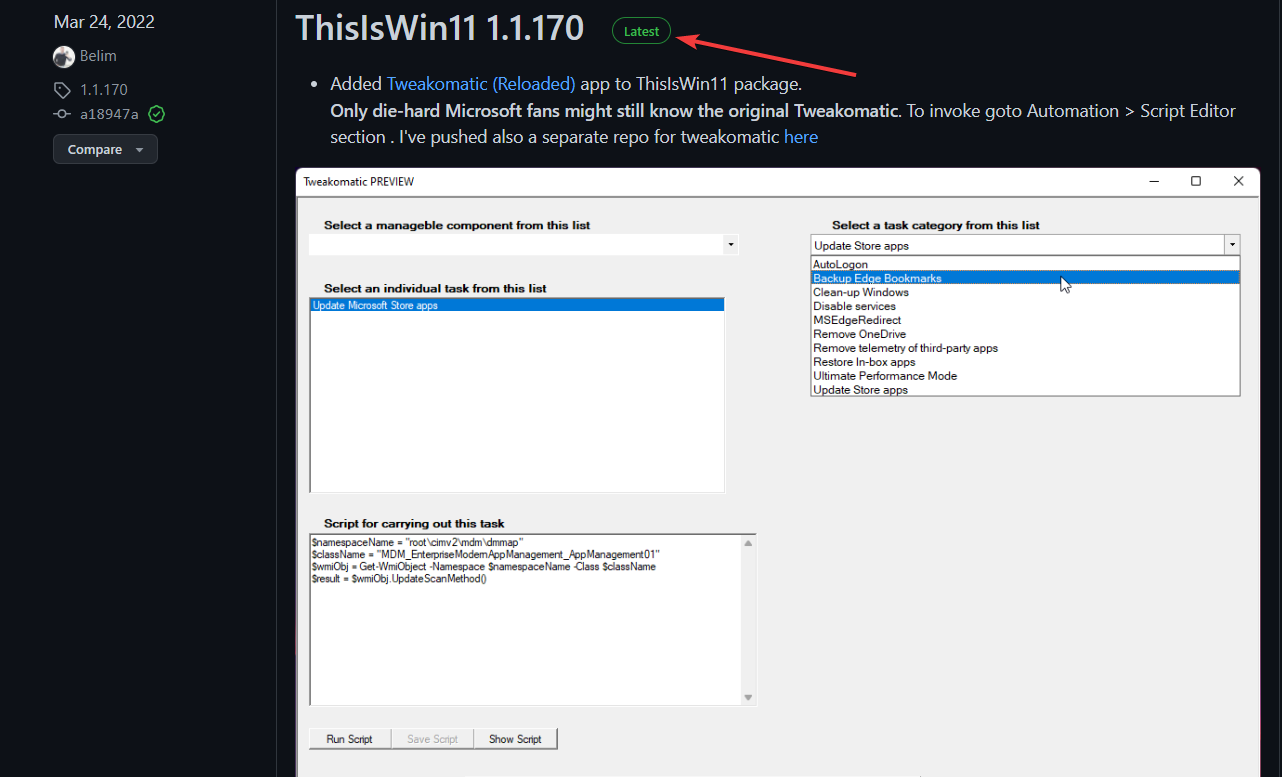
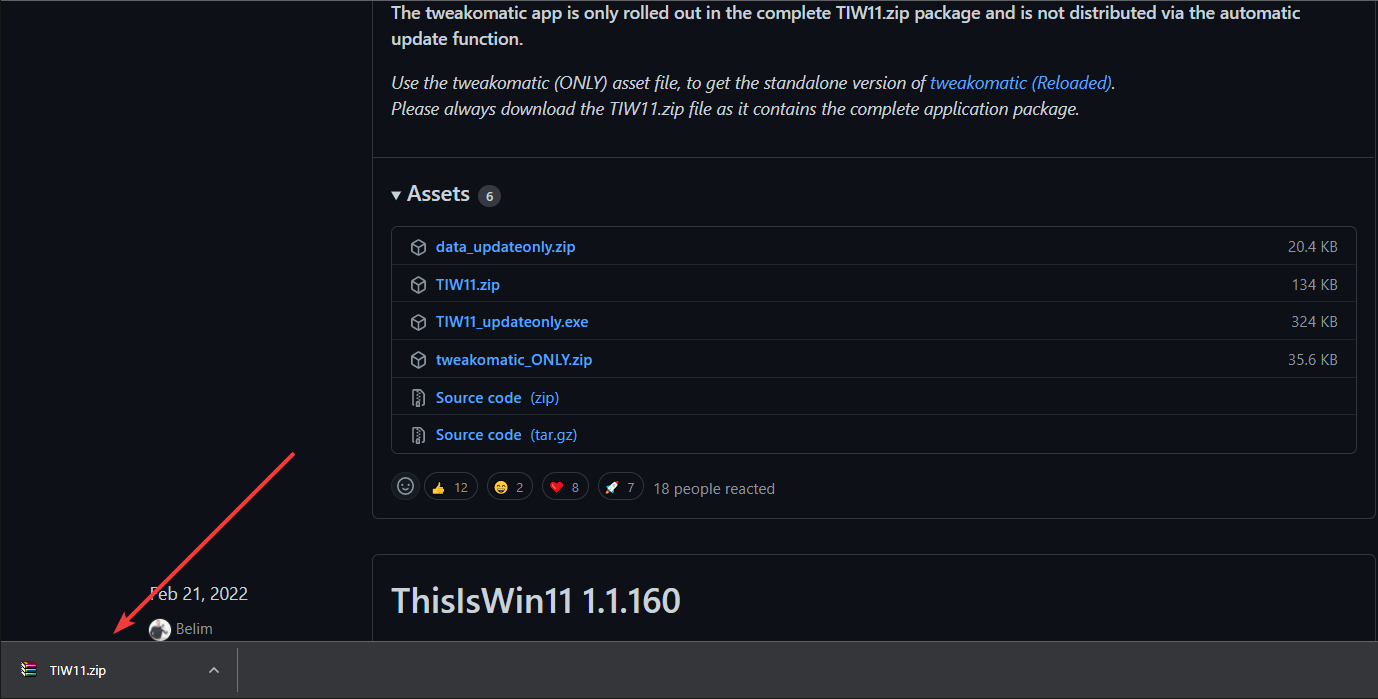
- Navigate to the ThisIsWin11 Github page.
- Select the TIW11.zip option from the assets section.
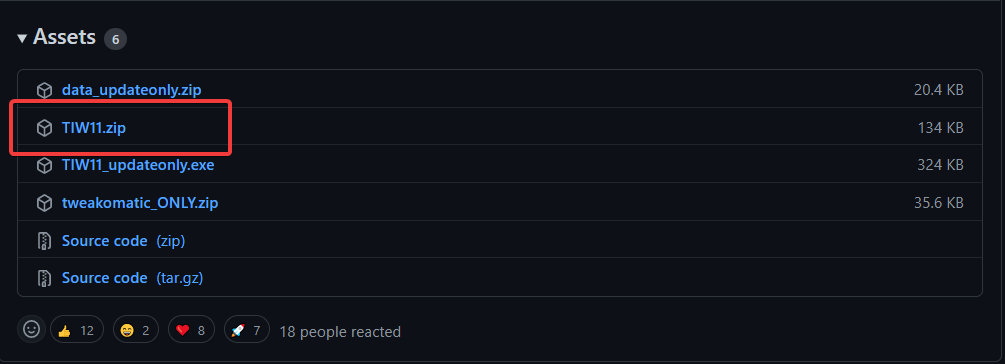
- This will initiate a download for this .zip file.
- Once the download is complete, double click on it to open.
- You can also follow the file to the download section and select the Extract all option.
- Once the file has been uncompressed, look for the ThisWin11.exe file and double click on it.

- Your computer might how in a warning, click Run anyway.
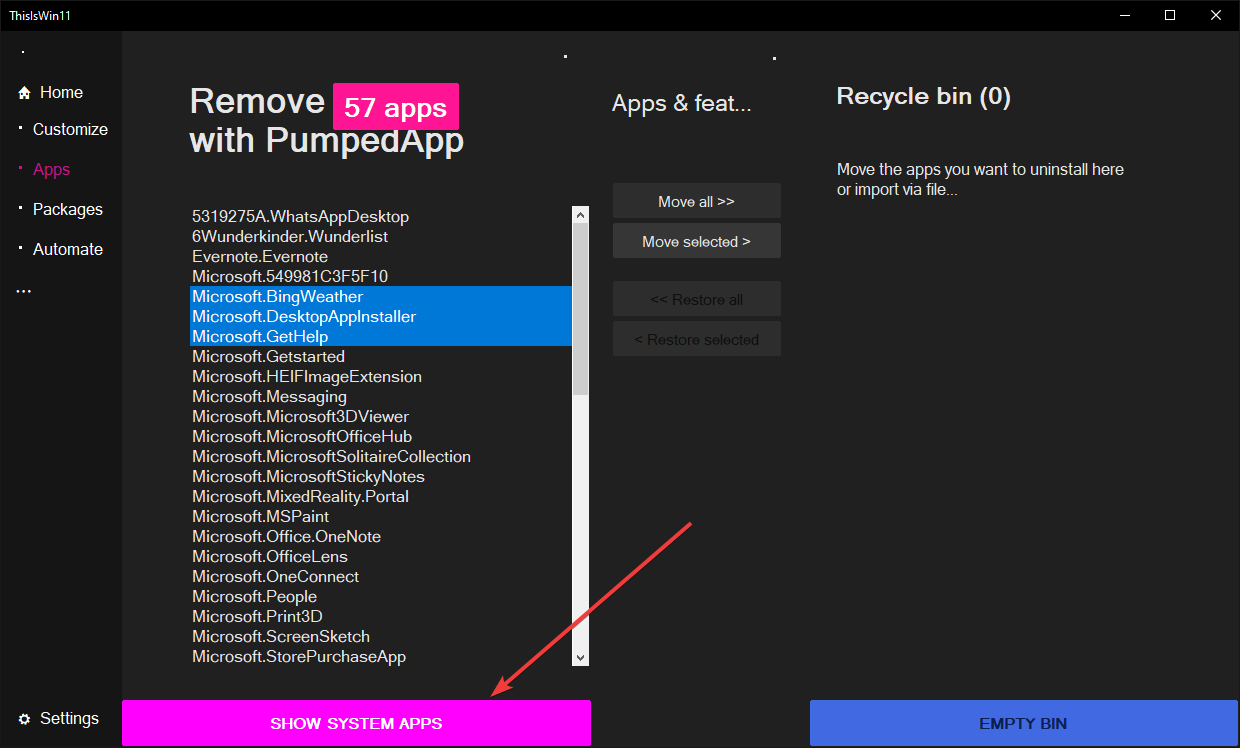
- Once done, click the Apps option on the left side of the screen. You will see a list of all the apps.

- Press and hold the Ctrl button to select the apps you’d like to remove.
- Now click on the Move selected button in the middle of the window to move the apps to the recycle bin.

- You might also remove all apps by clicking on the Move all option, but this is not advisable.
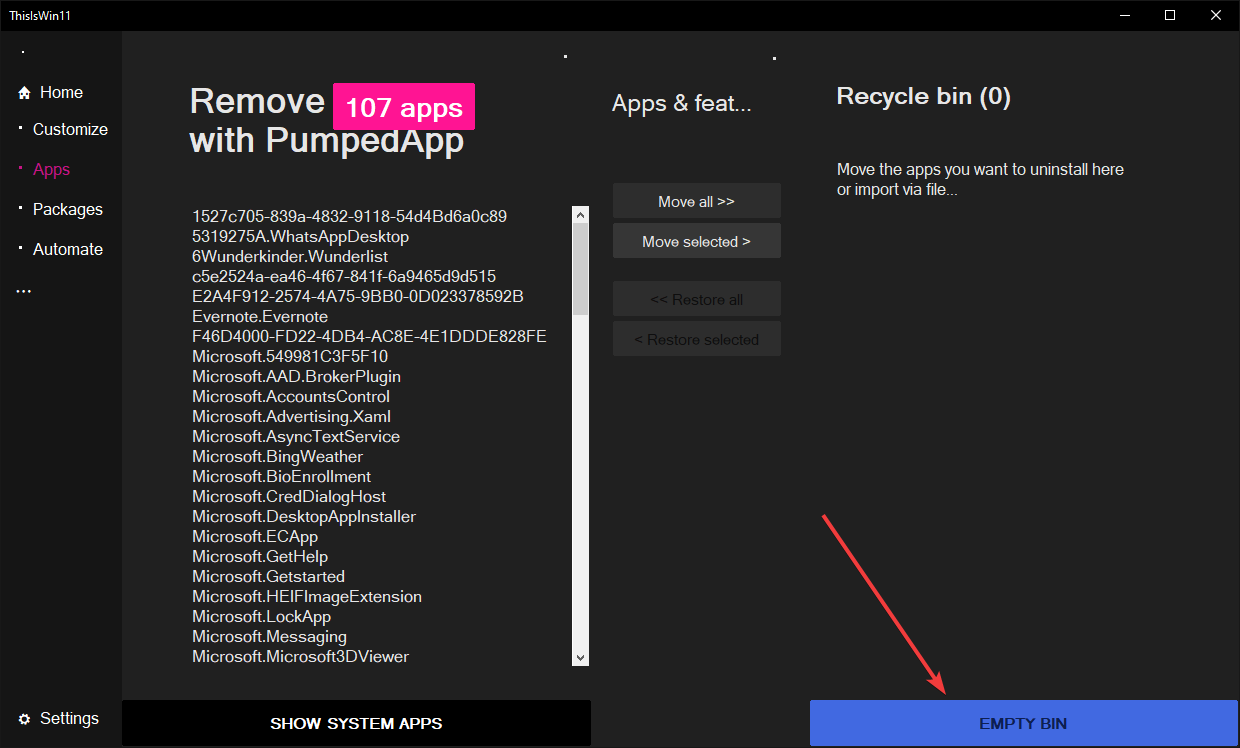
- If you wish to remove System apps, including those that Windows won’t let you uninstall, click on the Show system apps to reveal them.
- Use the Ctrl + click method once more to select multiple apps that you would like to remove.
- Click on the Move selected option on the window.
- Empty your recycle bin by clicking on the Empty Bin button.
As you can see, this software is incredibly simple to use, and it should help you remove unwanted apps with ease.
4. Use the DISM command in Powershell
- On your keyboard, click on the Windows + X keys to open the WinX menu.
- Select the Windows PowerShell (Admin) option.
- Copy and paste this command on your terminal
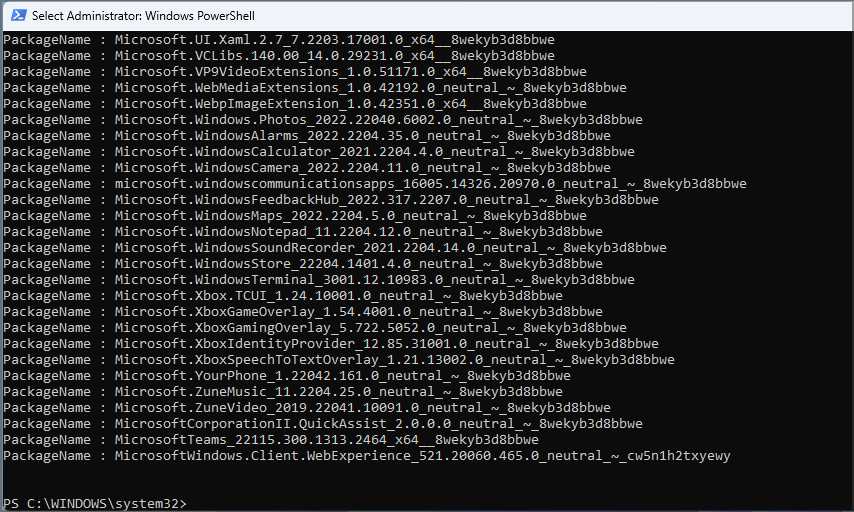
DISM /Online /Get-ProvisionedAppxPackages | select-string Packagename
- The script should show you all the installed packages on your Windows 11 computer.
- Manually look through the list to see which apps you would like to remove.
- Once you locate the app, highlight it and copy it by clicking on the Ctrl + C keys on your keyboard.
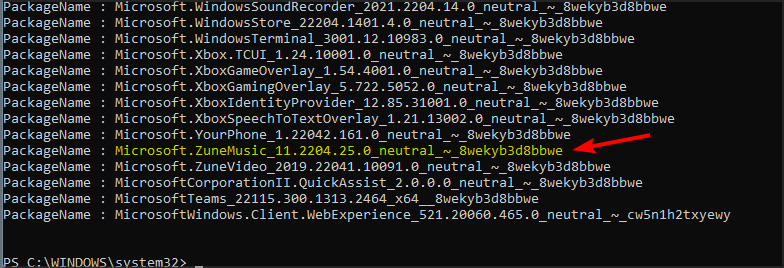
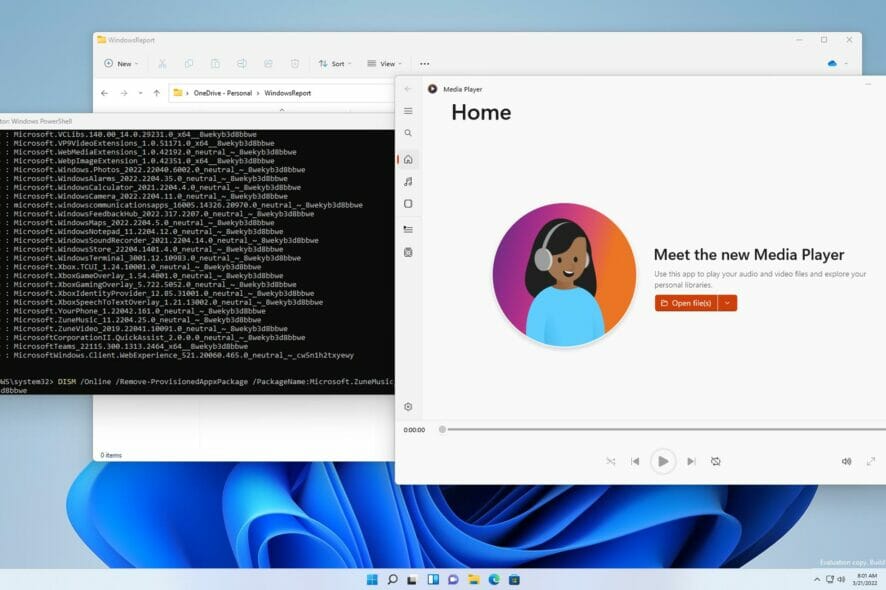
- Copy this script, and be sure to use the name of the package you want to remove at the end. In our exmple we used Microsoft Zune Music, so be sure to replace it:
DISM /Online /Remove-ProvisionedAppxPackage /PackageName:Microsoft.ZuneMusic_11.2204.25.0_neutral_~_8wekyb3d8bbwe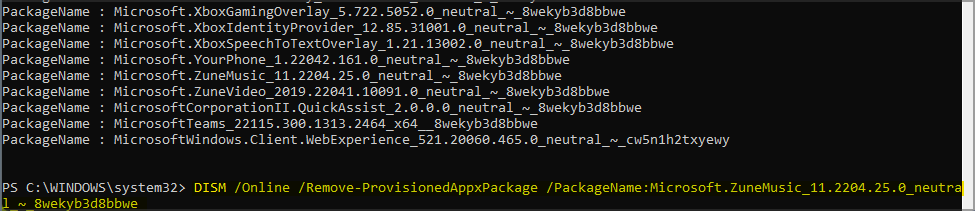
- Hit Enter to completely remove the app from your computer.
Using the debloat Windows 11 script is pretty simple, but you’ll need to repeat the process multiple times in order to remove all affected applications. You can also use the Chris Titus tool to achieve the same results.
So, this is how to debloat Windows 11 in just a few minutes. Your Windows 11 will likely come with a bunch of apps that you won’t find useful. What’s worse is that these apps will continually use limited resources, thus making your PC slower.
If you suspect that these issues are brought about by unnecessary apps on your computer, then consider using Windows 11 debloater software.
Also, it is always important to back up your data and to create a Windows 11 restore point before you debloat Windows 11 since this process can go wrong.
If you have another solution that worked for you, feel free to share it in the comment section.
Read our disclosure page to find out how can you help Windows Report sustain the editorial team. Read more


Improve this guide


User forum
0 messages