How to Use Dell Migrate to Move Files from One PC to Another
A comprehensive guide on transferring your data
![]() 2 min. read
2 min. read
![]() Updated on
Updated on
Share this article

Improve this guide
Read our disclosure page to find out how can you help Windows Report sustain the editorial team Read more
Key notes
- Dell introduced a new tool called Dell Migrate, and PC users have been very interested in finding out more about it.
- This tool helps users transfer documents, images, music, and some user files and settings between PCs.
- Our article will be showing you exactly what you need to do in order to use Dell Migrate.

Dell is one of the biggest tech giants in the PC industry, and it constantly rolls out new products, both hardware, and software.
That being said, Dell introduced another neat tool called Dell Migrate, and it aims to help Dell users migrate their data from an old Dell PC to a new one in the most efficient way imaginable.
They also have a proprietary set of services called Dell SupportAssist that acts as a platform filled with tools that can allow users to better handle their Dell PCs.
The guide below will be showing you exactly what you need to do in order to use Dell Migrate efficiently.
What should I know before I migrate my data?
Before proceeding, make sure that these conditions are met first:
- The OS installed on the source PC needs to be Windows 8 or higher
- The OS installed on the Dell target PC needs to be Windows 10 or higher
- You need to be logged into the source PC as an Administrator
- Both source and target Dell Pc are connected to the same LAN
- No applications are running on either source or target PC when you start the migration
How do I use Dell Migrate to transfer data to a new computer?
As long as you meet the criteria for migrating your data, you can begin doing so. It is now easier than ever to move important files and settings from your old PC to your new Dell PC with the Dell Data Assistant assistant.
Dell Migrate allows you to work on your new PC without interruption while the migration is in progress. Moreover, you don’t have to restart your computer when the migration is complete, you can already access the files you just moved.
1. Turn on your source PC.
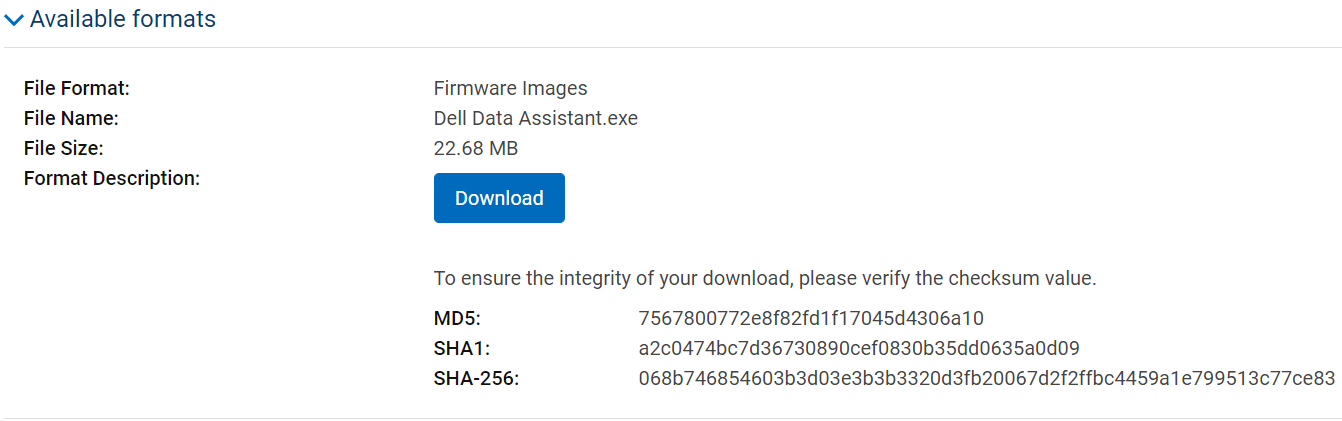
2. Open a browser and go to the Dell official website.
3. Scroll through the page until you see the Dell Data Assistant tool or search for it in the search box.
4. Download the executable file to your source PC, and then run it.
5. On your Dell target PC, press Start.
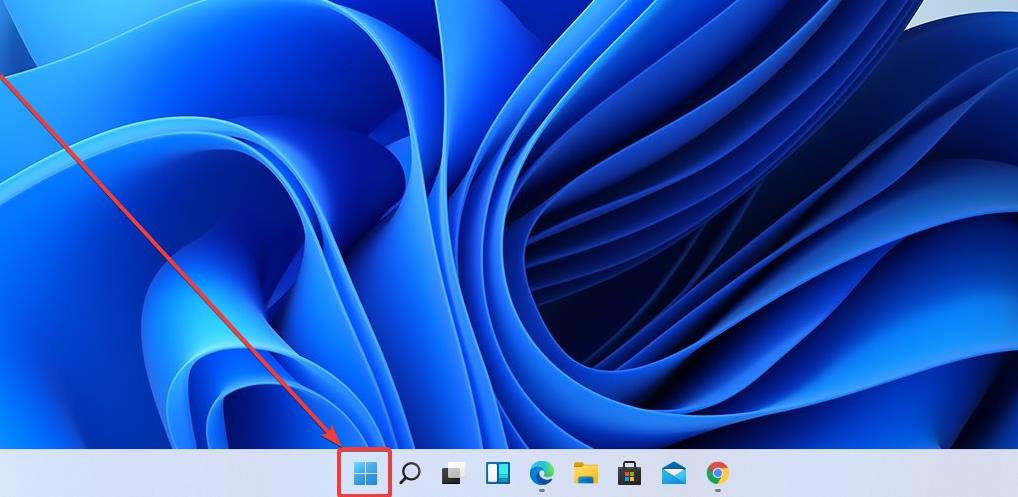
6. Search for Support Assist and then launch it. You need to have Dell SupportAssist installed in order for this to work.
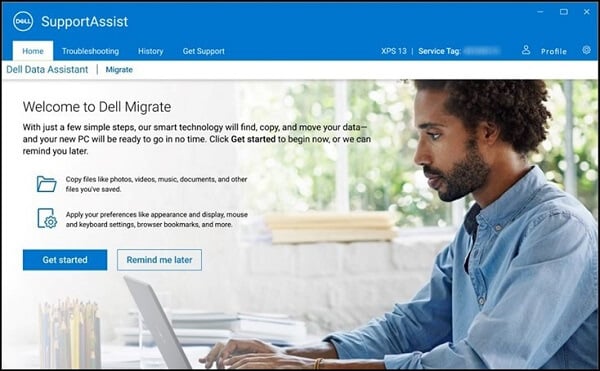
7. Go to the SupportAssist Home menu.
8. At the bottom of the menu, click on Go now. Alternatively, you can go to Troubleshooting > Copy my files and settings from another PC > Go now.
9. Select Get Started.
10. Click Connect on the next page.
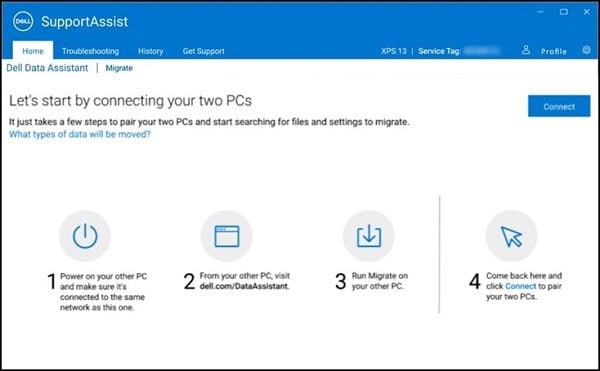
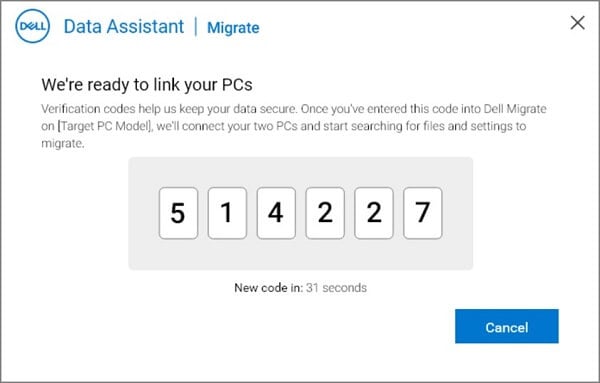
11. You will be asked for a verification code.
12. Input the one from your source PC. It is a 6-digit code.
13. Dell Migrate will scan the source PC for any data that it can migrate.
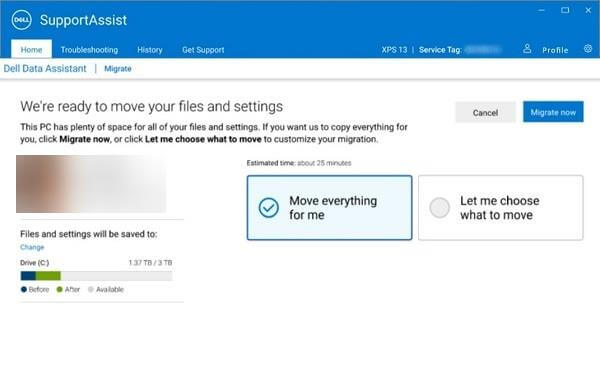
14. As far as data transfer goes, you will need to choose one of the following options:
-
- Move everything for me.
- This will move all files and settings detected on the old PC.
- Let me choose what to move.
- This lets you see what was discovered, and then you can choose what to transfer or not.
- Move everything for me.
15. Click Migrate now.
16. Your data should now migrate, and you can view a brief summary of how the operation went, and if everything is OK.
Other information about Dell Migrate
Here are some of the things that you should know about Dell Migrate:
- Supposedly, it is far more efficient at transferring all of your data compared to other similar migration tools.
- The software can be used on any brand of PC, but the destination PC needs to be a Dell.
- You can continue working on your PC while the migration is happening
By following these steps, you should be able to efficiently use Dell Migrate to transfer all of your settings and data from an old PC to a newer one.
Let us know if you found this article helpful by leaving us a message in the comments section below.