6 Simple Ways to Fix the Dell SupportAssist Blank Screen
A BIOS reset is in order
4 min. read
Updated on
Read our disclosure page to find out how can you help Windows Report sustain the editorial team. Read more
You might encounter a Dell SupportAssist blank screen if you’ve just updated your drivers or during a diagnostics episode.
The Dell SupportAssist tool‘s screen going blank could be a sign of compatibility issues especially with newly downloaded drivers or with other software.
What can I do to fix the Dell SupportAssist blank screen?
1. Boot the computer in safe mode
- Long-press the power button of your computer until you’re completely sure it shuts down.
- Wait a few seconds, then turn it back on.
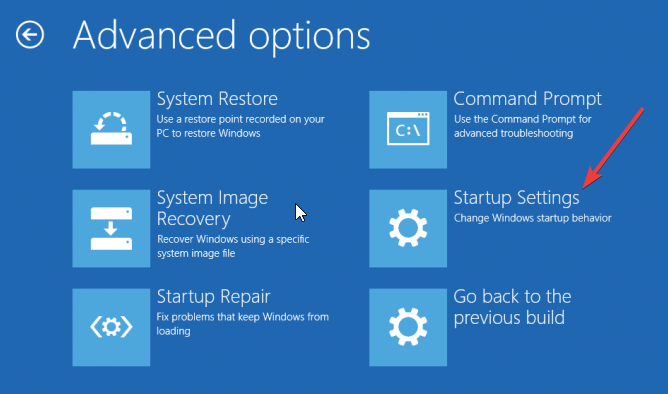
- When booting starts, press F8 repeatedly until you get the Advanced Boot options.
- Select Startup Settings.
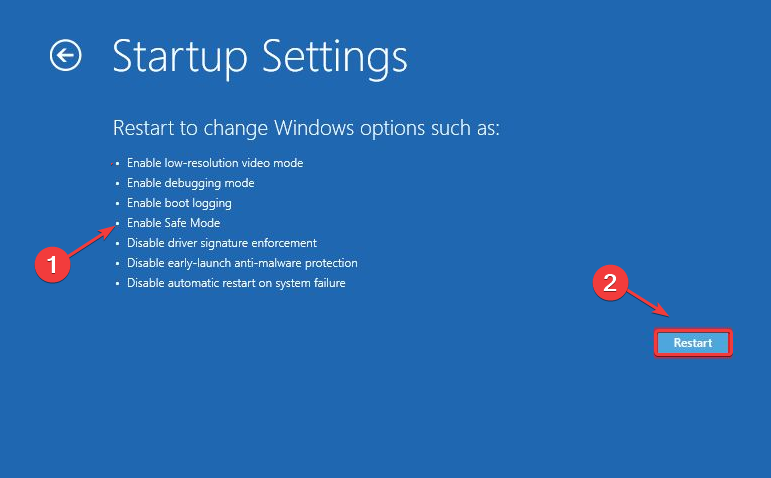
- Type F4 to enable Safe Mode, then click Restart.
2. Temporarily disable Windows Firewall and run as admin
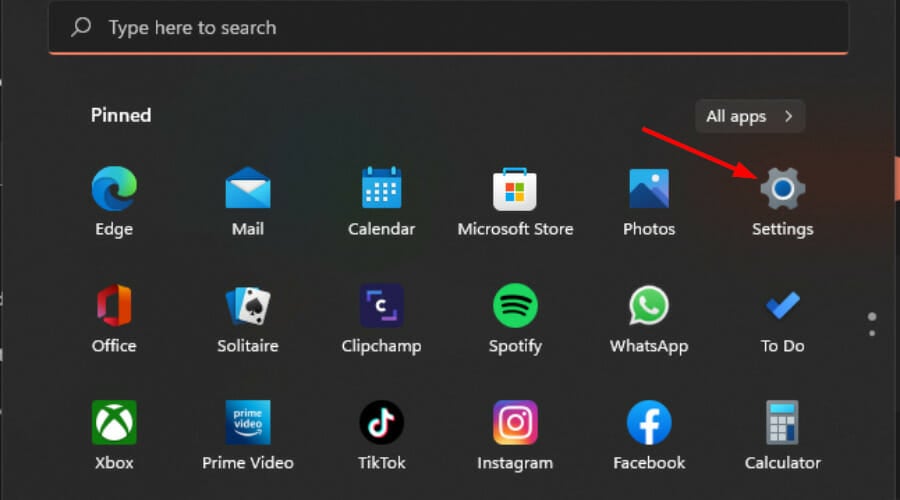
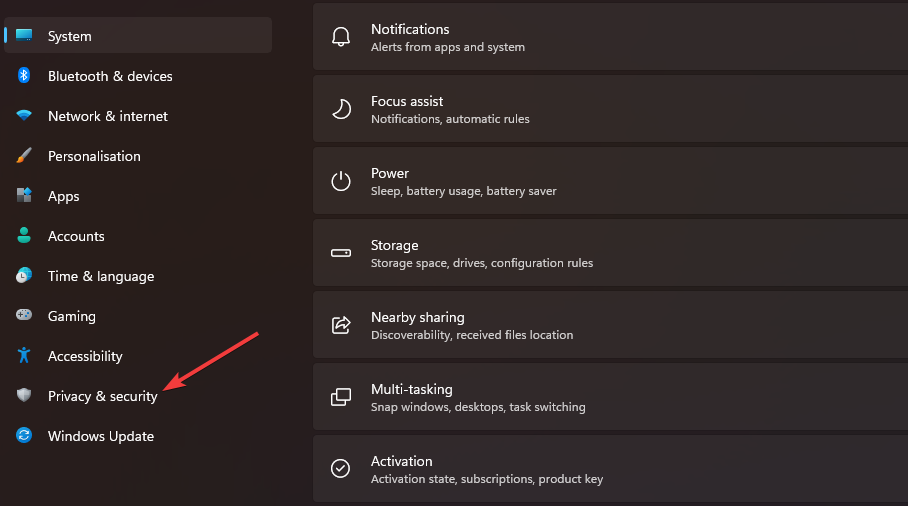
- Hit the Windows key and click on Settings.
- Select Privacy & security.
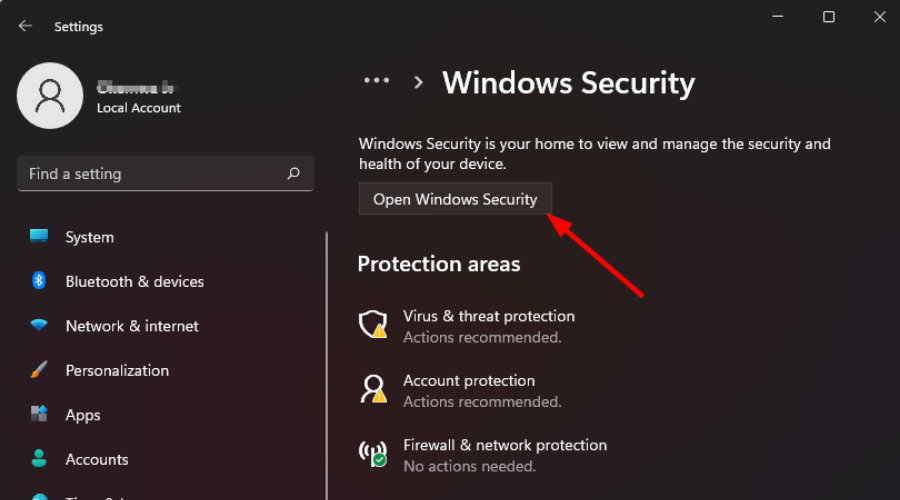
- Click on Open Windows Security.
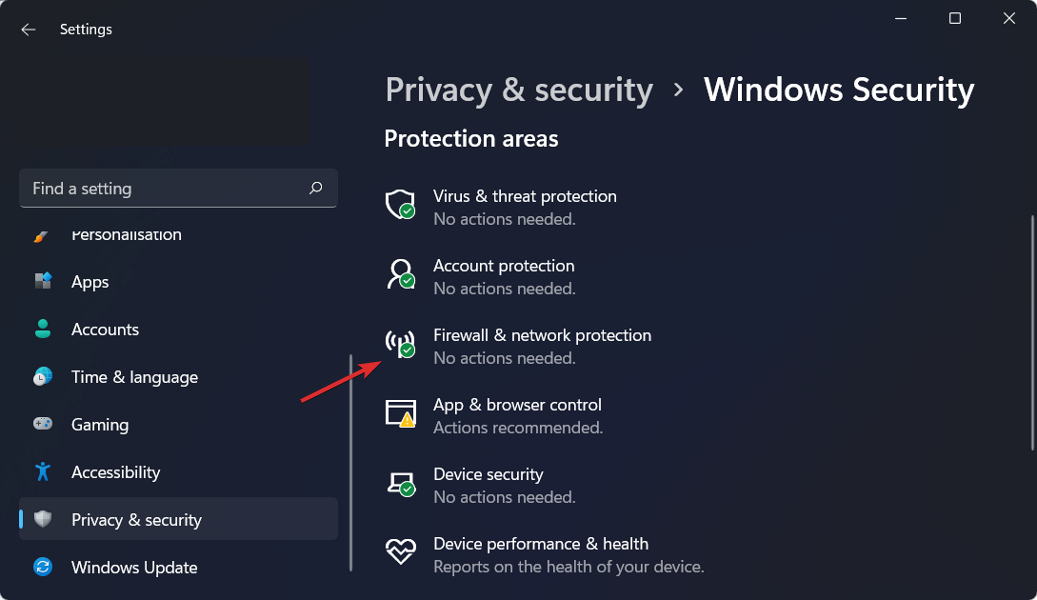
- Select Firewall & network protection.
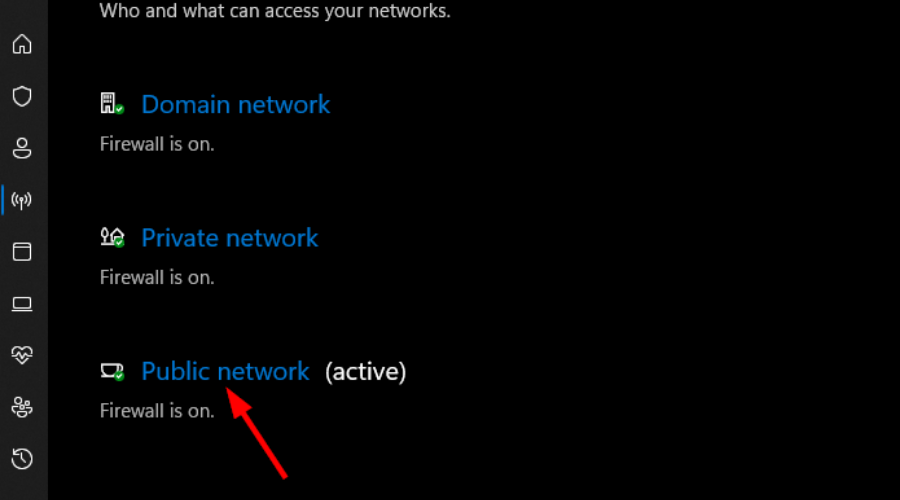
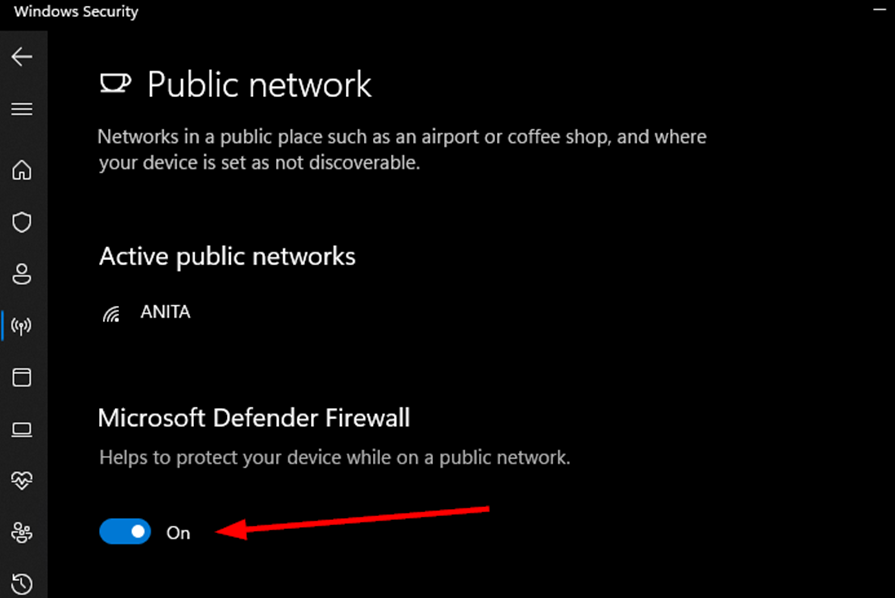
- Click on Public network.
- Next, toggle Microsoft Defender Firewall off.
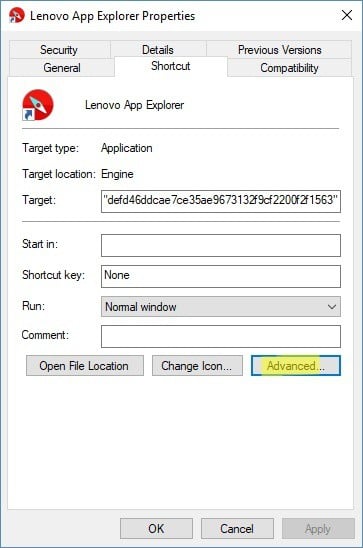
- Navigate to Dell SupportAssist, right-click on the program’s icon, select Properties on the menu and click on Shortcut.
- Next, click on Advanced.
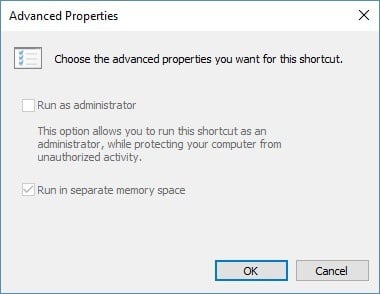
- Select the box that says Run As Administrator and click on Apply.
- Try launching Dell SupportAssist and see if the blank screen still appears.
3. Download drivers manually
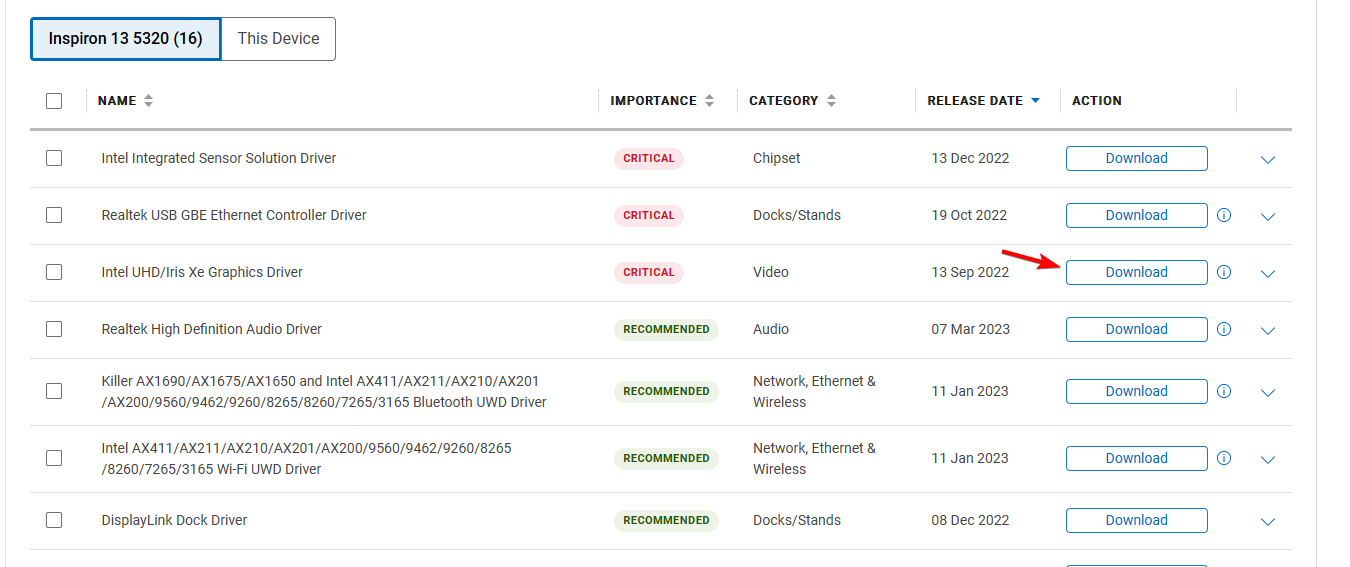
- Visit Dell’s download page.
- Enter the name of your product or use Browse all products option to manually find it.
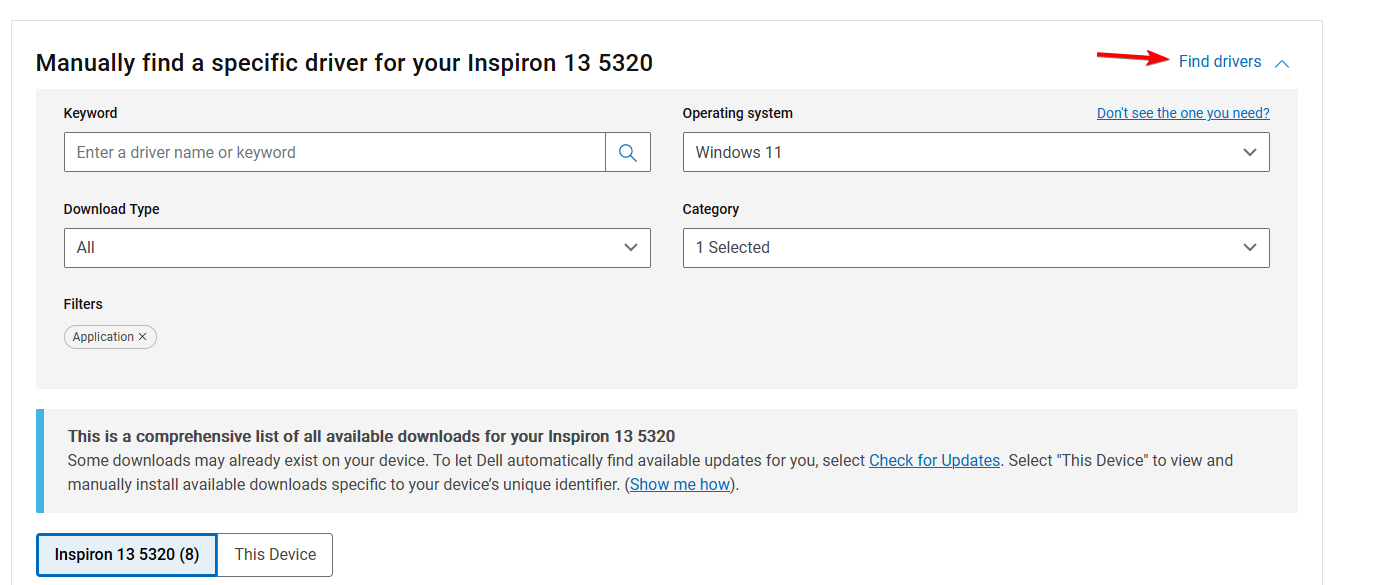
- Click on Find drivers and fill in the form to find the desired driver.
- Locate the driver you want to download and click on Download.
- Wait for the driver to download.
- Once the download is finished, run the setup file to install the driver.
Updating drivers via Device Manager can sometimes match your system with the wrong drivers so going straight to the source can fix the blank screen issue.
4. Repair/reset the Dell SupportAssist app
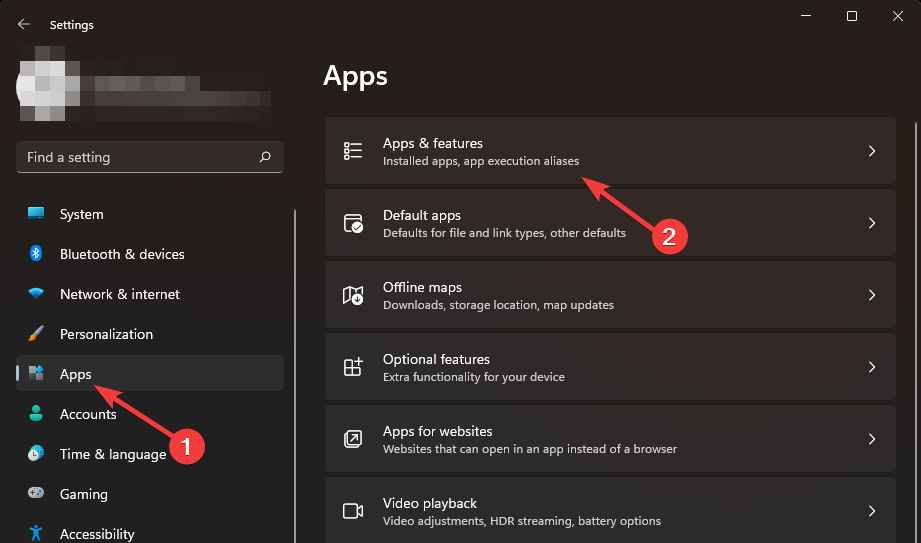
- Hit the Windows key and click on Settings.
- Click on Apps on the left pane then Apps & features on the right pane.
- Locate the Dell SupportAssist app.
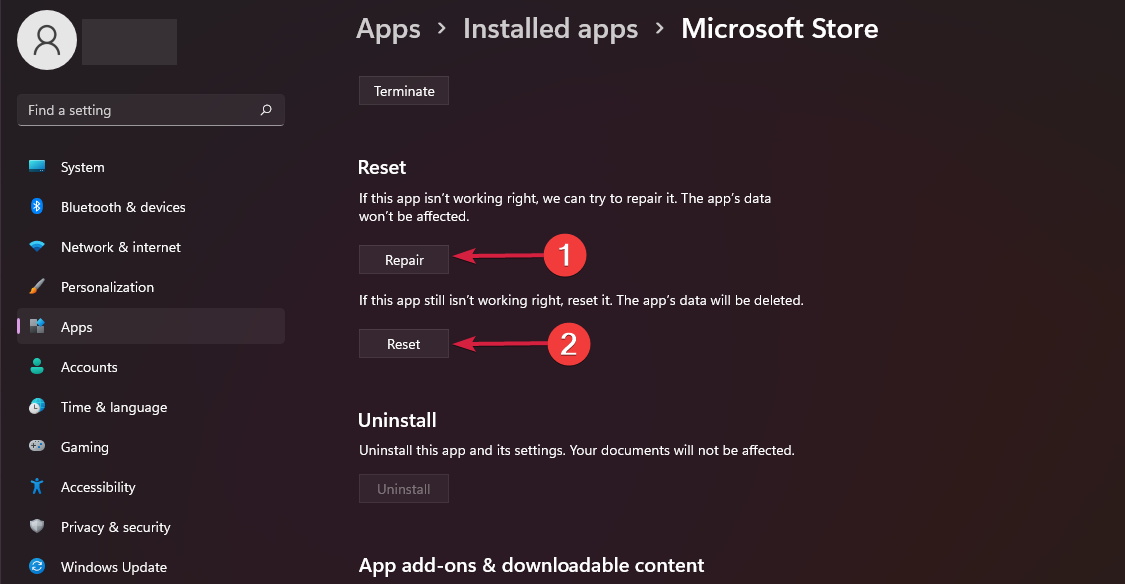
- Click on Repair.
- Go back and click on Reset if the repair option failed.
5. Reinstall the Dell SupportAssist app
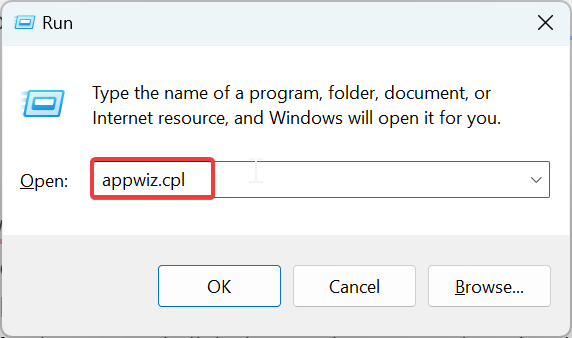
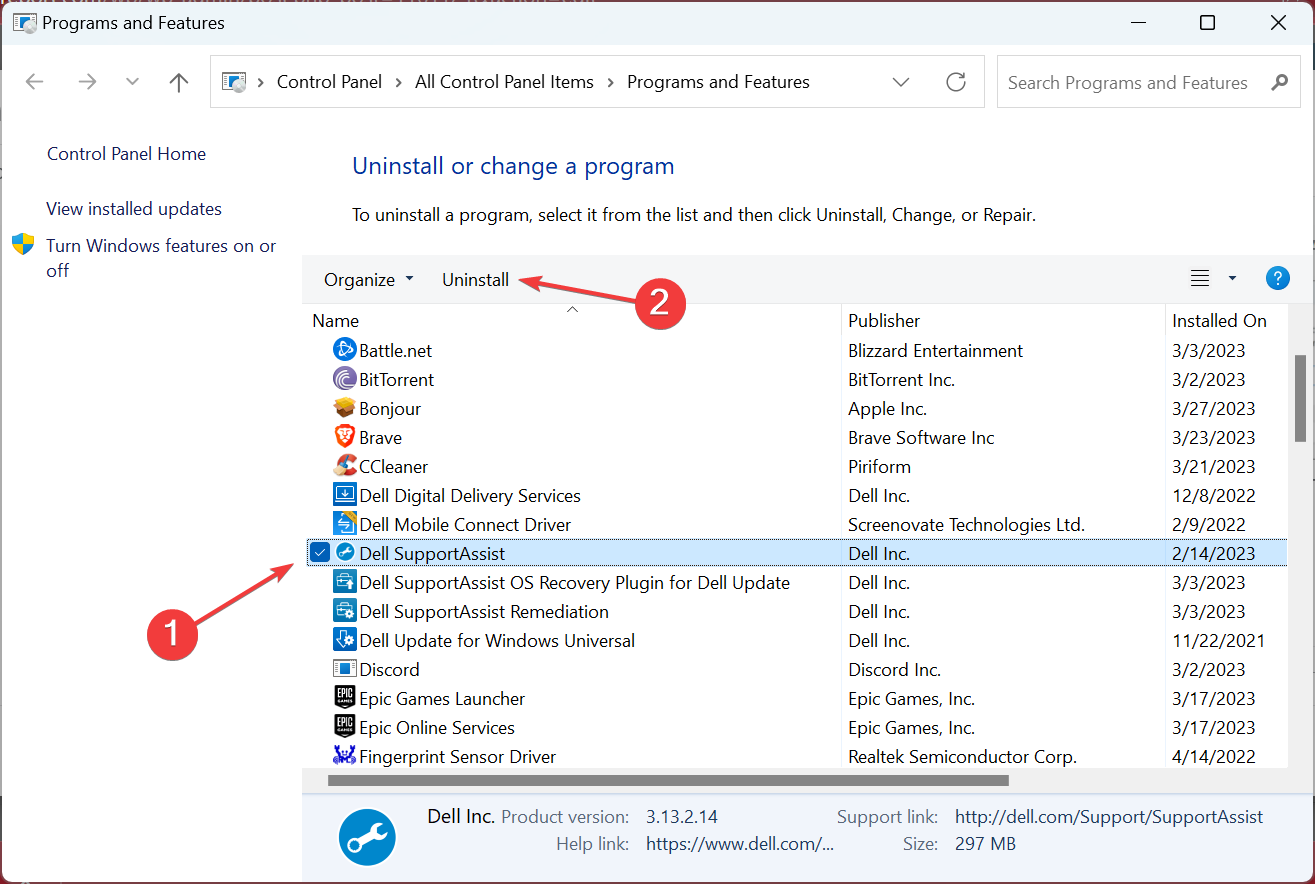
- Press Windows + R to open Run, type appwiz.cpl in the text field, and hit Enter.
- Select Dell SupportAssist from the list of apps, and then click Uninstall.
- Click Yes in the confirmation prompt and follow the on-screen instructions to complete the uninstall process.
- Similarly, uninstall the Dell SupportAssist Remediation and Dell Power Manager Service apps as well.
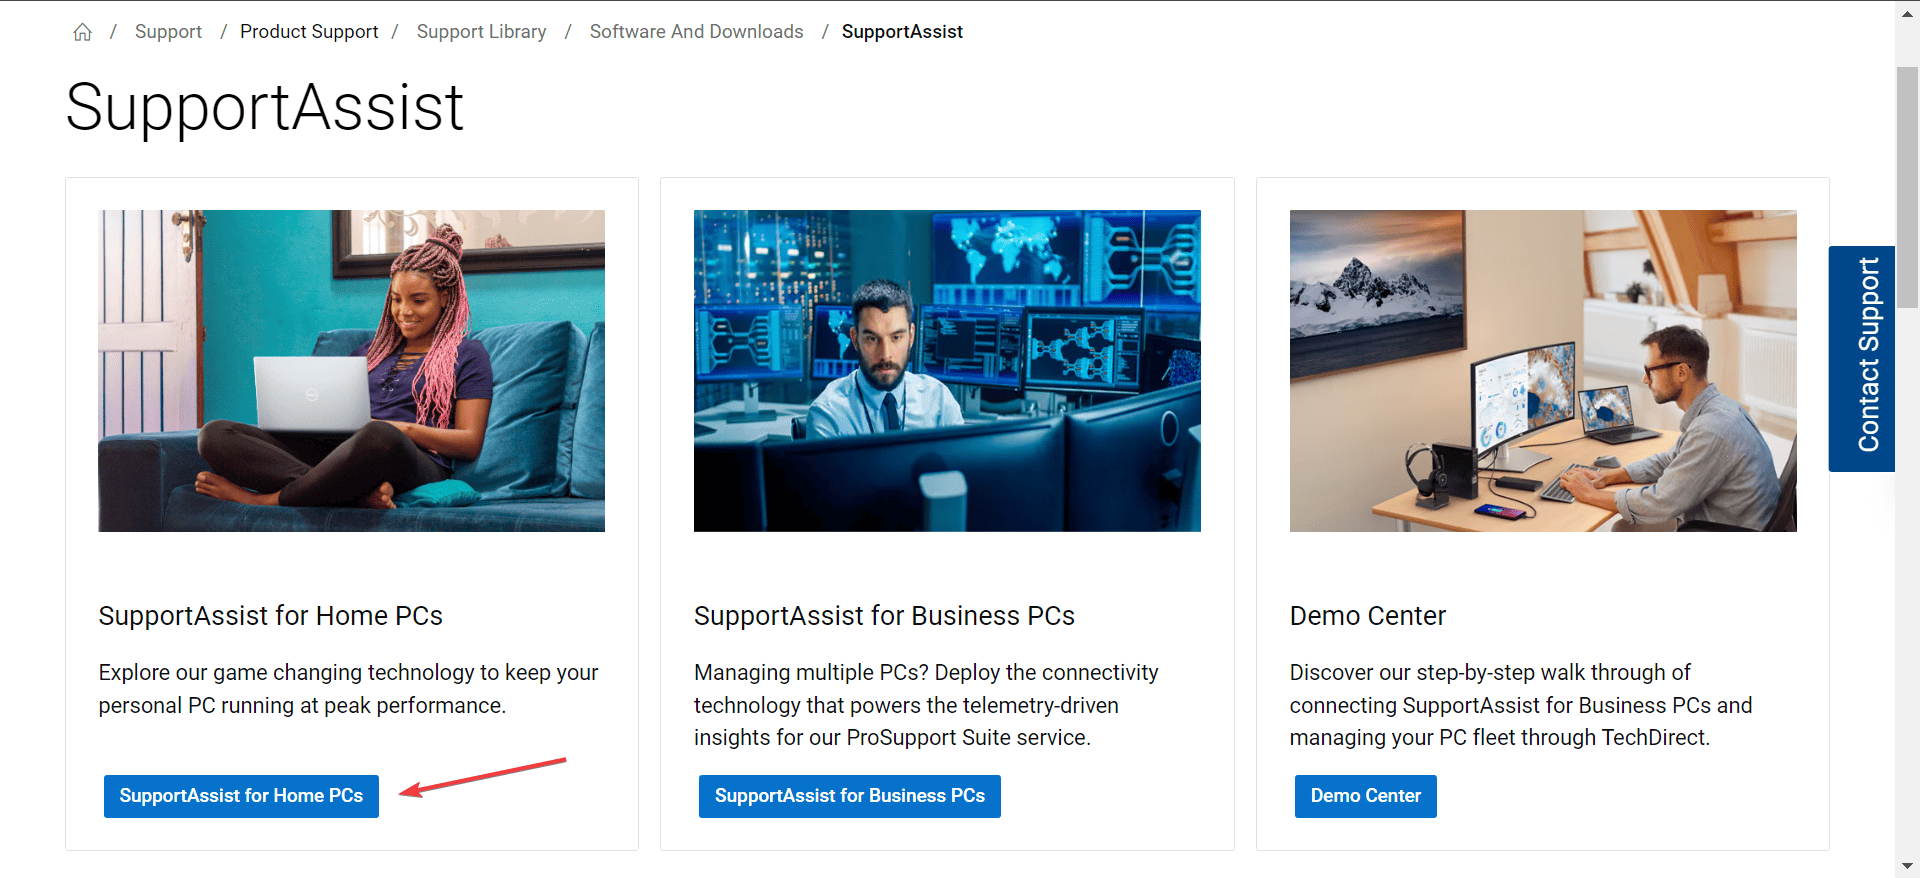
- Go to Dell’s official website, and click on SupportAssist for Home PCs if your computer is not a part of any organization.
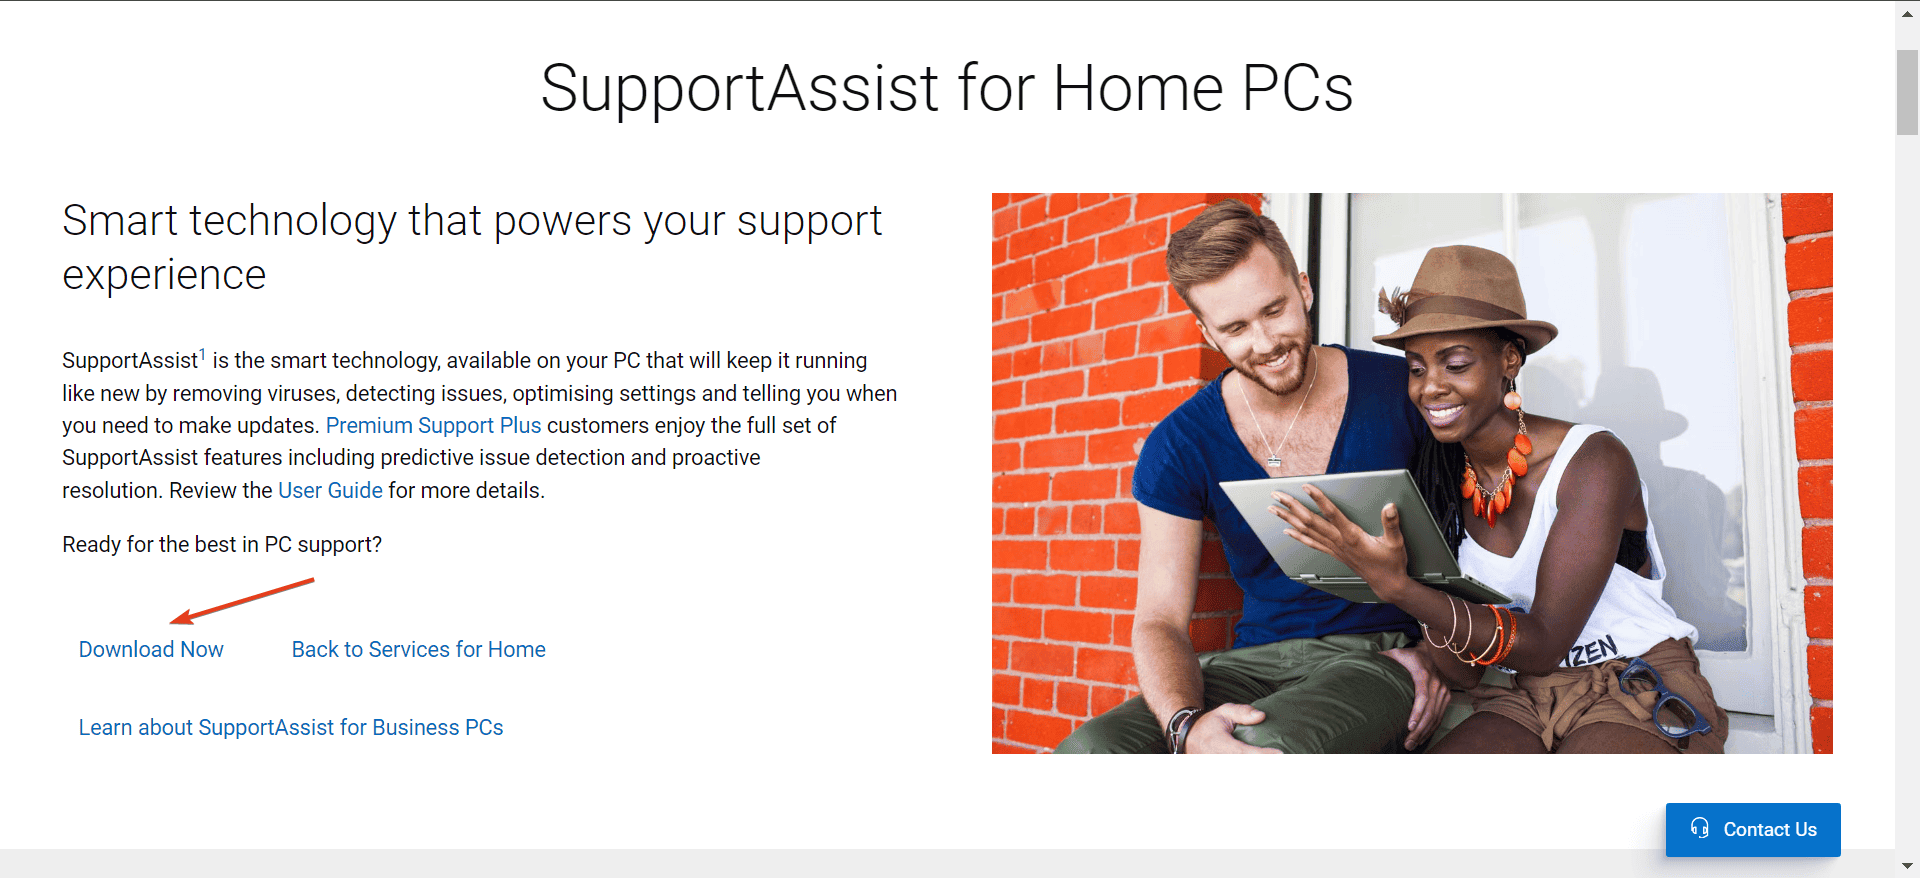
- Click on the Download Now button to get Dell SupportAssist 64-bit for Windows 11.
- Head to the Downloads folder and run the SupportAssistInstaller.exe file then click Yes in the UAC prompt.
- Follow the on-screen instructions to complete the process.
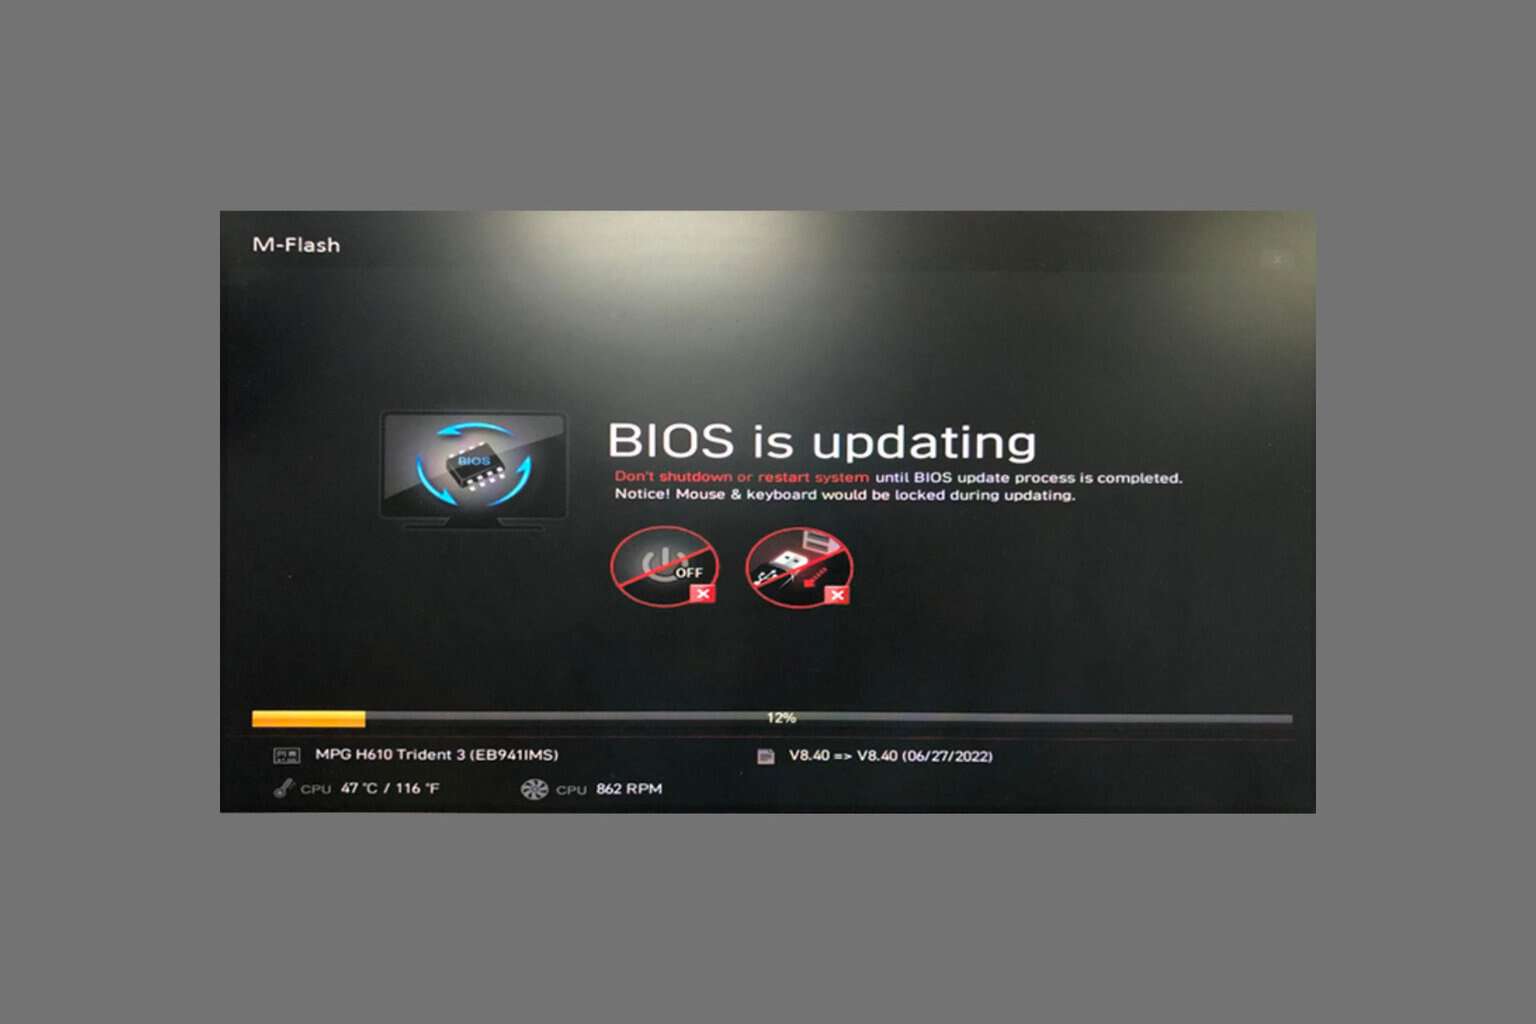
6. Reset the BIOS
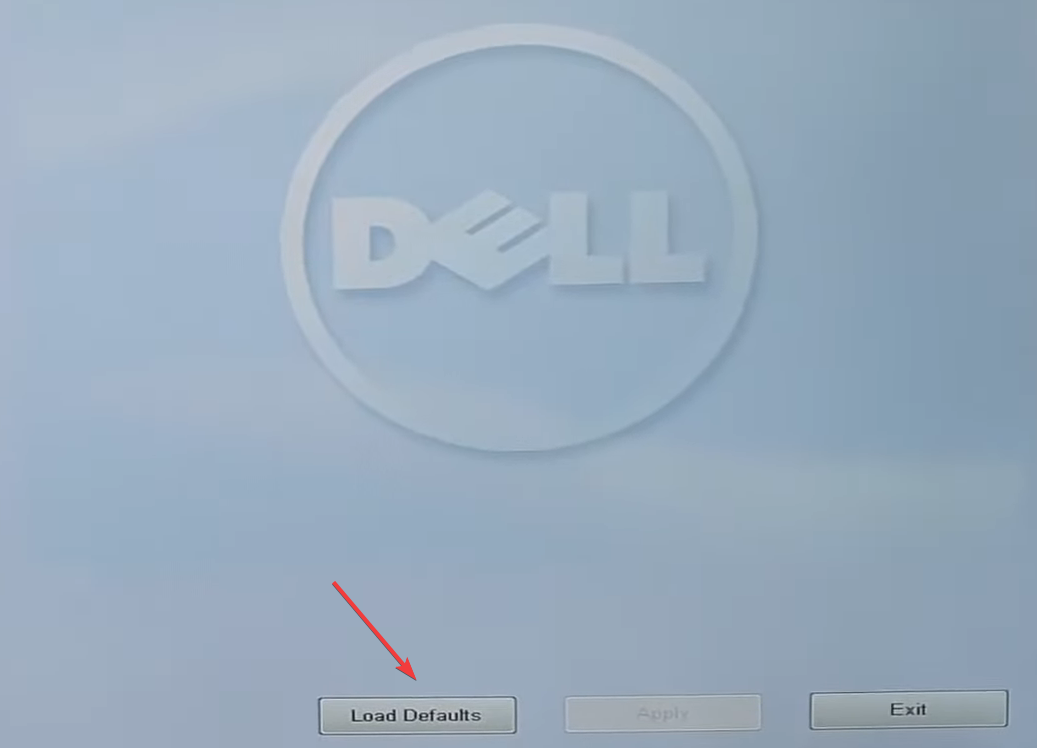
- Turn off the Dell laptop, then hold the power button, and as soon as the display lights up, press the F2 or F12 key to access the BIOS.
- Now, look for a Load Defaults or similar option, and click on it.
- Choose the appropriate response to confirm the change.
- Once done, restart the device.
It is possible that your system’s BIOS and the Dell SupportAssist tool have a miscommunication because of compatibility issues. Resetting the BIOS will allow a smoother interaction.
There are also other instances where the Dell SupportAssist program is not working or not connecting to the internet but we’ve already covered that in other guides. You can also uninstall Dell Support Assist completely and turn to other diagnostic software that performs the same duties.
We also recommend that you make it a habit to clean up and optimize your PC regularly to avoid hardware and software issues. We also have a guide on Dell SupportAssist OS Recovery, so don’t miss it if you want to learn more about this tool.
That’s it for this article but if you’ve encountered this error before and have a solution we’ve not mentioned here, let us know in the comment section below.






User forum
0 messages