Dell XPS 17 microphone is not working [Quick Fix]
![]() 3 min. read
3 min. read
![]() Updated on
Updated on
Share this article
Improve this guide
Read our disclosure page to find out how can you help Windows Report sustain the editorial team. Read more
Key notes
- Microphones are integral to any audio or video call, but several users have reported that their Dell XPS microphone is not working.
- To fix the problem, you can provide the relevant permissions, modify the settings, or update the microphone driver.
- Also, find out the best third-party app to automatically update the drivers in Windows.
With more and more people switching to work from home, the number of online meetings being conducted each day has gone up tremendously. But, several users have reported that their Dell XPS microphone is not working, leaving them in a lurch.
And, since the error could arise due to a bunch of issues, namely, misconfigured settings, outdated drivers, or problems with the hardware itself, the troubleshooting becomes a little tricky.
So, if your Dell XPS microphone is not working, try the most effective fixes listed in the next section to get things up and running.
What do I do if Dell XPS microphone is not working?
1. Check if the microphone is enabled
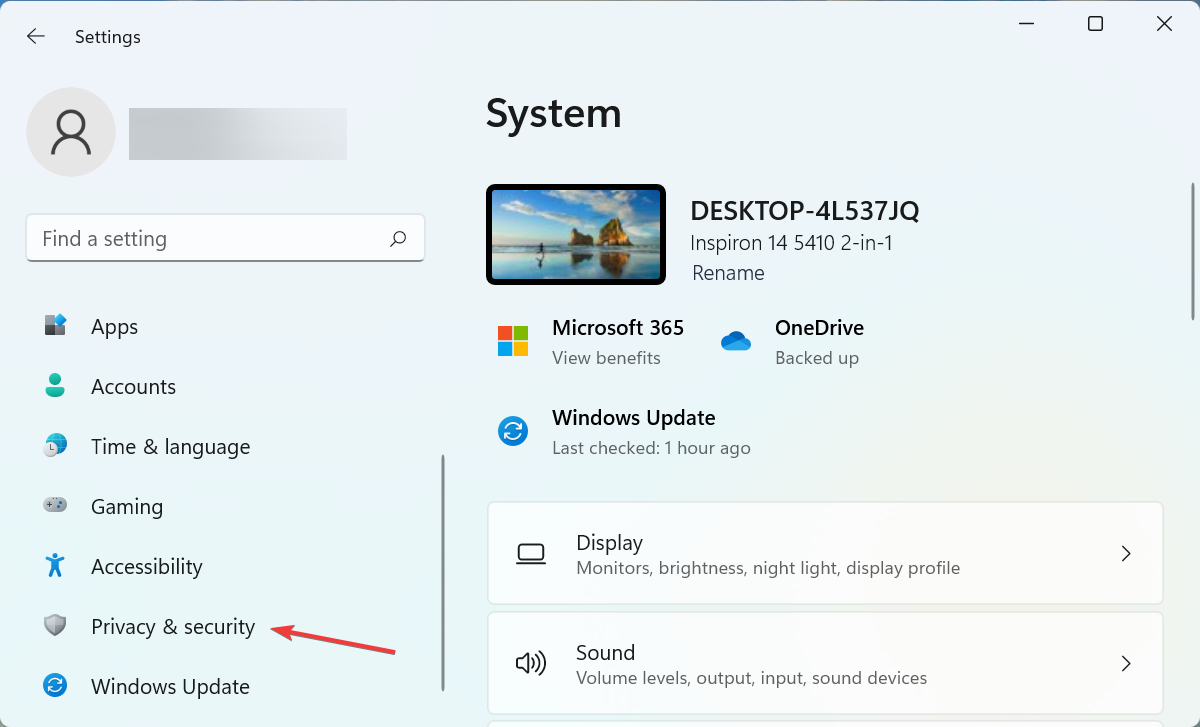
- Press Windows + I to launch the Settings app, and then select Privacy & Security from the tabs on the left.

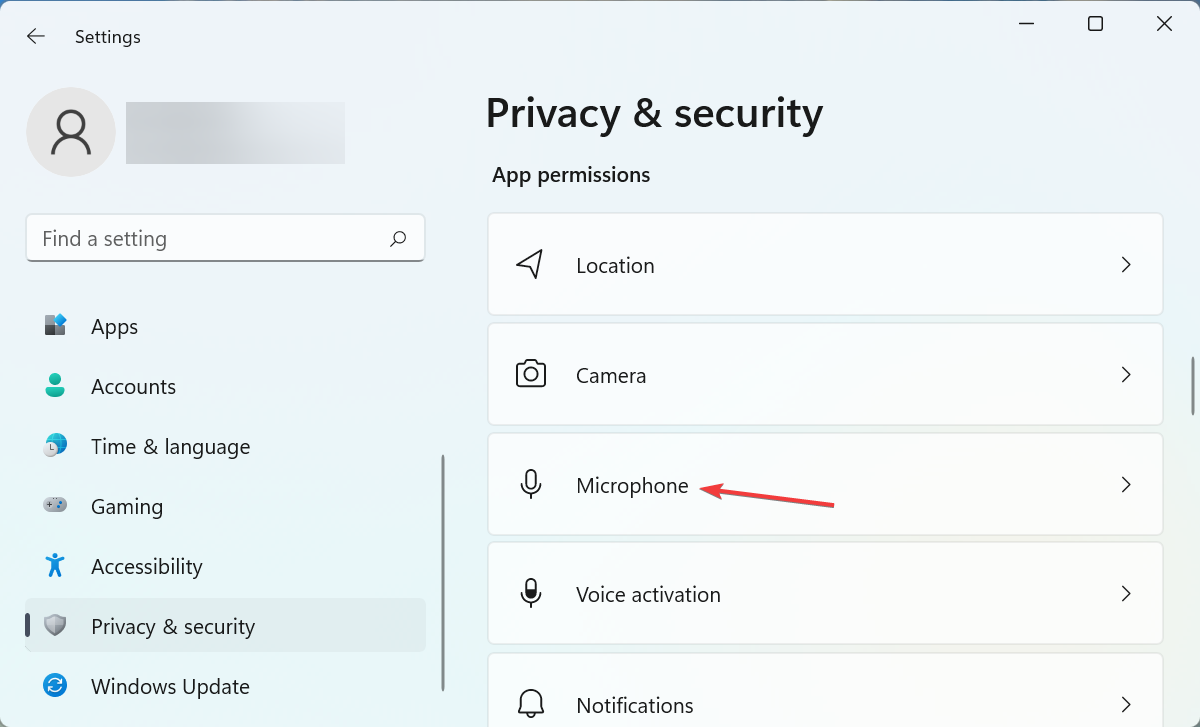
- Next, scroll down and click on Microphone under App permissions.
- Now make sure that the Microphone access and Let apps access your microphone toggles are turned on.
- Also, if you are facing issues with a desktop app, verify that it has access to the microphone.
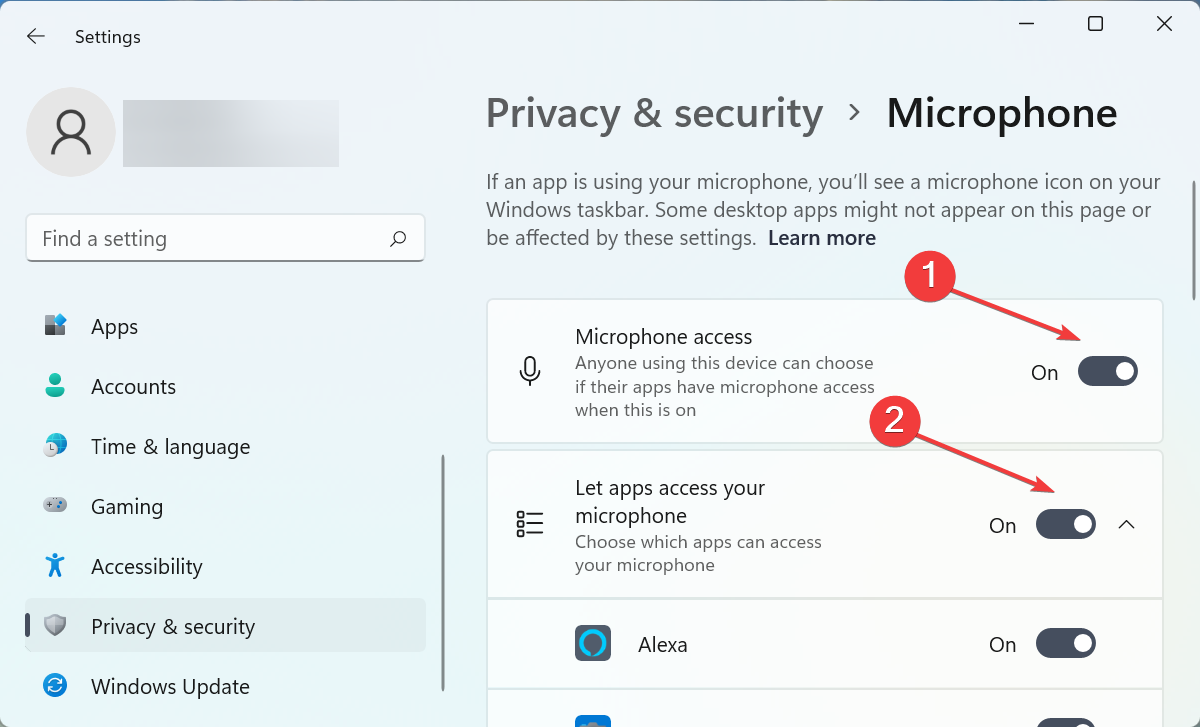
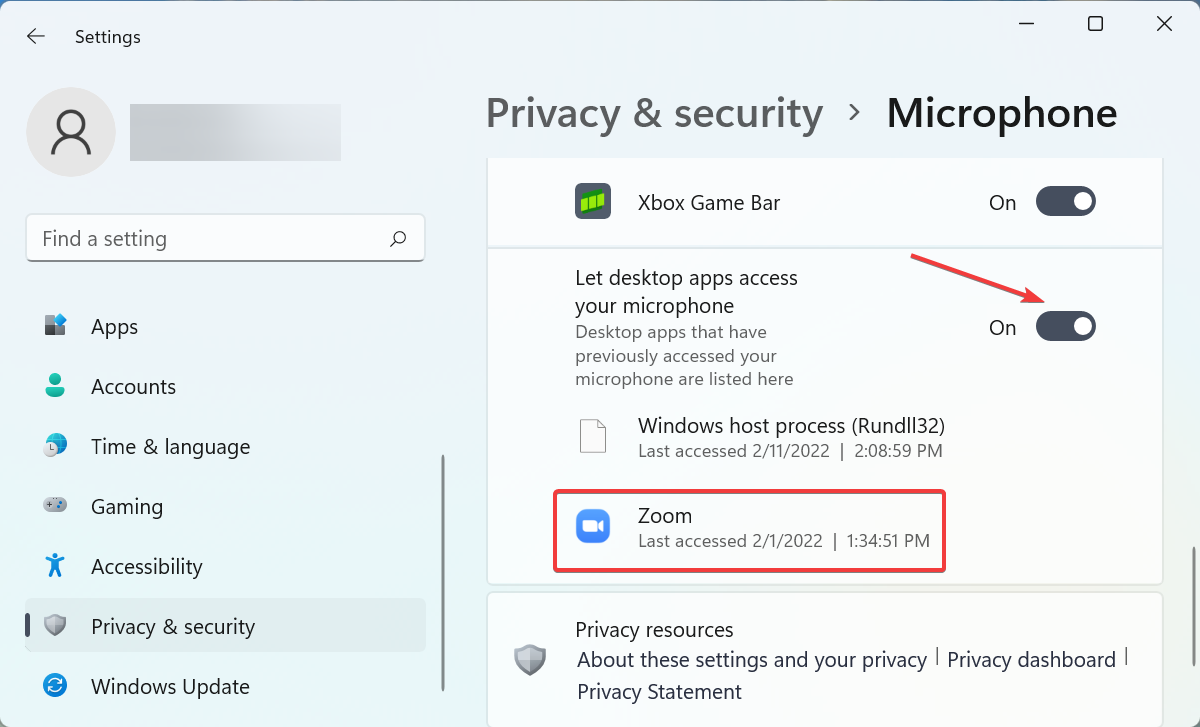
If you are facing issues with a particular app, for instance, the Dell XPS microphone is not working on Zoom, enabling the toggle for it should get it running.
2. Update microphone drivers
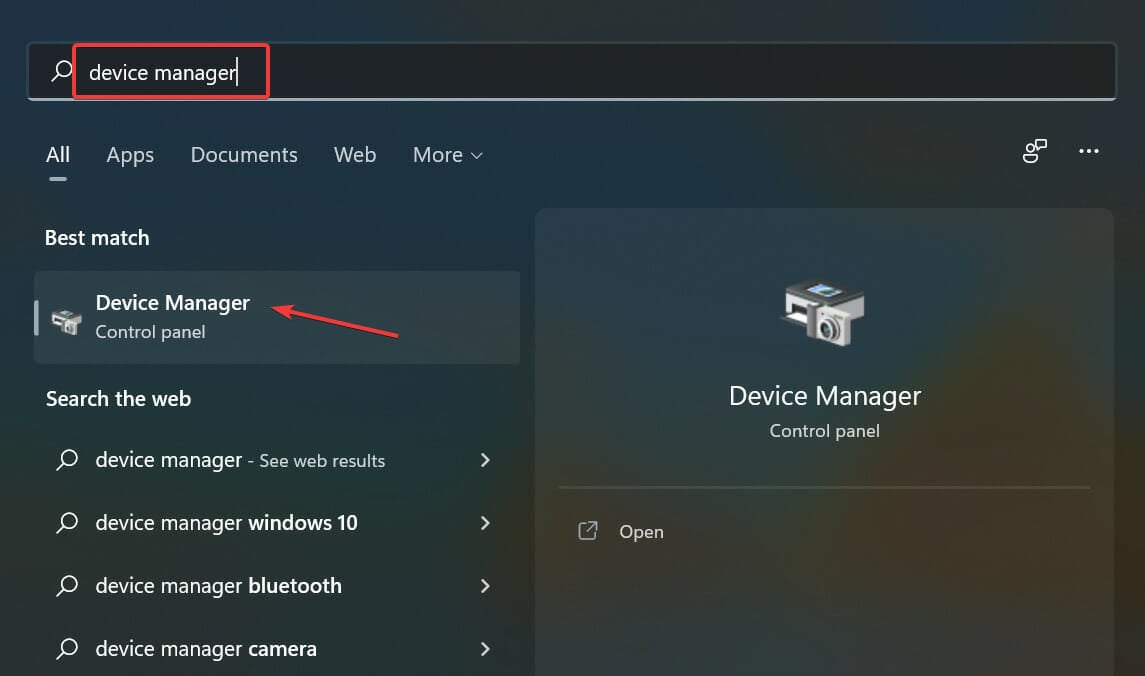
- Press Windows + S to launch the Search menu, enter Device Manager in the text field, and then click on the relevant search result.

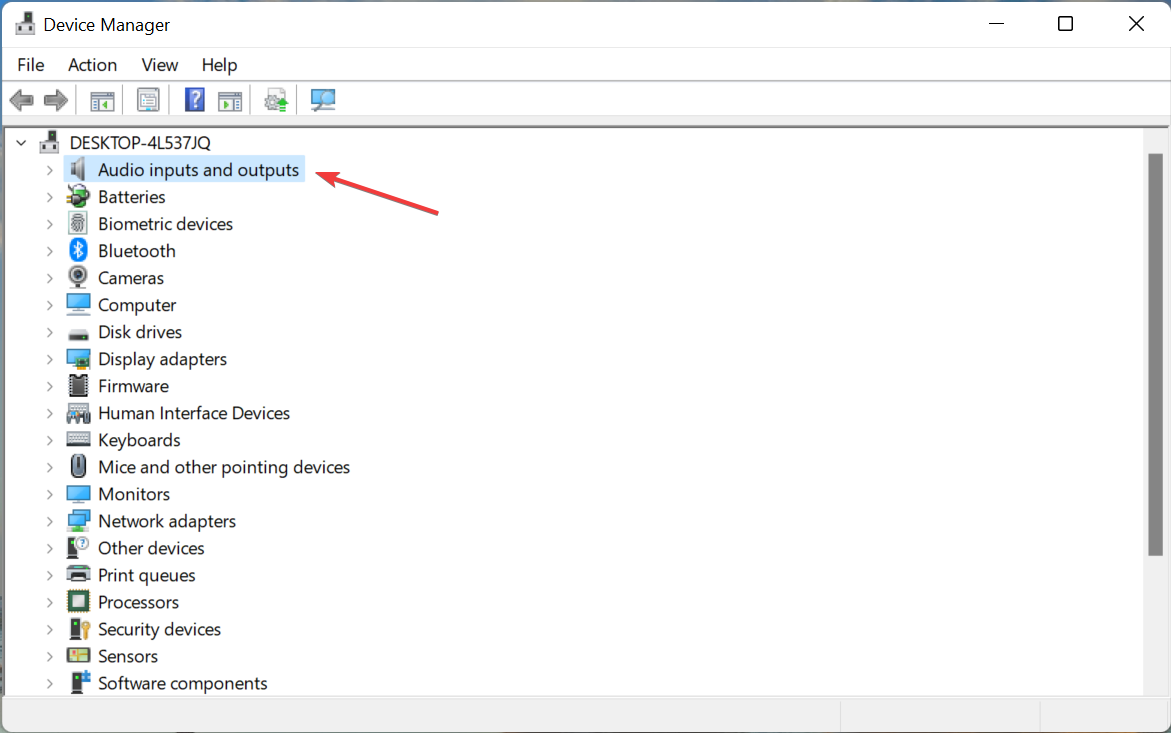
- Double-click on the Audio inputs and outputs entry.

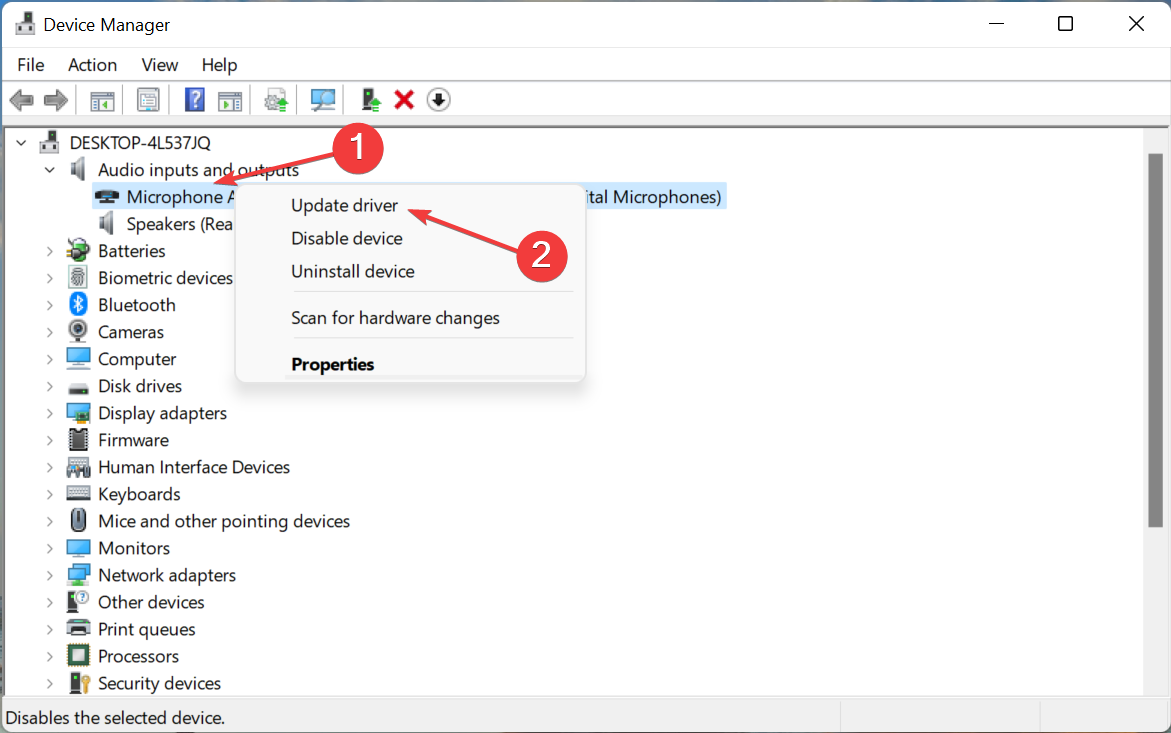
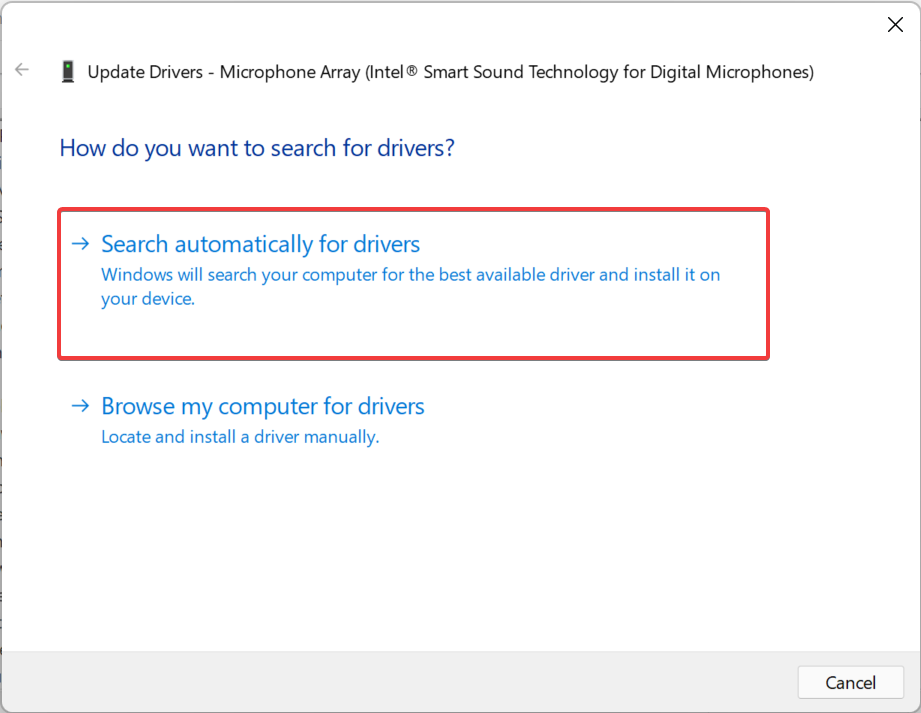
- Right-click on Microphone, and then select Update driver from the context menu.
- Select Search automatically for drivers from the two options here.

- Windows will now automatically scan and install the best available driver.
If you are unable to find an update this way, you can always resolve the issue by finding the driver through other means.
The whole process may seem tricky to many, which is where third-party apps come to your rescue. We recommend using a dedicated tool that automatically installs all the latest versions, and keeps the drivers on your system up-to-date.
- Download and install the Outbyte Driver Updater app.
- Launch the software and wait for the app to detect all incompatible drivers.
- Now, it will show you a list of all outdated drivers to select the ones to Update or Ignore.

- Click on Update & Apply Selected to download and install the latest versions.
- Restart your PC to ensure the applied changes.


Outbyte Driver Updater
Maintain your device healthy by letting OutByte Driver Updater find the latest driver options.3. Modify settings
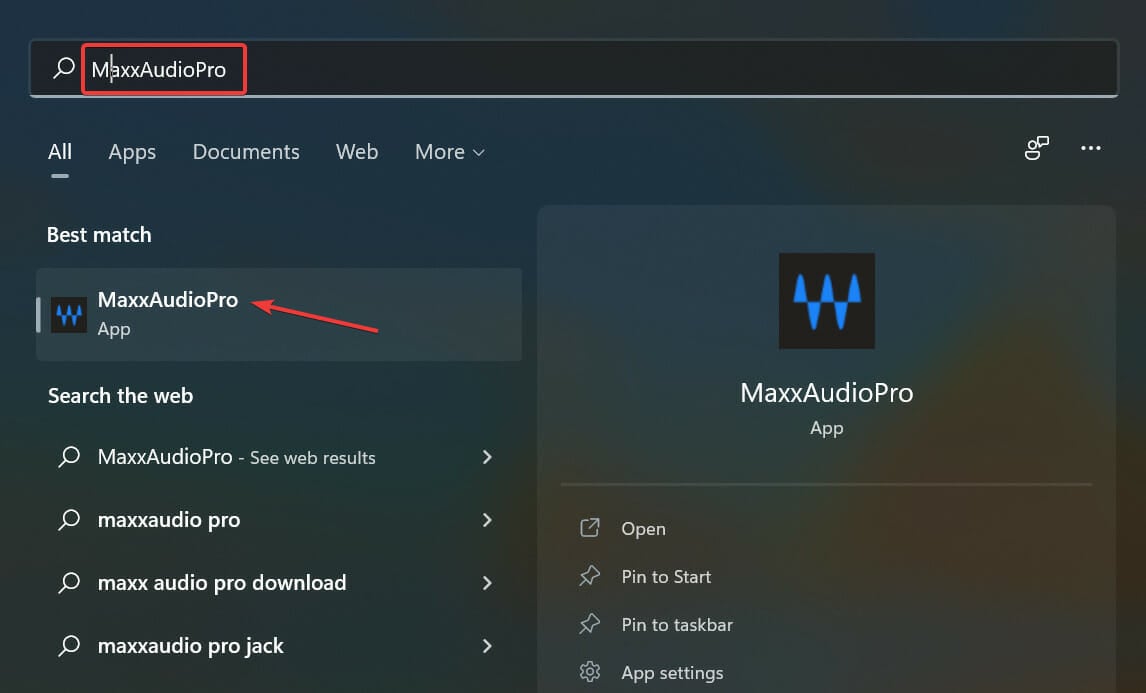
- Press Windows + S to launch the Search menu, enter MaxxAudioPro in the text field, and then click on the relevant search result.

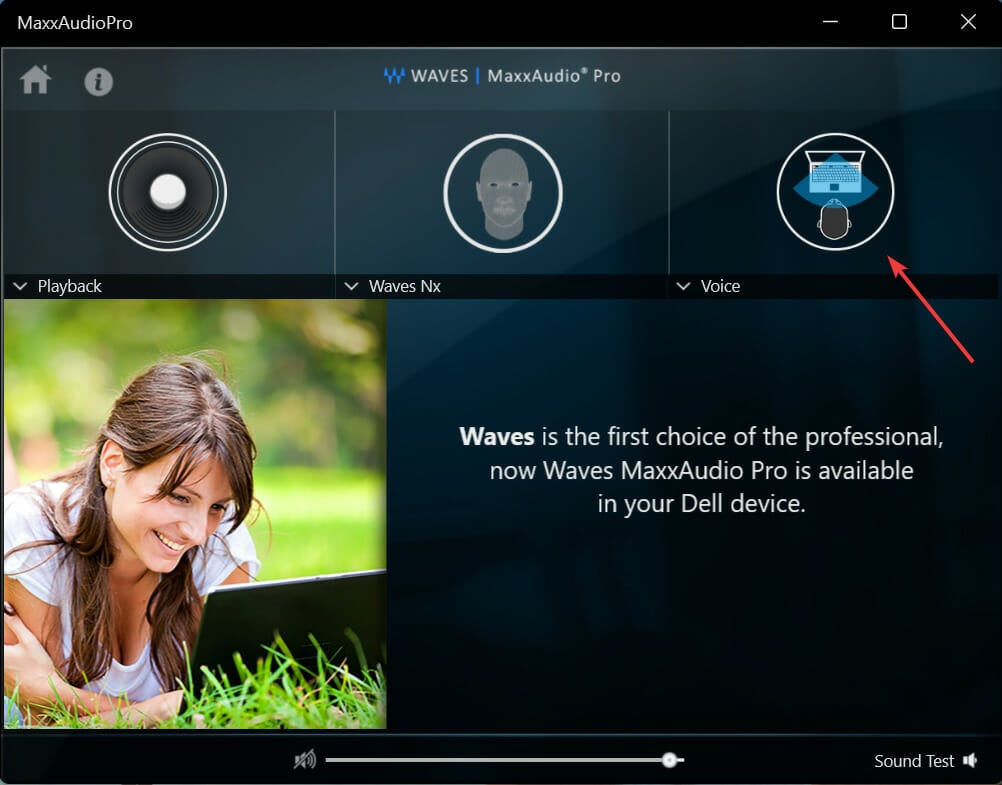
- Click on the Voice tab near the top-right.

- Now, turn off the toggle near the left, just under the various tabs.

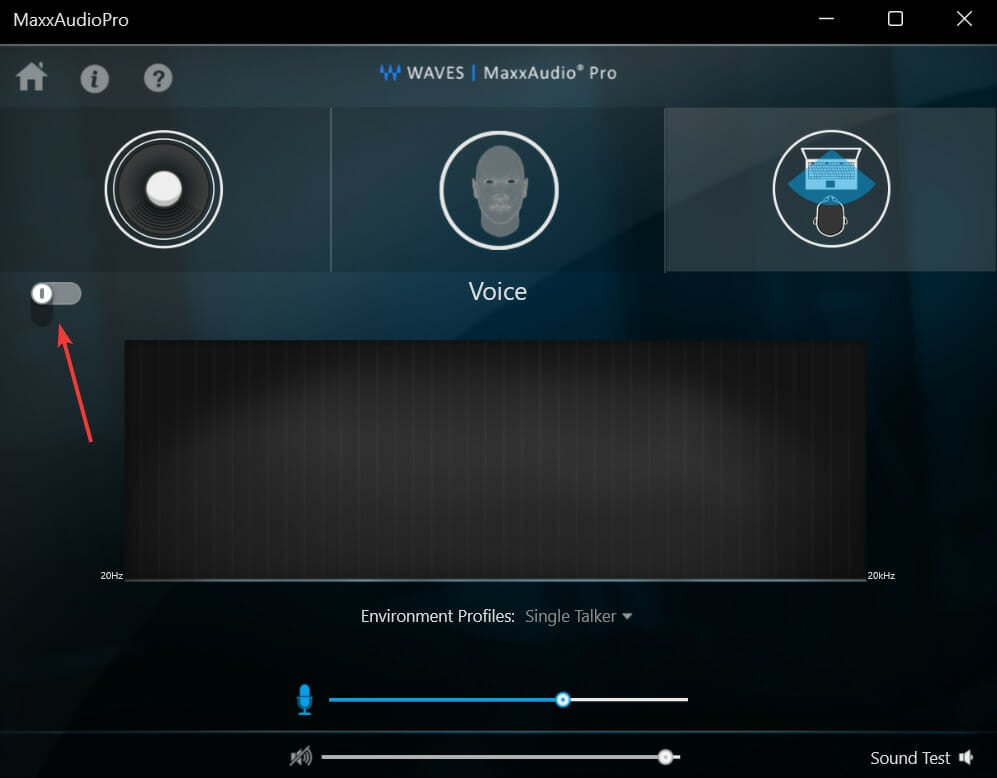
After making the changes, check if the Dell XPS microphone not working problem is resolved, and if in a more particular case, you are facing issues with the MaxxAudioPro app, having the right information can drastically improve your experience.
That’s it! The three methods listed here should get things back on track, and you can continue using your microphone, as you did earlier.
As communication is key in every sort of online interaction, it is always useful to know what to do if the Microphone is not working in Windows 11. This information will ensure that no matter where you are in the world, you will be able to keep in touch with your friends and loved ones.
That being said, some users experience issues while using video conferencing software, and if Zoom is not detecting the microphone, your experience will be greatly affected.
Don’ hesitate to share with us which of the methods presented above worked for you. You can do so by using the comment section found below this guide.
User forum
0 messages