3 Ways to Fix Device Manager if It Shows Me Multiple Keyboards
Discover how to solve this issue with our step-by-step solutions
3 min. read
Updated on
Read our disclosure page to find out how can you help Windows Report sustain the editorial team. Read more
Key notes
- If the Device Manager list multiple keyboards, chances are that these are all related to the primary keyboard.
- Certain keyboards are known to create versions of themselves to detect and process simultaneous pressing of keys.
- To fix the problem, make changes to the Local Group Policy Editor, or try the other methods listed here.
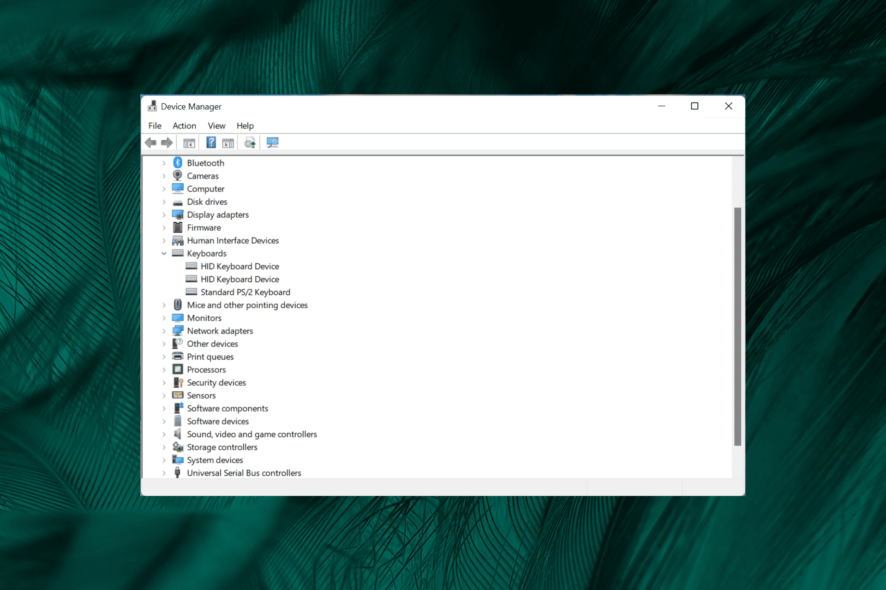
Device Manager helps identify the various peripherals connected to the computer. These are listed under various categories. But, many reported that Device Manager showed multiple keyboards.
First, there’s nothing to be concerned about. Having multiple keyboards listed is perfectly normal, and it doesn’t affect the system’s performance.
Let’s find out all about having multiple keyboards listed and the best solutions for it.
Why do I have multiple keyboards in Device Manager?
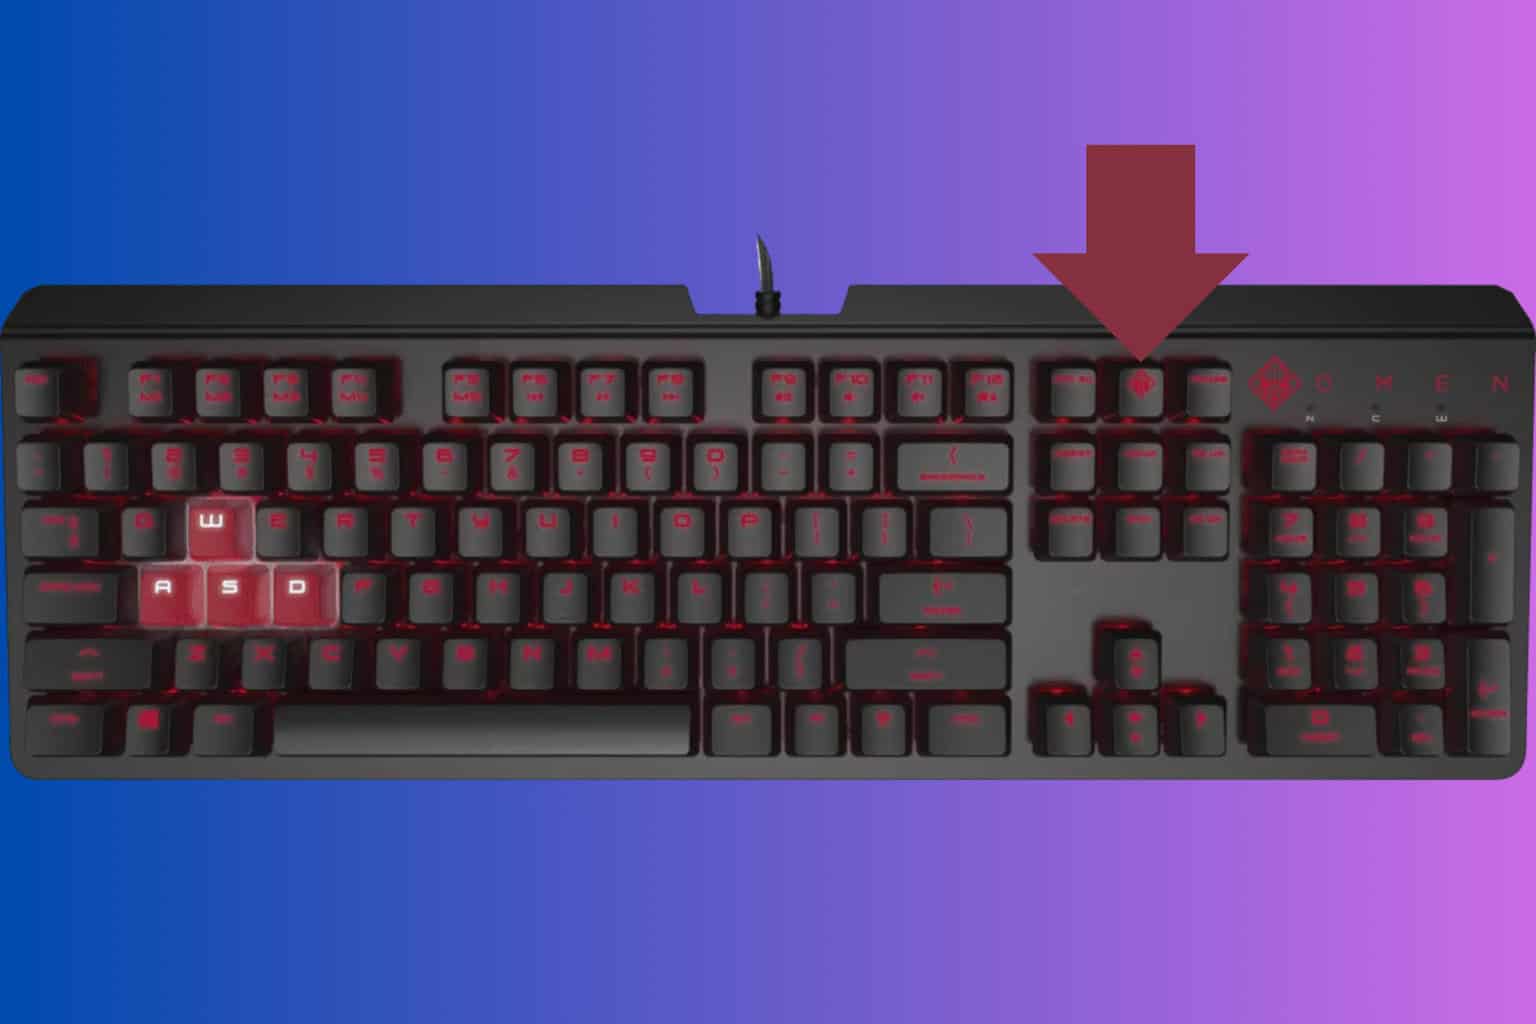
Before we get to that, you need to understand what the N-key rollover is. It is the ability of the keyboard to read multiple keystrokes at once. N here stands for the number of keys that can be effectively pressed together.
To achieve that, manufacturers configure the keyboard to run multiple versions of itself. If you have been wondering Why do I have so many HID-compliant devices (or duplicate Human Interface Devices) in Windows 10, this is the reason.
How do I find my keyboard in Device Manager?
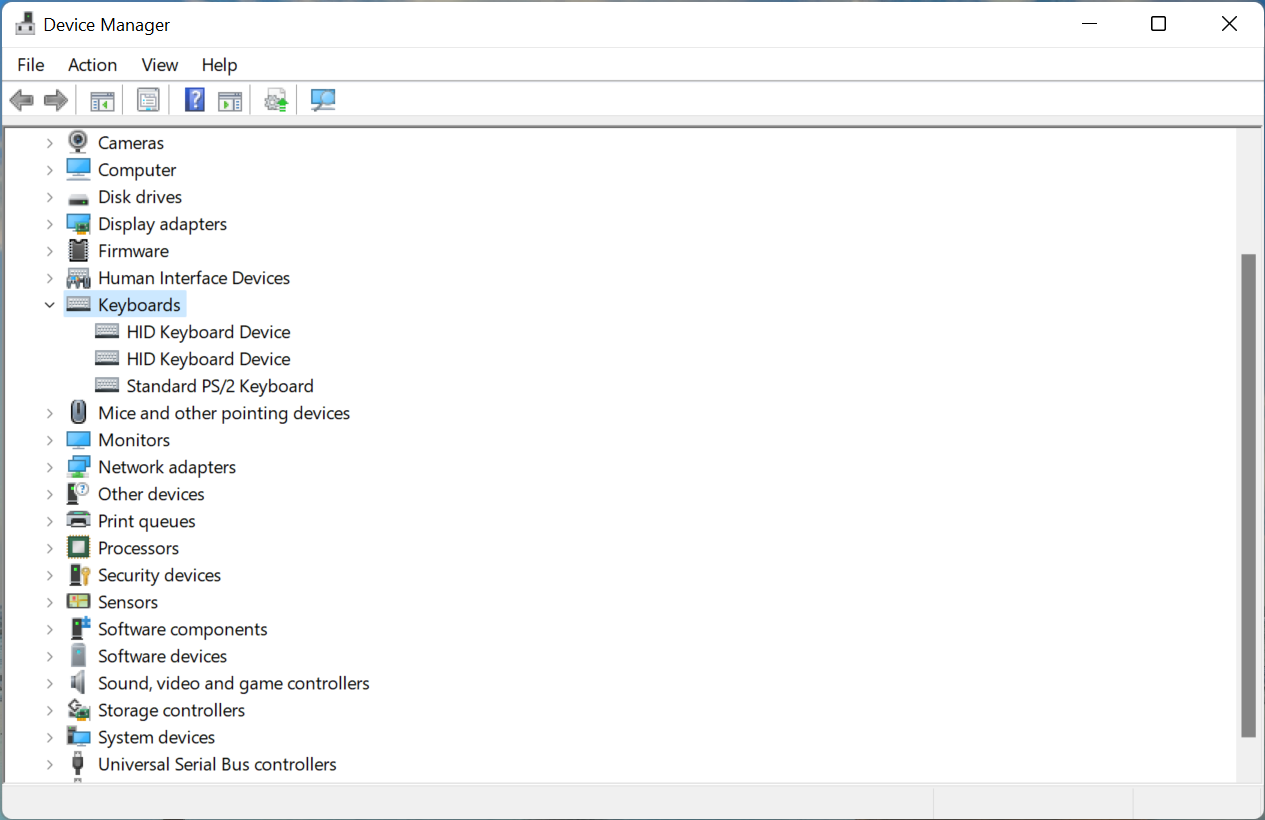
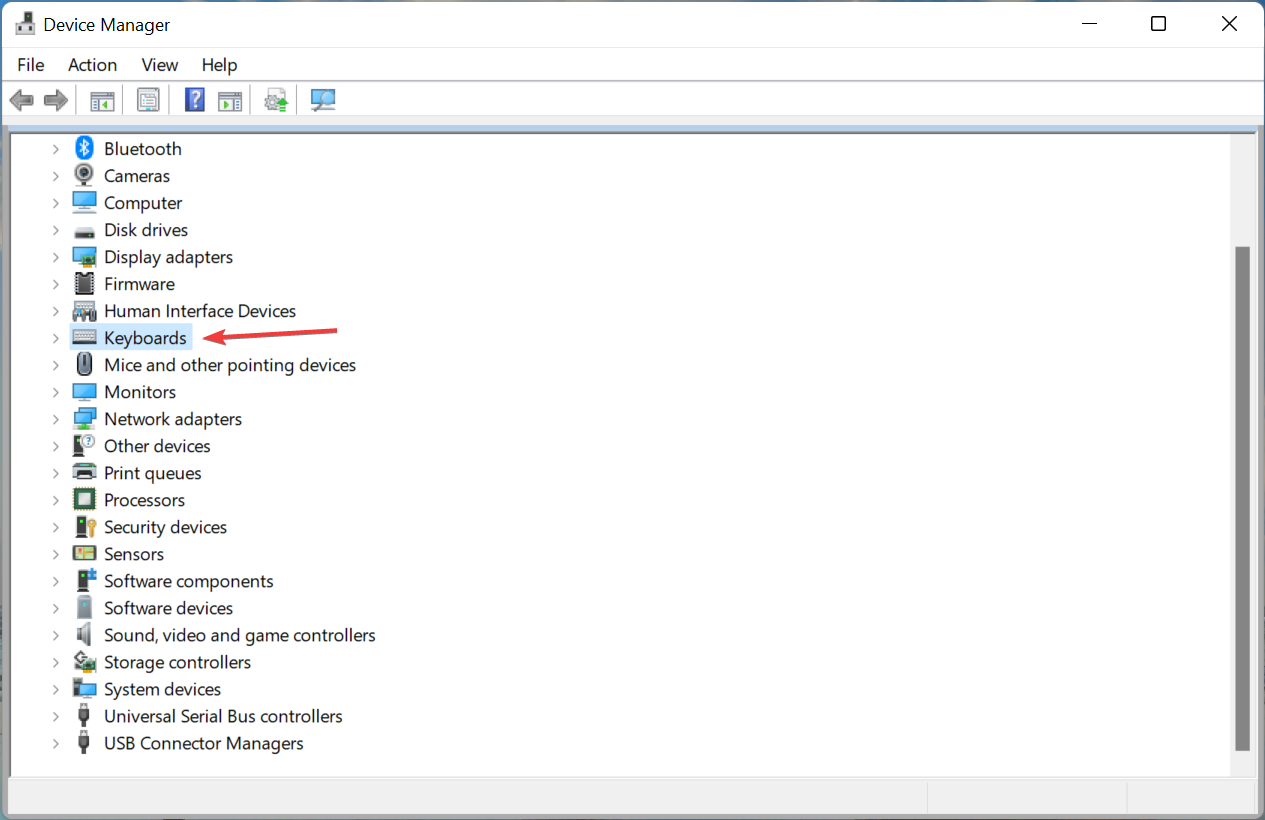
To find it in the Device Manager, simply double-click on the Keyboards entry, and all these will now be listed.
How do I get rid of multiple keyboards in Device Manager?
1. Disconnect additional keyboards
Many gamers who use a laptop often have an external gaming keyboard connected, which takes the total number to two. And then comes the HID Keyboard Device, leading to multiple keyboard entries.
Simply disconnect the other keyboards from the computer and restart it. You wouldn’t have 2 keyboards in Device Manager now.
2. Verify your keyboard drivers with a dedicated tool
You can also use a driver utility that detects your actual keyboard hardware and verifies its drivers. We suggest PC HelpSoft Driver Updater because it’s light and easy to use.
Before running the utility, we recommend you keep any additional keyboards disconnected (as presented above). You can also uninstall all the keyboards in Device Manager.
This way, you will have a fresh start. PC HelpSoft Driver Updater will only detect the keyboard that is currently connected to your PC and then use its comprehensive driver database to find a matching driver and install it.
⇒ Get PC HelpSoft Driver Updater
3. Permanently remove HID keyboard
- Launch the Device Manager and double-click on the Keyboards entry.
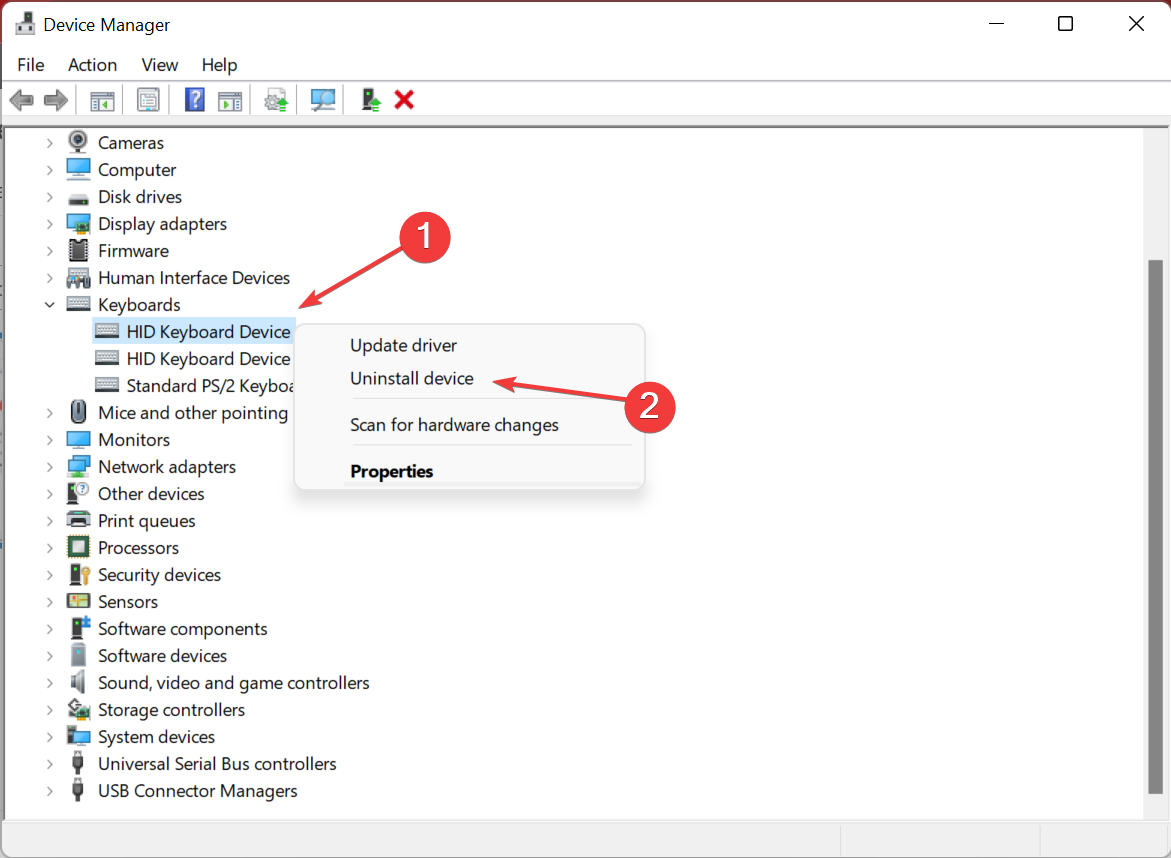
- Right-click on HID Keyboard Device and select Uninstall device.
- Confirm the action and do this for other similar entries.
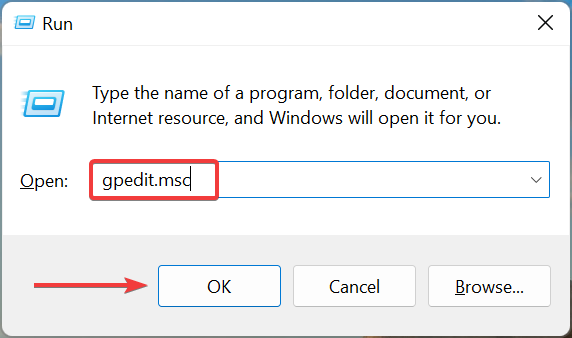
- Now, press Windows + R to launch Run, type gpedit.msc, and click on OK.
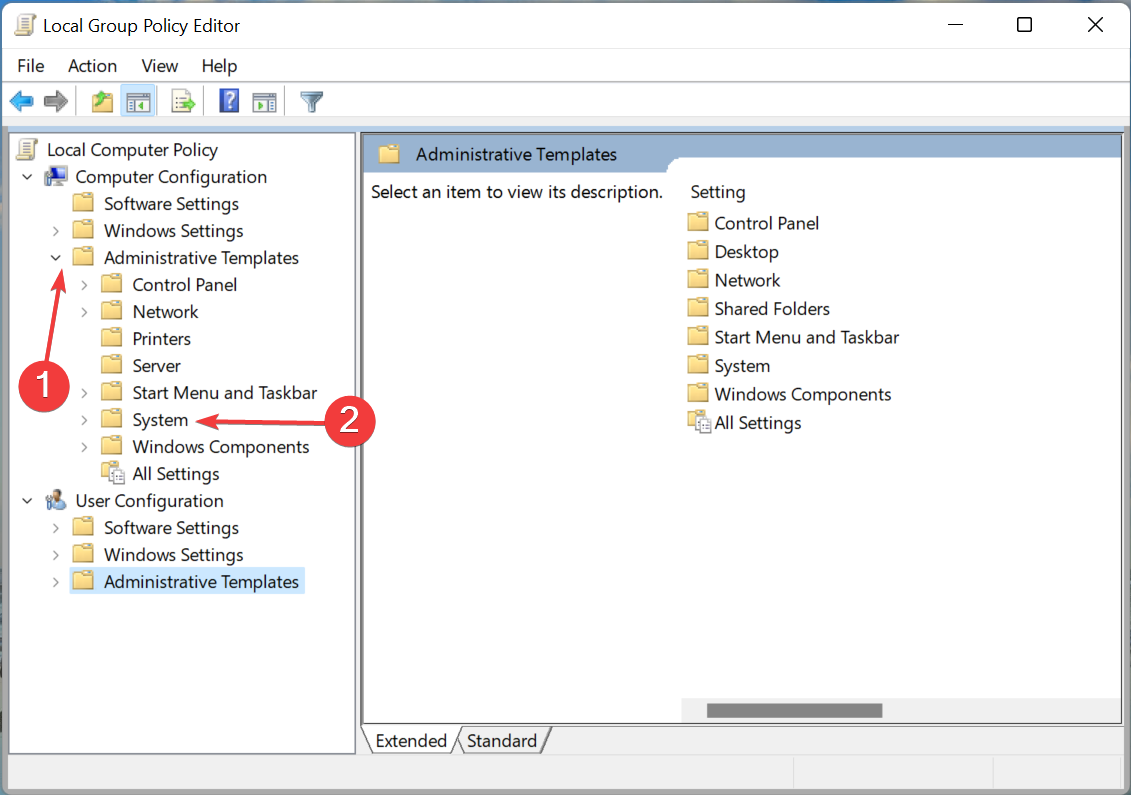
- Double-click on Administrative Templates and then on System.
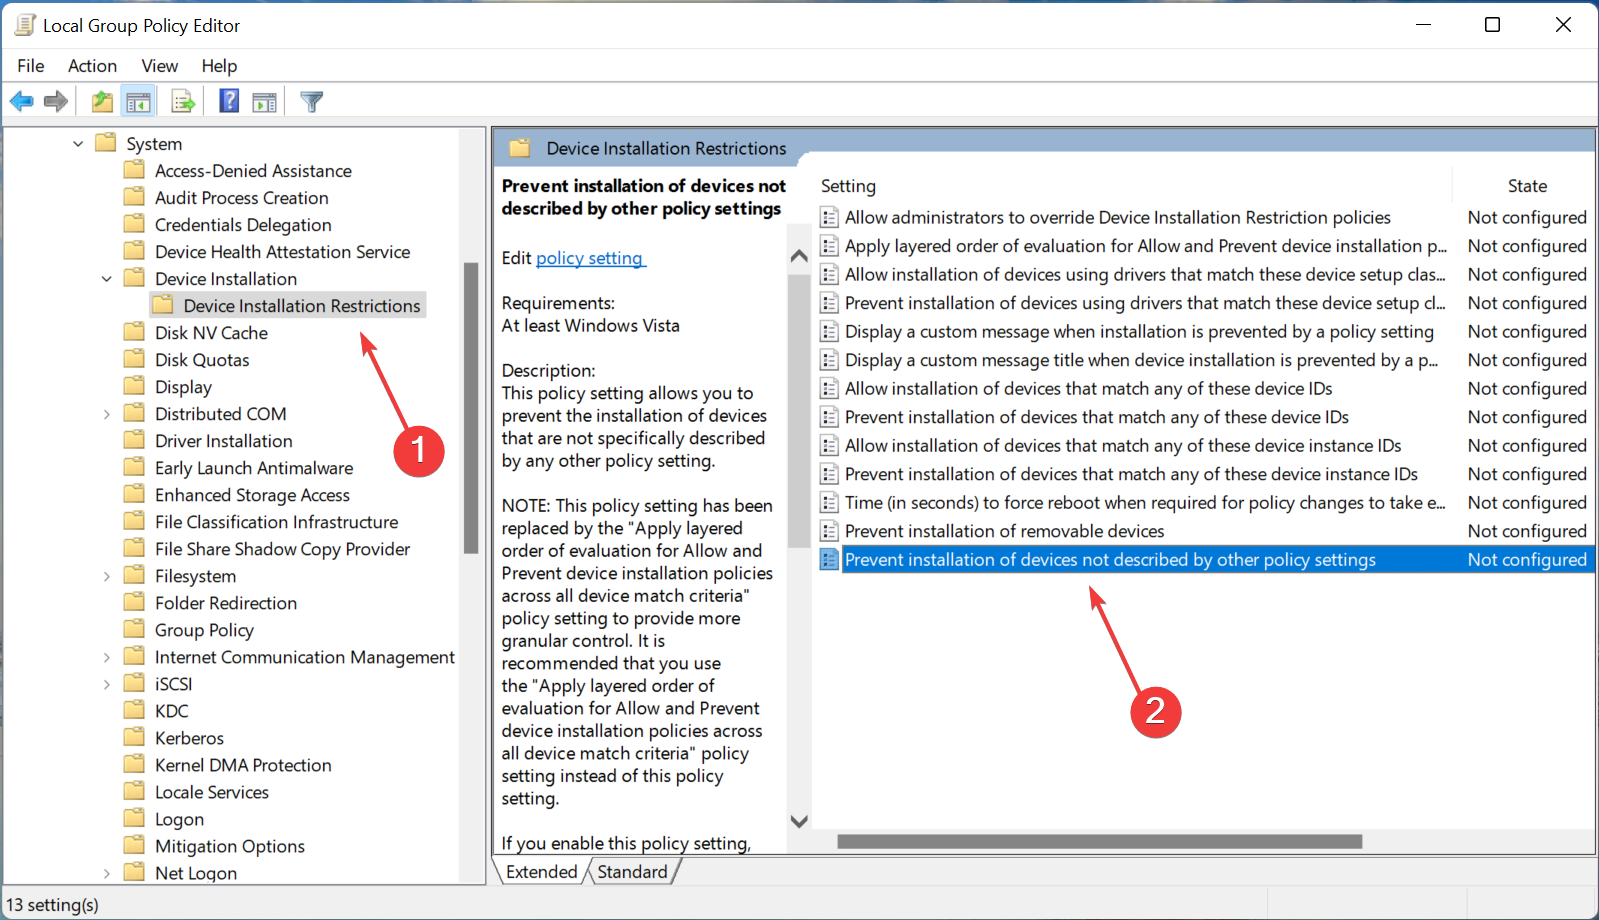
- Next, double-click on Device Installation Restrictions under Device Installation, and then on Prevent installation of devices not described by other policy settings policy on the right.
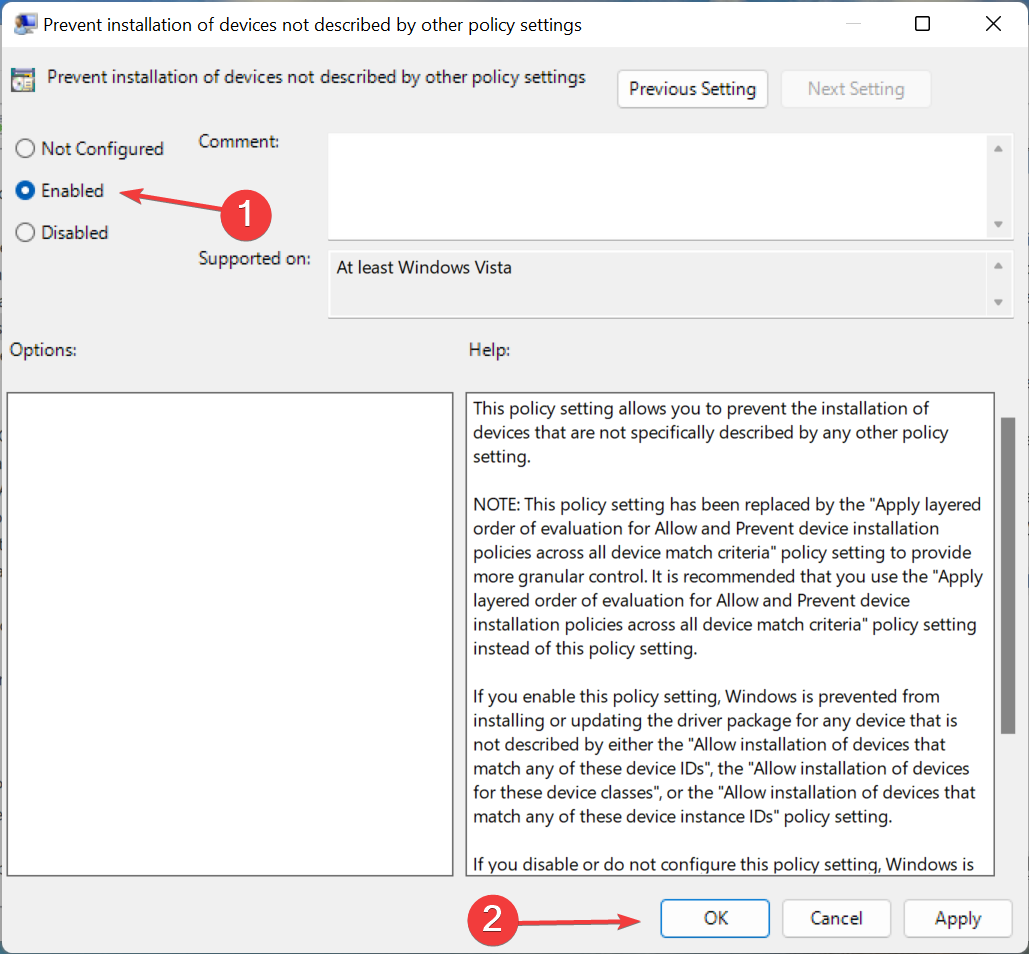
- Select the option for Enable and click on OK at the bottom to save the changes.
Windows should no longer install multiple keyboards and subsequently, these wouldn’t appear in Device Manager. Also, find out how to check Device Manager logs in Windows 11.
Tell us which fix worked for you in the comments section below.


User forum
0 messages