Diagnostic Policy Service High CPU: 3 Methods to Reduce it
Try 3 expert-tested solutions to fix your PC
Key notes
- Several users in the recent past have reported high CPU usage due to Diagnostic Policy Service.
- It’s a critical service that diagnoses and fixes issues with the Windows components and is configured to start running when you turn on the computer.
- To fix the problem, try terminating the service from the Task Manager, amongst other methods listed below.

There are some background services in Windows to enhance your experience and minimize errors. But, several users have reported that the Diagnostic Policy Service shows high CPU usage.
This will, in turn, affect the system’s performance and slow it down, which is not desirable. If you have been facing this issue, read ahead to learn more about it and its relevant fixes.
Why is Diagnostic Policy Service causing high CPU usage?
Here are the possible reasons for the Diagnostic Policy Service’s high CPU usage:
- Corrupt system files: One of the significant reasons the Diagnostic Policy Service registers 100 percent CPU usage is a broken system file. The solution is to repair these files using built-in tools or dedicated repair software.
- Outdated PC: Windows updates play a vital role in the smooth running of all components of your PC. You can experience this high CPU usage issue if your PC is outdated. You need to update Windows 11 to restore regular service.
- The service itself has run into an issue: In some cases, it might run into a problem causing it to create large log files. This leads to abnormal resource usage. Killing the process and deleting its files should do the trick here.
Let’s now head to the methods to solve the high CPU usage by Diagnostic Policy Service.
How can I fix Diagnostic Policy Service’s high CPU usage?
1. End the Diagnostic Policy Service
- Press Ctrl + Shift + Esc to launch Task Manager.
- Locate the Diagnostic Policy Service under Windows processes, right-click, and select End task from the context menu.

- Tick the checkbox for Abandon unsaved data and shut down, and click on the Shut down button.

- Press the Windows key + R, type services.msc, and click OK.

- Locate and double-click on the Diagnostic Policy Service to view its properties.

- Click on the Stop button to terminate the service, and click on OK at the bottom.

- Again, press Windows + R to launch the Run command.
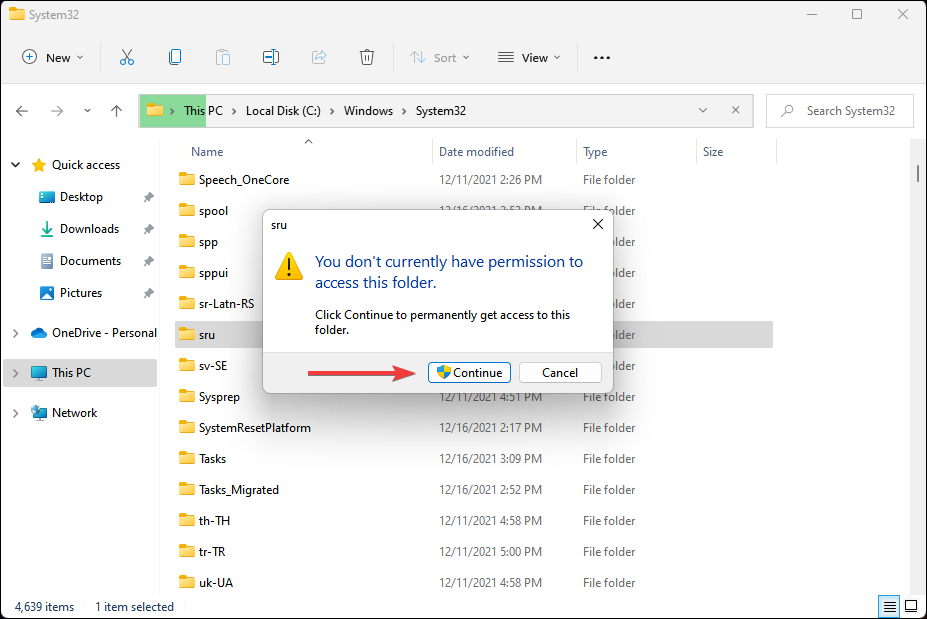
- Type/paste the following address in the text field, and hit Enter.C:\WINDOWS\System32\sru

- Click Continue in case a confirmation box pops up.

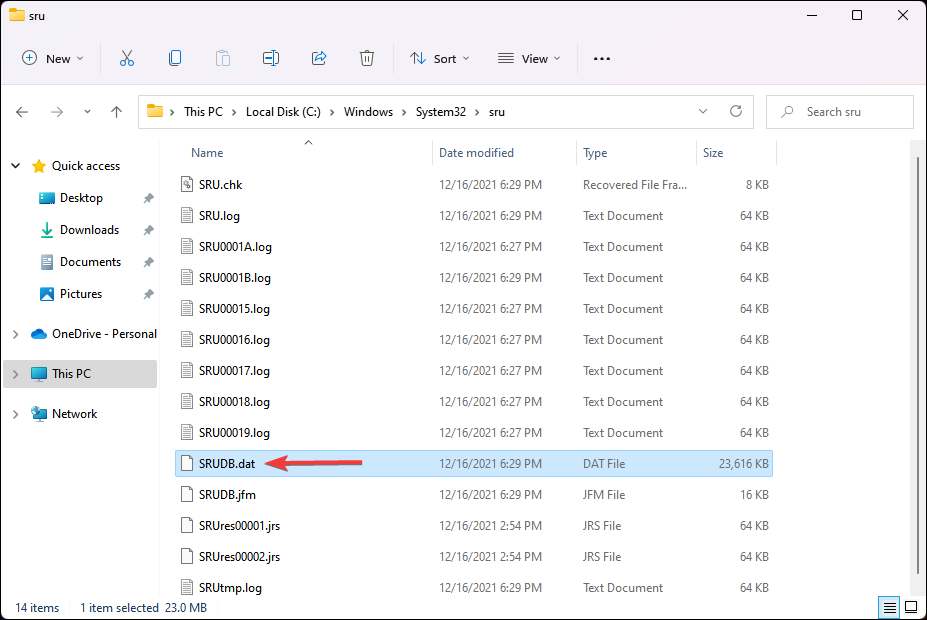
- Locate and select the SRUDB.dat file, and hit the Del key to delete it.

After terminating the Diagnostic Policy Service, do not hesitate to check if the high CPU usage problem is resolved.
2. Update Windows 11
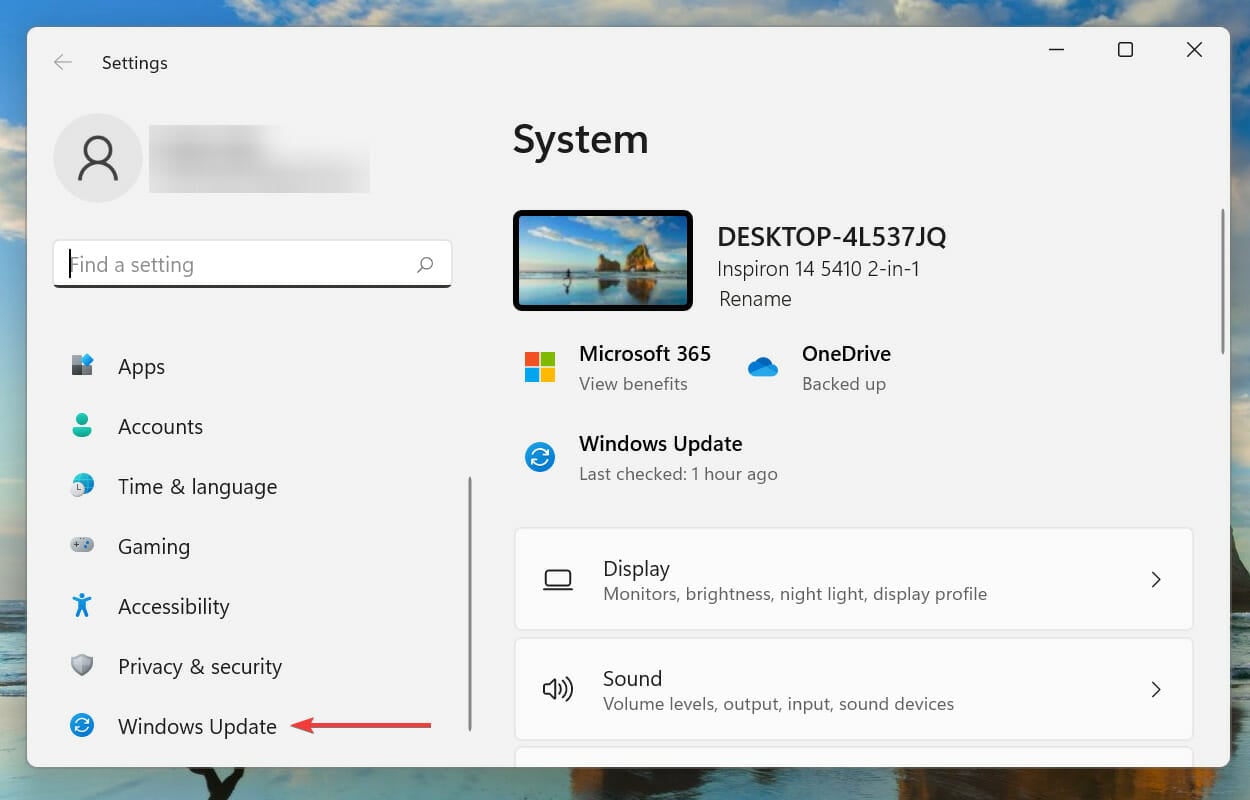
- Press the Windows key + I to launch the Settings app and select Windows Update in the left pane.

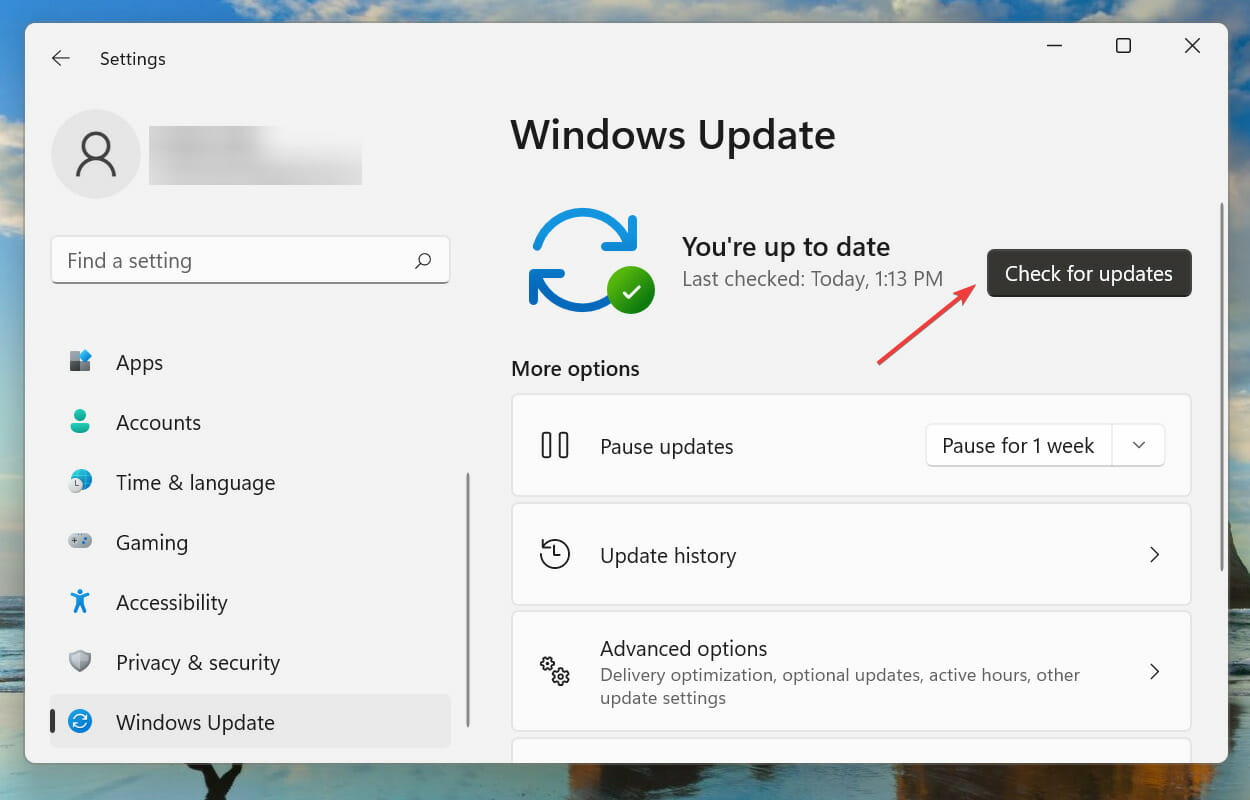
- Click on Check for updates to scan for any available newer versions of the OS.

- If any are available, download and install them on your computer.
If that does not help, we recommend trying a specialized repair app, which will scan your PC and fix any errors related to corrupted system files.
3. Run SFC and DISM scans in Command Prompt
1. Press Windows + S to launch the Search menu.
2. Enter Windows Terminal in the text field at the top, right-click on the relevant search result, and select Run as administrator from the context menu.

3. Click Yes on the UAC (User Account Control) prompt that pops up.
4. Next, click on the downward arrow at the top, and select Command Prompt from the list of options. Alternatively, you can press Ctrl + Shift + 2 to launch the Command Prompt tab.

5. Type/paste the following command and hit Enter to execute it:
sfc /scannow
6. Once the SFC scan is complete, type/paste the following command and hit Enter to run the DISM tool:
DISM /Online /Cleanup-Image /RestoreHealth
7. Wait for the DISM tool to run and then restart the computer.
You can solve the Diagnostic Policy Service high CPU problem by running the SFC and DISM commands in Command Prompt. The SFC (System File Checker) scan identifies the corrupt system files, and if any are found, replaces them with their cached copy stored on the system.
On the other hand, the DISM (Deployment Image Servicing and Management) tool is used to fix issues with Windows Image or modify the installation media, if required.
These are all ways to reduce the high CPU usage due to Diagnostic Policy Services. Execute the fixes in the sequence listed, and your computer should be running smoothly in no time.
Several users have also reported high CPU usage due to Explorer.exe, so learn how to fix the problem. Again, the guide is for the previous OS, but remember that it is equally effective on Windows 11.
Please tell us which fix worked for you and what problems you faced due to high CPU usage in the comments section below.
Read our disclosure page to find out how can you help Windows Report sustain the editorial team. Read more


Improve this guide


User forum
0 messages