DPC Latency in Windows 10: How to Fix It in 5 Steps?
Tested methods to solve the latency issues on Windows 10
Key notes
- Deferred Procedure Call (DPC) is a Windows OS mechanism that prioritizes high-priority tasks over lower-priority ones.
- This allows device drivers to perform the high-priority parts of their processing faster and schedule the non-critical part of the task to be executed later.
- However, latency issues might occur if your computer drivers are outdated.
- This guide will show you some methods to resolve the issue.

High DPC latency could be a contributor to your Windows 10 slow performance. It can cause stuttering audio, video playback, erratic mouse movement, slow response of the keyboard, etc.
This guide will discuss some of the best methods to fix audio dropouts, popping, and distortion in no time. Let’s begin!
What causes DPC latency on Windows 10?
For various reasons, spotting the exact error that caused DPC latency on Windows is tricky. However, some of the most common reasons are:
- Outdated/Incompatible audio drivers – When your audio and graphics drivers are obsolete, you might face DPC latency issues and need to update the drivers.
- Change your Power Plan – If the computer’s power options are not set to Balanced (Active), a recommended setting, it could cause the problem.
- Check Windows Updates – Pending Windows updates can cause latency issues; ensure your computer is updated.
- Problem with network components: If Windows network components are not working fine, it could cause an issue. It is advised to use a TCP optimizer to modify network settings.
How can I fix DPC latency on Windows 10?
Before diving into detailed steps, let us check out the easy fixes first:
- Disable the firewall temporarily and check if there are delays and dropouts.
- Uninstall Bonjour if present.
- Disable Internet Protocol 6.
- Revert your computer settings to the last known efficient configuration via System Restore.
- Run Windows Update troubleshooter.
If you tried the instant fixes and you still are facing the DPC latency issue on Windows 10, try these methods:
1. Update Drivers
1.1 Use Device Manager
- Press the Windows key and type Device Manager, and press Enter.

- Go to Sound, video, and game controllers and expand it.
- Double-click on the drivers from the tree and click on Update driver one by one.

- Follow the on-screen prompts to complete.
1.2 Use a third-party tool
- Download and install Outbyte Driver Updater.
- Once launched, the tool will scan your computer for outdated drivers.
- Click Update for Sound and audio-related drivers from the list of drivers.
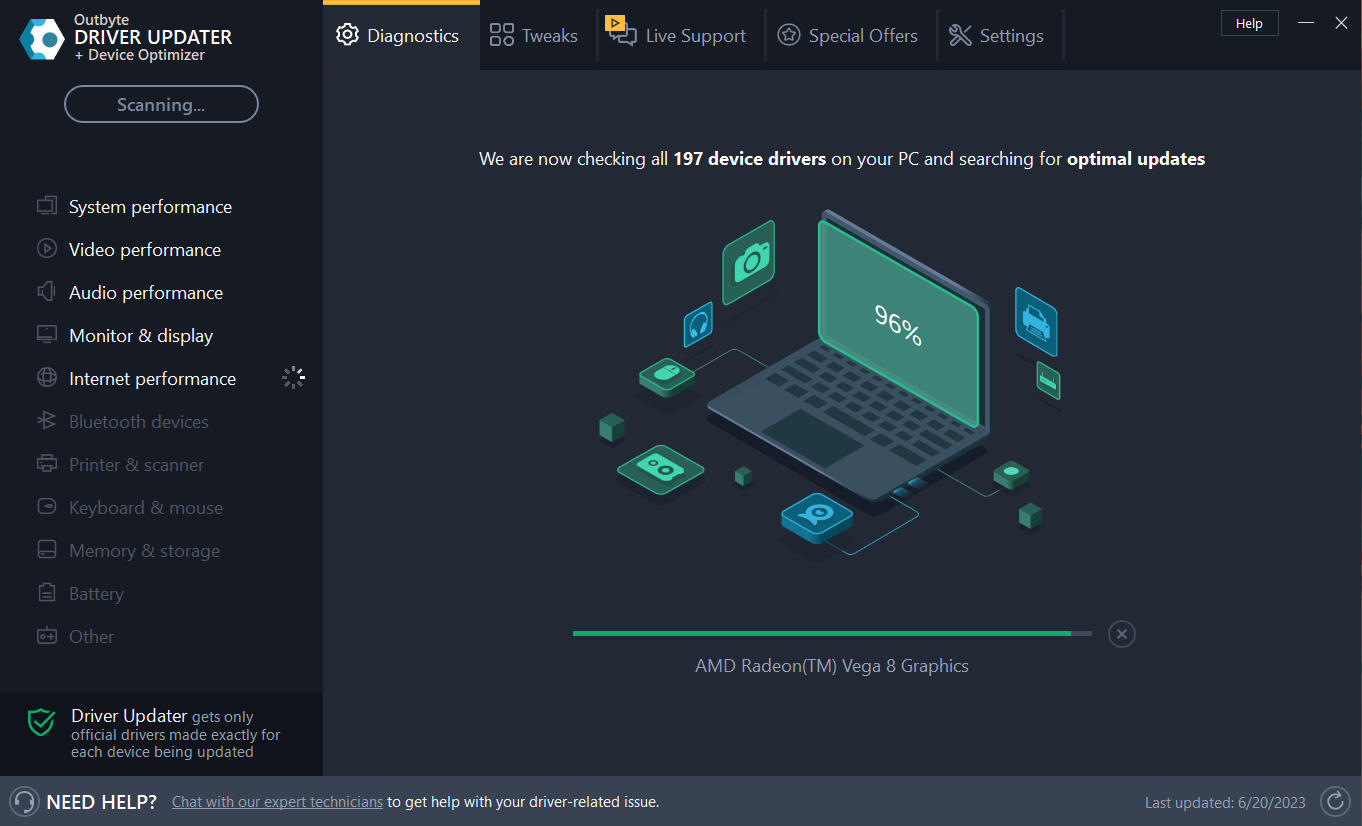
- The utility will download the selected driver. Once done, click Install.
- Follow the on-screen instructions to complete.
Now that Outbyte Driver Updater located the latest updates to your driver, you should be able to enjoy an error-free PC experience.

Outbyte Driver Updater
Prevent DPC latency and let Outbyte Driver Updater help you maintain your drivers updated with the most recent versions.2. Use Command Prompt
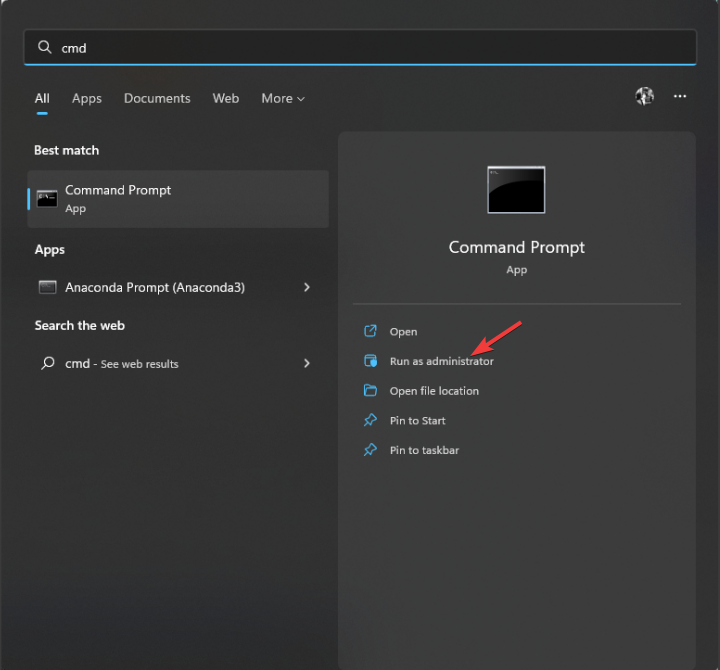
- Press the Windows key and type CMD and click Run as administrator.
- Type the following command and press Enter
sfc/scannow - Paste the following commands on the CMD window and press Enter after every command
DISM /Online /Cleanup-Image /CheckHealthDISM /Online /Cleanup-Image /ScanHealthDISM /Online /Cleanup-Image /RestoreHealth
- Restart your computer.
3. Use Registry Editor
3.1 Change values for some DWORDs
- Press Windows + R to the Run console.

- Type regedit and press Enter to open Registry Editor.
- Navigate to the following path:
HKEY_LOCAL_MACHINE\SYSTEM\CurrentControlSet\Control\Video\{DEB039CC-B704-4F53-B43E-9DD4432FA2E9}\0000] - Right-click on 0000 and select New, then DWORD (32-bit) Value.
- Rename it as PerfLevelSrc and double-click it to change its Value data to 3322.
- Repeat step 4 and create three new DWORD values, naming them PowerMizerEnable, PowermizerLevel, and PowermizerLevelAC.

- For PowermizerLevel, and PowermizerLevelAC, modify the Value data to 1.

- For PowerMizerEnable, change the Value data to 0.
3.2 Disable Windows Defender
- Go to Registry Editor using the method mentioned in the above steps.
- Copy and paste this path into the address bar:
HKEY_LOCAL_MACHINE\SYSTEM\CurrentControlSet\Services\MpsSvc - Locate and double-click on DWORD Start.

- Change the Value data to 4 and click OK.
- Restart your computer.
4. Disabling the dynamic ticking
- Press the Windows key, type CMD, and click Run as administrator.
- Type the following command and hit Enter
BCDEDIT /SET DISABLEDYNAMICTICK YES
- Paste and copy the command below and hit Enter to know the status
BCDEDIT
5. Turn off D0 Packet Coalescing
- Press Windows + R to get the Run console.
- Type ncpa.cpl and press Enter.

- Locate your wireless device, right-click on it, and select Properties.

- Now click Configure.

- On the following dialog box, go to the Advanced tab.
- Under Property, locate D0 Packet Coalescing or Packet Coalescing and under Value, select Disabled from the drop-down.

- Click OK.
So, these are steps to resolve DPC latency issues on your Windows computer. However, if nothing worked for you, we recommend you reinstall Windows on your computer.
Try these methods and let us know what worked for you in the comments section below.
Read our disclosure page to find out how can you help Windows Report sustain the editorial team. Read more


Improve this guide


User forum
0 messages